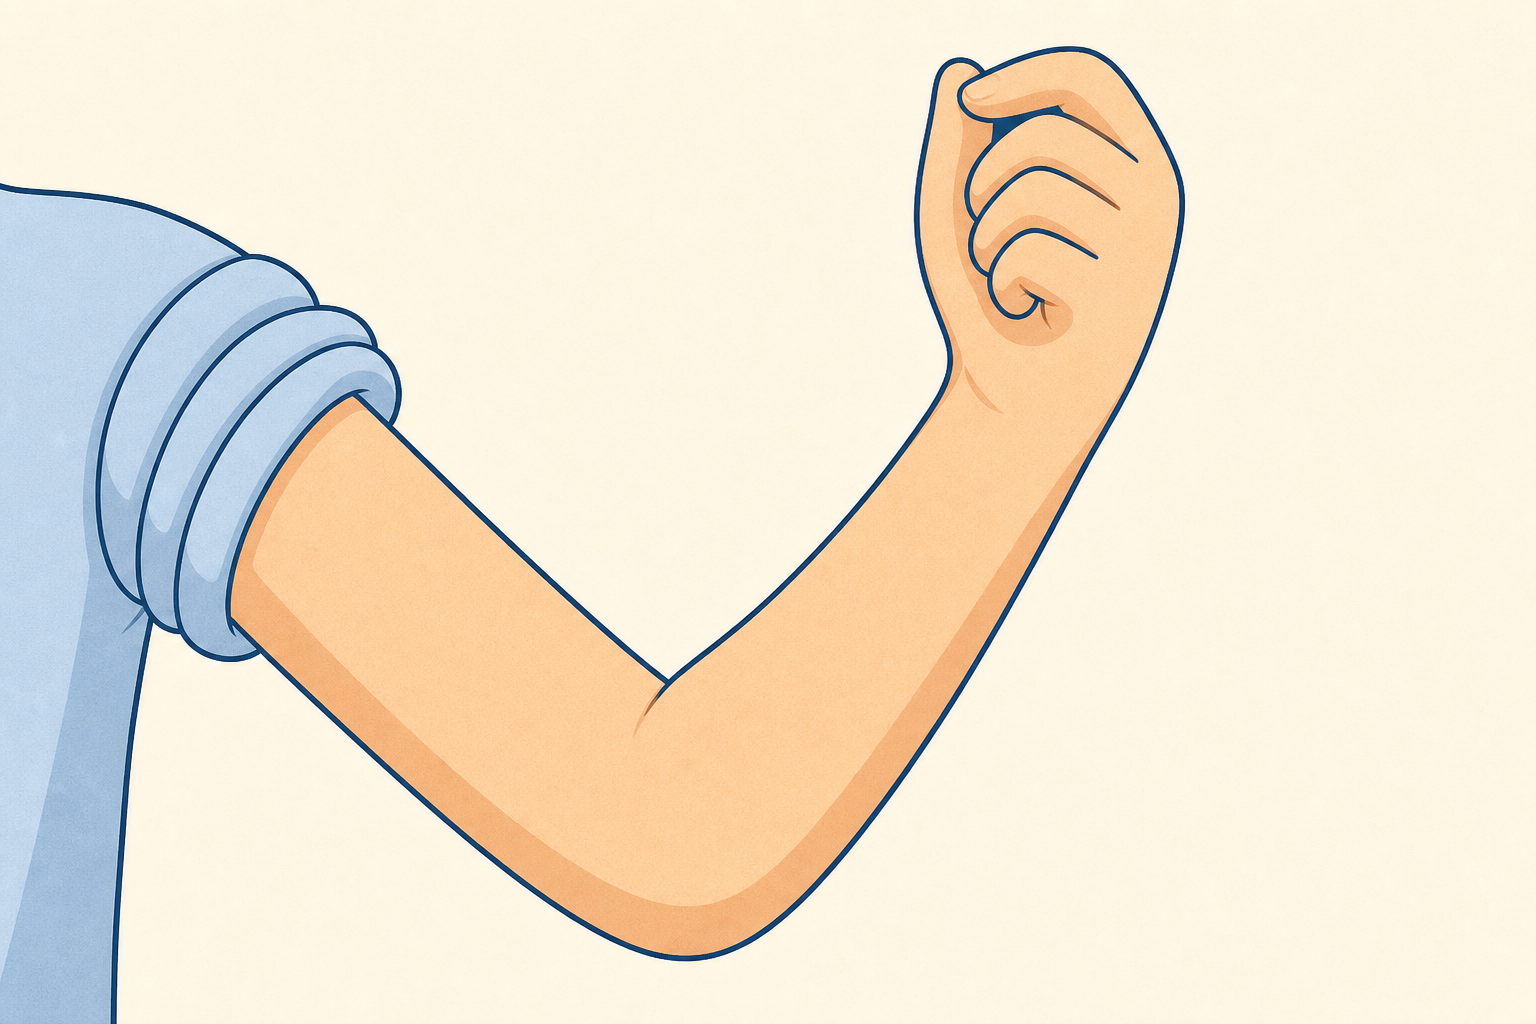
Hold your arm out straight, then bend it at the elbow. What is happening under your skin that makes that move possible?
There is a hidden team under your skin doing that job every time you pick up a pencil.
Today we will feel that teamwork on your own arm, then build and test a working model of a hinge joint and a muscle pair.
Keep this beat light: one curiosity question and the promise of feel-then-build. Do not hand out card, pins or elastic yet.
Ask a few pupils to bend and straighten once so the class can watch the upper arm change shape. Save the formal biceps and triceps names for the next steps.
Before the lesson: print the Investigation Journal page; cut card strips to roughly equal lengths (about 15 cm by 3 cm works well); check split pins open and close easily; gather elastic bands of a similar size for each group; have sticky tape or sticky tack ready so each elastic can be anchored to the card.
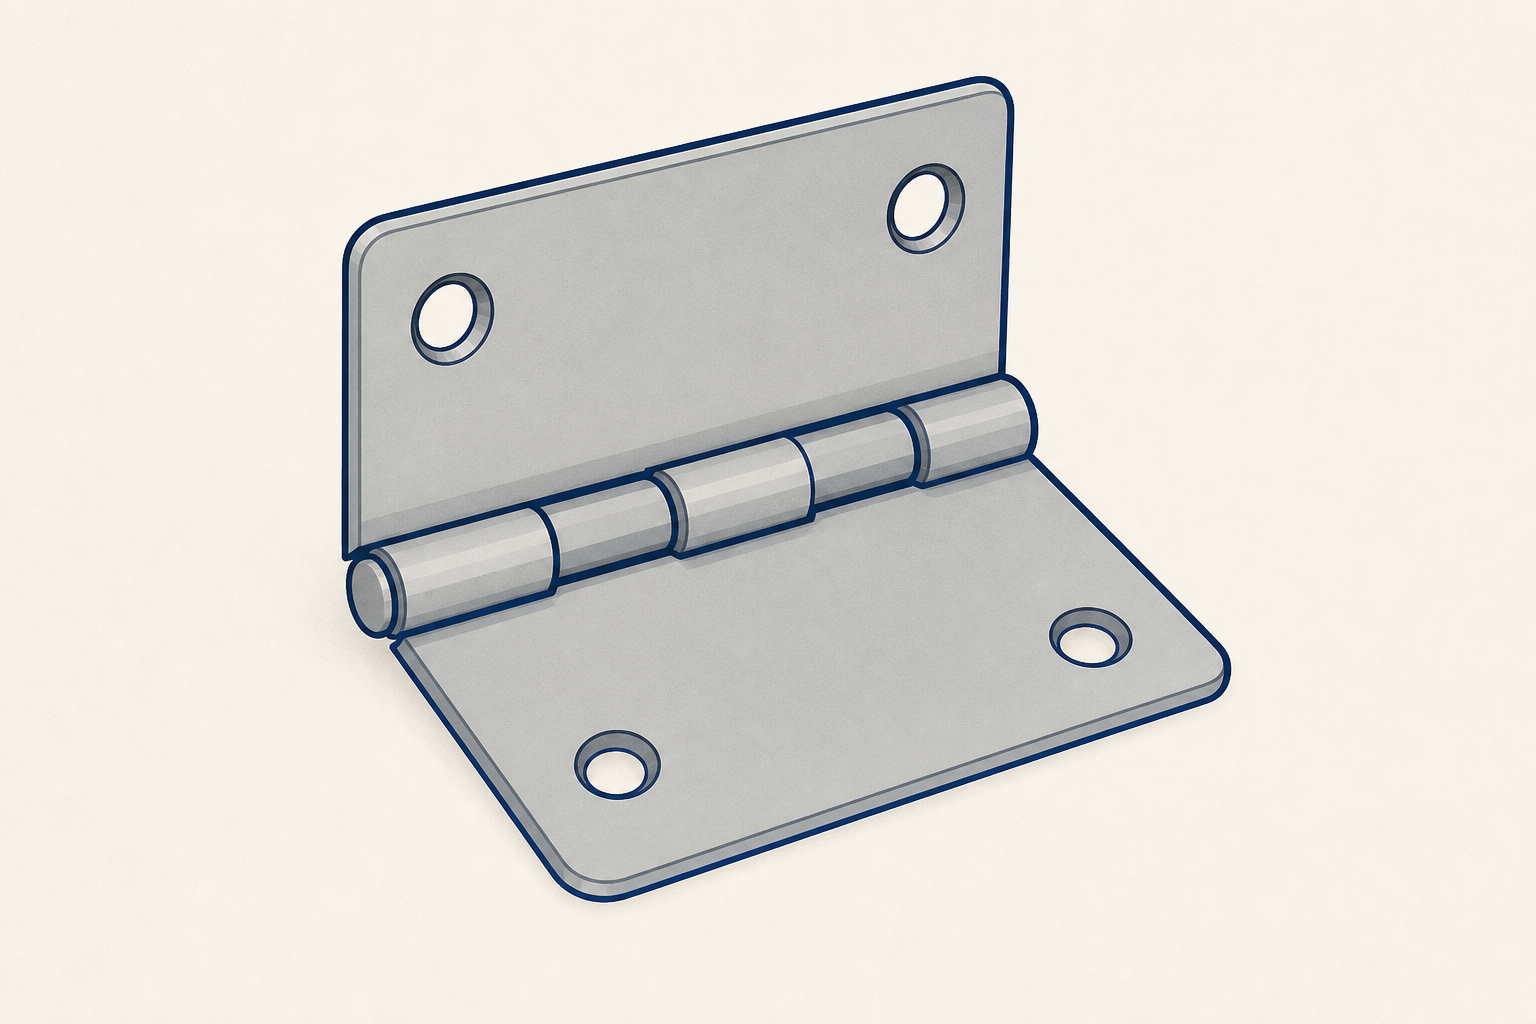
Bend your elbow again. That bend happens at a hinge joint: it moves mainly one way, like a door hinge.
The clever part is hidden: the power does not come from the joint itself.
The force comes from muscles. Muscles only pull when they shorten; they never push. So they work in a muscle pair: one pulls while the other relaxes.
When you bend your elbow, which muscle do you think is doing the pulling?
| Concept | Why it matters | Example |
|---|---|---|
| Hinge joint — a joint that lets two bones move so a limb can bend and straighten in mainly one direction, like a door on its hinges | Without joints, bones would be stiff rods and you could not bend an arm or leg | Your elbow and knee bend and straighten; they do not twist freely like a shoulder |
| Muscle pair — two muscles that work opposite each other so one shortens while the other lengthens | One muscle alone cannot both bend and straighten a joint, so pairs share the job | Biceps on the front of the upper arm and triceps on the back |
| Pull — what a muscle does when it shortens and tugs on a bone; muscles cannot push | This is why we need a pair: one pulls to bend, the other pulls to straighten | Biceps pulls to bend the elbow; triceps pulls to straighten it again |
Unfold the three ideas with a quick gesture between each, not as one glossary dump: (1) elbow bend equals hinge joint, (2) feel that something is pulling, (3) muscles only pull so a pair is needed. Keep only one check question on the board at a time.
Misconception to head off: many children say muscles push the arm straight. Muscles only pull. Straightening happens because the opposite muscle pulls.
Save the full I wonder → I predict → I test cycle for the model test step. Here, keep the focus on the arm and the three ideas above so the later prediction is still genuine.
Point briefly to elbow and knee as hinge joints pupils already know. Keep skeleton talk light: bones give structure; joints let us move; muscles supply the pull.
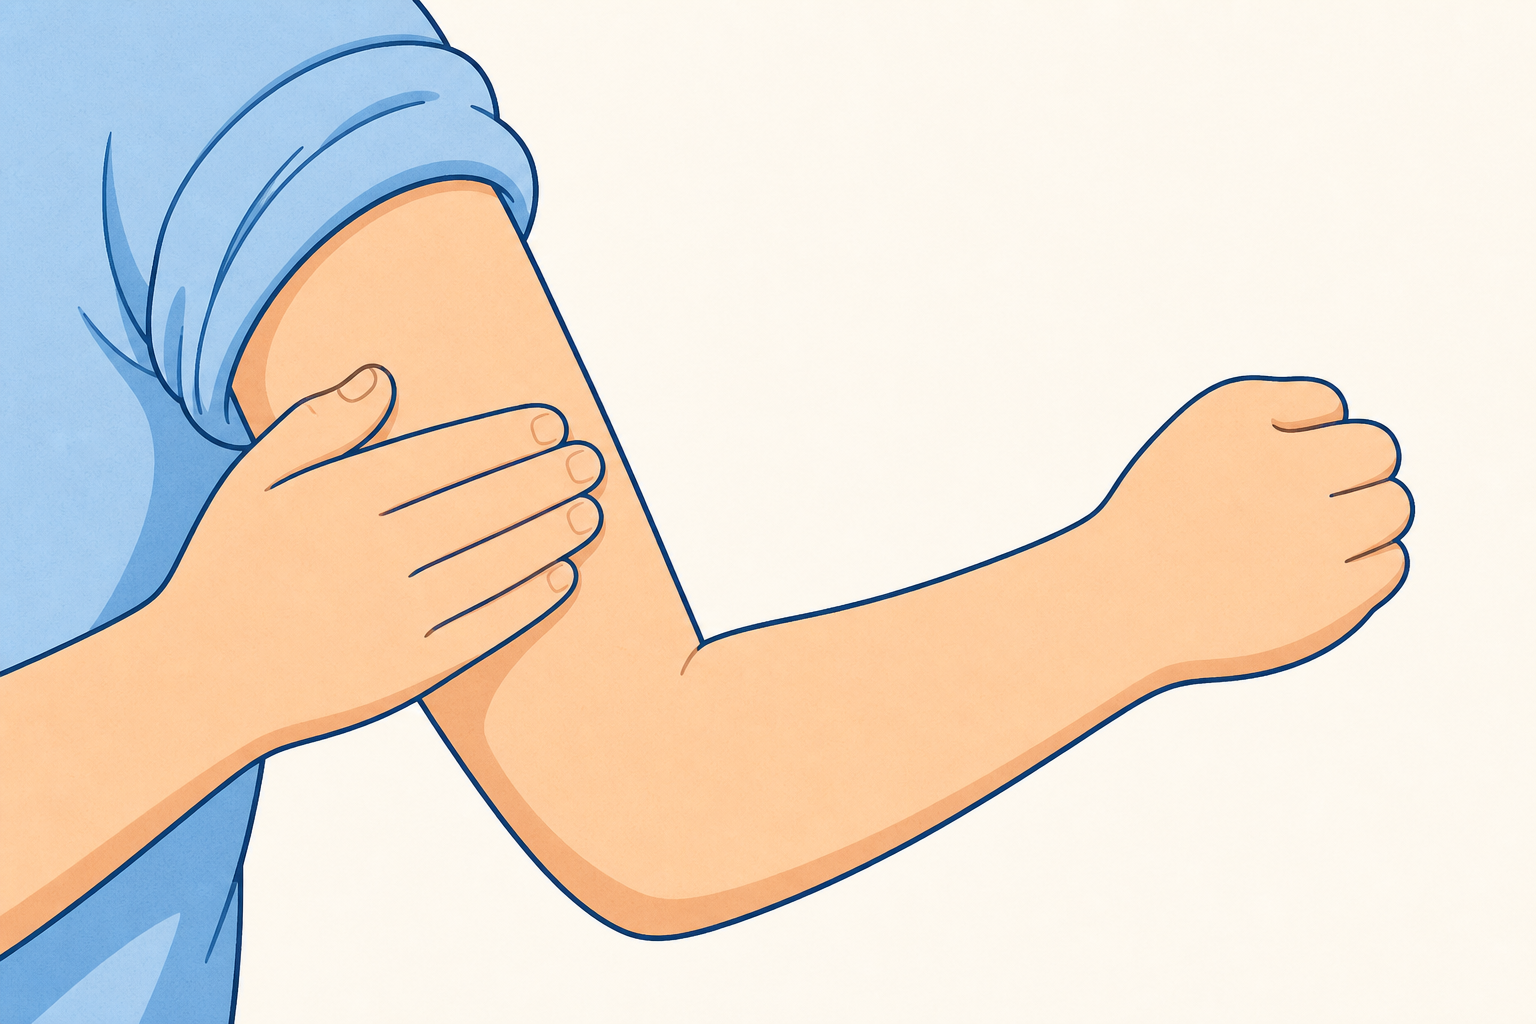
Place one hand on the front of your upper arm. Bend your elbow slowly and feel the muscle firm up. That is your biceps pulling.
Now place your hand on the back of the same upper arm. Straighten your elbow and feel the muscle firm up. That is your triceps pulling.
Notice: when one muscle pulls and shortens, the other softens and lengthens. They work as a pair.
Whole-class observation first, then pairs check each other if helpful. Keep movement gentle: slow bends only, no weights or fast reps.
Key questions: Which muscle firm when you bend? Which firm when you straighten? Can you feel one soft while the other is firm?
What to expect: most pupils feel the front of the upper arm harden on the bend and the back harden on the straighten. If someone feels little change, ask them to bend more slowly and press gently with the flat of the hand.
Differentiation: pupils who should not do repeated arm bends can watch a partner and describe what they see, or feel the teacher's arm with permission.
Link aloud to the key idea: muscles only pull, so a pair is needed for both directions.
In your group, build a working model of an arm hinge joint.
Join two card strips with a split pin so they bend like an elbow.
Add one elastic on the front of the model and one on the back. Tape or tack both ends of each elastic so the bands stay put.
When both elastics are anchored on opposite sides, you are ready to test.
Demonstrate one complete model at the front first, thinking aloud. Do not leave groups to invent the join from a blank table.
Front vs back callout: hold the finished structure up to the class before groups start. Point clearly: this face is the front of the arm model; this face is the back. Keep the two elastics on those opposite faces so pupils are not decoding “opposite faces” from prose alone. Do not pull the elastics yet or say which side bends or straightens; leave that discovery for the test step.
What good looks like at the end of the build: the pin is the hinge; each elastic is fixed at both ends; the two elastics sit on opposite faces (front and back). A working pair should later bend with one pull and straighten with the other; groups find that in the test.
Common snags: pin too tight so nothing moves; both elastics on the same side; elastic so loose it never tugs; ends not anchored so the loop slips. Fix by loosening the pin, moving one elastic to the opposite face, shortening the loop, or adding tape or tack at each end.
Safety: adult supervision with scissors. An adult makes any tricky cuts. Split pins have sharp points when open: open them fully on the desk, not toward faces. Count scissors back in.
Differentiation: pre-punch pin holes for groups who need motor support. Confident groups can add a paper hand shape on the lower strip or label the two elastics once they have tested which does which job.
Test your model the same way you tested your arm: one pull at a time, and see if it matches.
In your group, say your prediction out loud before anyone pulls. If you pull only the front elastic, what will the joint do? If you pull only the back elastic, what will it do?
Then test each pull in turn. Watch which elastic shortens and which goes slack. Does your model match what you felt on your own arm?
Keep your Investigation Journal closed for now. You will draw and label the model in the next step.
Keep this as a short, structured investigation on the finished model. Groups stay with their own build and test at their tables.
Model the inquiry cycle aloud here (not earlier): I wonder which elastic will bend my card arm. I predict… (leave room for pupil ideas). I test by pulling each elastic in turn. I observed… I think bones and muscles work as a team.
Question: How does each elastic change the way the hinge joint moves?
Prediction: spoken in the group first, before anyone tugs. No journal writing in this step.
Test: pull front only, then back only, then alternate slowly. Optional third trial: hold both elastics gently taut and notice they cannot both pull hard at once in the same way a real pair shares the work.
What to expect: front pull bends; back pull straightens; the opposite elastic slackens. If both sides are mirrored wrongly, the joint may lock or twist: pause and rebuild the pair on opposite faces.
Key questions for every group at their own model: Which elastic is acting like the biceps? Which like the triceps? Why do we need two, not one? Optional brief freeze-and-show: ask two groups to hold up one pull each so the class can compare, then return everyone to their own test.
Journal drawing waits until the next step. If a group needs a quick memory cue, one spoken sentence is enough: Front pull did… Back pull did…
Revoice the Nature of STEM angle lightly: biologists and doctors investigate how bones and muscles team up so we can move and stay healthy; a simple model helps us see a job that is hidden under skin.
You're previewing this lesson. Get full access to this lesson and hundreds more — each one ready to teach, with interactive activities, printable resources and pupil progress tracking built in.