Engineers do not guess whether a design works. They test it against the job it was meant to do.
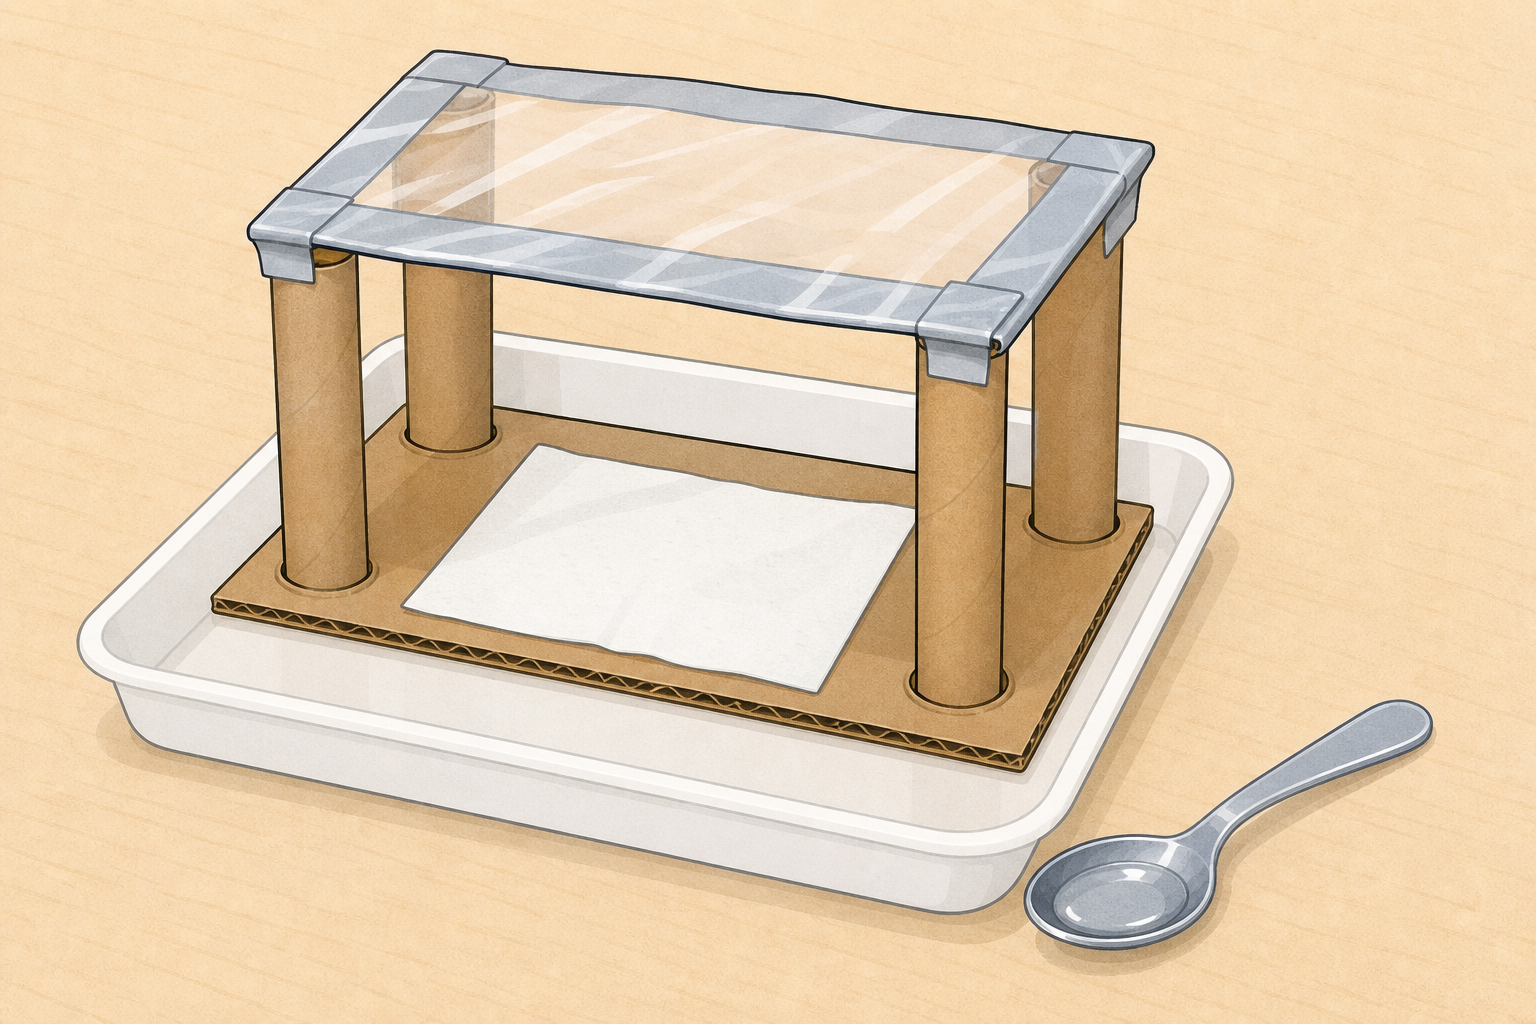
Today is the day your prototype goes on trial: not a guess, a real check. Open the Design Brief you wrote earlier in this project. What were your success criteria? How will we know today if your prototype really meets them?
Have each group's prototype ready on their table before the lesson starts, together with their Design Brief from earlier in this project. Do not hand out test kit yet.
Ask two or three groups to read one success criterion aloud. Keep the hook light: the point is to reconnect to the brief, not to start testing.
Key question: If we only say "it looks good", have we really tested it?
Nature of STEM angle to plant now and return to later: real engineers judge a solution with evidence against the brief, then improve and explain the process.
Before we touch the prototypes, three quick ideas so everyone tests fairly.
First: success criteria — the checks we already agreed. Second: evidence — what the test actually shows, not what we hoped for. Third: one improvement — change one thing, then check again.
Watch this quick live test. We will use the same method every time, write what we saw, and only then decide what it means.
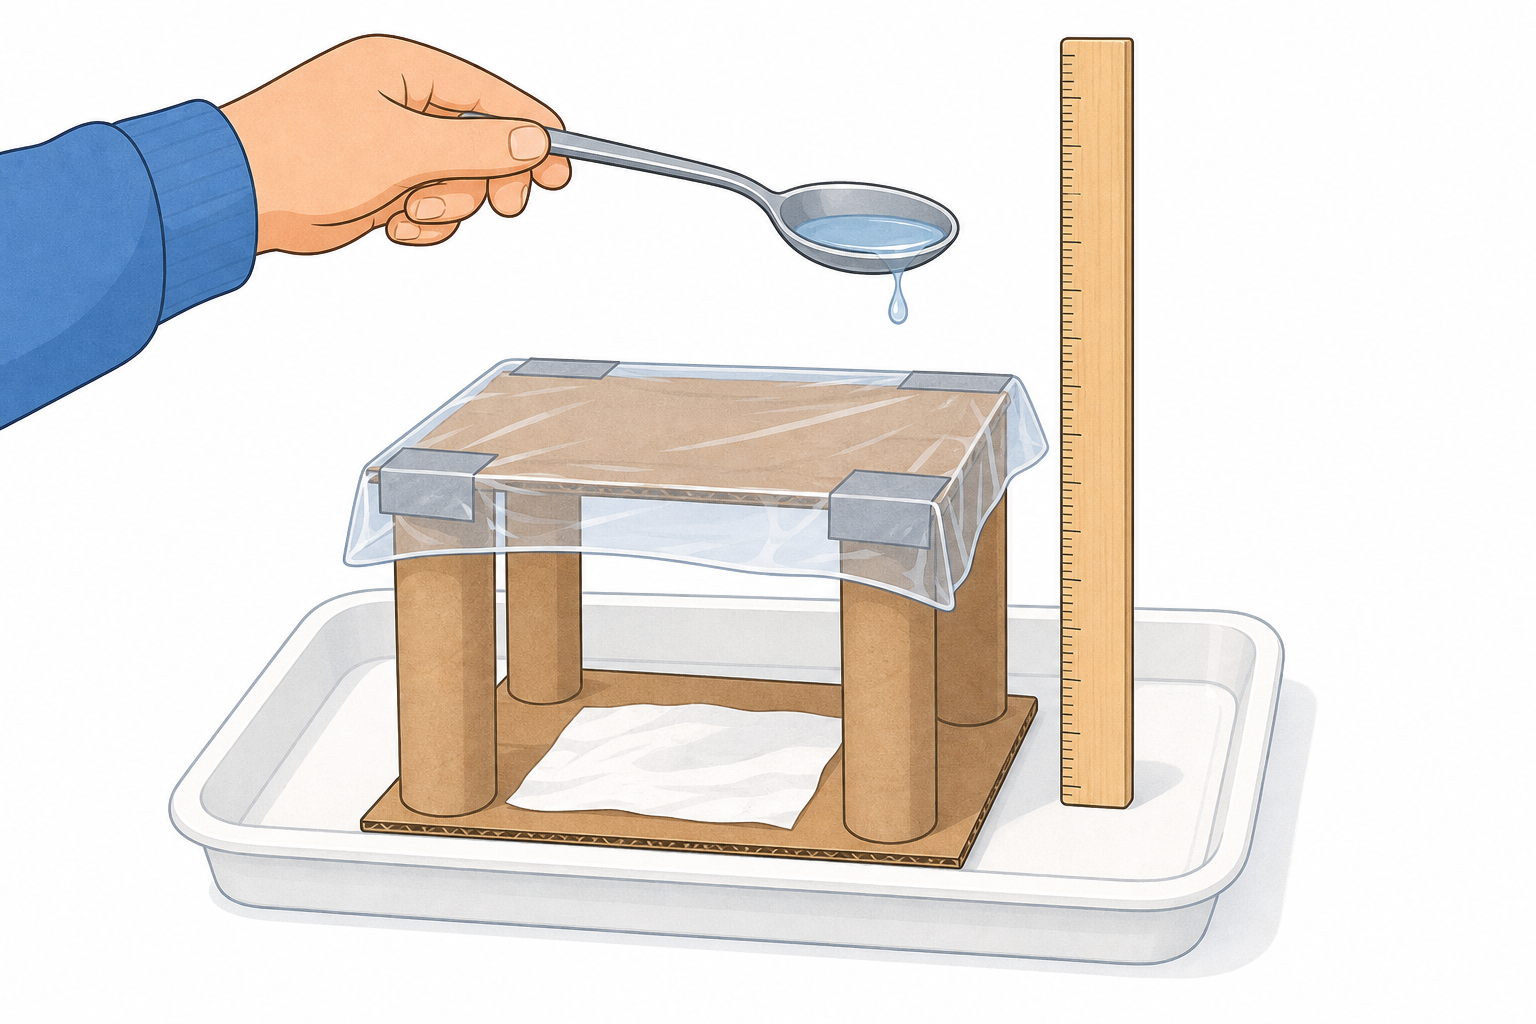
Name the three ideas in under a minute from the short board text, then go straight into the live worked model so pupils see a real object tested within the first one to two minutes of this step. Use the table below as your own reference while you talk. Classroom shorthand for the one-change rule can stay as "improve once" if useful, but keep pupil language as "one improvement" or "change one thing".
| Concept | Why it matters | Example |
|---|---|---|
| Success criteria — the clear checks we agreed that show whether a design has done its job | Without agreed checks, groups argue about "good" instead of looking at evidence | A draught-stopper must stay in place at the door and block a felt draught from a folded paper fan |
| Evidence — what we measure or notice in a test, not what we hoped would happen | Engineers trust measurements and observations more than opinions | "It held 8 washers before it bent" is evidence; "I think it is strong" is not |
| One improvement — change one part based on the first test, then check again | Changing many things at once hides which change helped | Add one brace to a book stand after it tipped; do not rebuild the whole stand |
| Design process — problem, plan, build, test, improve and share as one path | Presenting the process shows thinking, not only the finished object | Explaining why the first test failed and what the re-test showed |
Hold up one spare or teacher-made mini example (a simple card stand or barrier strip is enough). Think aloud:
Misconception to head off: pupils treat a pretty build as a pass. Push them back to the written criteria. Also stop groups changing three things at once; one improvement only.
Differentiation: less confident groups may tick each criterion met / not met with one short note; confident groups add a measured result (time, count, distance) where the criterion allows it.
In your group, test your prototype against every success criterion on your Design Brief. Use the same method each time. A fail is still useful evidence: write what really happened, not what you wished had happened. Do not change the design yet.
Match your test to the problem on your Design Brief. Use the bullet that fits your type:
Jot each result on your Investigation Journal testing page as you go: criterion, how you tested, and the result.
Shared kit is used in short turns by problem type. While you wait, watch another group's test and judge whether their method stays fair.
Set out shared test kit in a central place: small weights, two water stations (jug, tray and teaspoon each), two soft balls for barrier tests, two stopwatches or class timers, metre sticks or 30 cm rulers, a pool of classroom books for stand tests, and scrap card, tape and string for later improvements only (keep improve materials aside until step 5).
Groups will not all need the same kit. Sort groups loosely by problem type on the board (shelter / barrier / stand / draught) and run short turns:
Call the next problem-type turn every few minutes so nobody sits idle for the full 15 minutes. Fold waiters in with questions: Was that pour the same height? What would count as a pass?
Two stations can still bottleneck (for example mostly shelters). Add a third water tray from classroom substitutes (roasting tin or lunchbox lid plus bottle), or stagger starts so only half the cluster tests in the first five minutes while the rest run a named fairness-watch: one observer times or counts, one checks same height or load, and both report one fair or unfair detail before their own turn. Keep waiters judging the live test, not off-task.
Keep tests fair within each group: same load, same pour, same roll distance, same timing method.
Recording during the test: pupils jot on the Investigation Journal testing page (Prototype Evaluation sheet) as each criterion is tested. Step 4 is only a short gap-fill and star-the-weakest checkpoint, not a second full write-up. If a group has only opinions, send them back for one concrete observation.
Circulate and ask: Which criterion are you testing now? What will count as a pass? What are you keeping the same between tries?
Safety: stand back if a structure collapses; no throwing weights; wipe water at once; adult helps with any tricky cut if a repair is needed later.
What good looks like: every criterion is attempted; results are honest, including fails; groups do not rebuild mid-test; waiters are watching and judging fairness, not chatting off-task.
Engineers separate what they saw from what they think. That is how the next change stays honest.
Check your Investigation Journal testing page. Fill any gaps, keep observation separate from opinion, and star the criterion that most needs an improvement. Then we move straight to one change.
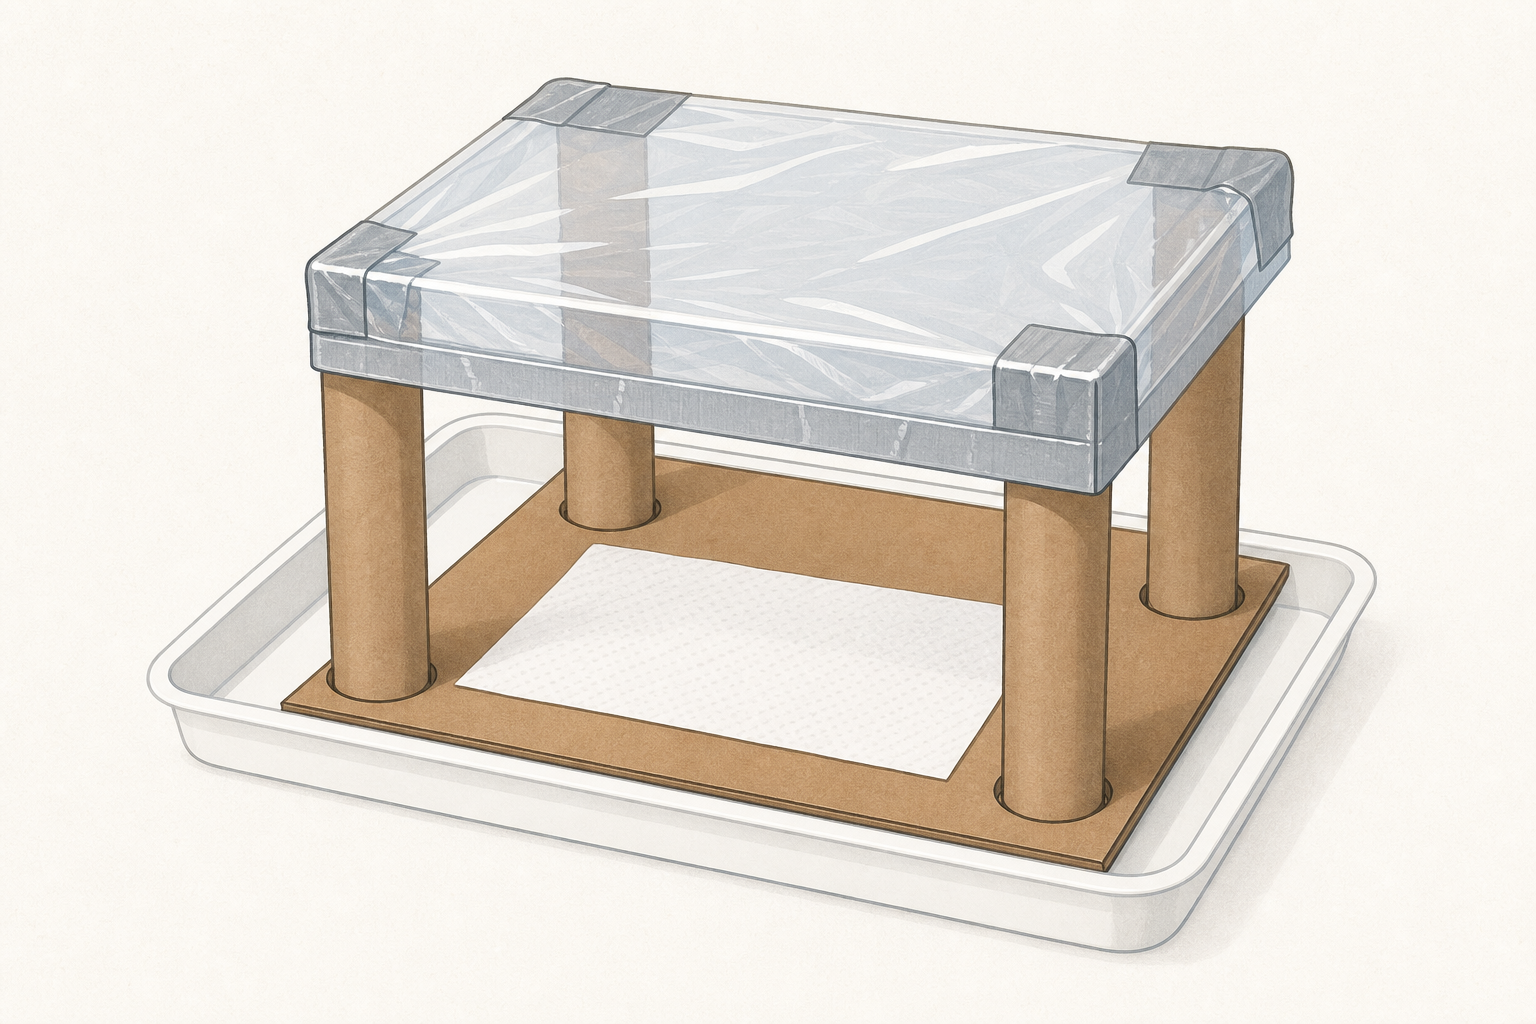
This is a short checkpoint only for the Prototype Evaluation testing page, not a second full write-up. Most groups should already have jotted results during step 3. Use these five minutes to finish gaps, separate observation from opinion, and star the weakest criterion, then exit crisply into the improve step.
Prompt them only if something is missing:
Do not invent extra columns or named boxes beyond what the journal page already provides. Groups that recorded well during the test should star and move on. If a group has only opinions written, send them back to add one concrete observation.
Common pitfall: writing "it was good" with no link to a criterion. Ask: Which criterion? What did you see or count?
Choose one change that the first-test evidence supports. Improve only that part of your prototype. Engineers change one thing so they know what helped.
Then re-test the criterion that failed or was weakest, using the same method as before. Record the re-test result and a short conclusion on your Investigation Journal results page: what you changed, whether it helped, and how close you are to meeting the brief.
One improvement only. If a group wants to rebuild everything, stop them and ask which single change the evidence supports.
Useful one-change examples: widen the base; add one brace or triangle; tape a gap in a shelter roof; raise a barrier lip; add weight low down on a stand; lengthen a draught-stopper.
After the change, groups must re-test with the same method as the first test so the comparison is fair.
Rough guide: about 9 minutes to improve, then 9 minutes to re-test and note the result on the results page.
On the Investigation Journal results page, pupils add the re-test result and a short conclusion: what changed, what stayed the same in the test method, and whether the design is closer to meeting the brief. First-test evidence stays on the testing page; do not send groups hunting for a page labelled with an internal code.
Call a two-minute warning before presentation.
If a re-test still fails: that is useful engineering evidence, not a disaster. They should say so honestly in the presentation.
Safety: adult makes any difficult cuts; mind fingers under loads; wipe water; keep walking routes clear of prototypes on the floor.
You're previewing this lesson. Get full access to this lesson and hundreds more — each one ready to teach, with interactive activities, printable resources and pupil progress tracking built in.