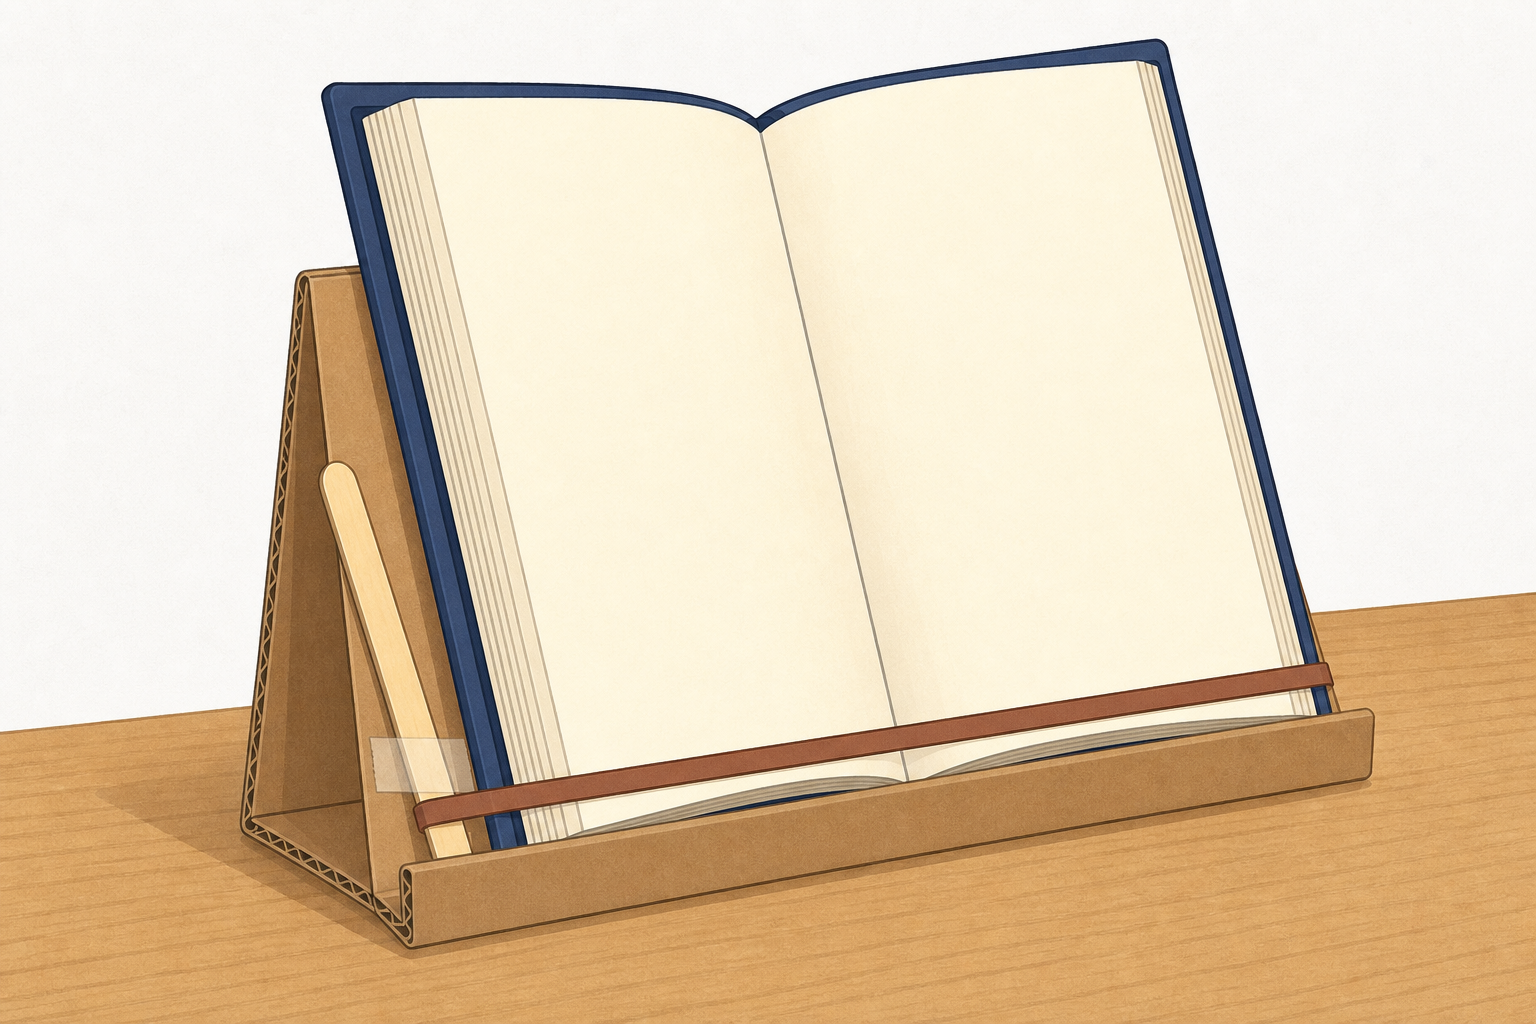
 Look at the two drawings your teacher has put on the board. They show the same idea. Which one could a partner build without asking any questions? Hands up for drawing A or drawing B, and be ready to say why.
It is the same reason a flat-pack shelf comes with labelled diagrams: so someone who was not in the room can still build it.
 Look back at Drawing A and Drawing B. What three things does Drawing B tell a partner that Drawing A does not?
A neat outline still leaves a partner guessing: they need to know what each part is, what it is made from, and how big it is in centimetres.
We will use those three things on every label today: part name, material, and size in centimetres.
 Your teacher draws a book stand on the board: first the plain outline, then the labels, thinking aloud as each one goes on. Watch how those labels turn a rough outline into a plan a partner could follow, and call out what is still missing when you are asked. You do not sketch yet: next you invent your own stand.
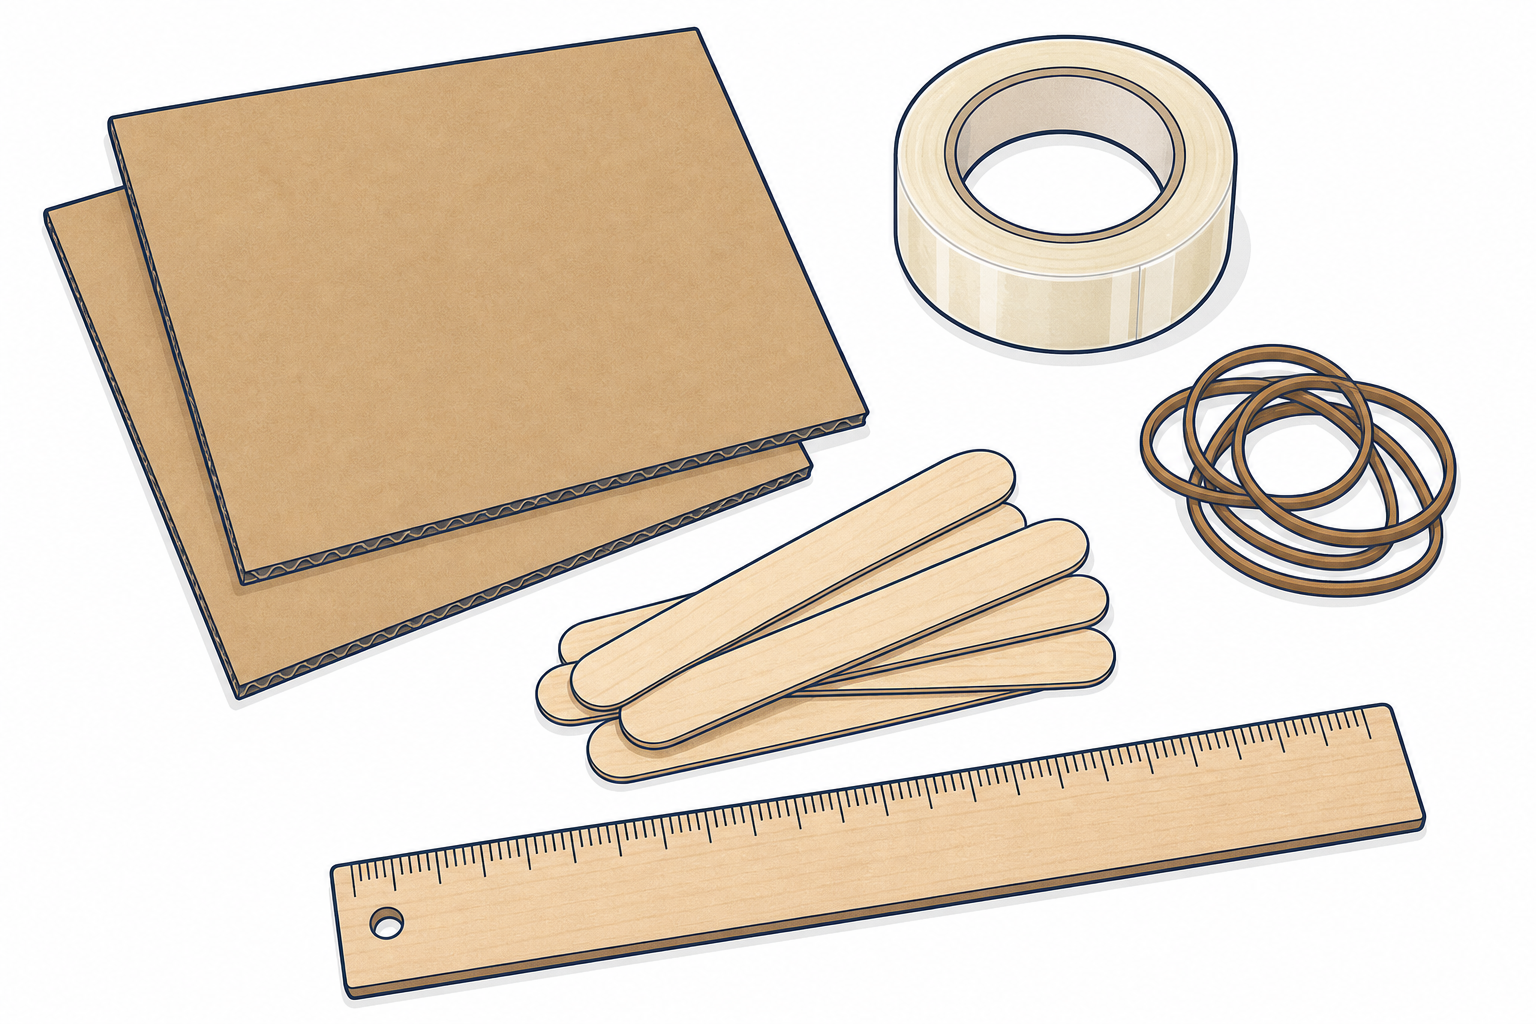 Invent your own simple stand that holds an open reading book upright on a desk so hands stay free for writing. Make it different from the demo: your shape, your sizes.
Constraints:
- Base no bigger than about A5 (15 cm by 21 cm)
- Must stand on a desk by itself
- On your labels, name the junk-modelling materials you would use (card, tape, elastic bands, lolly sticks or similar): nothing is built or handed out today except paper and a ruler
- Today's product is the sketch, not a finished build
On your Design Brief page, draw one clear annotated sketch. Check every main part against this list:
- part name
- material you would use
- size in centimetres
Swap Design Brief pages with a partner and do not explain your drawing. From here on, the page has to do the talking for you.
Read your partner's sketch in silence for one full minute. Then take turns working through the prompts on the board, in the order they are written.
This is a spoken test of the sketch only. You are not building yet. When you swap back, write under Partner check what your partner understood, and the question they asked with the label you would add.
Unlock the full learning experience
You're previewing this lesson. Get full access to this lesson and hundreds more — each one ready to teach, with interactive activities, printable resources and pupil progress tracking built in.
This lesson is copyright of Coding Ireland 2017 - 2025. Unauthorised use, copying or distribution is not allowed.