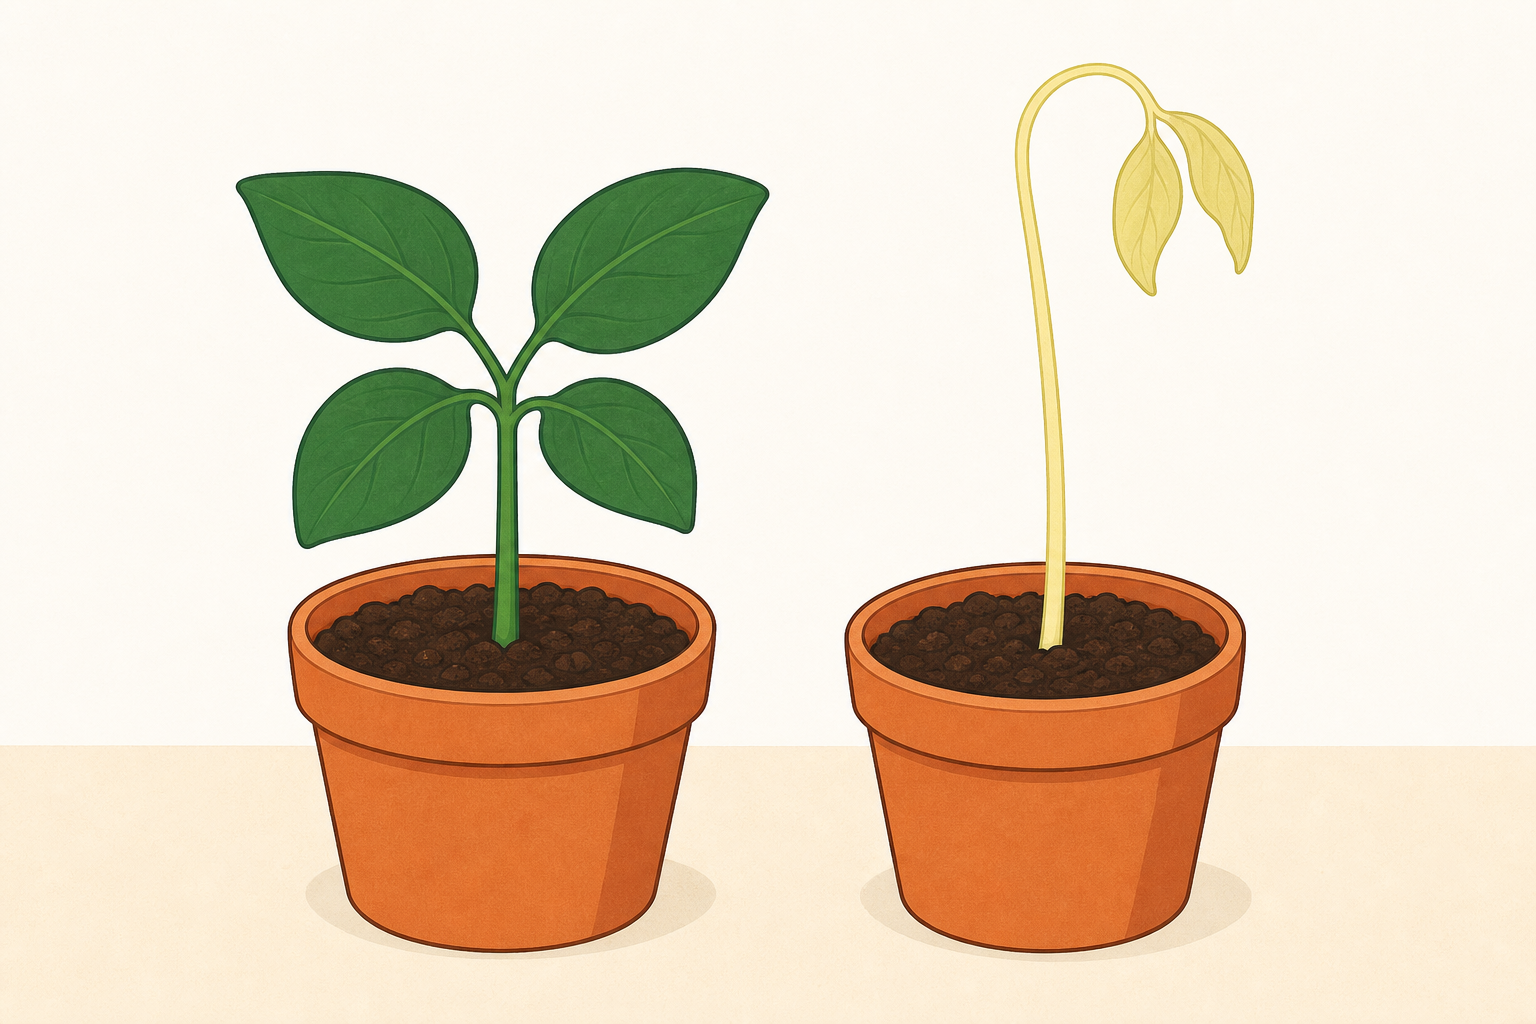
Look at these two plants. One is green and strong. The other is pale and long. Why do you think one grew well and the other did not? What do plants need?
Have one healthy potted plant and one pale, leggy plant ready to show (or clear photos if live plants are hard to find). Keep the hook light: show both plants, ask the question, and take a few quick ideas. Do not name variables, hand out cups, or start planting yet.
Key questions: What do you notice that is different? What might the pale plant have missed?
STEM eyes: gardeners and growers notice plants that struggle and then find out what those plants need. That is what we will begin today.
Let's name the plant parts we will watch. Drag each label to the right place. Roots take in water. The stem holds the plant up. Leaves catch light. Which part takes in water from the soil?
Drive the interactive activity on the IWB. Five labels appear: roots, stem, leaf, flower, petal. Pupils call out where each belongs; you drag. Keep this as a short warm name-check, not a full botany lesson. Link the three parts they will watch on seedlings: roots take in water, stem stands up, leaves meet light. As a quick aside while dragging flower and petal, say once that those belong on a full plant picture and will not appear on our cups this week — do not put that caveat on the pupil screen.
| Concept | Why it matters | Example |
|---|---|---|
| Plant needs — the things a plant must have to grow well, such as light, water and somewhere for roots | If a plant misses something it needs, it often looks pale, weak or stops growing | A cress pot left dry on the shelf wilts; a watered pot on the same shelf stays fresh |
| Prediction — what you think will happen, and why, before you watch | A prediction is the start of finding out, not a test you must get right | I think the dark pot will grow tall and pale because leaves need light to stay green and strong |
Working language (not new concepts to teach): use condition only if helpful as everyday talk for "how we look after each pot" (light or dark; water or no water). Use watching log as plain talk for "the page we add to each week".
Misconception to head off: some children think plants only need soil, or that dark means the plant dies at once. We are setting up a gentle comparison and watching over time.
Ask: which parts will we look at first when shoots appear? (roots, stem, leaves)
We will ask one class question about what plants need. Help choose: light or water. First we will write the two ways we will look after the pots on the board (for example one pot in the light and one in the dark, or one with water and one without). Then say what you think will happen to each pot, and why.
Default path (protect the planting window): class vote → write both ways of looking after the pots on the board in child words → shared question → two spoken predictions with a because. Fuller think-pair-share only if time remains. If the beat runs long, stop after the vote, the board pair, the shared question and two spoken predictions, then move straight to the demo.
Offer two clear choices and let the class pick one for everyone, so Part 2 stays simple:
Before predictions, sketch or write the two ways of looking after the pots on the board in child words so "each pot" points at something visible, for example: Pot A: light and Pot B: dark, or Pot A: water and Pot B: no water.
Turn the choice into a child-friendly question on the board, for example: What happens to our plants without light? or What happens to our plants without water?
Default: capture two spoken predictions with a because on the board without grading them. If time remains, use think-pair-share so more pupils say a prediction and a simple why. Predictions are never wrong; they are the start of the science.
Model aloud (worked cycle beat 1–2): I wonder what plants need. I predict the dark pot will grow pale and long because leaves need light to stay green and strong. Keep the full test-and-observe beats for the next steps and for Part 2.
Differentiation: sentence stems on the board — I think the … pot will … because …. Quieter pupils can whisper to a partner first.
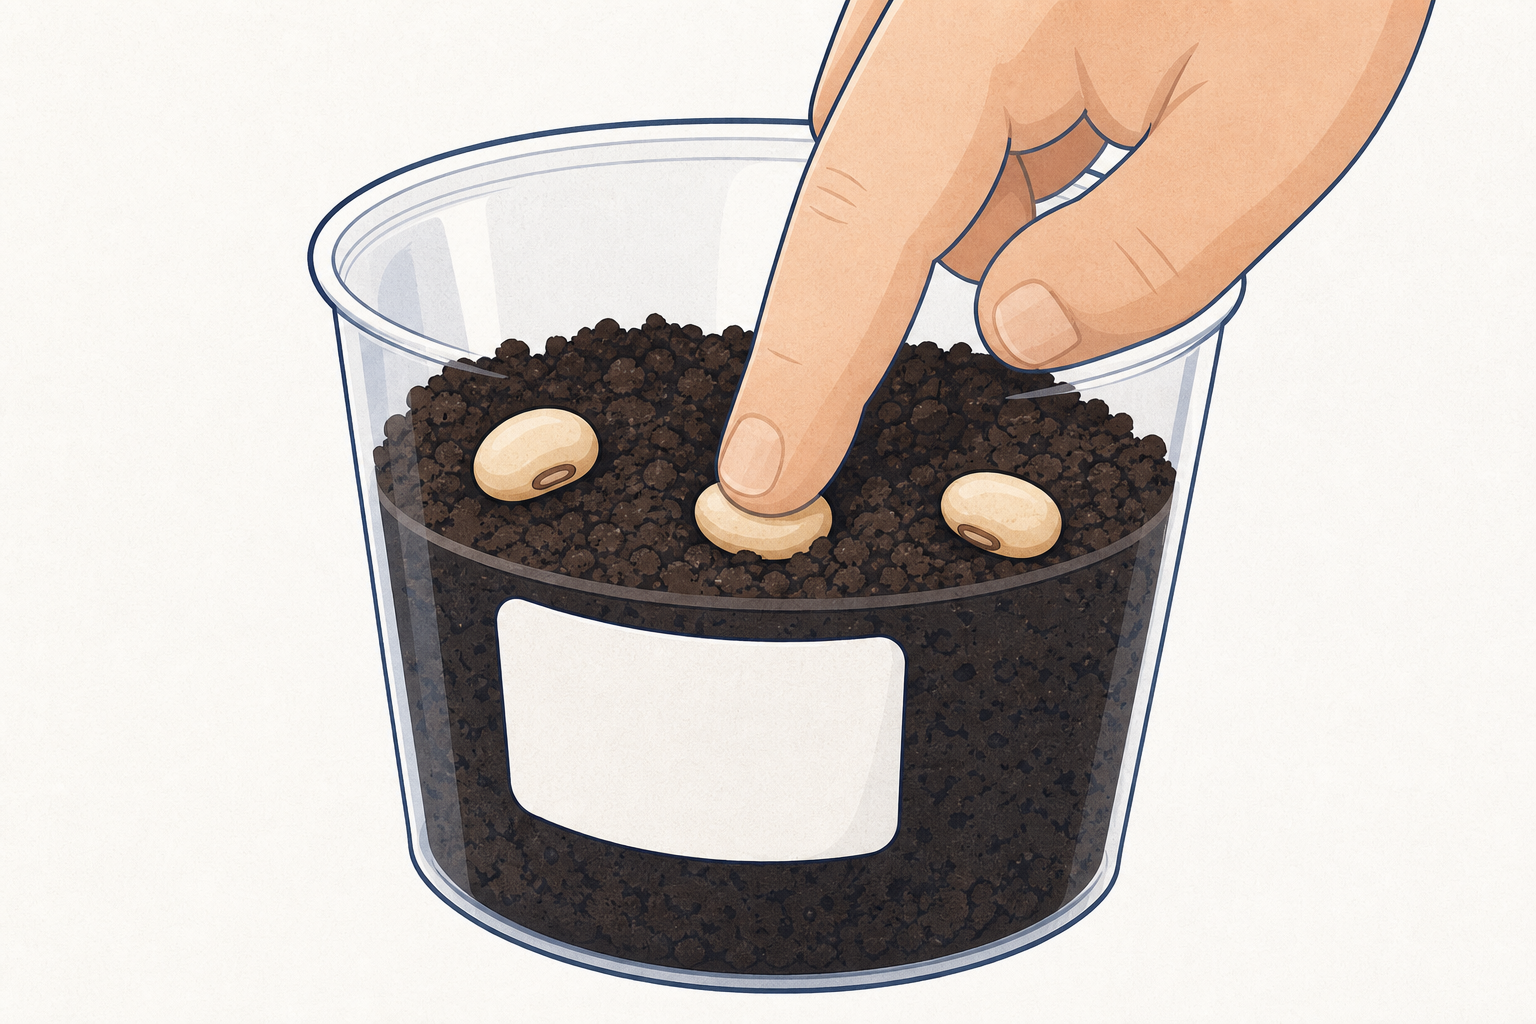
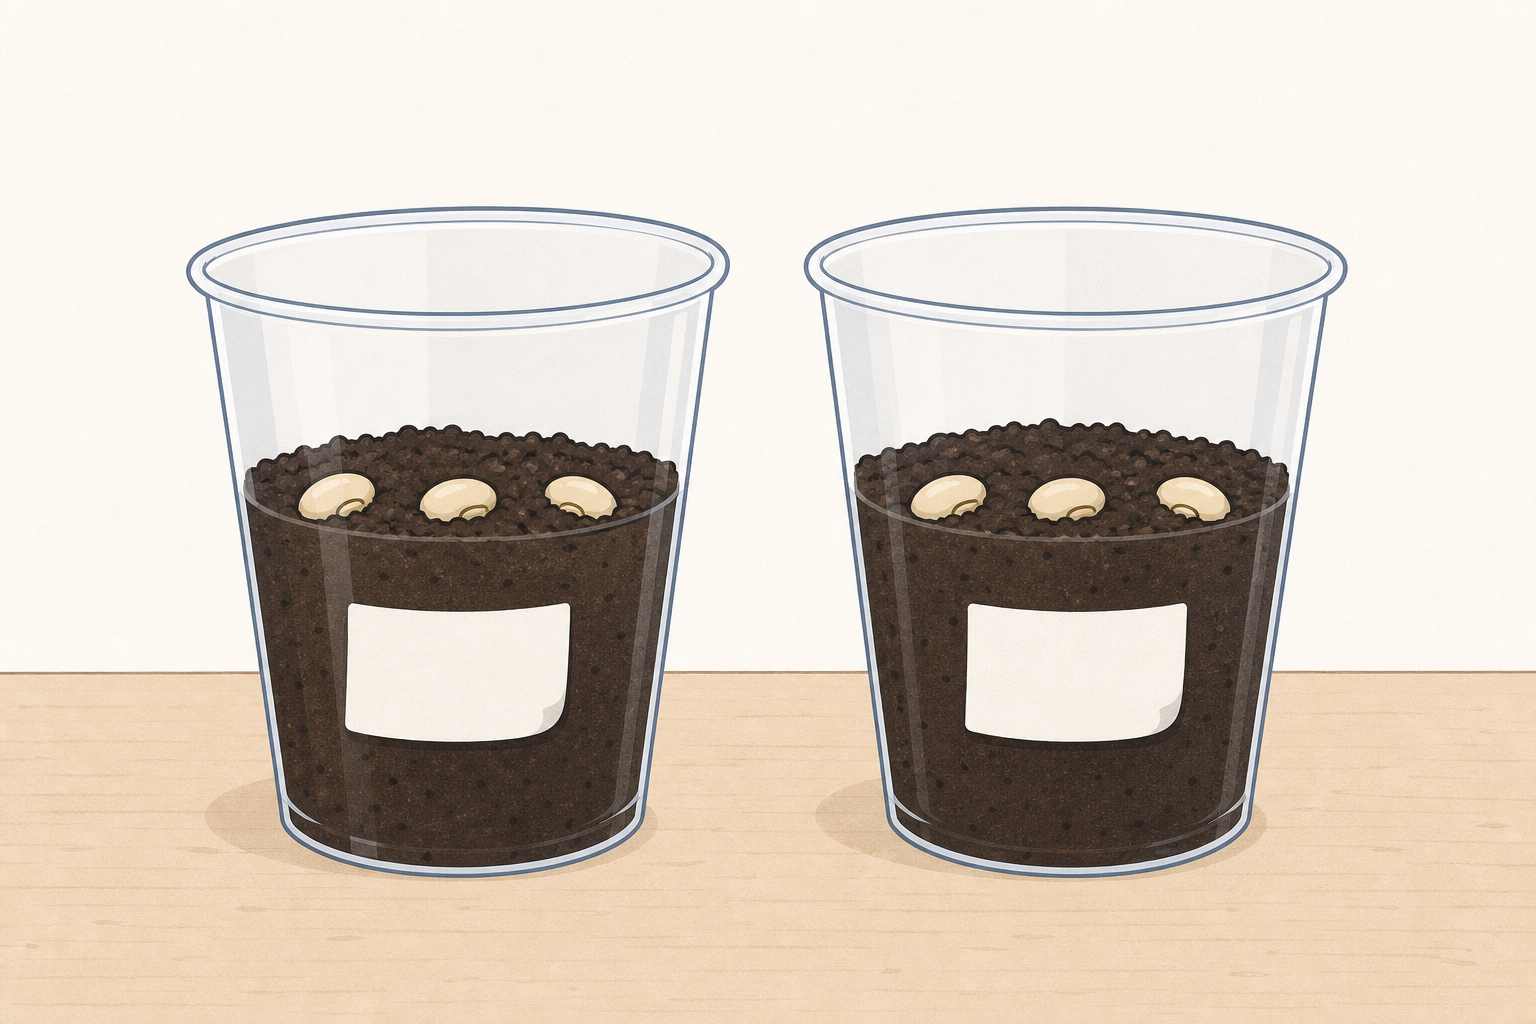
In pairs or small groups of three, plant the seeds in two clear cups. Use damp compost or cotton wool in both cups the same way. Label both cups: one Light and one Dark (or one Water and one No water), and add your group name. Place them where we agreed. Handle the compost gently and wash hands when you finish.
Check that tables already have newspaper or a wipeable mat, cups, seeds, compost or cotton wool, labels and a jug or shared water ready so distribution does not eat the planting slot. If the class chose light, confirm the press or dark boxes are open, block light, and have space for one dark pot per pair or group of three.
Default group size: pairs or threes so every child can help without crowding the cups. Demonstrate one full set-up at the front in about 2–3 minutes so groups still finish inside the slot. Think aloud the investigation cycle:
On the board, show example label words matching the class choice before groups write (Light / Dark, or Water / No water, plus group name). Avoid the bare word "condition" on the IWB; point at the two ways of looking after the pots the class already chose. Say clearly: one label word on each cup, not both words on one cup.
Each pair or group of three makes two matching pots for the class comparison.
Workable portions per cup: a small scoop of compost or a pad of cotton wool; a few bean seeds or a pinch of cress. Labels must name the way of looking after that pot clearly and the group name. Place light pots on the agreed windowsill; dark pots go straight into the press or dark box. For a water comparison, both pots share the same light place; only watering differs from day one.
Storage if light is chosen: one class press or one large dark box must hold every dark pot. Check shelf or box space before the lesson (about one pot per pair or group). If the press is small, use extra lidded cardboard boxes that block light and label them clearly.
What to expect today: little or no visible growth yet. Day one is the starting picture. Shoots often appear over several days, not in this lesson.
If set-up misbehaves: cups tip — stand them in a shallow tray. Compost too wet — tip out a little water so it is damp, not soggy. Dark box not dark enough — add a lid or cloth so no light leaks in.
Safety: wash hands after compost; do not eat seeds; wipe spills; keep water away from electrics and the IWB. Cover desks with newspaper or a wipeable mat before planting.
STEM eyes: this is how growers try two ways of looking after plants and watch what plants need.
Your teacher will hand you an Investigation Journal page. First, draw how each pot looks today. Then you may say or write one short prediction using: I think the … pot will … because …. Drawing is enough; your teacher can help write a sentence if you need it. This is the page we will add to each week as we watch the plants.
Hand out one Investigation Journal page per pupil as the first beat of this step (pages should already be printed). This is the paper recording beat. Pupils record what they need; do not describe page layout, columns or boxes as if you designed them.
Guide the order to lower load:
Circulate and prompt for a prediction said before the pots were placed, with a simple because, and a day-one drawing of both pots so later change is clear.
Support: allow drawing plus a dictated sentence for pupils who need it — treat this as normal, not extra. Stretch: note one thing that must stay the same about the two pots so the comparison stays clear (same seeds, same cup type), without fair-test jargon.
Remind pupils the plants and journal stay safe between sessions for the next part of this project. This recording beat stays in the lesson; do not set it as homework.
You're previewing this lesson. Get full access to this lesson and hundreds more — each one ready to teach, with interactive activities, printable resources and pupil progress tracking built in.