OK, you have your Microsoft account set up, you created a new document in the last lesson.
In this lesson we will start to learn the skills needed for Microsoft Word.
Open the document that you created in the last lesson, titled, "School Disco Poster" and we will start creating your fun poster.
Start Typing
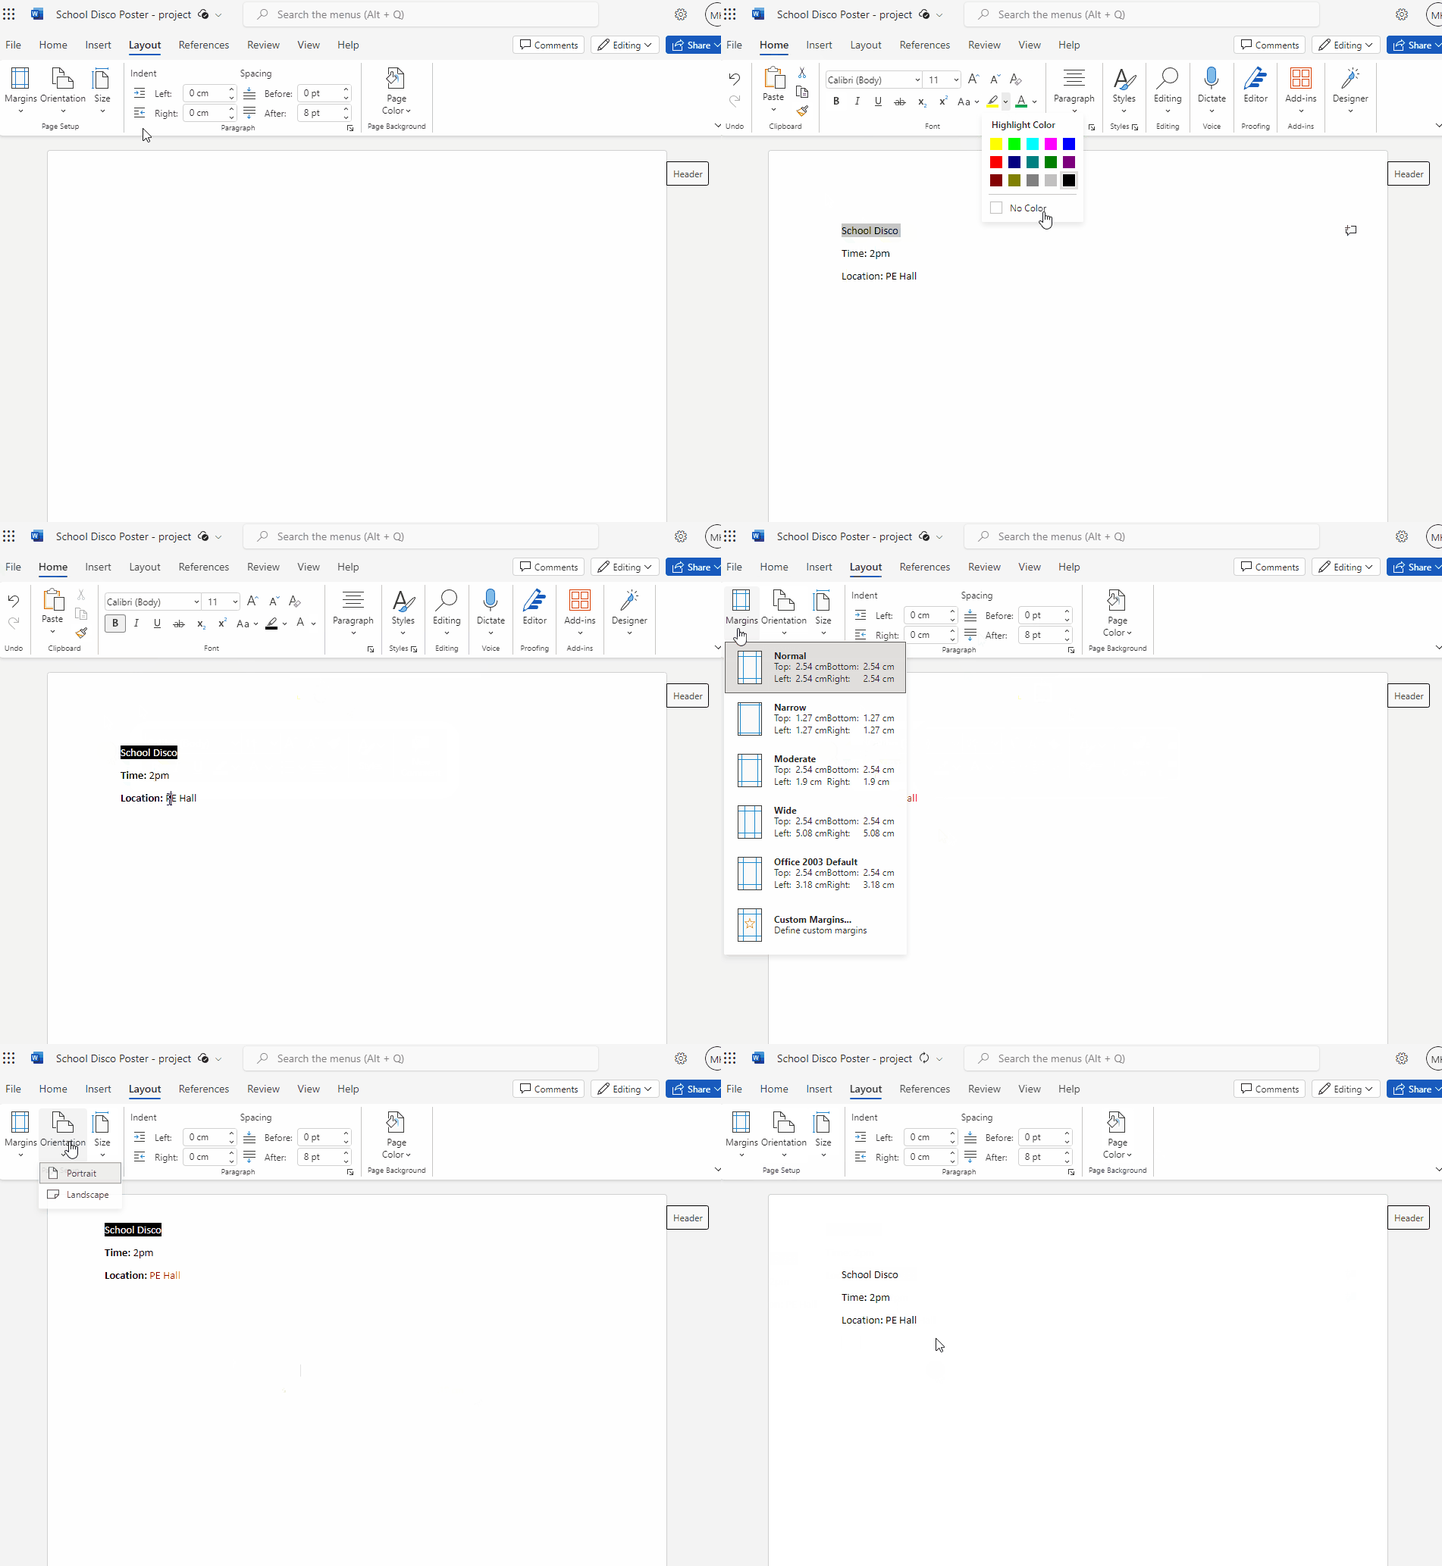
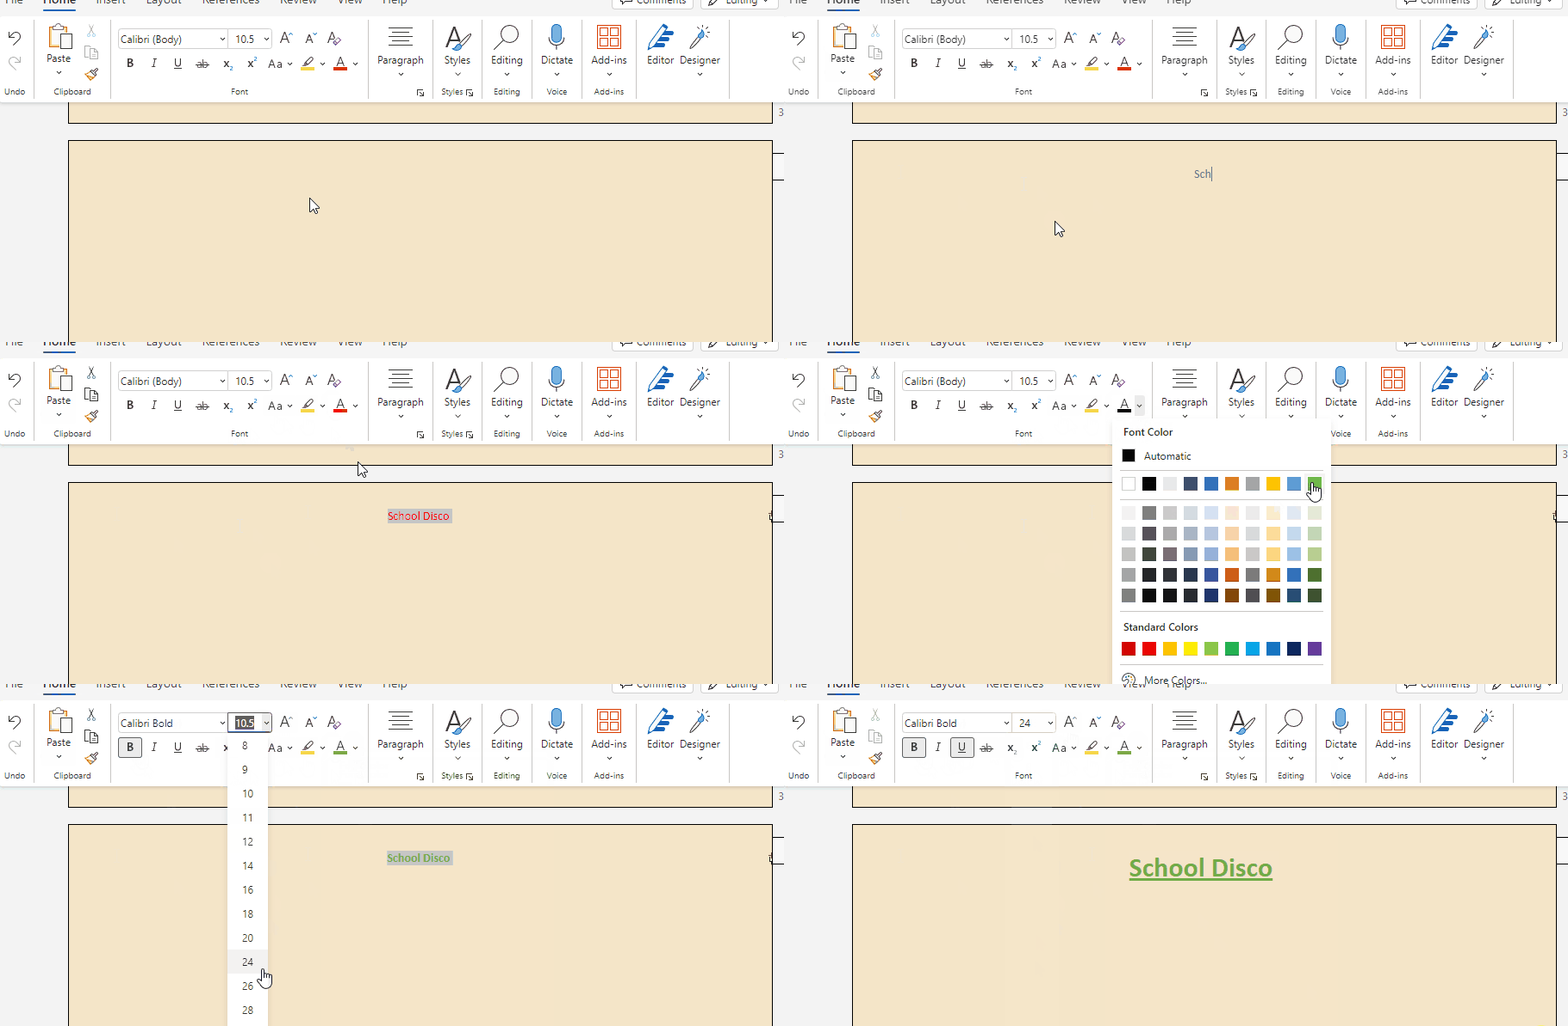
1. Click into your word document and type some details about your school poster, it's location, theme. Just a line or two.
The Ribbon is like a digital toolbox. It's located at the top of your Word window and contains different tabs and groups of tools.
Each tab represents a specific category of tools, making it easy to find what you need.
Spend at least 5 minuets to explore the ribbon at the top of the screen. You'll find various tabs like Home, Insert, Design, Layout, and more. Each tab contains a set of tools and options that you'll use to create your poster.
Now that you are becoming familiar with the interface of Microsoft work it's time to start creating your poster.
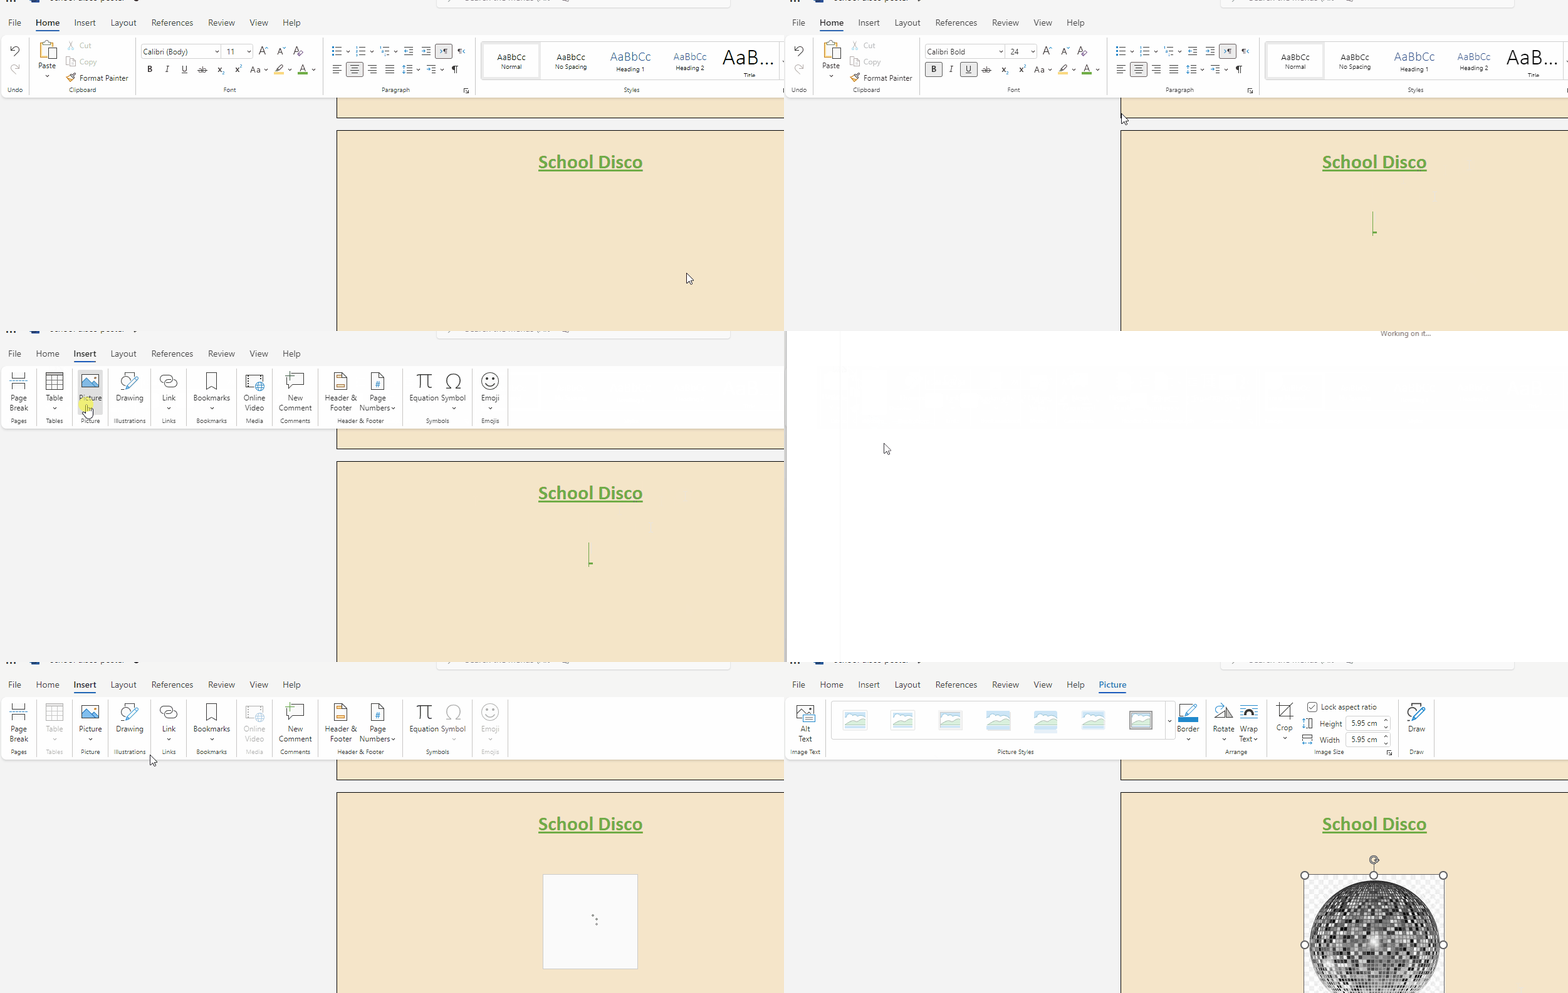
How about an image for your poster. What kind of image/picture would your school disco poster viewers would like to see? A picture of a staffroom? No! Maybe a disco ball, or a part scene.
Image copyright
Before you start searching for images, it's essential to know about copyright. Copyright protects creators' work. Using someone's image without permission could get you into trouble. That's why we look for free images. You will learn more about this in the "Image Insertion" lesson.
Insert the image
You're previewing this lesson. Get full access to this lesson and hundreds more — each one ready to teach, with interactive activities, printable resources and pupil progress tracking built in.