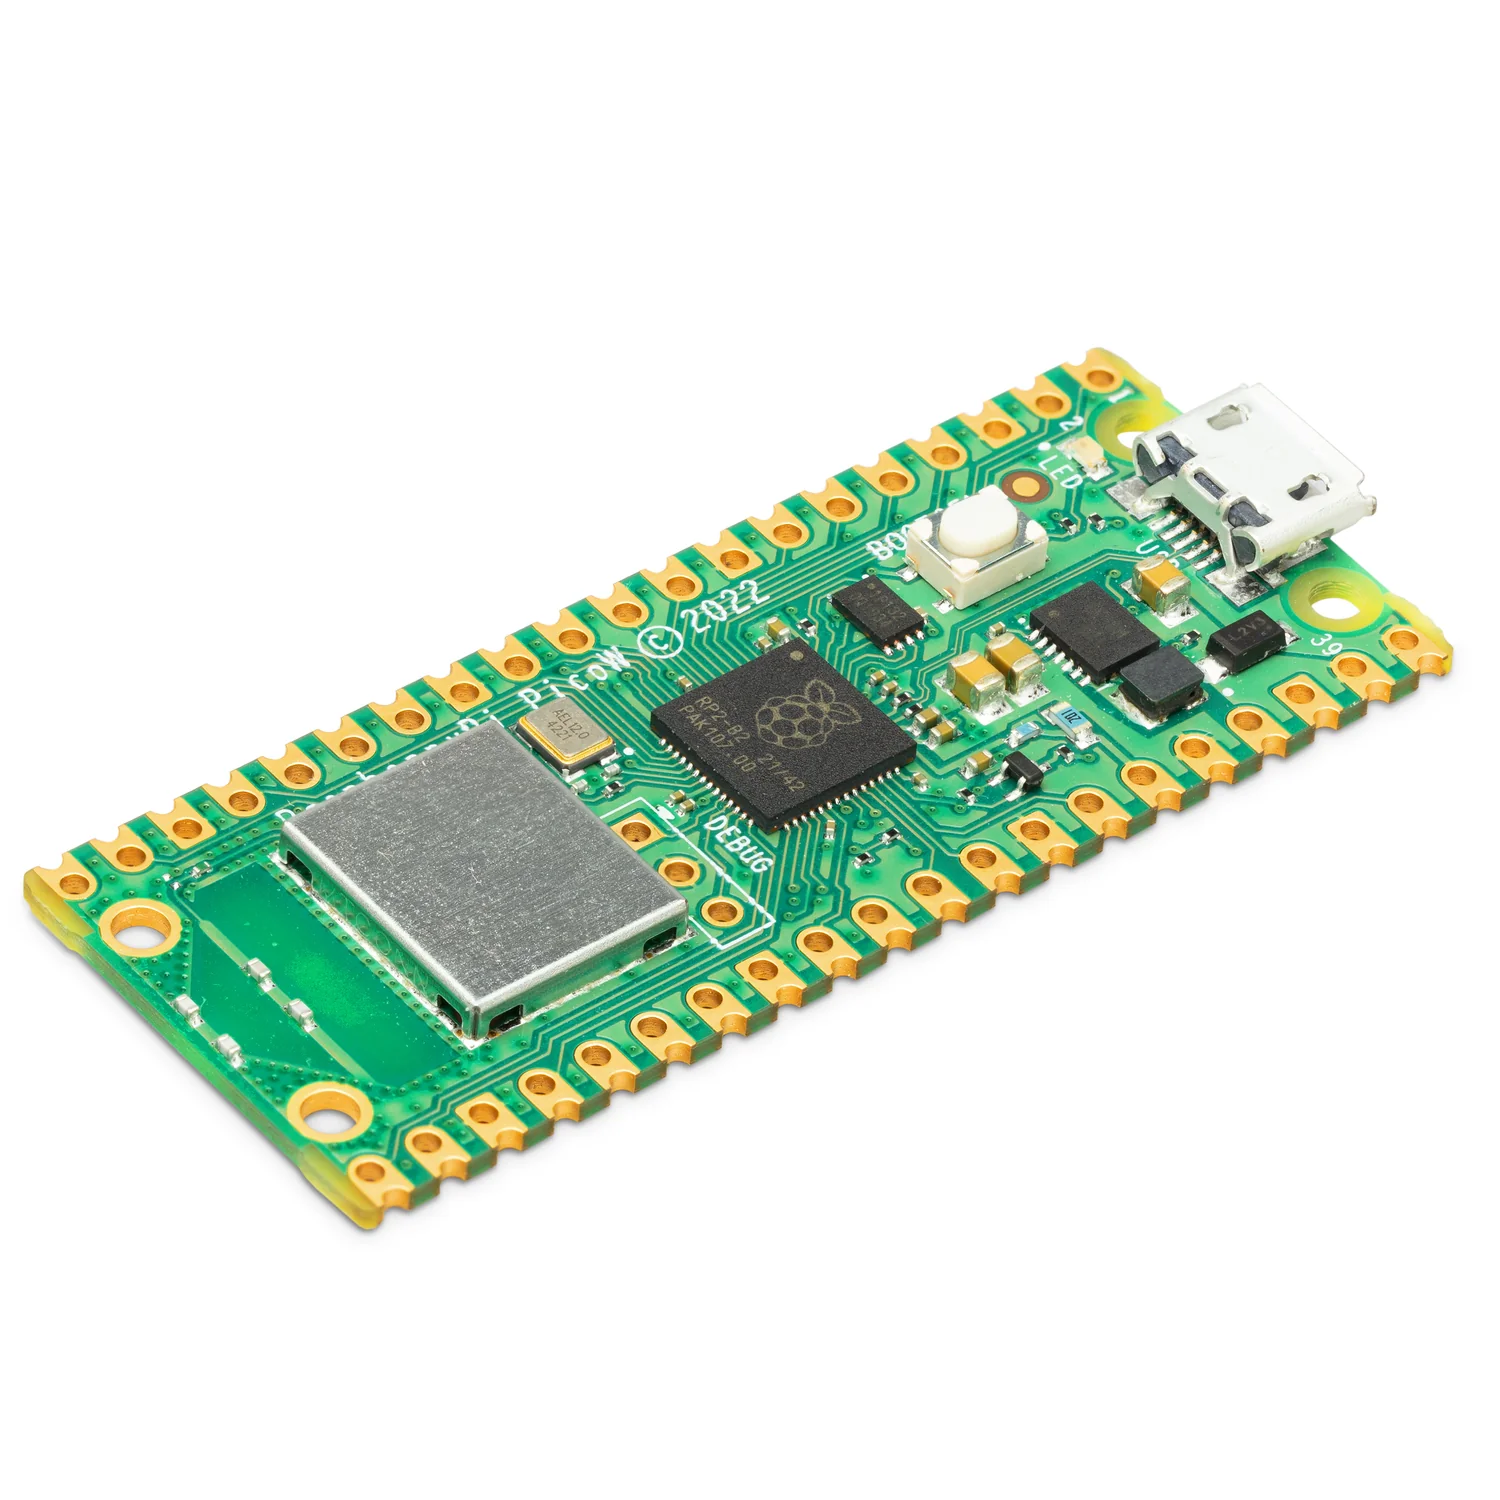
In this lesson, we will create a simple project to make the onboard LED on your Raspberry Pi Pico blink. To begin, connect your Raspberry Pi Pico :
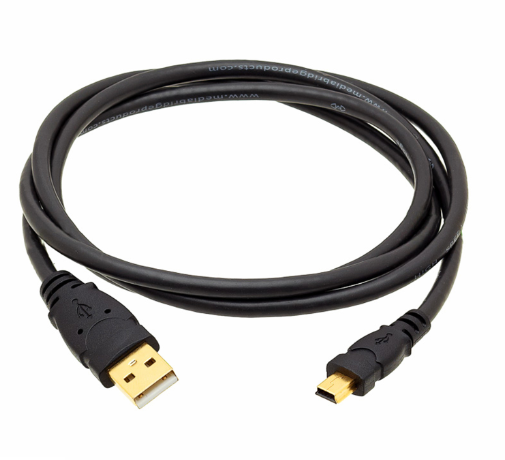
To connect your Raspberry Pi Pico W to your computer, follow these steps:
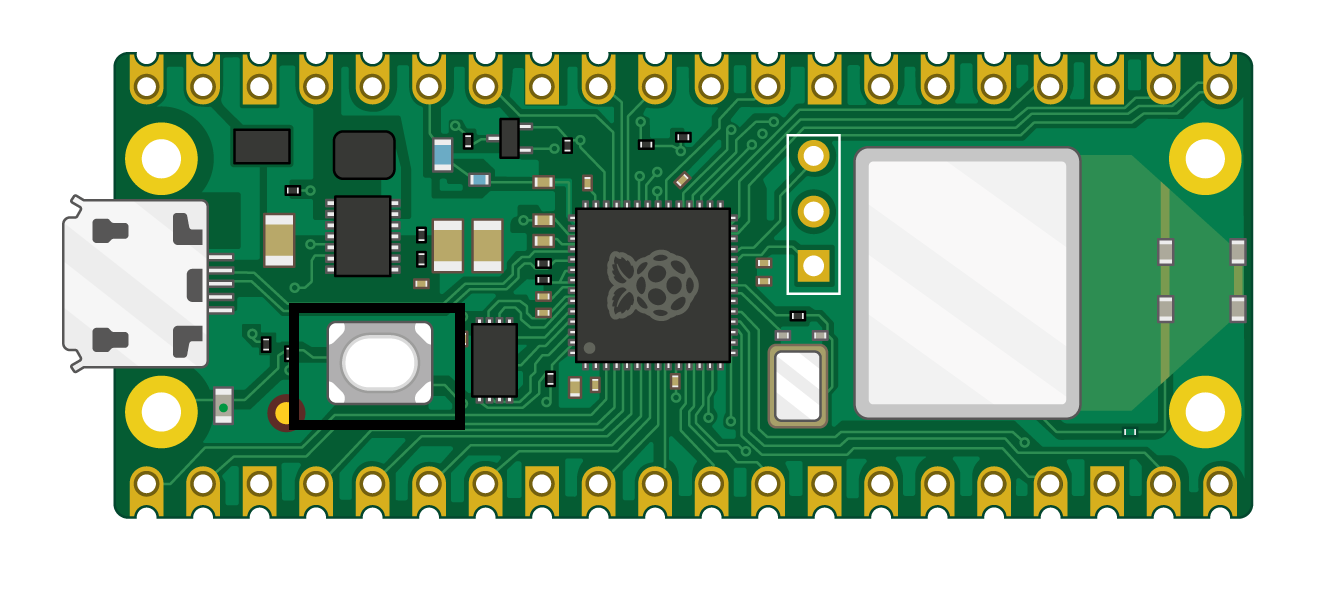
Note: If you want to connect your Pico in USB mass storage device mode (so you can copy files to it), hold down the BOOTSEL button as you are connecting the USB to your computer.
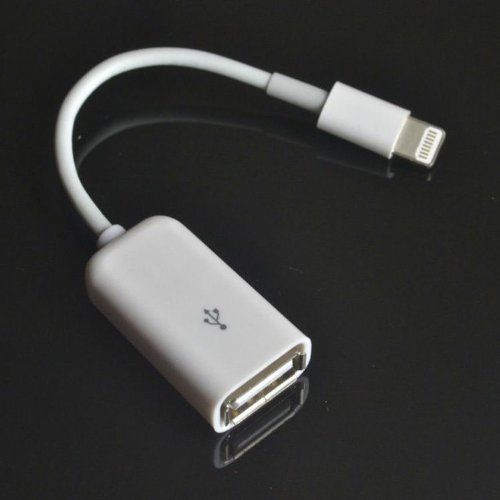
To connect your Raspberry Pi Pico W to your iPad, follow these steps:
Depending on the device you are using, you will need to use a different editor:
If you are using a PC or laptop, open your web browser and go to code.circuitpython.org
If you are using an iPad, download and install the Koder app from the App Store.
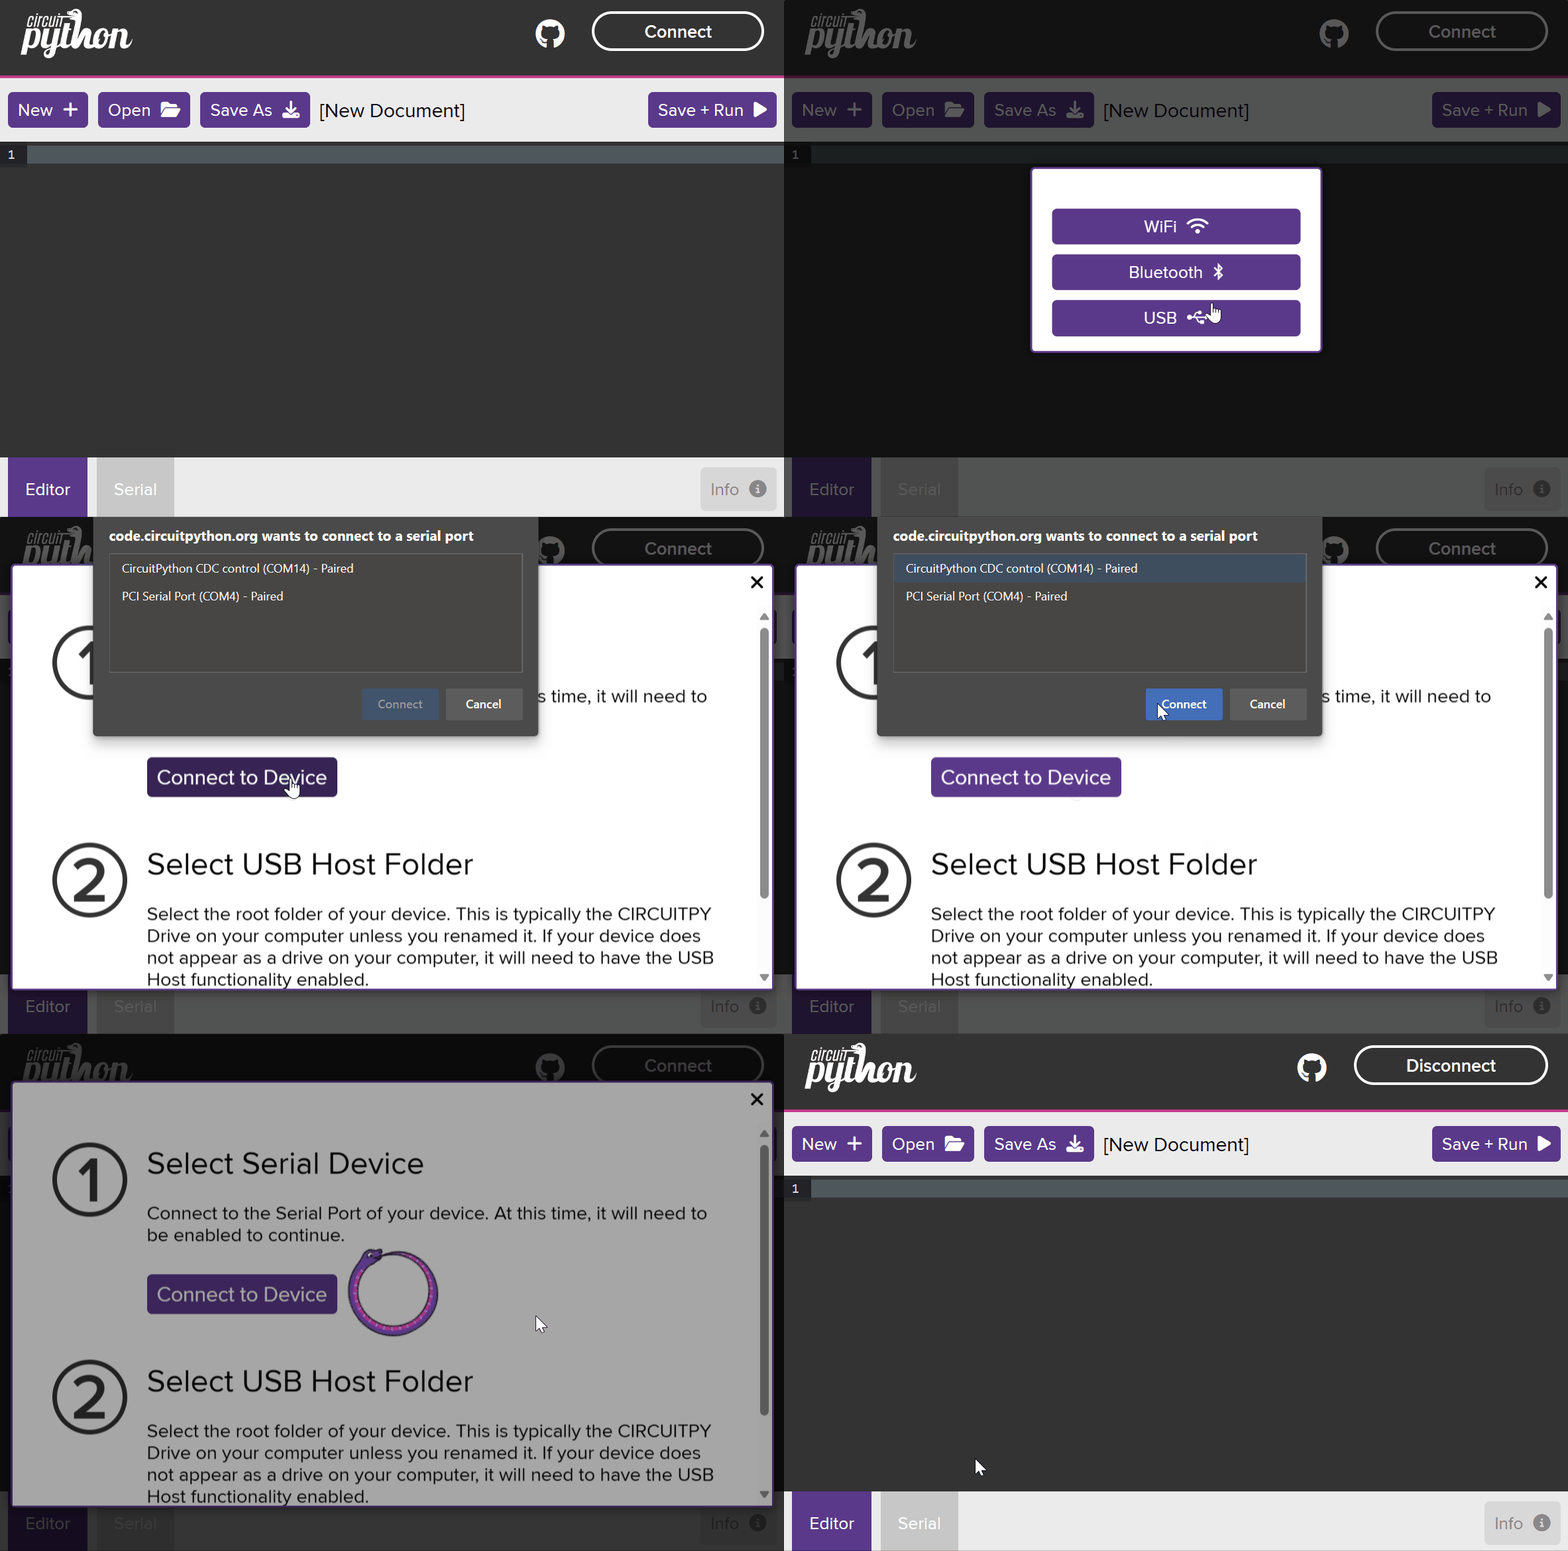
If you are using the CircuitPython editor (code.circuitpython.org) then we need to connect the editor to your PICO W so that we can transfer code to it.
You can skip this step if you're using an iPad.
To connect your editor (at code.circuitpython.org) to your PICO W follow these steps:
Your editor should now be connected to your PICO W and ready to code.
Create a new file in your chosen editor and with the name 'code.py'.
In your CircuitPython editor (code.circuitpython.org):
Note: the CircuitPython editor starts with a new file open and ready to go, so you might not need to do this.
On your Koder app:
You're previewing this lesson. Get full access to this lesson and hundreds more — each one ready to teach, with interactive activities, printable resources and pupil progress tracking built in.