Go to MakeCode Arcade (https://arcade.makecode.com/) and create a new project. Name this project 'Monster Battle Arena'.
Create a new Arcade project using the makecode.com website.
First, we are going to create our player's sprite. Add the following code to create your player and control it with the buttons:
let mySprite = sprites.create(img`
. . . . . . f f f f . . . . . .
. . . . f f f 2 2 f f f . . . .
. . . f f f 2 2 2 2 f f f . . .
. . f f f e e e e e e f f f . .
. . f f e 2 2 2 2 2 2 e e f . .
. . f e 2 f f f f f f 2 e f . .
. . f f f f e e e e f f f f . .
. f f e f b f 4 4 f b f e f f .
. f e e 4 1 f d d f 1 4 e e f .
. . f e e d d d d d d e e f . .
. . . f e e 4 4 4 4 e e f . . .
. . e 4 f 2 2 2 2 2 2 f 4 e . .
. . 4 d f 2 2 2 2 2 2 f d 4 . .
. . 4 4 f 4 4 5 5 4 4 f 4 4 . .
. . . . . f f f f f f . . . . .
. . . . . f f . . f f . . . . .
`, SpriteKind.Player)
controller.moveSprite(mySprite)
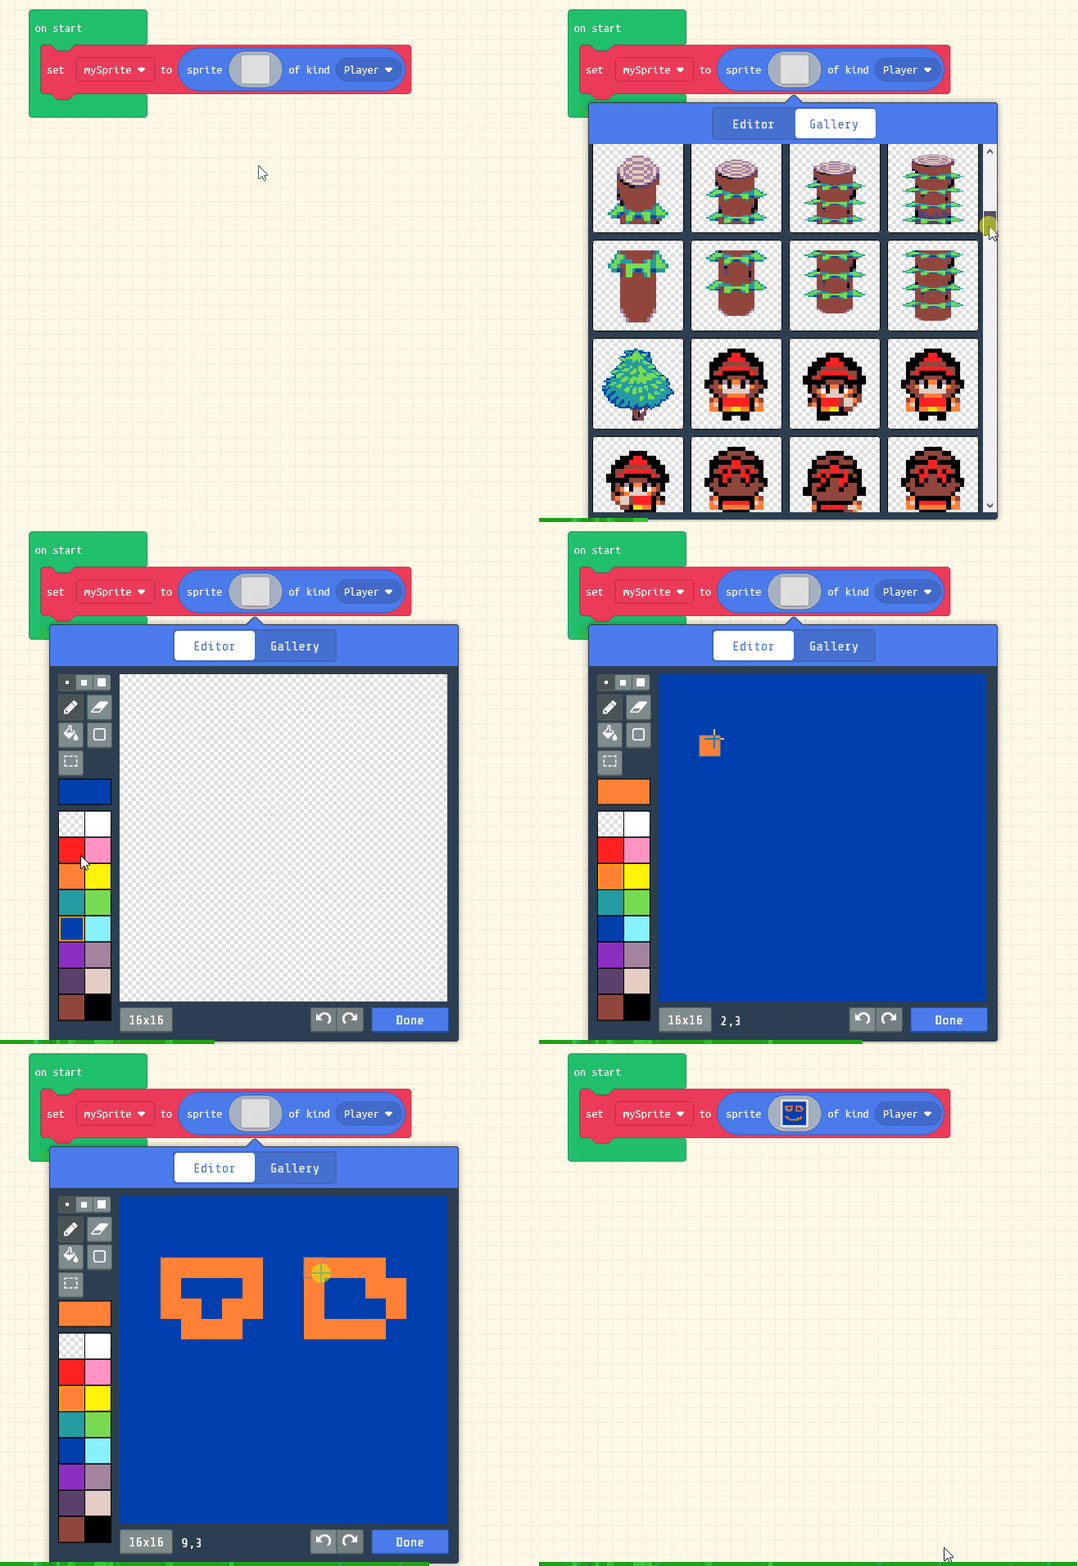
This will create a new sprite for your player using the image you design or the sprite you select from the gallery.
Click on the gray box in the sprite block to open the Editor. You can choose a sprite from the Gallery or you can paint your own sprite using the Editor.
Now, let's create an AI monster for our player to fight against. Add the following code:
let mySprite = sprites.create(img`
. . . . . . f f f f . . . . . .
. . . . f f f 2 2 f f f . . . .
. . . f f f 2 2 2 2 f f f . . .
. . f f f e e e e e e f f f . .
. . f f e 2 2 2 2 2 2 e e f . .
. . f e 2 f f f f f f 2 e f . .
. . f f f f e e e e f f f f . .
. f f e f b f 4 4 f b f e f f .
. f e e 4 1 f d d f 1 4 e e f .
. . f e e d d d d d d e e f . .
. . . f e e 4 4 4 4 e e f . . .
. . e 4 f 2 2 2 2 2 2 f 4 e . .
. . 4 d f 2 2 2 2 2 2 f d 4 . .
. . 4 4 f 4 4 5 5 4 4 f 4 4 . .
. . . . . f f f f f f . . . . .
. . . . . f f . . f f . . . . .
`, SpriteKind.Player)
controller.moveSprite(mySprite)
let monster = sprites.create(img`
. . . . . . c c c c c c c . . .
. . . . . c f f 6 6 f f 7 c . .
. . . . c 7 6 6 6 6 6 6 7 6 c .
. . . c 7 7 7 7 7 7 7 7 7 7 c .
. . . c 7 8 1 f f 1 6 7 7 7 c .
. . . f 6 f 1 f f 1 f 7 7 7 f .
. . . f 6 f 2 2 2 2 f 7 7 7 f .
. . c c 6 f 2 2 2 2 f 7 7 6 f .
. c 7 7 7 7 2 2 2 2 7 7 f c . .
c 7 1 1 1 7 7 7 7 7 c c 7 7 c .
f 1 1 1 1 1 7 7 7 f c 6 7 7 7 c
f 1 1 1 1 1 1 6 f c c 6 6 6 c c
f 6 1 1 1 1 1 6 6 c 6 6 6 c . .
f 6 1 1 1 1 1 6 6 6 6 6 6 c . .
. f 6 1 1 1 1 6 6 6 6 6 c . . .
. . f f c c c c c c c c . . . .
`, SpriteKind.Enemy)
mySprite.setStayInScreen(true)
monster.setStayInScreen(true)
This will create a new sprite for the AI-controlled monster with the image you design.
In this step, we will make our monster move around the screen in a way that appears random and intelligent. This is a simple form of Artificial Intelligence (AI) behavior. Remember, this isn't true AI, but it's a great way to make the monster seem like it's thinking and moving on its own.
Let's add the following code:
let monster: Sprite = null
game.onUpdateInterval(1000, function () {monster.vx = randint(-100, 100); monster.vy = randint(-100, 100)})
This code will change the monster's velocity in random directions every 1,000 milliseconds, making it move around the screen. The code generates a random number between -100 and 100, which is then set as the monster's velocity in the x (horizontal) and y (vertical) directions. This makes the monster move in a different, random direction every half a second, giving the illusion of intelligent movement.
You're previewing this lesson. Get full access to this lesson and hundreds more — each one ready to teach, with interactive activities, printable resources and pupil progress tracking built in.