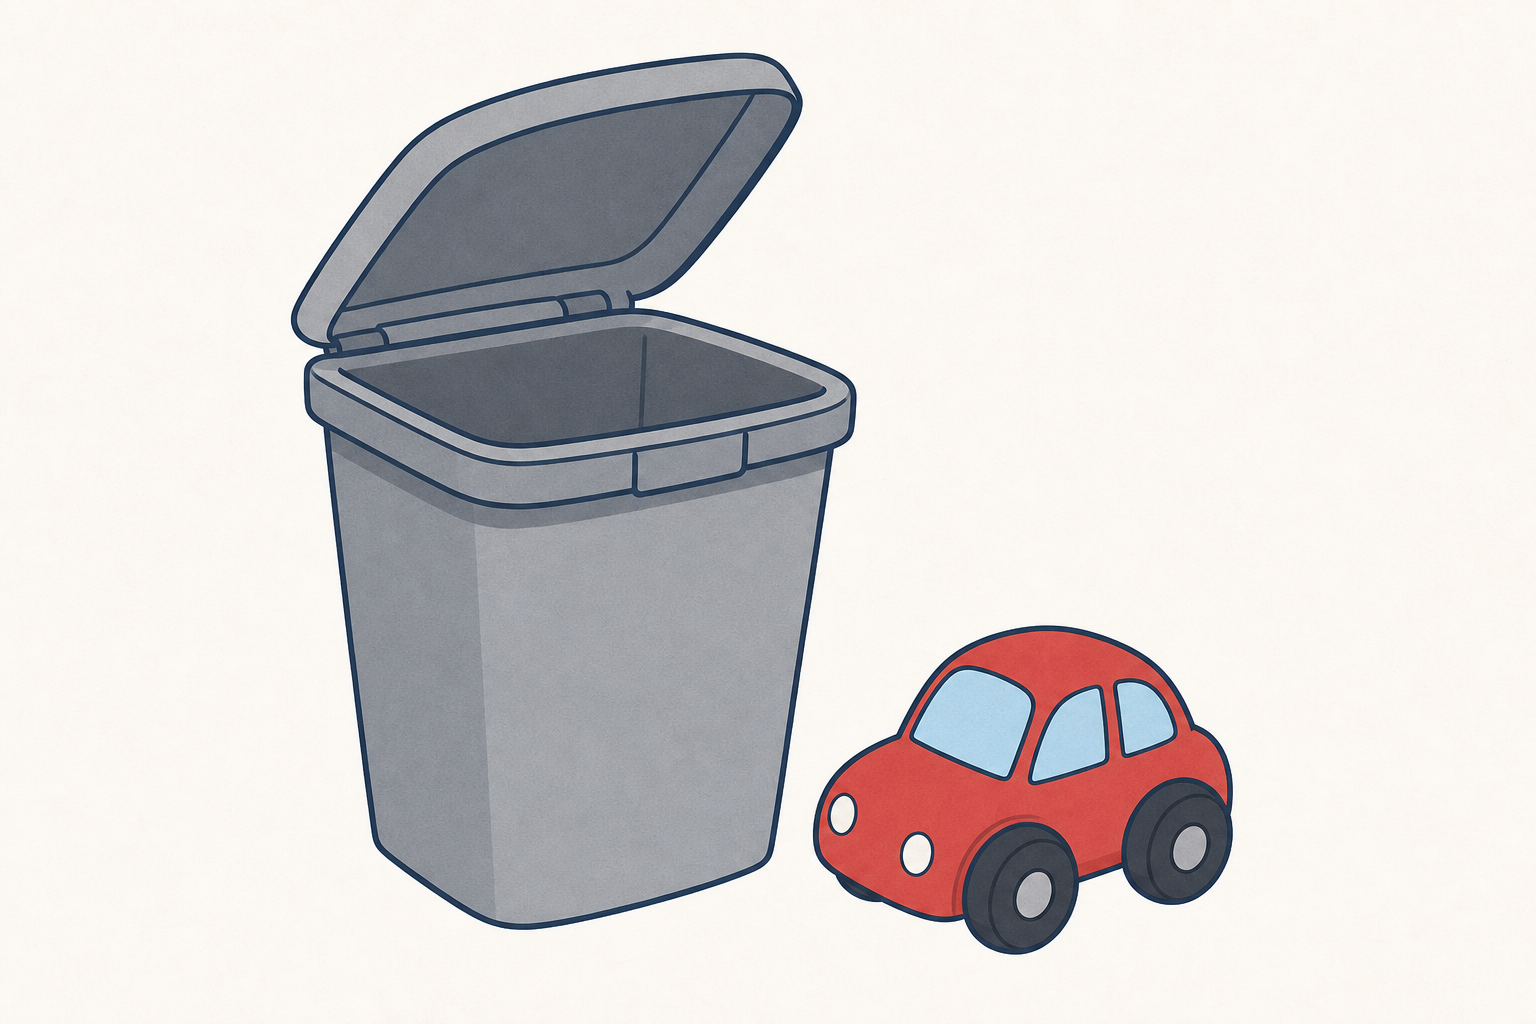
Look around. What things in our classroom or playground have a part that moves? A door swings. A bin lid lifts. A toy car's wheels turn.
Today we will make a simple model with one moving part that does a real job, then make that part move more smoothly.
Keep this light. Hold up one everyday object with a clear moving part if you have it to hand (a toy car, a pair of scissors closed and open, a hinge on a cupboard door) and ask pupils to point to the part that moves. Do not hand out build materials yet.
Key questions: Which part moves? What is that movement for (what can you see it do)? Where else have you seen something like this (bike wheels, garden gates, a lunchbox lid)?
STEM eyes: moving parts are all around us in toys, gates, bikes and classroom gadgets. We are going to make one of our own.
A moving part is the bit that slides, turns, lifts or swings while the rest of the model stays still.
Its job is what that movement is for. Look: a bin lid's job is to lift open. A toy car's wheels have the job of rolling.
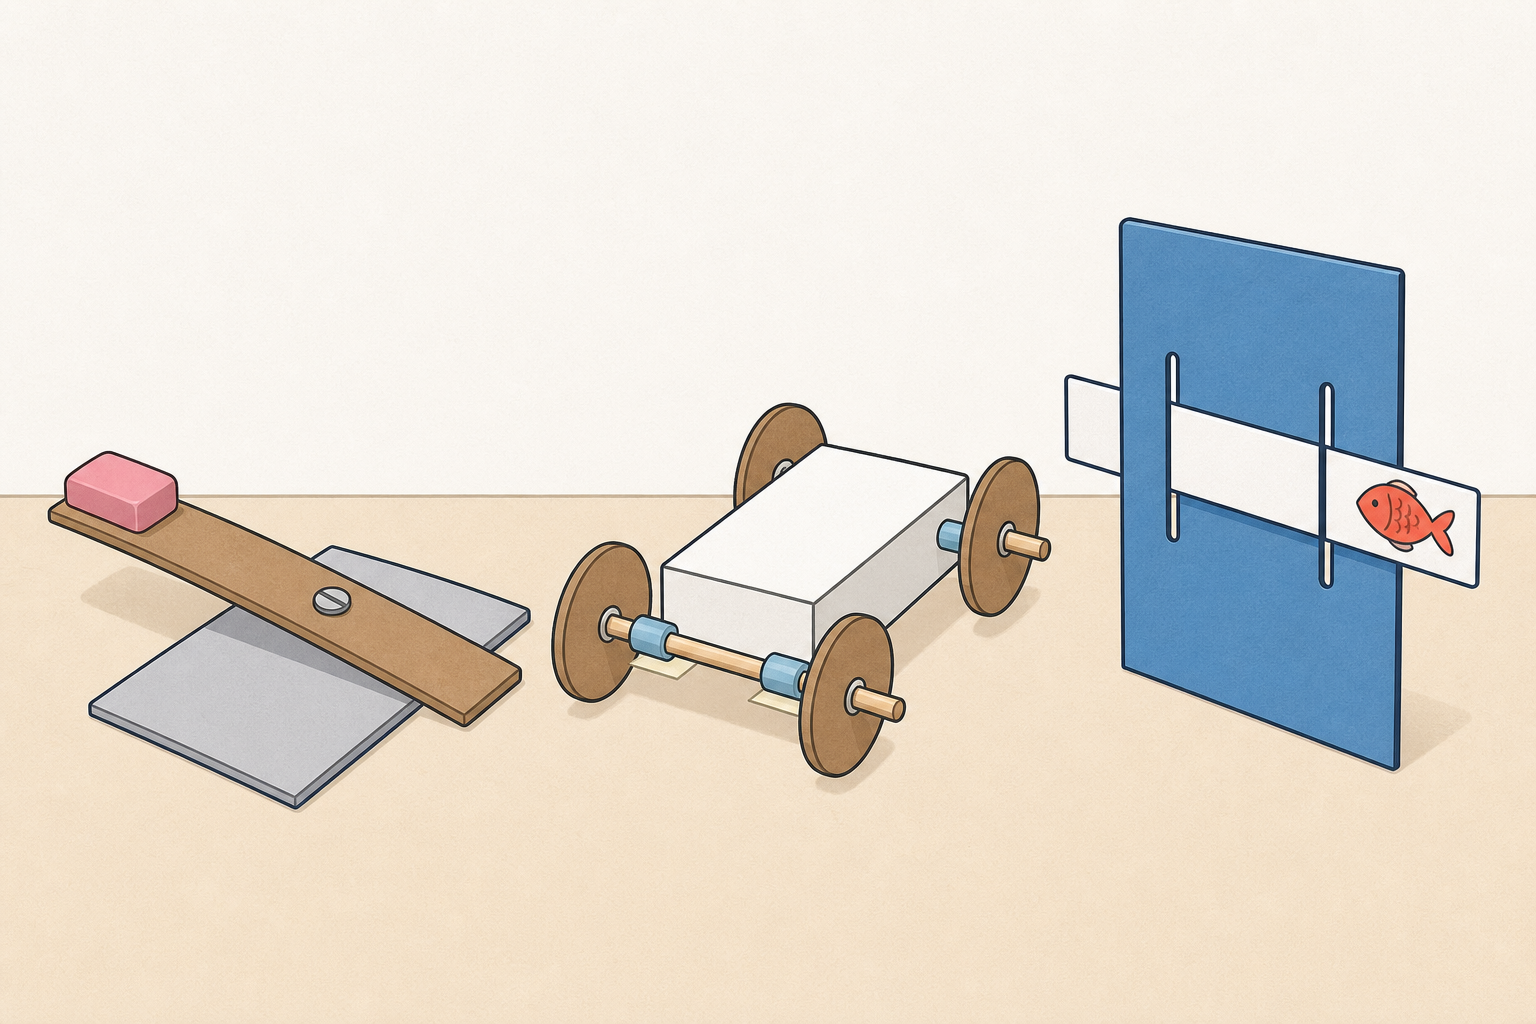
Look at these three simple ideas on the board: one that lifts, one that rolls, and one that slides. Your table will make one of these.
Project only the short board text. Anchor job at once with the bin lid or toy car you held up in Getting Started so pupils can point before they choose. Do not teach all three mechanism names as whole-class vocabulary. Use the sketches as picture choices; name the type only for the option each table builds.
Use the table below for your own reference and for answering questions while you circulate.
| Concept | Why it matters | Example |
|---|---|---|
| Moving part — a piece that can slide, turn, lift or swing while the rest of the model stays still | Real gadgets work because one carefully made part moves; the rest is the frame that holds it | The wheels turn on a toy car; the body stays put on top |
| Job — what the moving part is for, something you can see it do | A clear job keeps the build simple and helps children say what success looks like | A bin lid lifts open; a lever lifts a rubber; a cart rolls across the table |
Option labels for the three picture choices (not whole-class key concepts; name only the one each table builds):
Misconception to head off: pupils may think the whole model has to move. Stress that one part moves and the rest is the steady frame. Also, a wobbly join is not "more moving"; smooth movement needs a firm join that still allows the part to turn or slide.
Keep the three lift / roll / slide sketches on the board. Tables are pre-assigned (or trays pre-labelled) so choice does not eat build time in the next step.
Your table will make one model: something that lifts, something that rolls, or something that slides. Your teacher will show you how yours joins, then you build.
Use the card, tape, pins and other bits on your tray. Ask an adult before you cut or make a hole.
Give every option a comparable join cue before anyone builds. Leave the three board sketches up as well.
Then release tables to build only their assigned option. Circulate; help with pins and sticks. Adults make any leftover tricky holes or cuts.
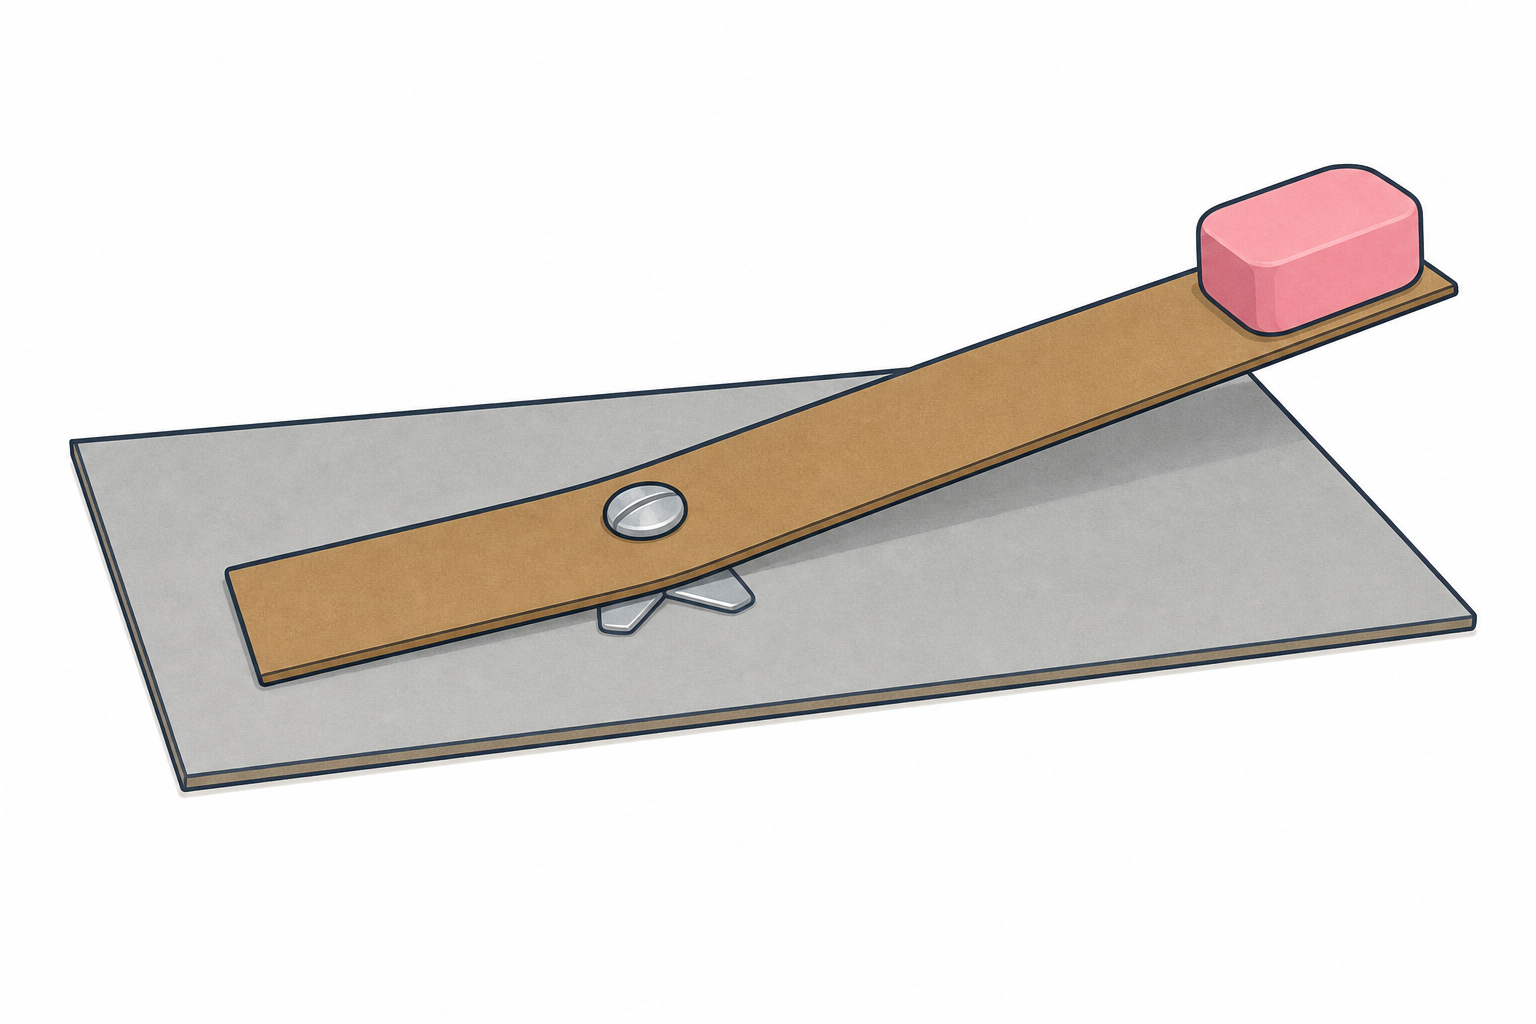
Lever that lifts: base card + stiff strip + split pin as the pivot + a light load (rubber or paper clip). Job: lift the load when you press the other end.
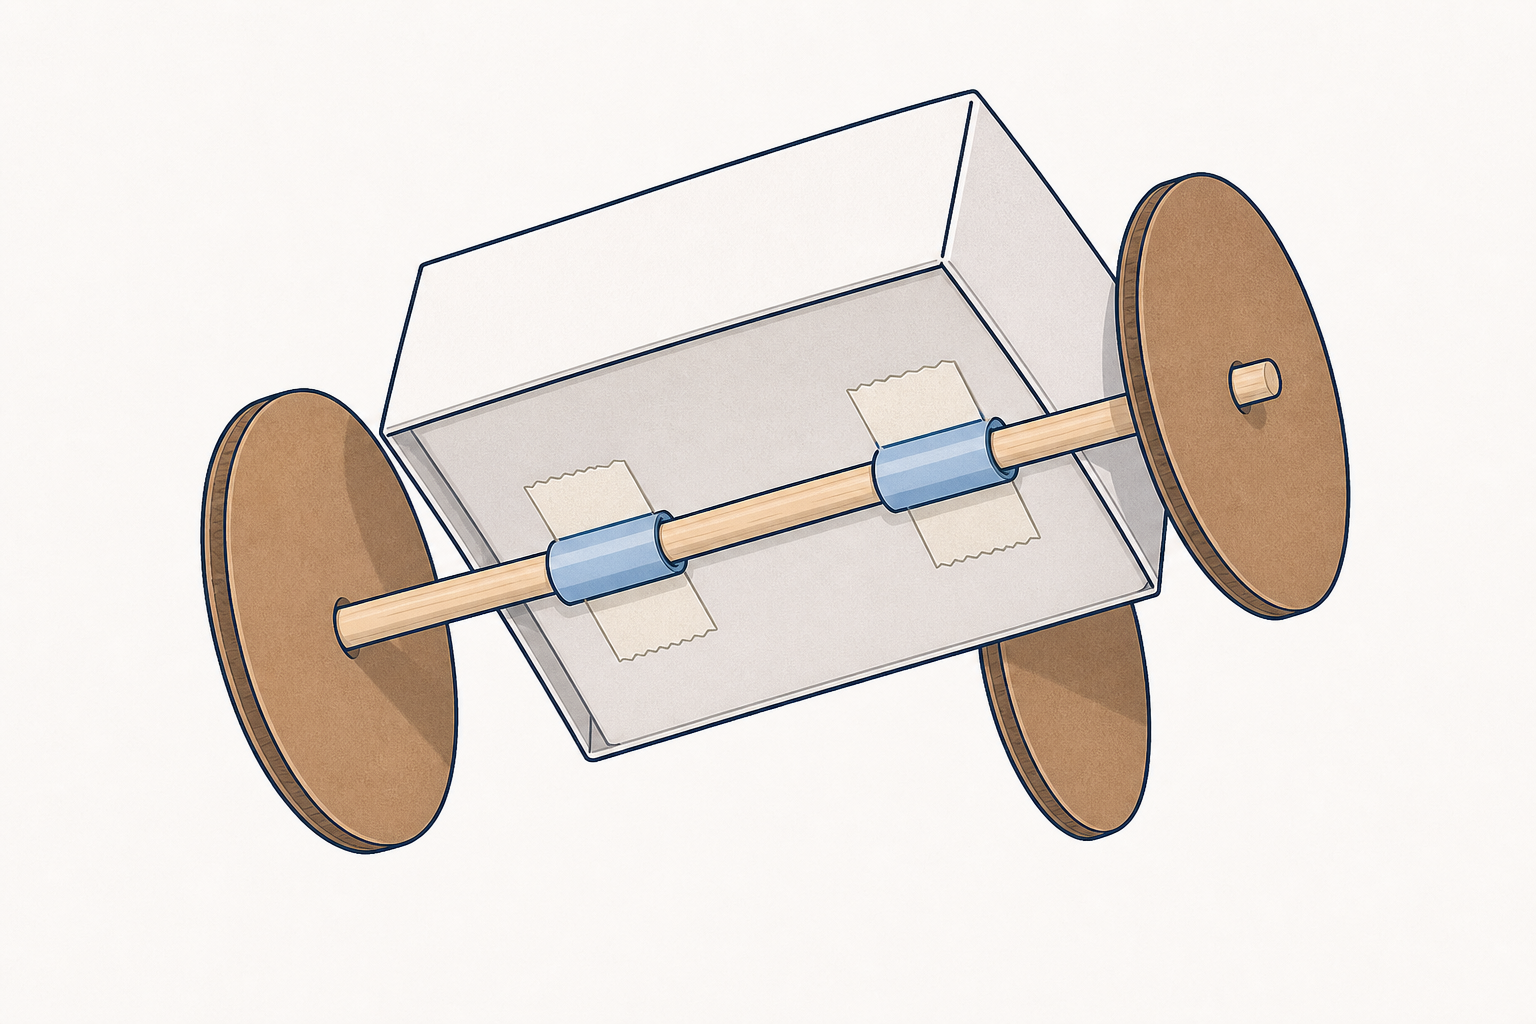
Cart that rolls (default: two axles, four wheels): card body, two blunt skewers or dowels as axles, four card-circle wheels (or bottle tops) so the cart rolls straight. Job: roll across the table when pushed.
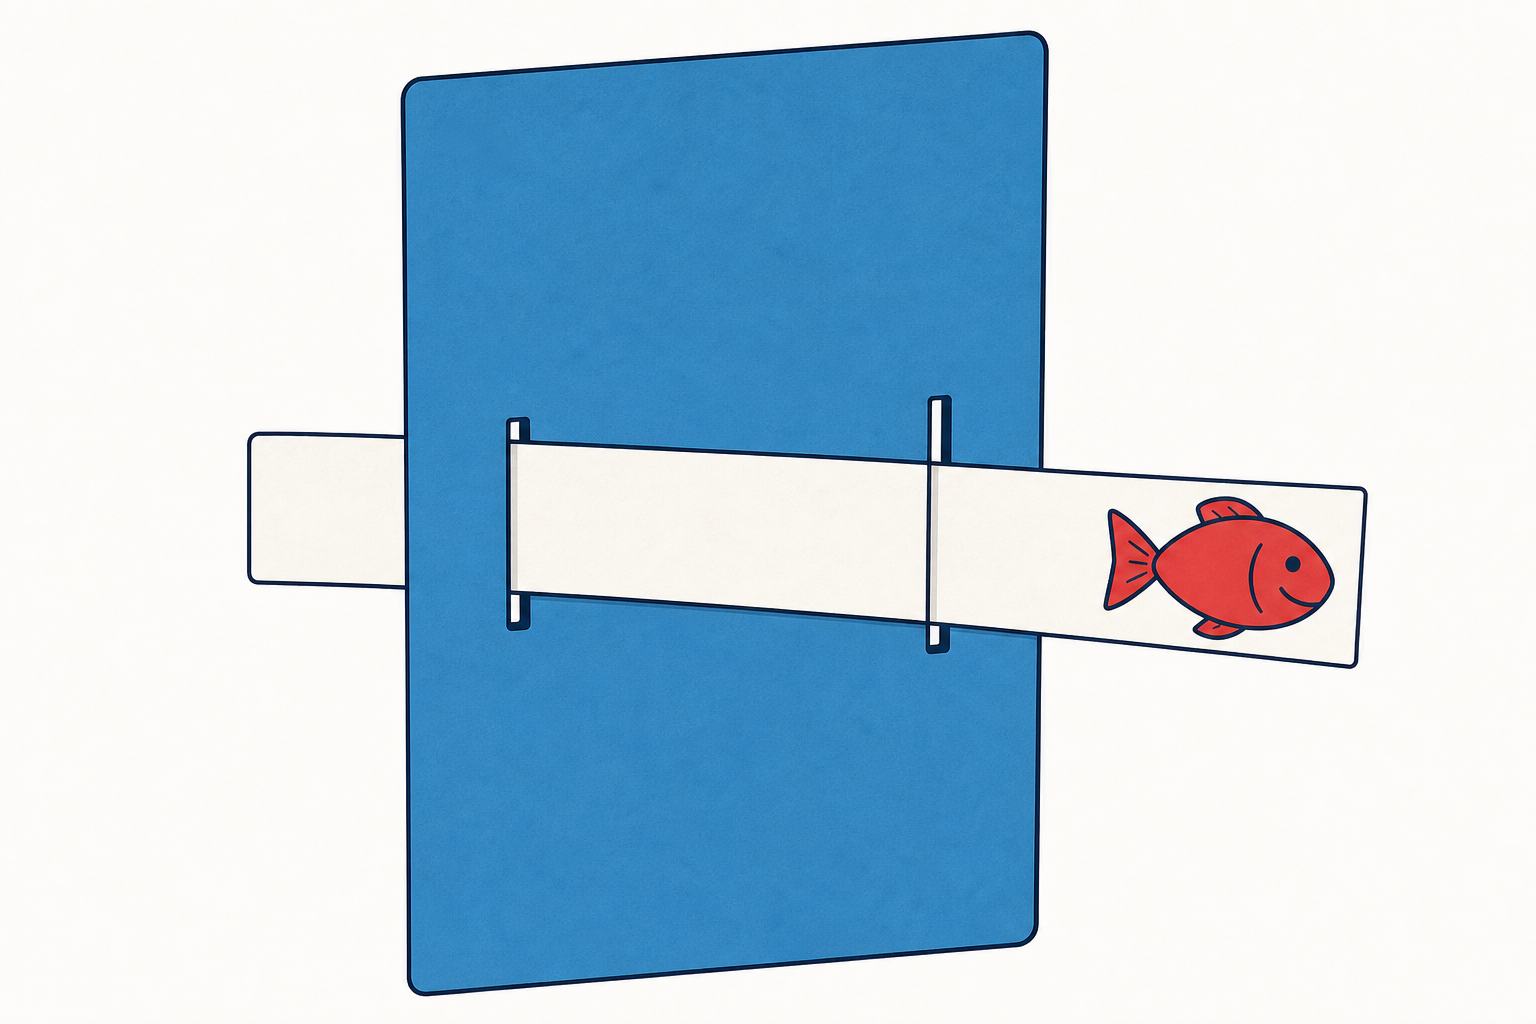
Pull-tab that slides: base card with a straight slit or two tape guides, a sliding picture piece taped to a long paper strip. Job: pull the tab so the picture slides out or across.
Safety: adult supervision with scissors and pointed skewers; store sharp ends pointing down on the tray; no running with materials.
Try your moving part three times. Does it stick, wobble or move smoothly?
Change one thing to make it smoother: tighter or looser tape, a stiffer strip, a straighter path, or wheels that line up better. Try it again. Tell your group what changed.
This is a gentle Stage 2 inquiry, not a fair test. Do not use the words fair test or variables. Keep the focus on "try it, notice, change one thing, try again".
Question for the class: What can we change so our moving part works more smoothly?
What to look for:
Ask aloud: What was sticky or wobbly? What one change did you try? Is it smoother now? Fold watchers in by asking the wider class what they would try next if it were their model.
Misconception: pupils may change three things at once and not know what helped. Gently steer them back to one change.
On your Investigation Journal page, draw your model. Show the part that moves and mark it clearly.
Then finish these stems (they are on the board too). If writing is slow, draw first, then say the stems to your teacher or partner:
Pupils record on the paper Investigation Journal page. Do not describe a special layout or invent named boxes; the journal page is generated for them. Keep the three stems on the IWB for the whole step so Stage 2 writers are not relying on a single spoken prompt.
Realistic Stage 2 demand: every pupil must draw the model and mark the moving part. Written stems are a goal, not a gate: pupils who draw well but write slowly may point-and-say the stems to you or a partner while you jot a brief note. Aim for at least one stem written where possible.
Circulate and ask pupils to point on their drawing to the moving part so you can check they have not drawn only decoration.
Look-fors: the moving part is visible on the drawing; the pupil can say what happens when they use it (lift, roll or slide); at least one improve idea is named aloud or on the page.
You're previewing this lesson. Get full access to this lesson and hundreds more — each one ready to teach, with interactive activities, printable resources and pupil progress tracking built in.