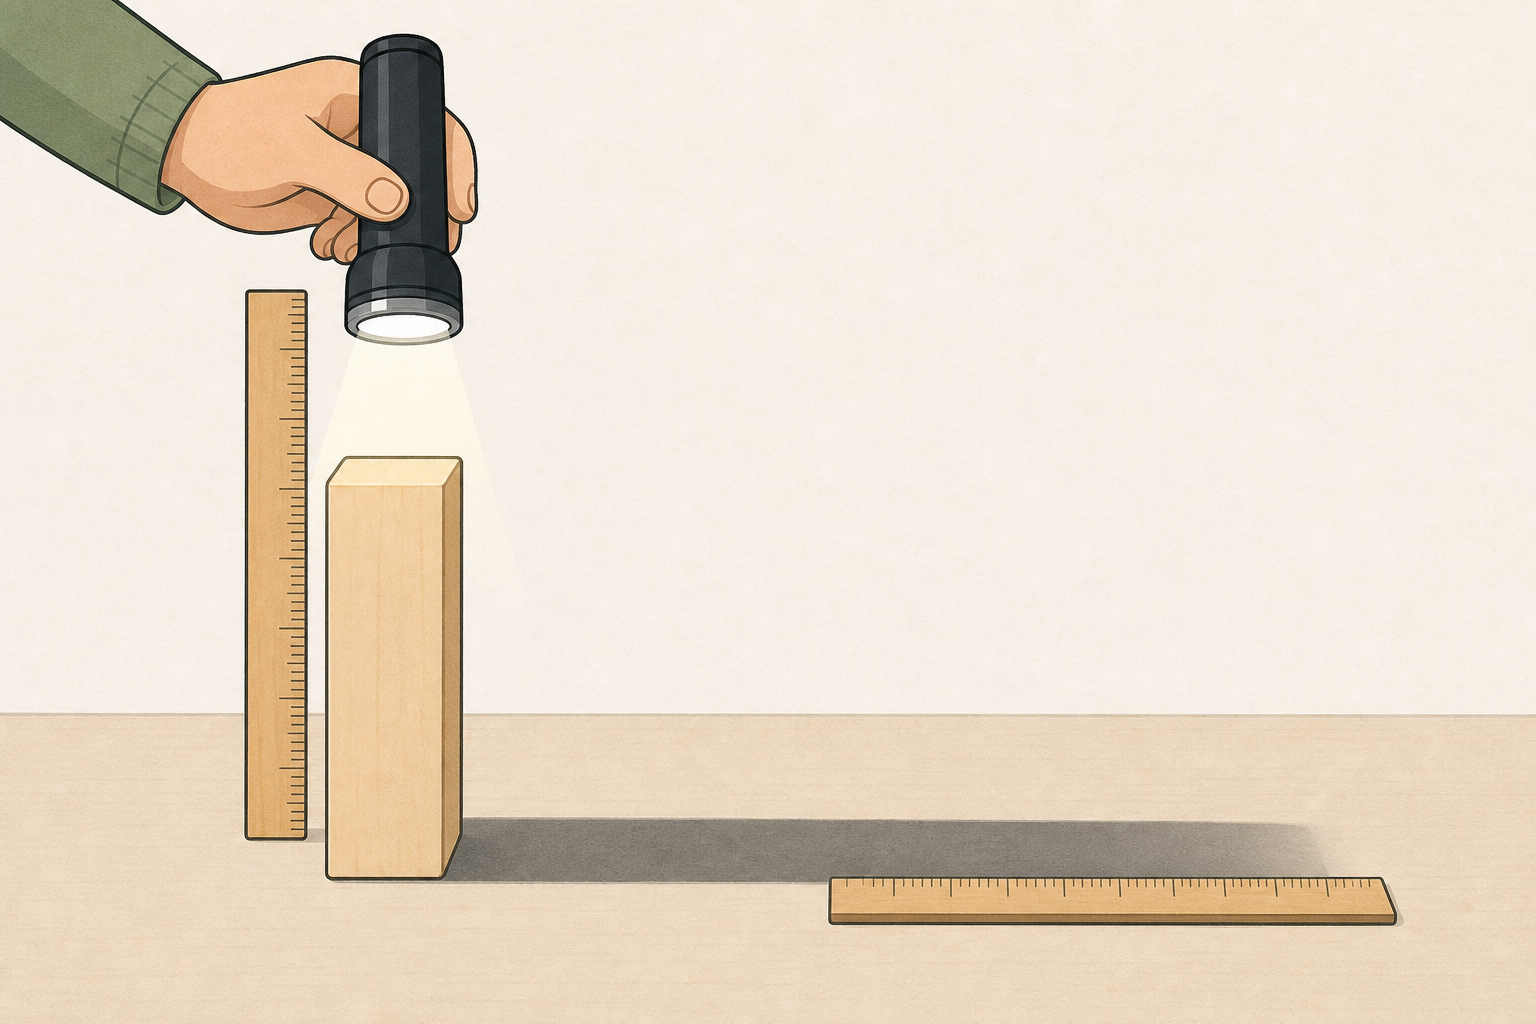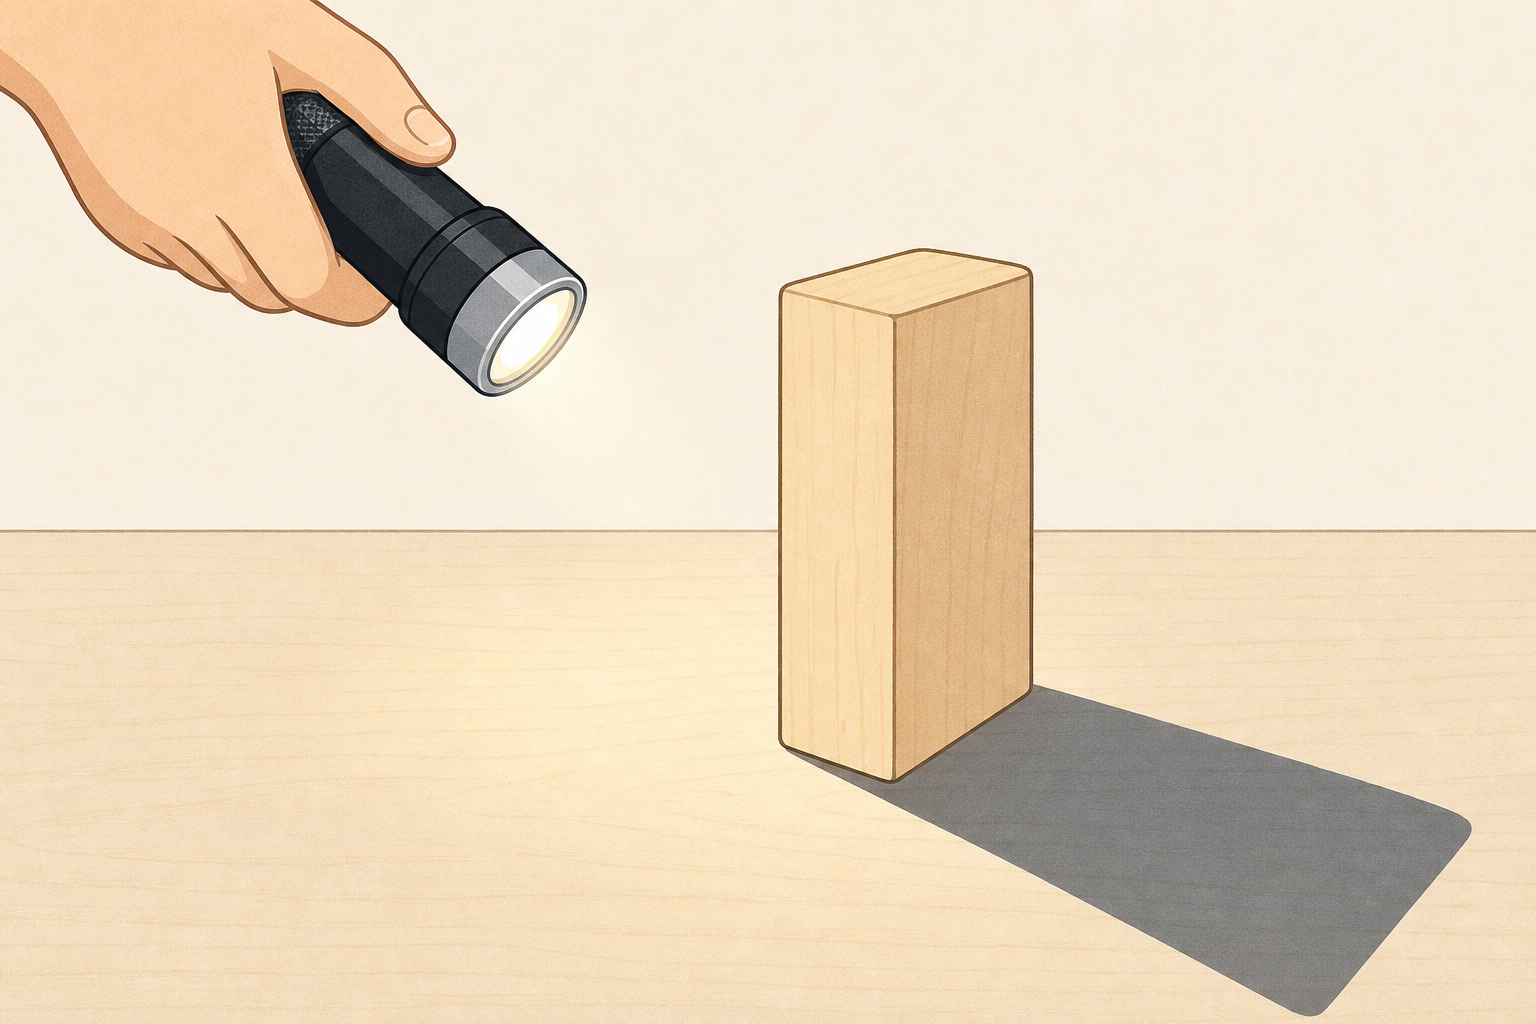
Watch this shadow on the wall. When the torch creeps up or down, the dark shape stretches and shrinks. What do you think makes it longer or shorter?
Dim the room a little if you can. Hold one torch and a small upright object (a wooden block or card figure) so a clear shadow falls on the table or wall. Move the torch slowly up and down once so the class sees the shadow change, then stop. Do not explain the rule yet.
Ask: What do you notice? What might be making the shadow change? Take three or four quick ideas. Do not correct wrong guesses; they become the predictions in the next step.
Have torches and objects ready for groups later, but do not hand them out yet.
A shadow is the dark shape you get when something blocks light. Opaque means light cannot go through it, so a wooden block is opaque and makes a clear shadow.
Light height is how high we hold the torch above the table. That is the one thing we will change today.
A fair test means we change only one thing, measure one thing, and keep everything else the same. If we keep the object still and only move the torch higher or lower, what do you think will happen to the shadow?
| Concept | Why it matters | Example |
|---|---|---|
| Shadow — a dark shape made when an opaque object (one that light cannot pass through) blocks light from reaching a surface | Shadows tell us where light is blocked, so they help us understand how light travels in straight lines | Your hand in front of a torch makes a hand-shaped dark patch on the wall |
| Light height — how high above the table or ground the light source is held | When the light is low, rays skim past the object and stretch the shadow; when it is high, the shadow shrinks | At morning break the sun is lower and playground shadows are long; at midday they are short |
| Fair test — change only one thing, measure one thing, and keep everything else the same | If two things change at once, you cannot tell which one caused the result | We will change only torch height and keep the object, its place and the 30 cm horizontal distance the same |
Misconception to head off: children often say the shadow is "made of dark" or that the object "gives out" a shadow. A shadow is simply the place where light is blocked. Light travels in straight lines; the dark patch is where those lines cannot reach.
Link briefly to measuring with care: same method every time, clear units in centimetres.
On the screen you will see a lamp, an object and the shadow it casts. Watch what happens to the shadow when the lamp moves higher or lower. Predict first: will the shadow get longer or shorter when the lamp is low?
Open the light-rays interactive in explore mode on the shadow scene. Lock to this scene only (allowSwitch is false). The class cannot drag anything; you turn the dial.
What the screen shows: a lamp, a standing object and the shadow cast on the ground. Grazing rays skim past the top of the object. When the lamp is low, those rays hit the ground far beyond the object and the shadow is long. When the lamp is high, the rays hit closer and the shadow is short.
Modelled cycle (you do this live before groups test):
Fold the class in: Are they right about low light making a long shadow? What would you predict for midday sun?
This interactive is the explain beat. The real torch work comes next; do not skip the hands-on test.
Our question: does torch height change how long a shadow is? Five cards appear on screen: torch height, shadow length, the object, where the object sits, and the 30 cm horizontal distance from torch to object. Call out which bin each card belongs in: Change, Measure, or Keep the same.
Then, as a group, choose the three torch heights you will test (for example 10 cm, 20 cm and 30 cm above the table, or three clear heights of your own). Write those heights on your Investigation Journal page so you are ready for the test.
Drive the fair-test-planner on the IWB in explore mode. Pupils call out; you drag. Name the five cards exactly as they appear: torch height, shadow length, the object, where the object sits, the 30 cm horizontal distance from torch to object.
Target placement:
State it plainly for pupils: The one thing we change is how high the torch is held. The things we keep the same are the object, its position on the table, and a 30 cm horizontal distance from torch to object. We measure the shadow's length in centimetres.
Show how to set the 30 cm horizontal distance with a ruler laid flat on the table from the base of the object to the point directly below the torch. Height is measured vertically from the table up to the torch.
Group design decision (after the card sort): each group chooses which three torch heights they will test. Suggest a spread such as about 10 cm, 20 cm and 30 cm so the pattern is clear, but accept other clear spreads they justify. They write their three chosen heights on the Investigation Journal page before kit goes out. This is their planning choice within the shared fair-test structure.
If a group wants to change distance as well: praise the idea, then ask why that would make the test unfair (two changes at once). Keep the design tight: one change only.
Pupils will write each height and shadow length on the Investigation Journal page during the next step as they measure. The plan itself is agreed here on the board, and their three heights are chosen here.
In your group, share the jobs before you start: one person holds the torch at the chosen height measured from the table with the second ruler, one checks the 30 cm horizontal distance and measures the shadow, and one writes on the Investigation Journal page. Extra group members help check the 30 cm mark, the shadow tip, or the height reading so everyone has a live job.
Before the first trial, label two columns on your Investigation Journal page: torch height (cm) and shadow length (cm).
Hand out one torch, one upright object, one 30 cm ruler, one metre stick (or second ruler) and the Investigation Journal page per group. Mark a tape spot for the object so it cannot drift. Dim lights if possible so shadows are clear; a shaded corner of the room works if full dimming is hard.
Journal setup (about 30 seconds before trials): every group labels two columns on the Investigation Journal page — torch height (cm) and shadow length (cm) — and checks their three chosen heights from the planning step are written ready.
Role split (say this before they start): Torch holder keeps height steady (measure vertically from the table up to the torch with the second ruler each time — there is no pre-marked height spot on the table); measurer checks the 30 cm horizontal base and reads shadow length; recorder writes height and length on the journal after each trial. If the group has four or five children, extras share checking the 30 cm mark stays true, watching the shadow tip, or double-checking the height reading. Swap roles after a trial if you wish, but every child needs a live job.
Groups use the three heights they chose in the planning step (about 10 cm, 20 cm and 30 cm above the table is a clear spread). Repeat each height once to check if time allows.
Lower torch → longer shadow; higher torch → shorter shadow. Numbers will vary with object size, but the pattern should be clear. If all shadows look the same, the height steps are too close or the room is too bright; spread the heights and shade the station.
Safety: never shine torches at faces or eyes. Point beams at the table and object only.
Differentiation: less confident groups use three teacher-suggested heights and one careful measurement each. Confident groups add a fourth height or note whether the shadow edge is sharp or fuzzy and why.
Timing note: most of this step is group measuring time after a short front model. Aim to leave groups about 15 minutes at stations once kit is out and the model is done.
You're previewing this lesson. Get full access to this lesson and hundreds more — each one ready to teach, with interactive activities, printable resources and pupil progress tracking built in.