Beginner
15 mins
Teacher/Student led
+115 XP

What you need:
Chromebook/Laptop/PC

Image Insertion

In this lesson, you'll learn how to find copyright free images, insert and manipulate images in your disco poster, including resizing, cropping, and positioning.
Teacher Class Feed

Load previous activity

    1 - Open Disco Poster

    Creating a school disco poster can be fun, and it's more exciting with the right images. We'll learn how to find images online that you can use for free.

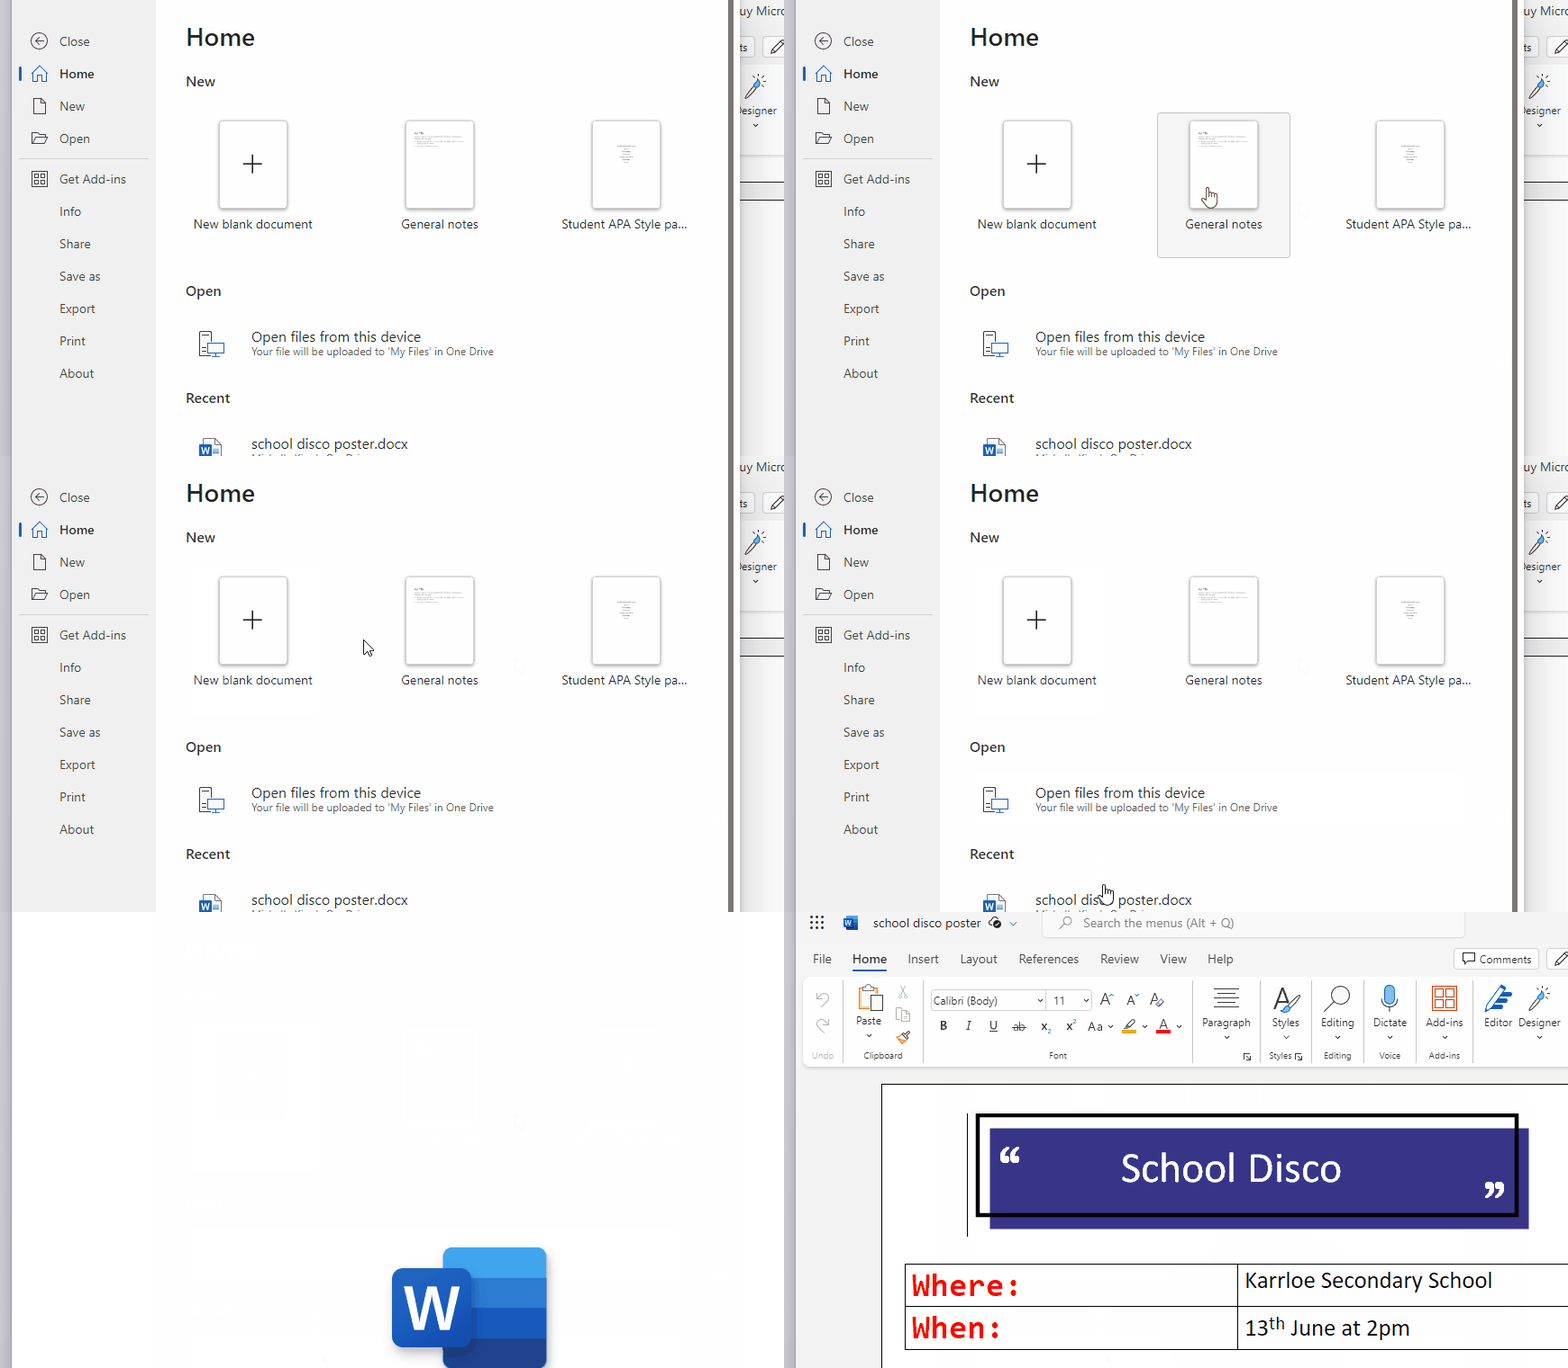
    • Open your School Disco Poster.
    • In this lesson you are going to insert images. But before you can do that you will need to find a image. 

    Understanding Copyright 

     Before you start searching for images, it's essential to know about copyright. Copyright protects creators' work. Using someone's image without permission could get you into trouble. That's why we look for free images.

    Search for Free Images

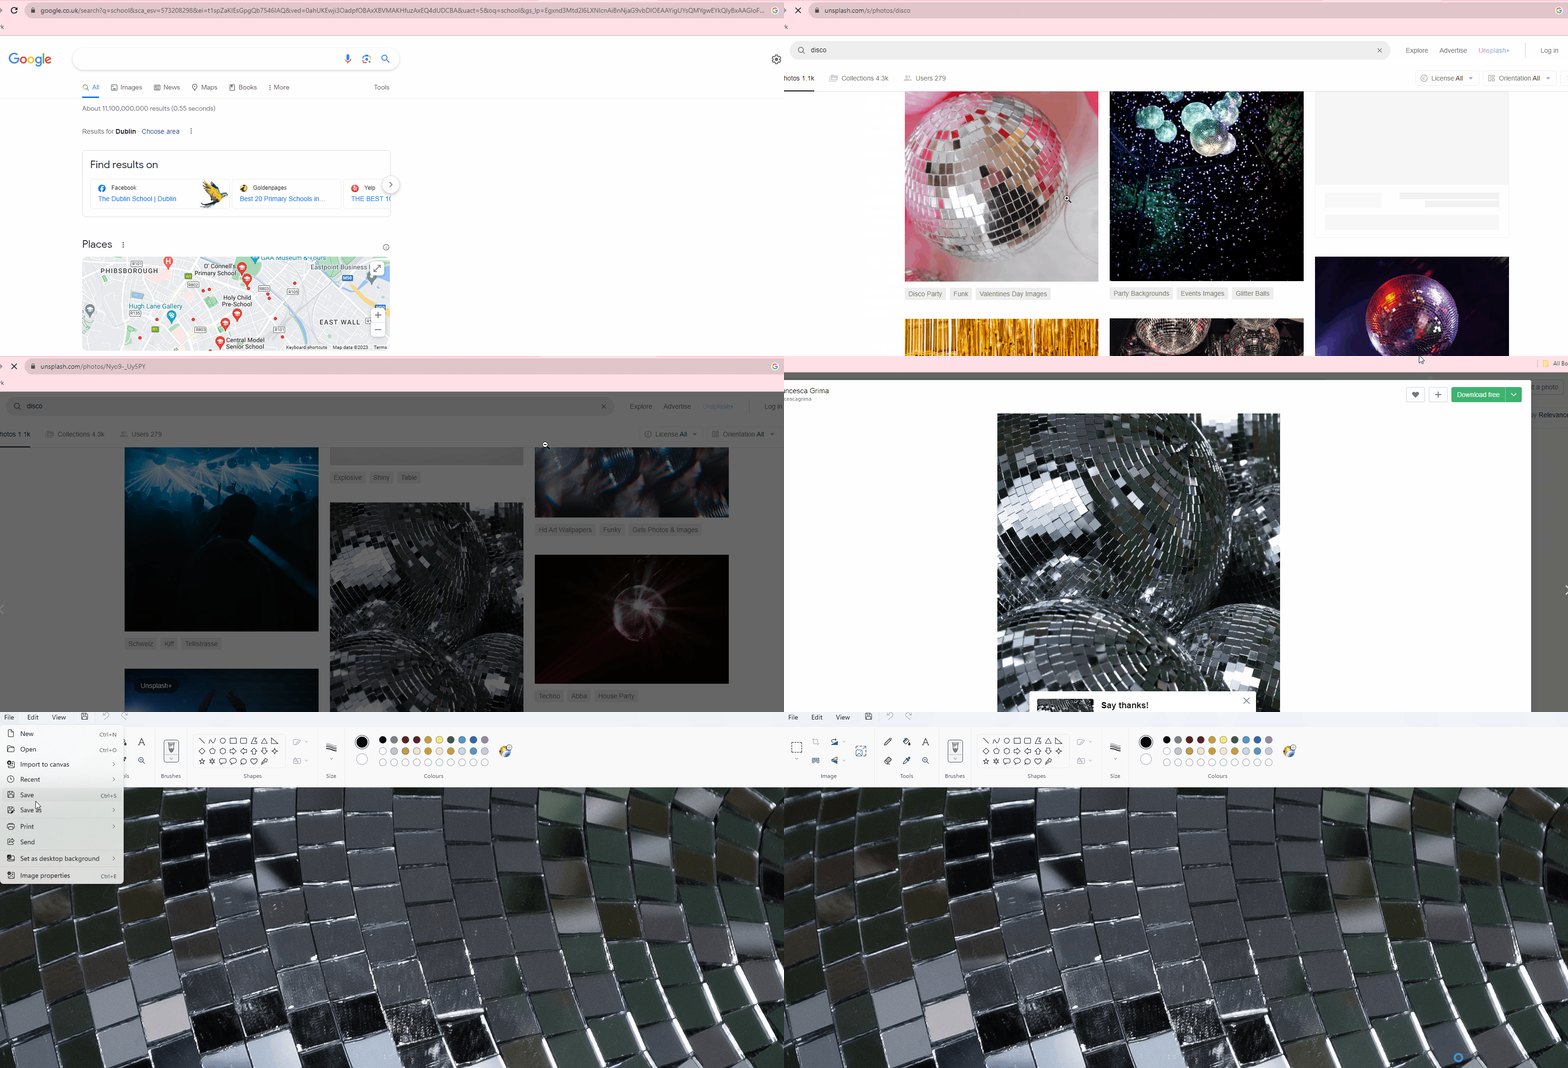
    1. Open your web browser (like Google Chrome).
    2. In the search bar, type "Free images for school disco poster Free images for school disco poster - Unsplash, Pexels, and Pixabay" and press Enter.
    3. You'll see a list of websites that offer free images. Some popular ones include Unsplash, Pexels, and Pixabay.
    4. Click on one of these websites to explore their collection of images.
    5. Save the image as png or jpg on your device.


    2 - Insert an Image

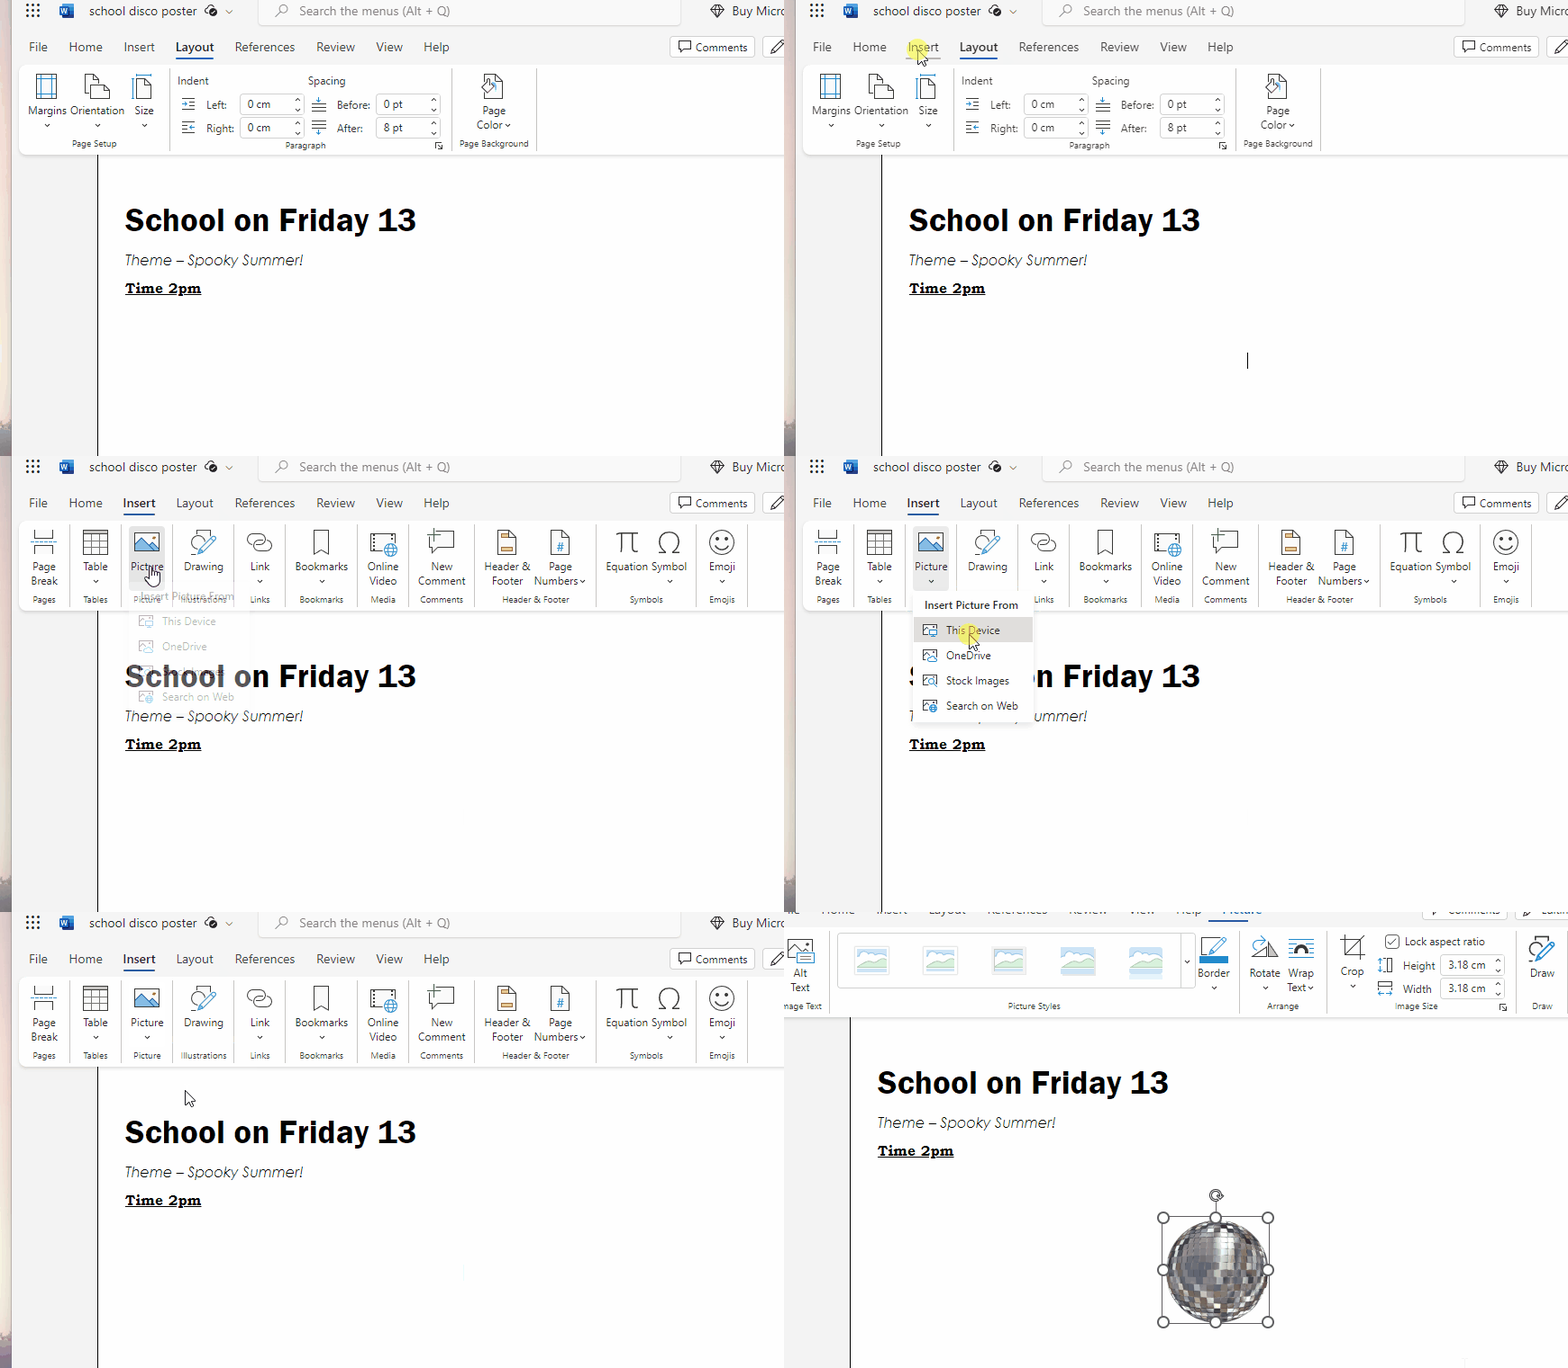
    1. Click on the 'Insert' tab in the ribbon, then click on the 'Pictures' icon.
    2. Choose the image from your computer or search for a disco-themed image online.
    3. Click 'Insert' to add it to your poster.

    3 - Resize the Image

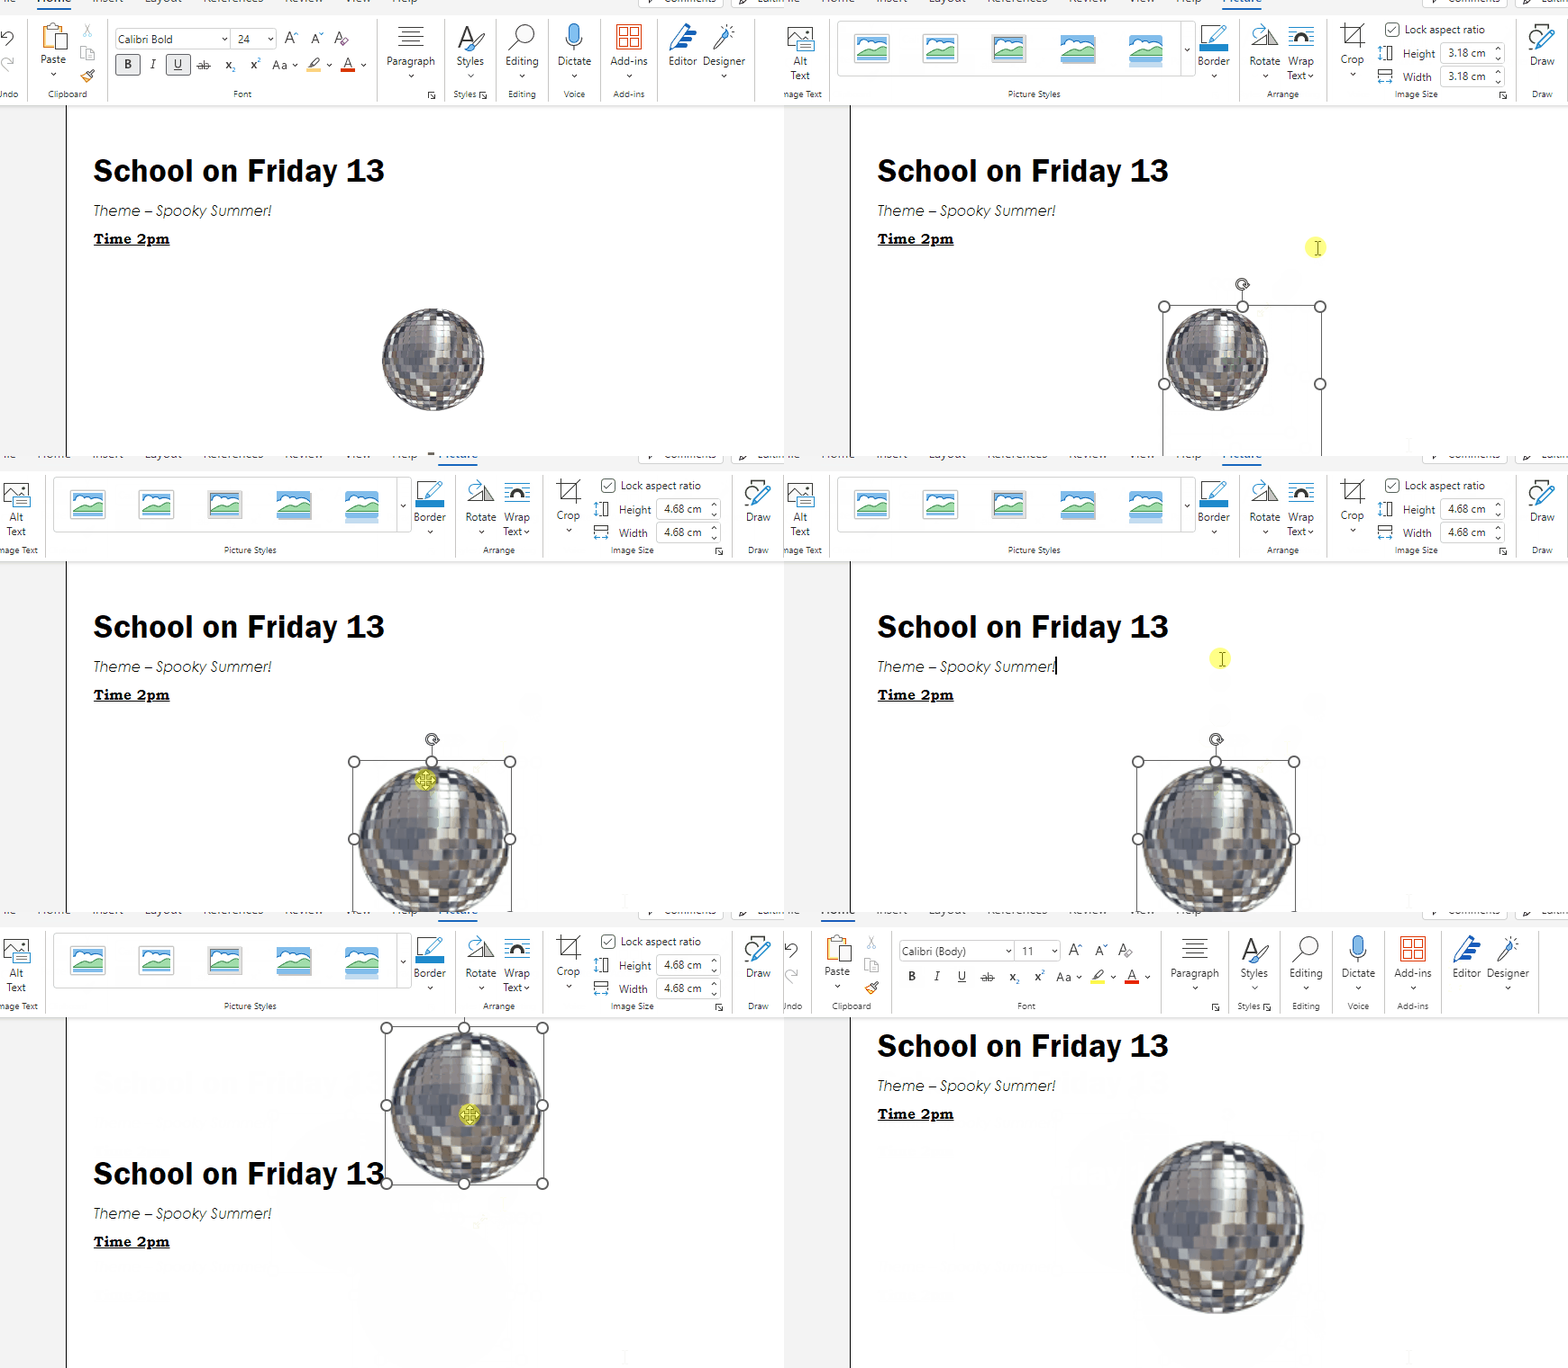
    1. Click on the image to select it.
    2. You'll see small circles (called 'handles') around the image.
    3. Click and drag a corner handle to resize the image proportionally. Release the mouse button when you're happy with the size.

    4 - Crop the Image

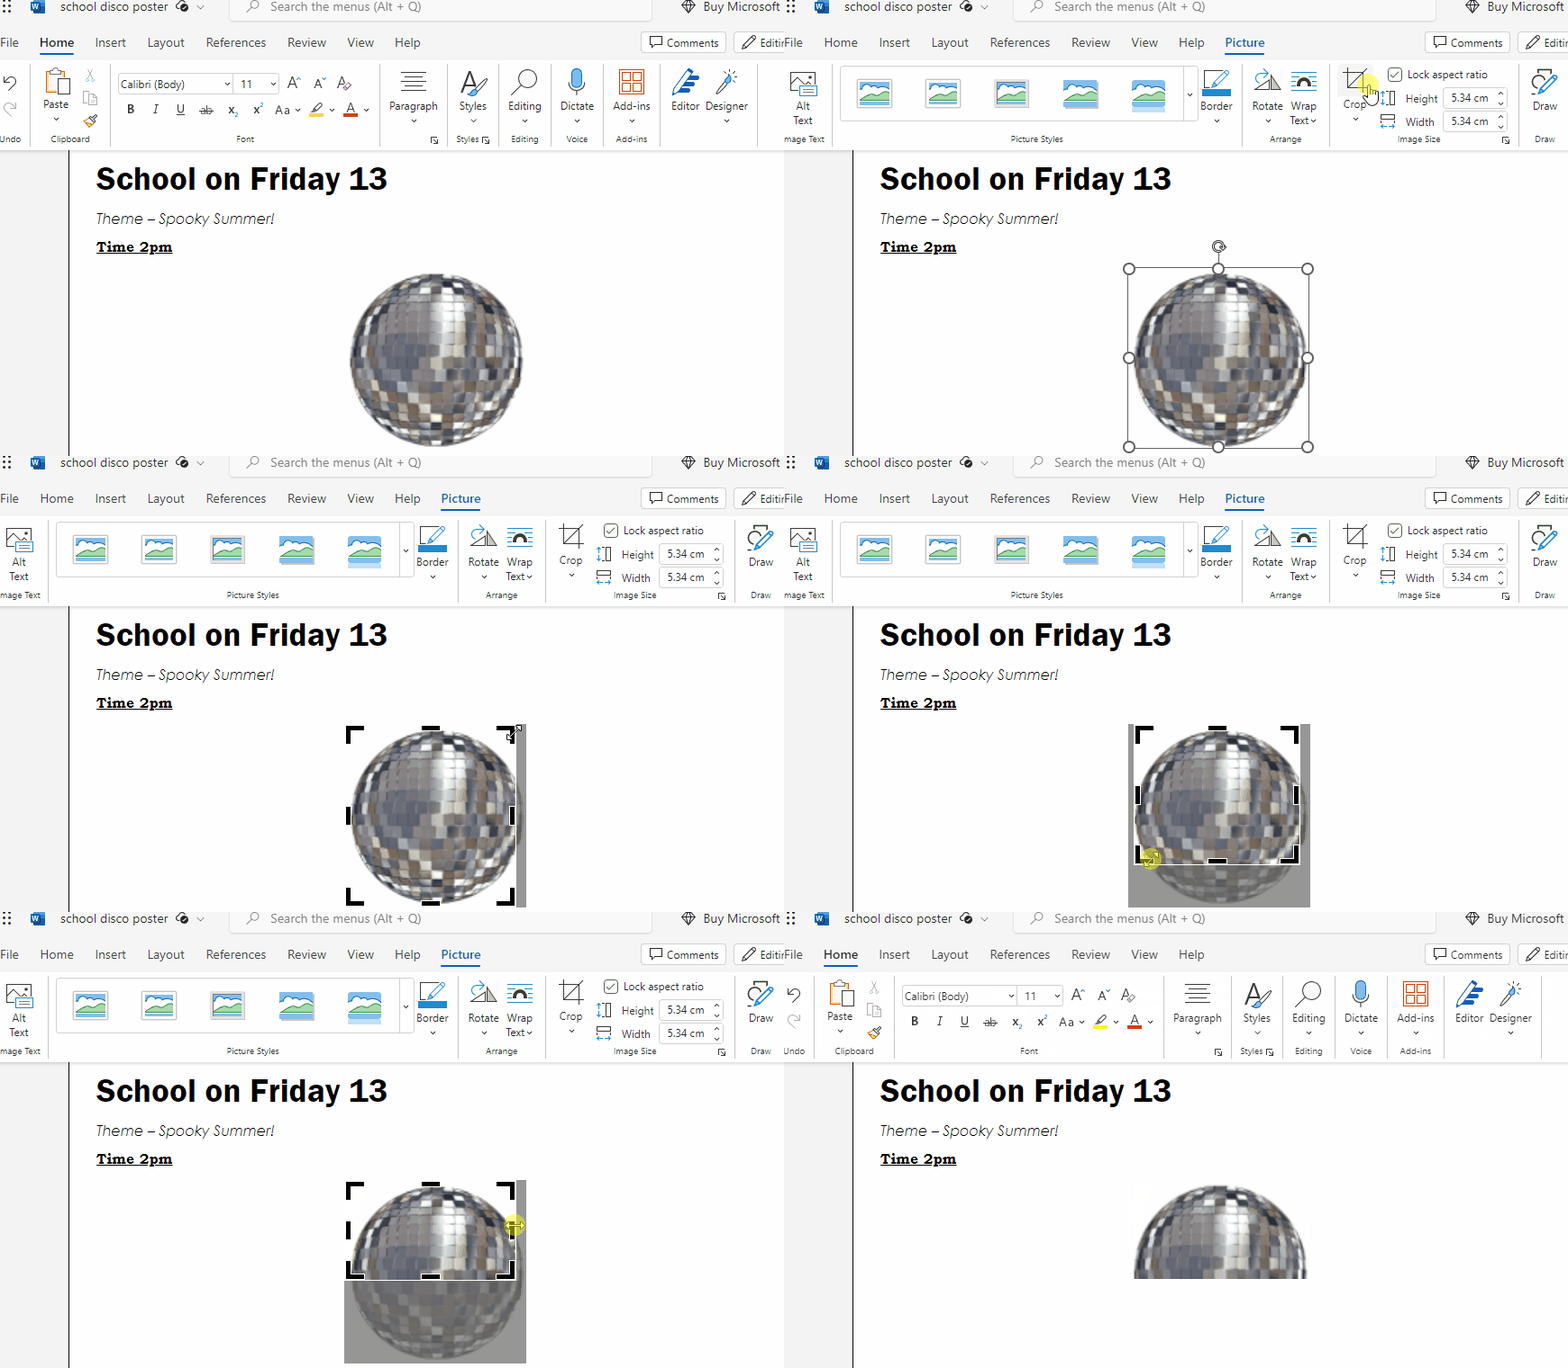
    1. With the image still selected, click on the 'Format' tab in the ribbon.
    2. Click on the 'Crop' icon, then drag the black crop handles to crop your image as desired.
    3. Press 'Enter' or click outside the image to apply the crop.

    123learn · Online learning platform

    Unlock the full learning experience

    You're previewing this lesson. Get full access to this lesson and hundreds more — each one ready to teach, with interactive activities, printable resources and pupil progress tracking built in.

    Hundreds of curriculum-aligned lessons
    Interactive activities in every lesson
    Printable resources & progress tracking
    Copyright Notice
    This lesson is copyright of Coding Ireland 2017 - 2026. Unauthorised use, copying or distribution is not allowed.
    🍪 Our website uses cookies to make your browsing experience better. By using our website you agree to our use of cookies. Learn more