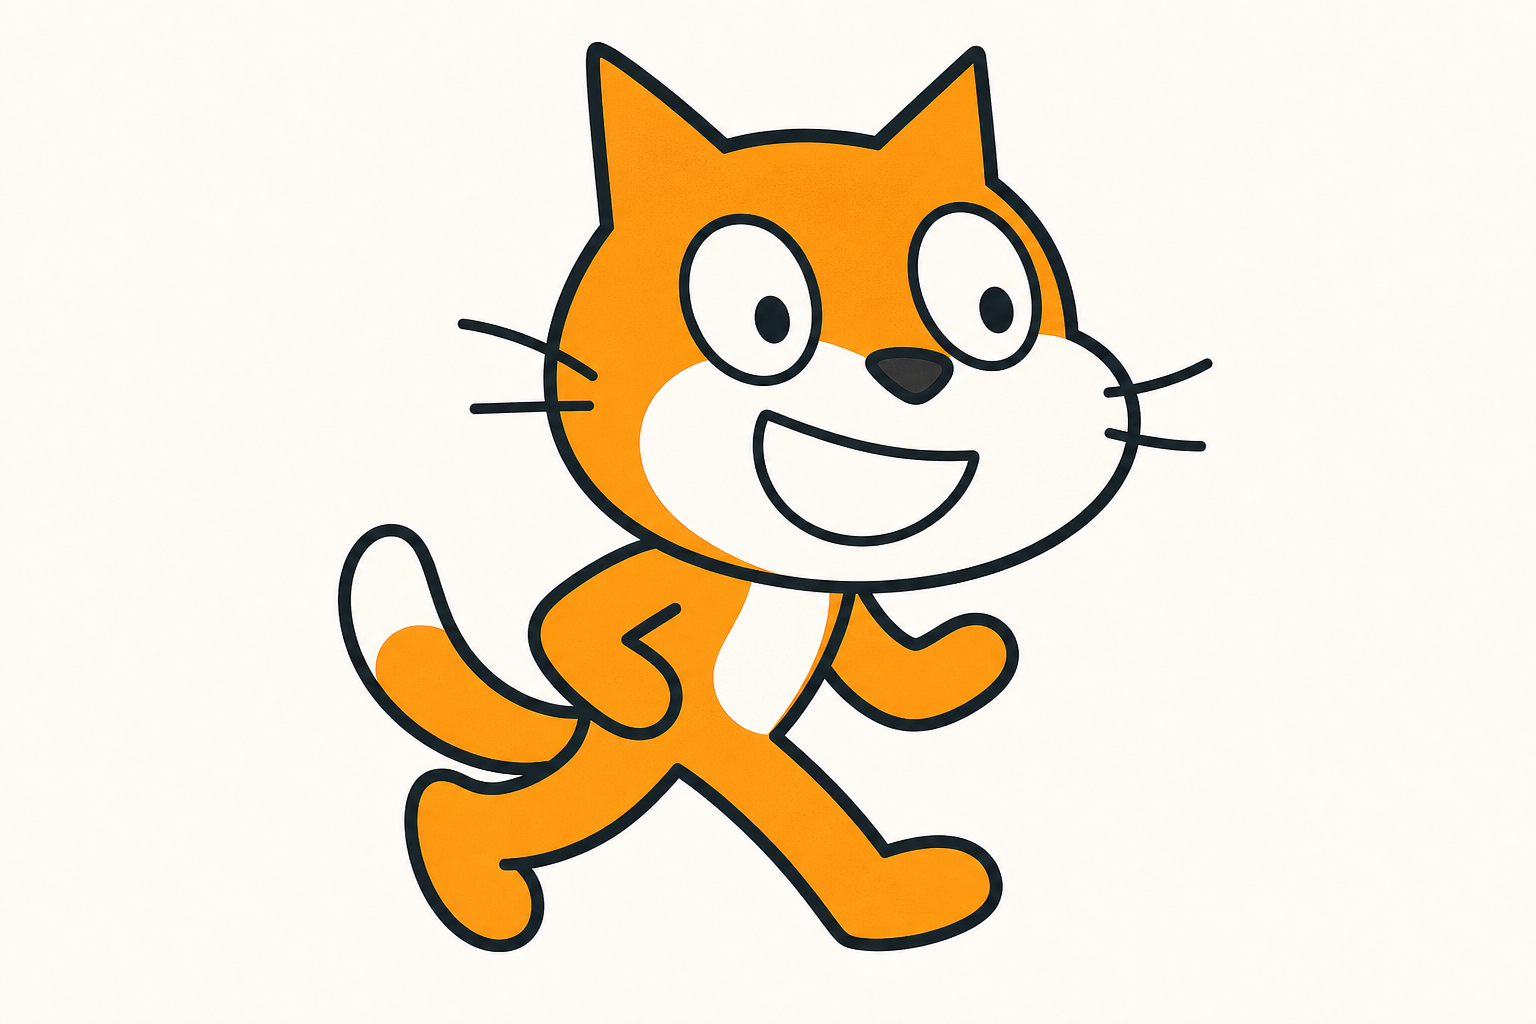
 Programmers give a computer a clear list of instructions and then run it to see what happens — exactly what you're about to do. Some of you have used ScratchJr; today we move up to the full version of Scratch that older students and real coders use.
Watch the board first as each piece is modelled, then try it on your own device and click to run it. Keep an eye out for things that feel familiar from ScratchJr — and things that are brand new.
Welcome to Scratch! Scratch is a place where you can make your own games, animations and stories. You will bring a character to life: make it move, dance, jump and more. You will also give it a scene to live in, called a backdrop.
Talk about these together:
- What do you think coding is?
- Have you ever wanted to create your own game or animation?
- What kind of character would you like to bring to life?
- Can you imagine making your character move, dance, or jump with your own code?
Welcome to the exciting world of Scratch!
Next we're going to watch a short video that will introduce us to Scratch. As we watch, pay close attention to how the characters, or 'sprites', move around and interact. Think about how you might like to make your own sprite move. Maybe it could dance, jump, or even fly! After we've watched the video, we'll start exploring Scratch ourselves. So, let's get ready to dive into this fun coding adventure!
 Now it is your turn to try Scratch yourself. Take out your device and go to the Scratch website:
scratch.mit.edu
Here is what to do:
- First, turn on your device.
- Then open a web browser.
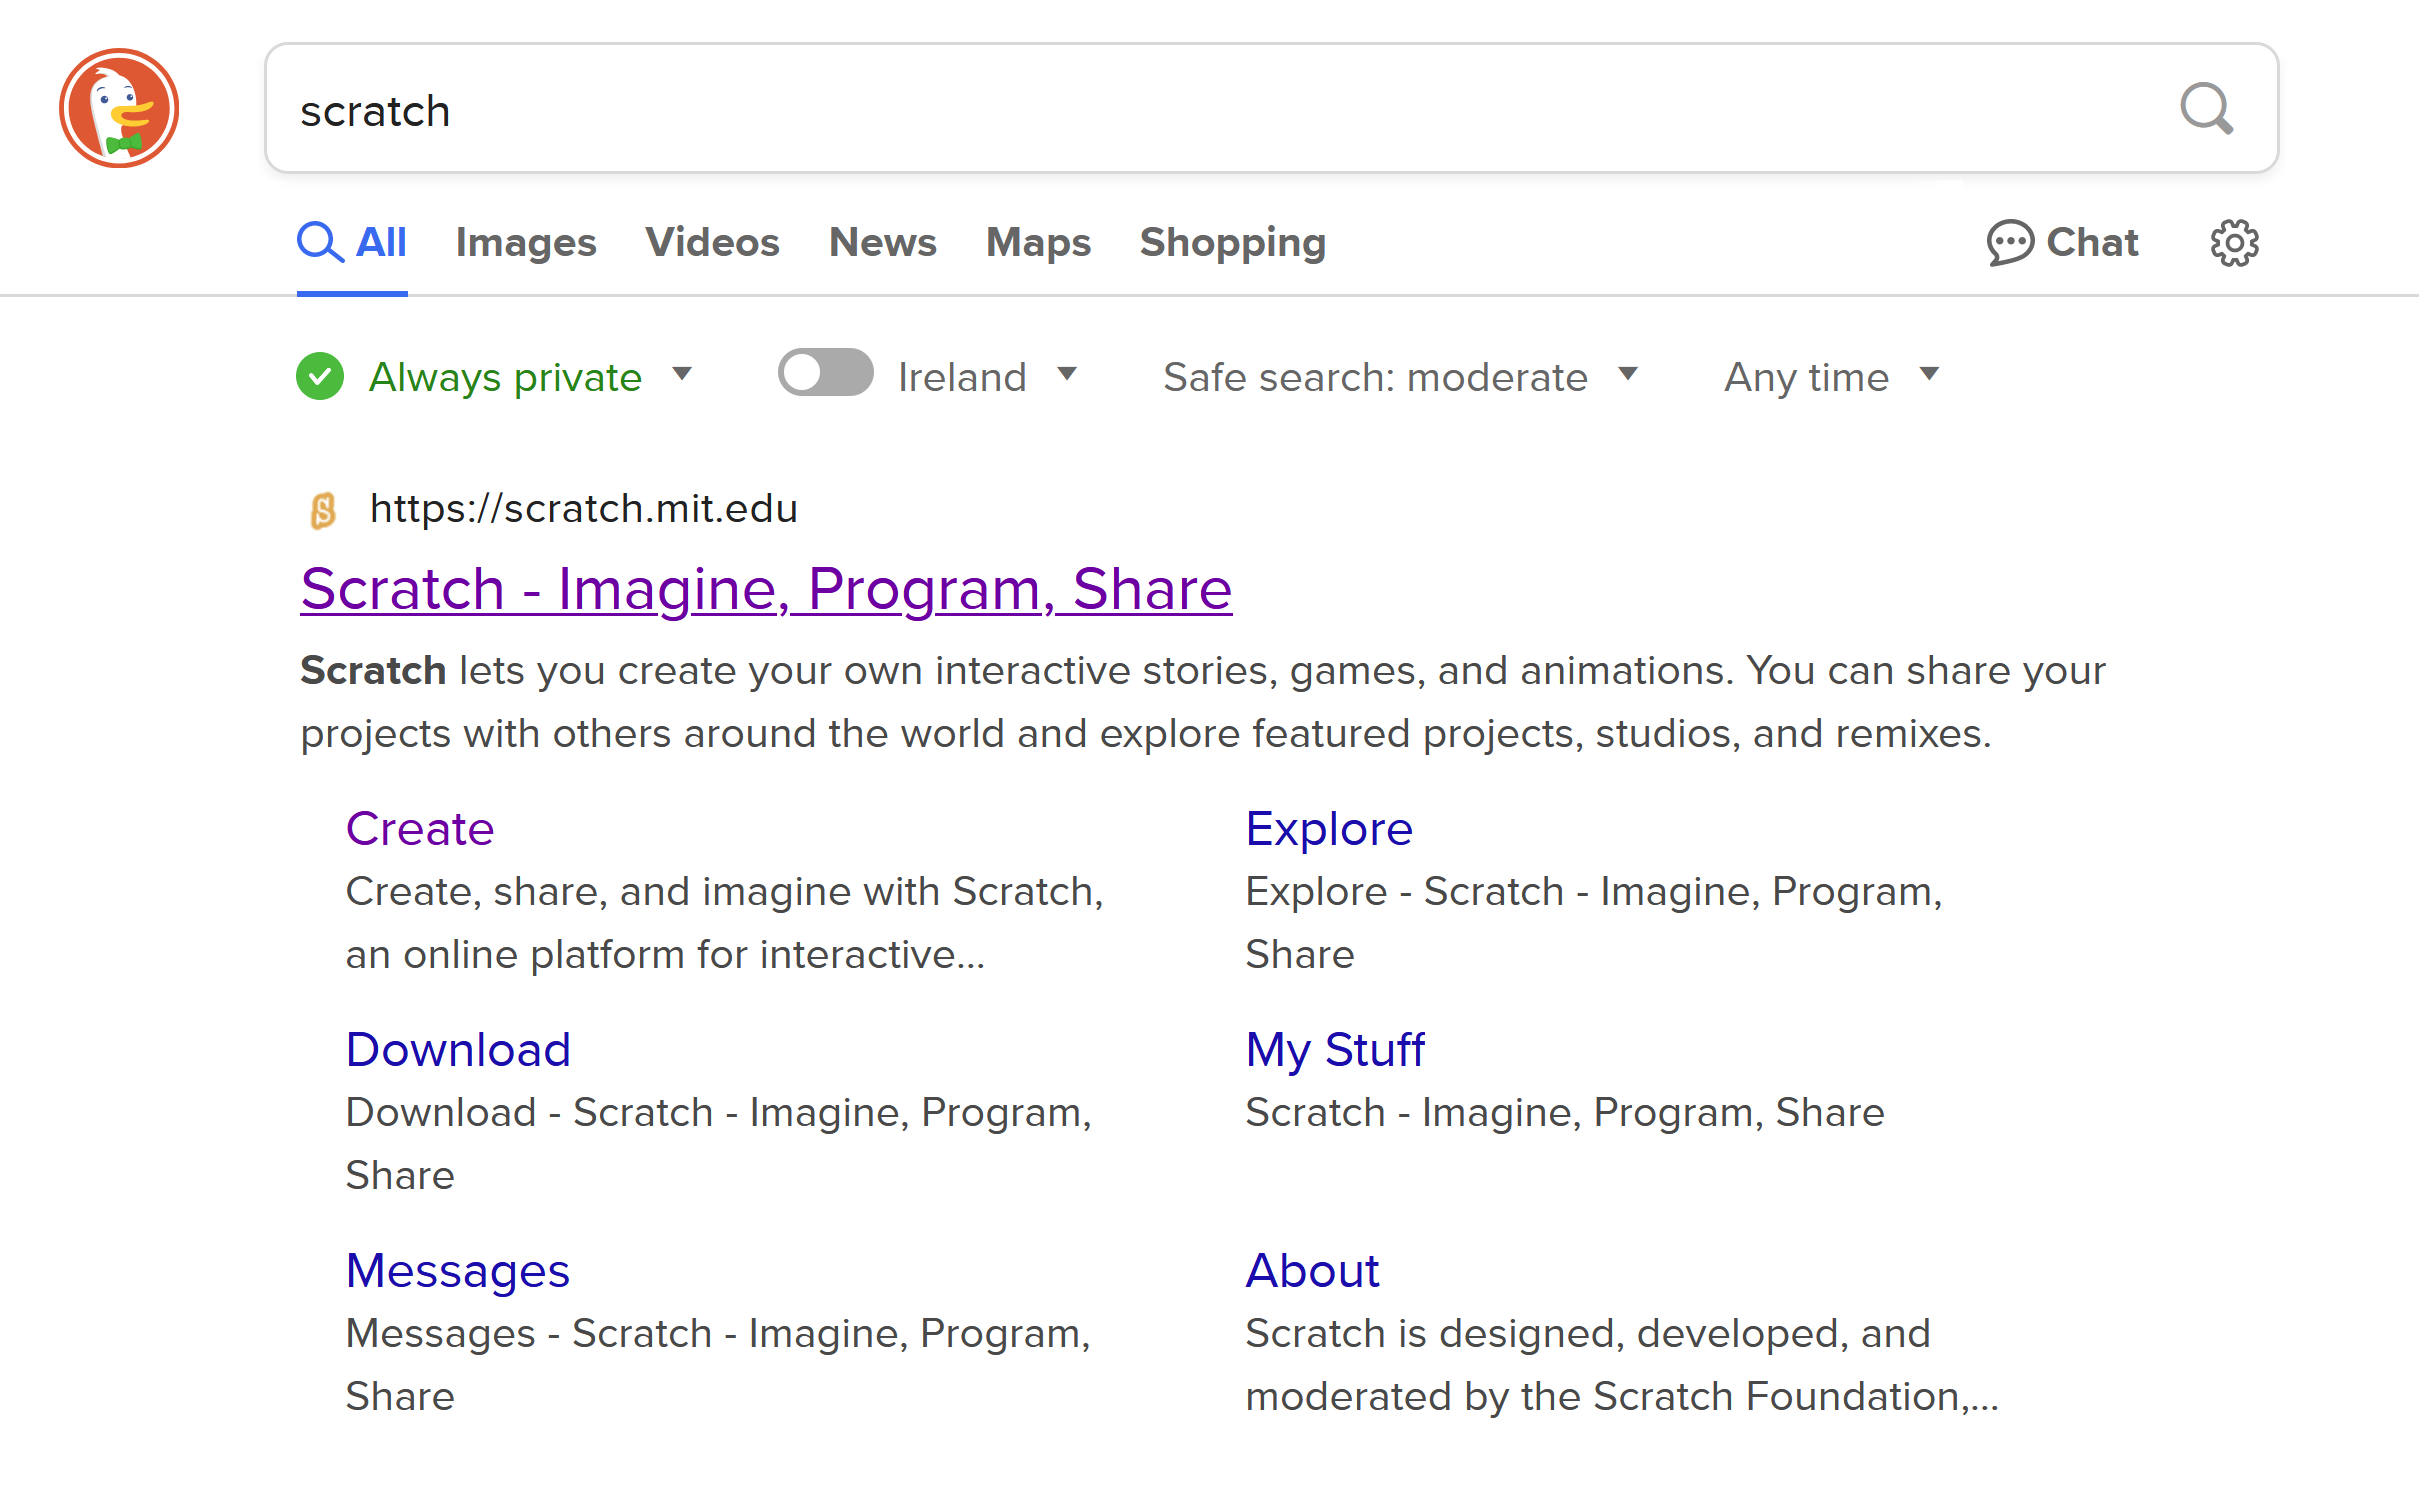
- Then go to the Scratch website, either by typing the address scratch.mit.edu, or by searching for 'scratch' in a search engine and opening the website from the results.
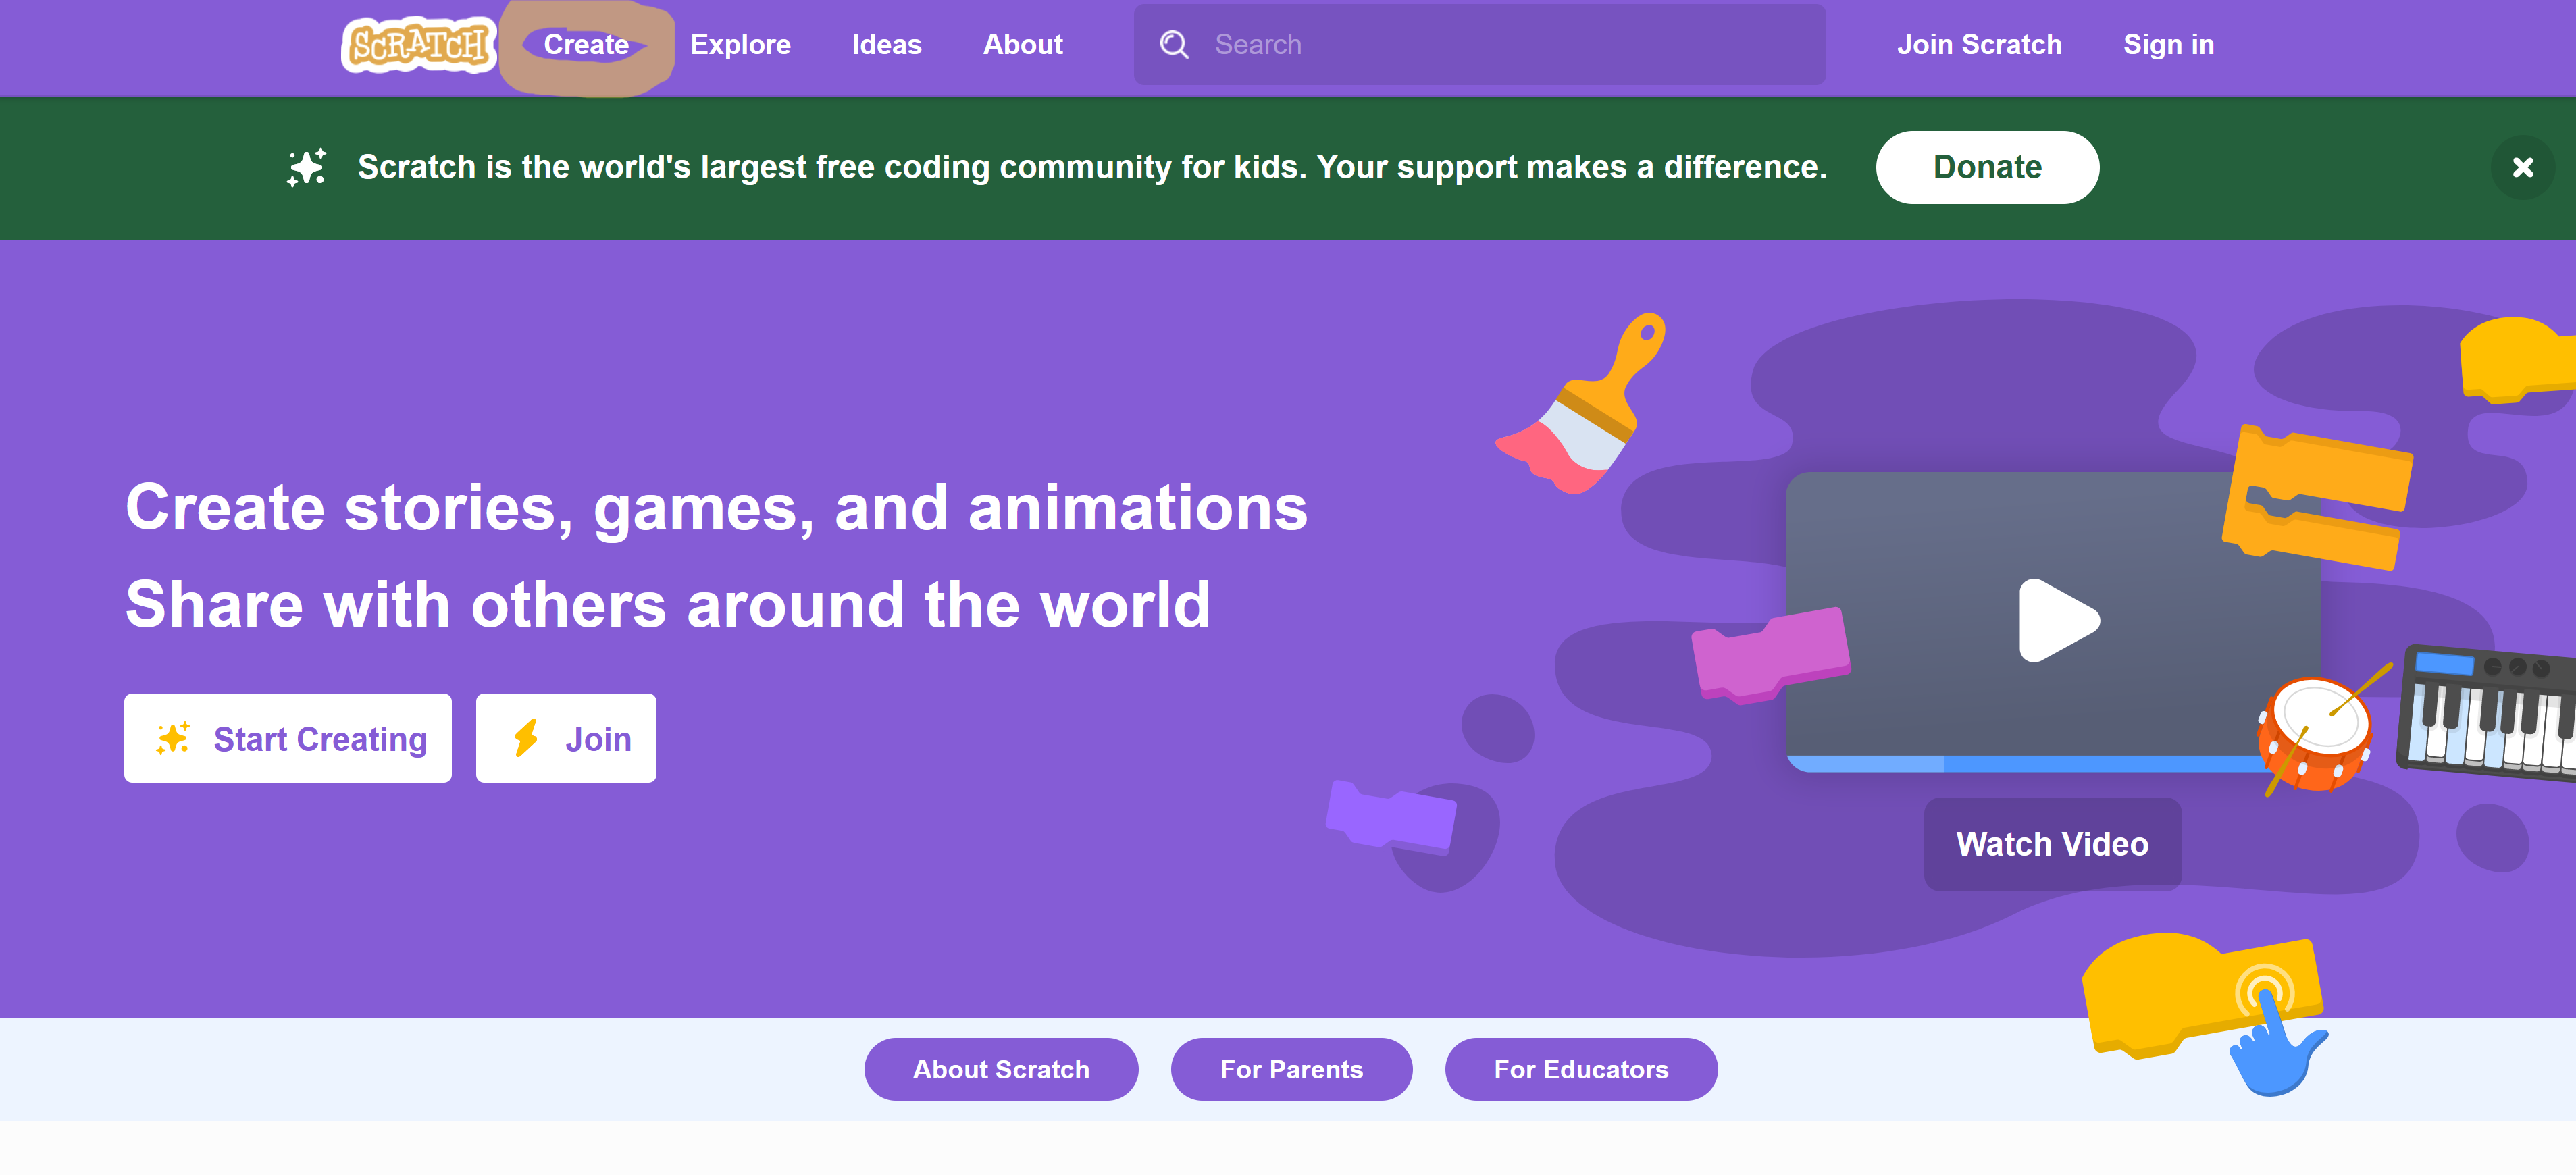
Once you are on the Scratch website, click on the 'Create' link at the top of the page. This will open up the project editor.
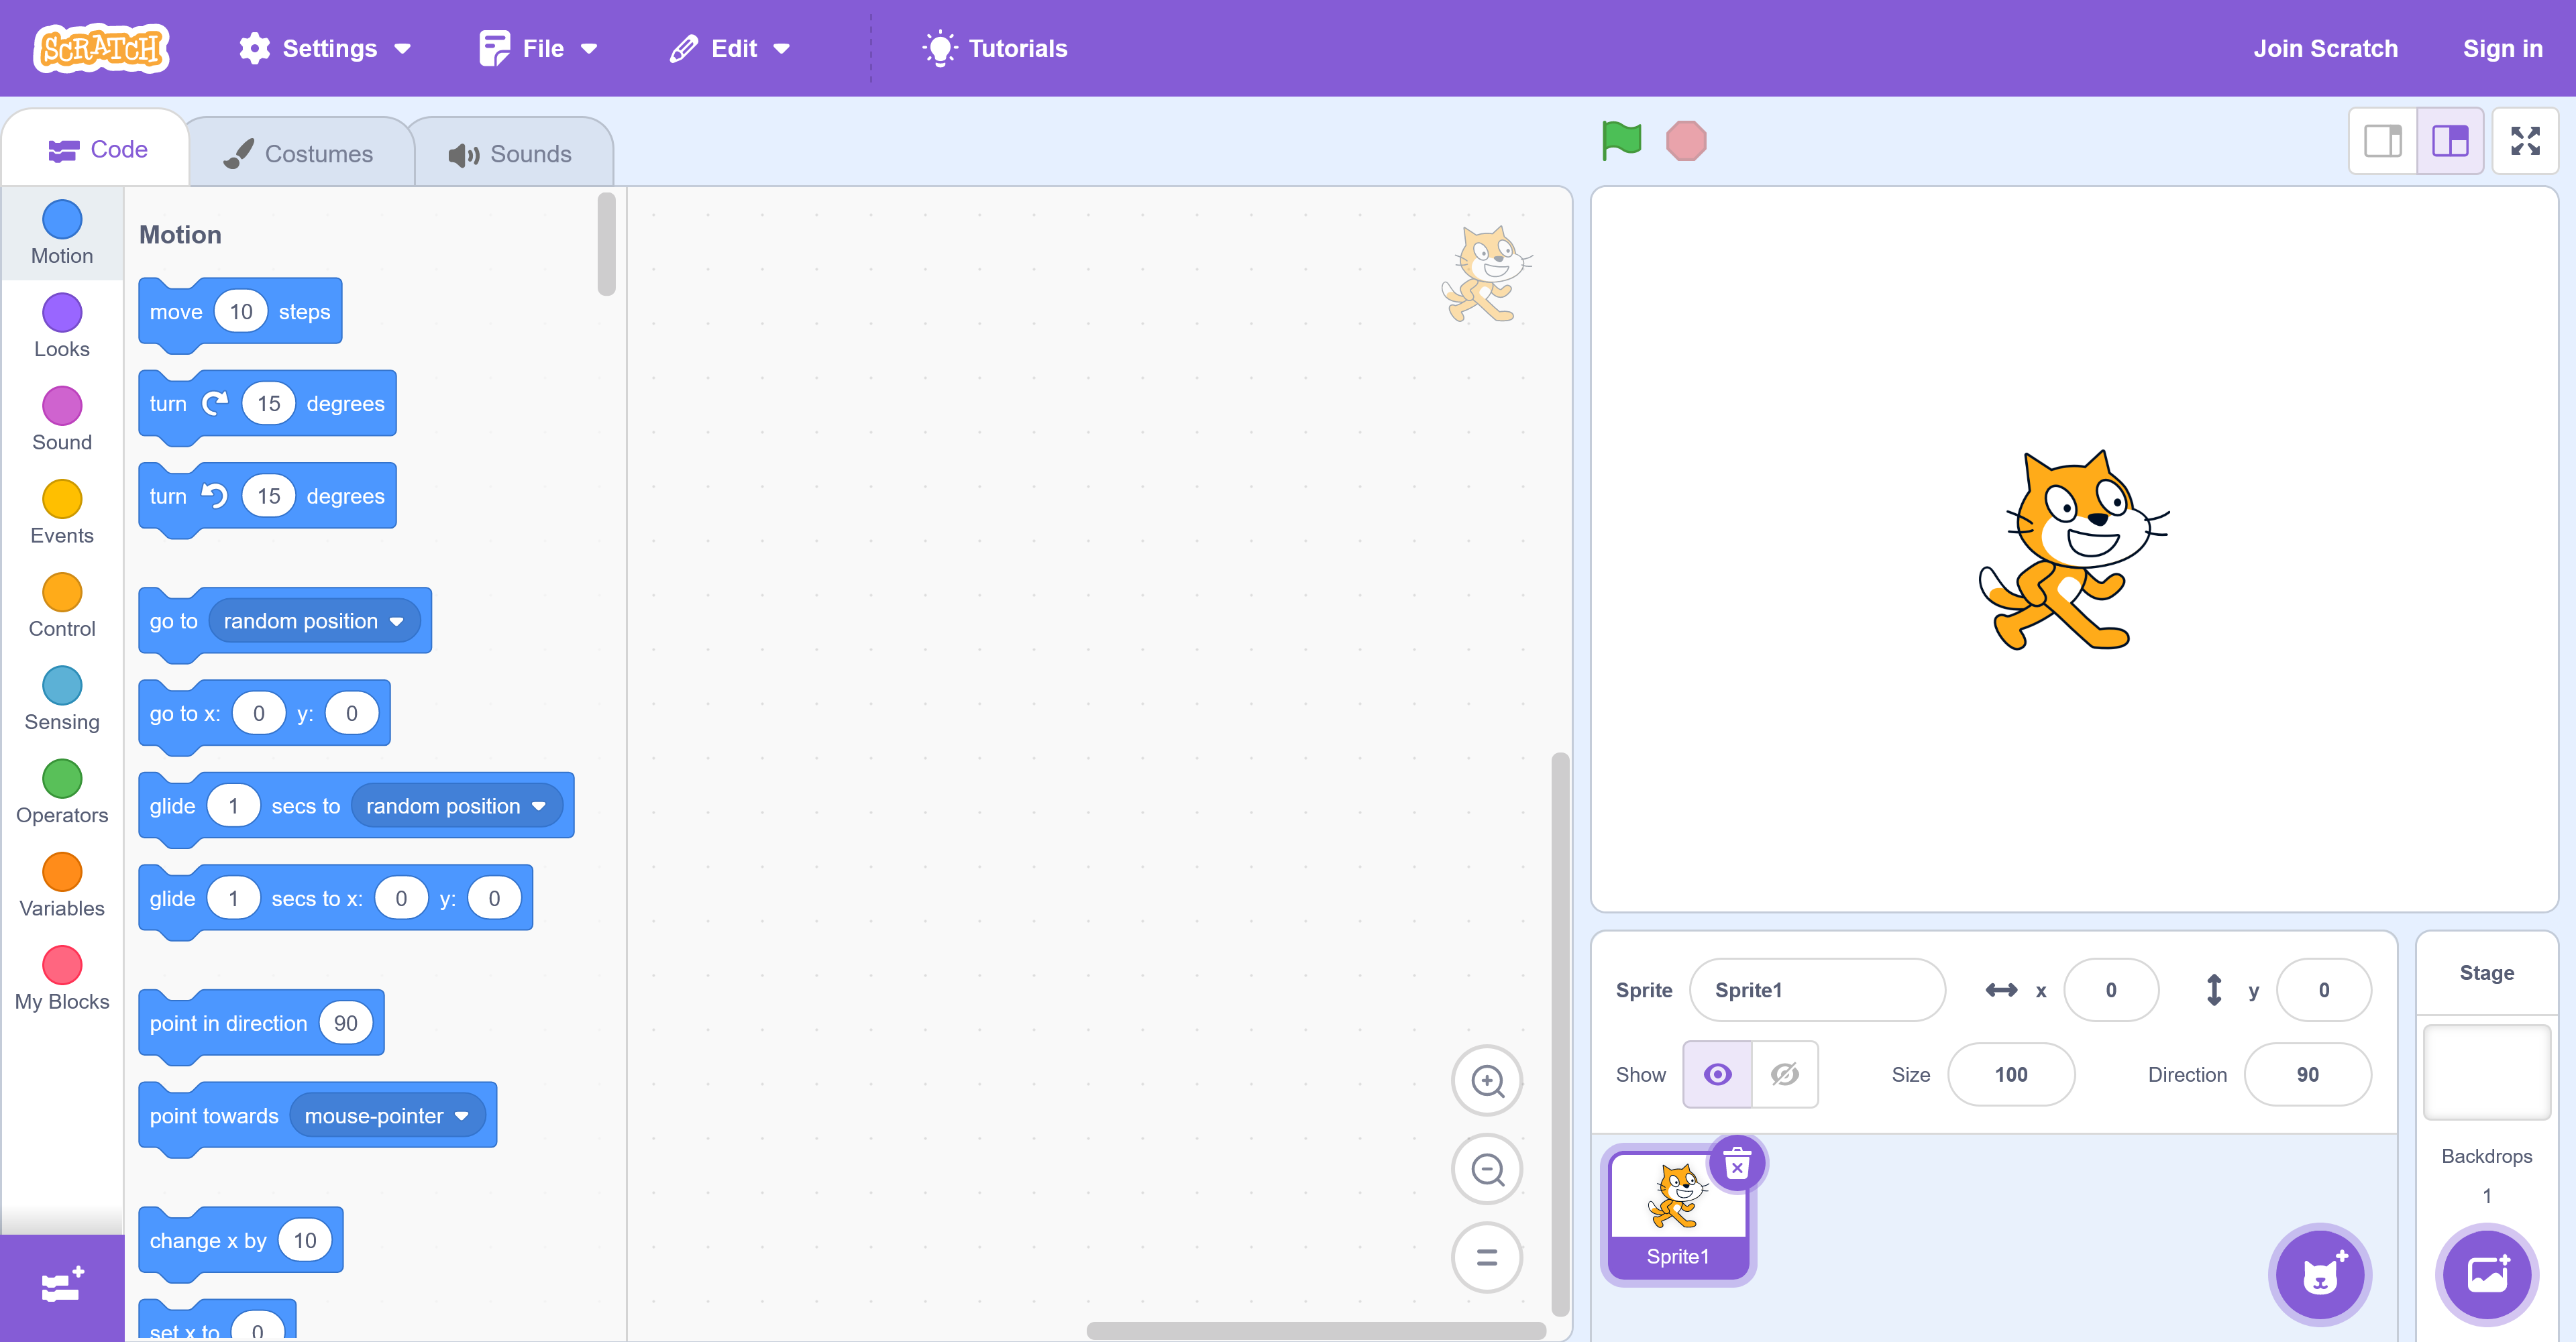
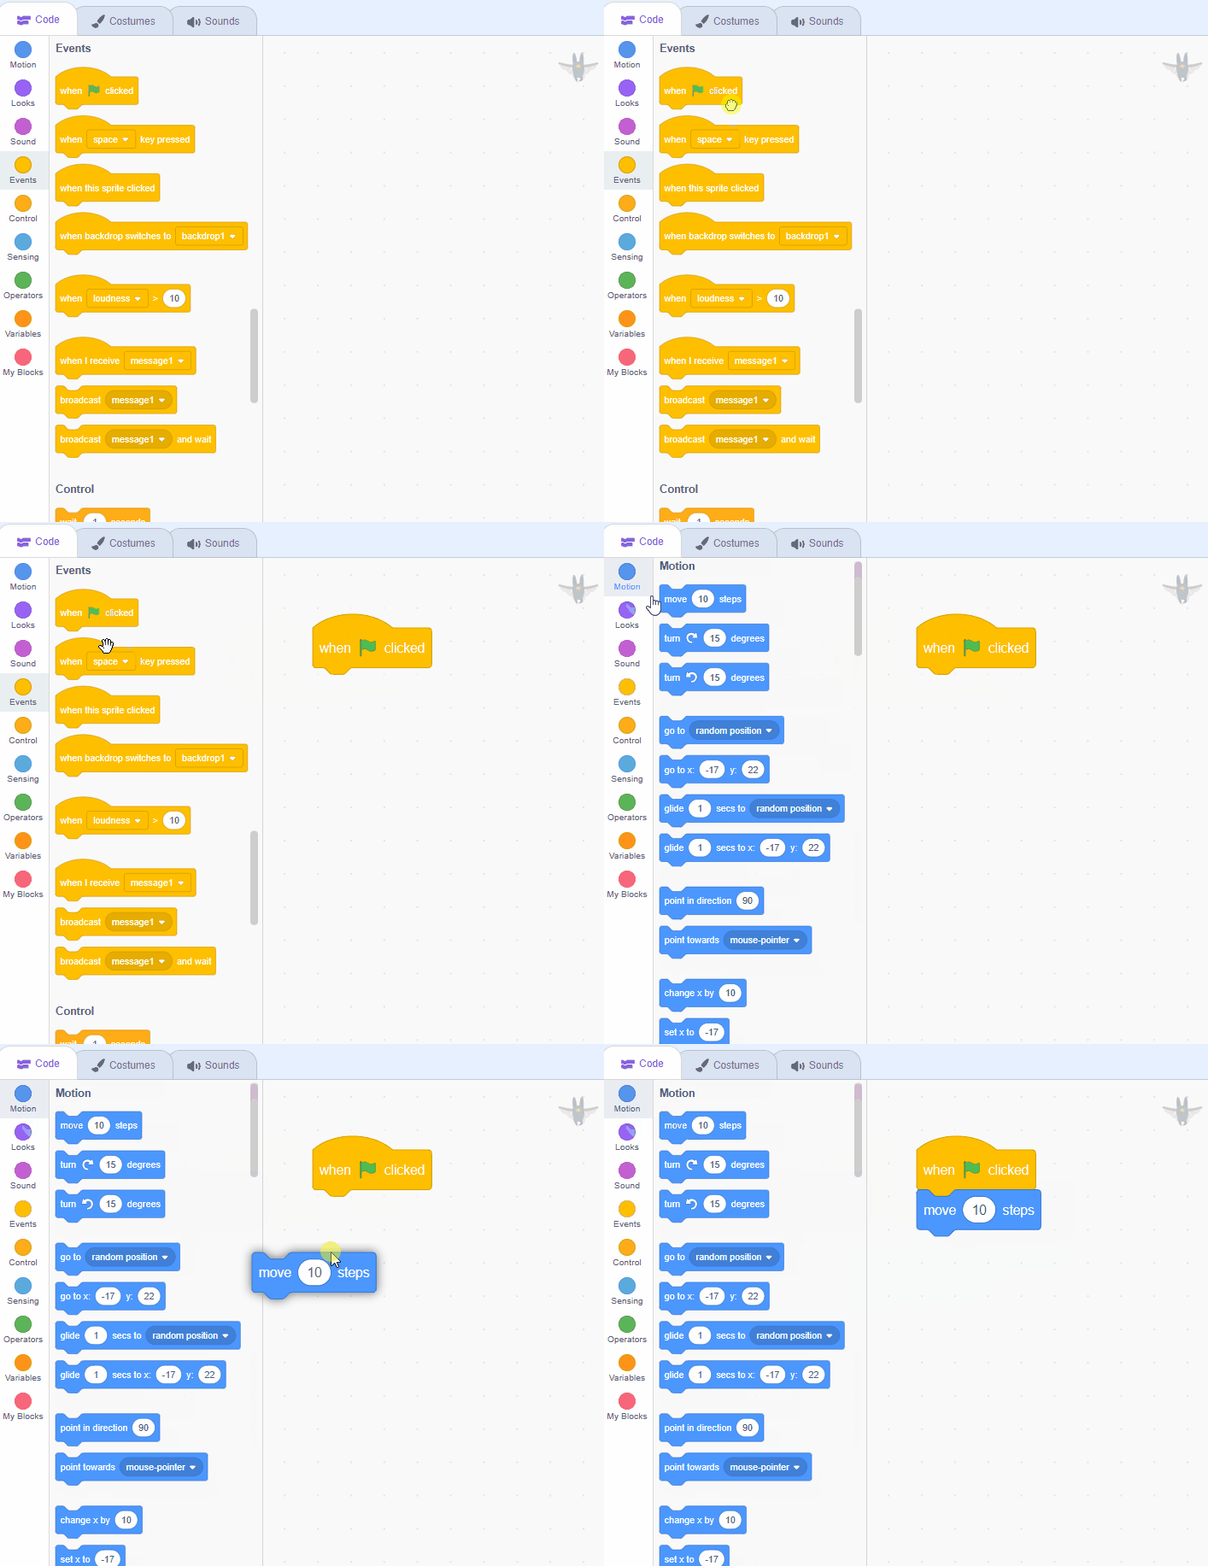
 Now let's add our first piece of code. You are going to give the cat sprite some instructions to move.
Open the Events toolbox (yellow circle) and drag the
when green flag clicked
block into the code area. Next, open the Motion toolbox (blue circle) and attach the
move (10) steps
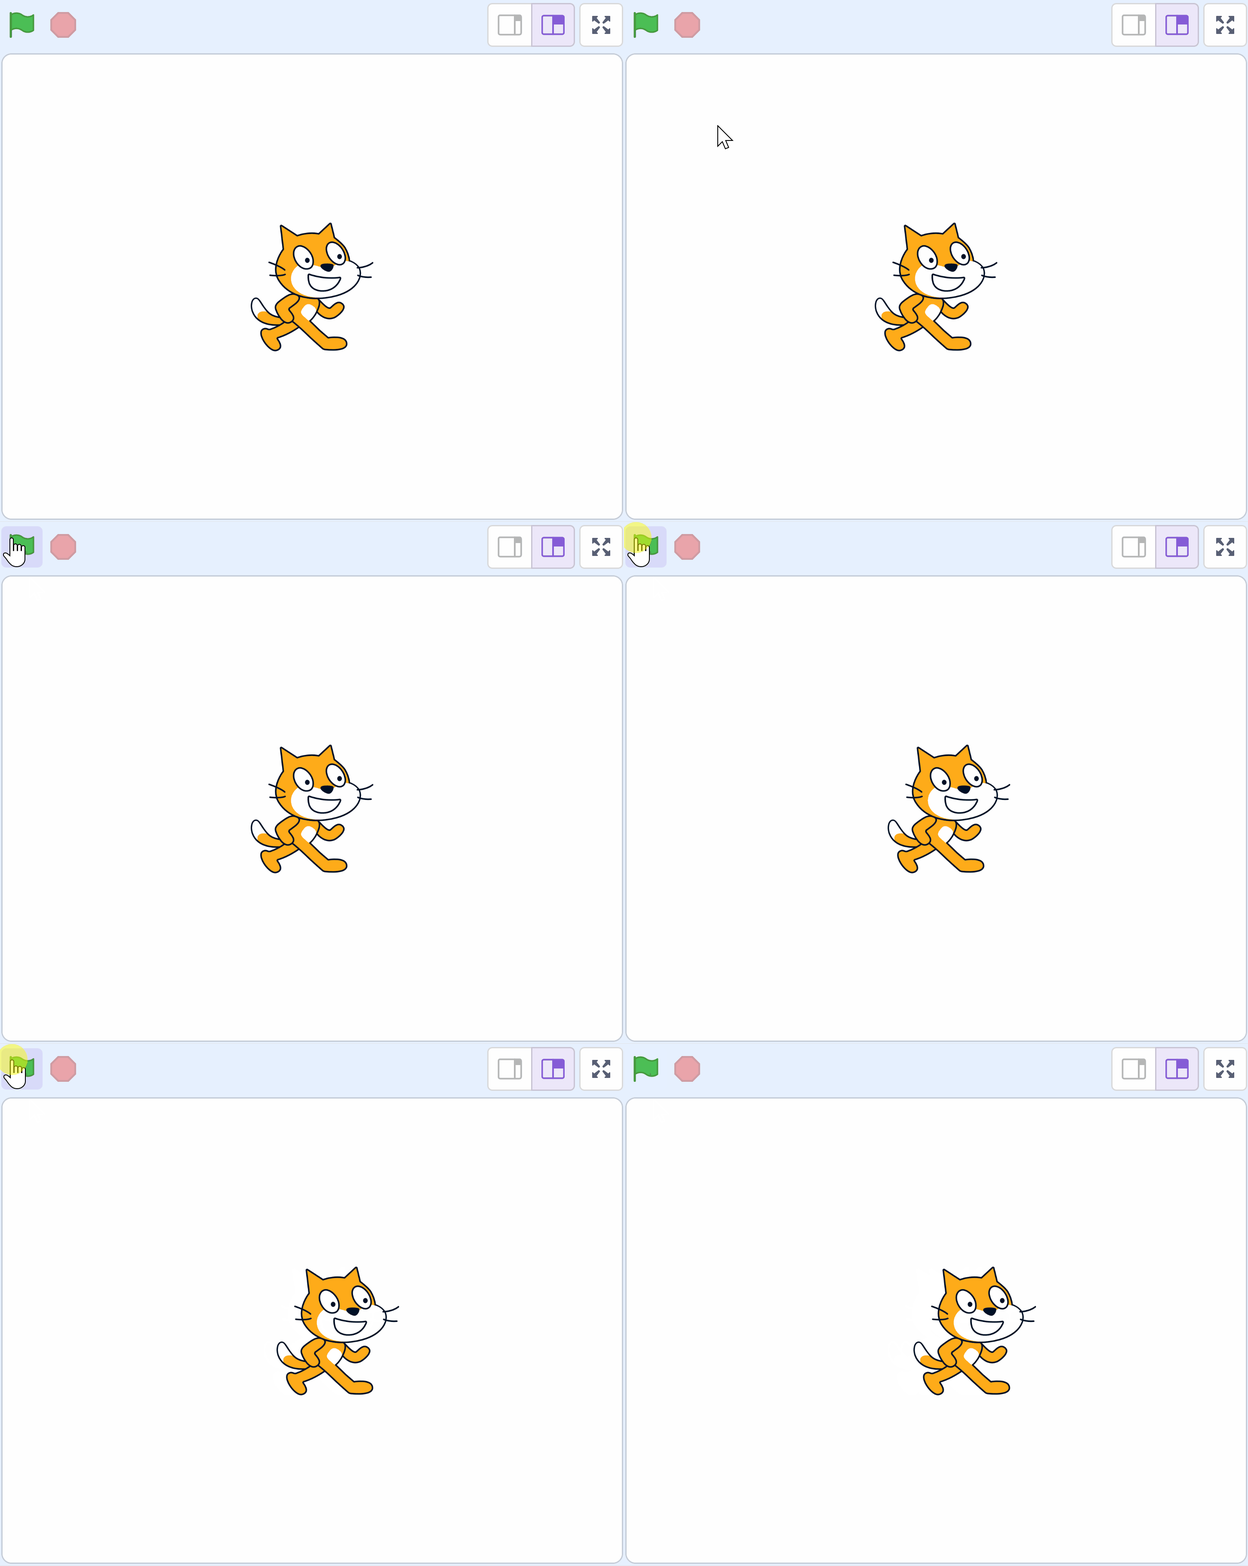
block to the when green flag clicked block.
Unlock the full learning experience
You're previewing this lesson. Get full access to this lesson and hundreds more — each one ready to teach, with interactive activities, printable resources and pupil progress tracking built in.
This lesson is copyright of Coding Ireland 2017 - 2025. Unauthorised use, copying or distribution is not allowed.
Scratch is developed by the Lifelong Kindergarten Group at the MIT Media Lab. It is available for free at https://scratch.mit.edu