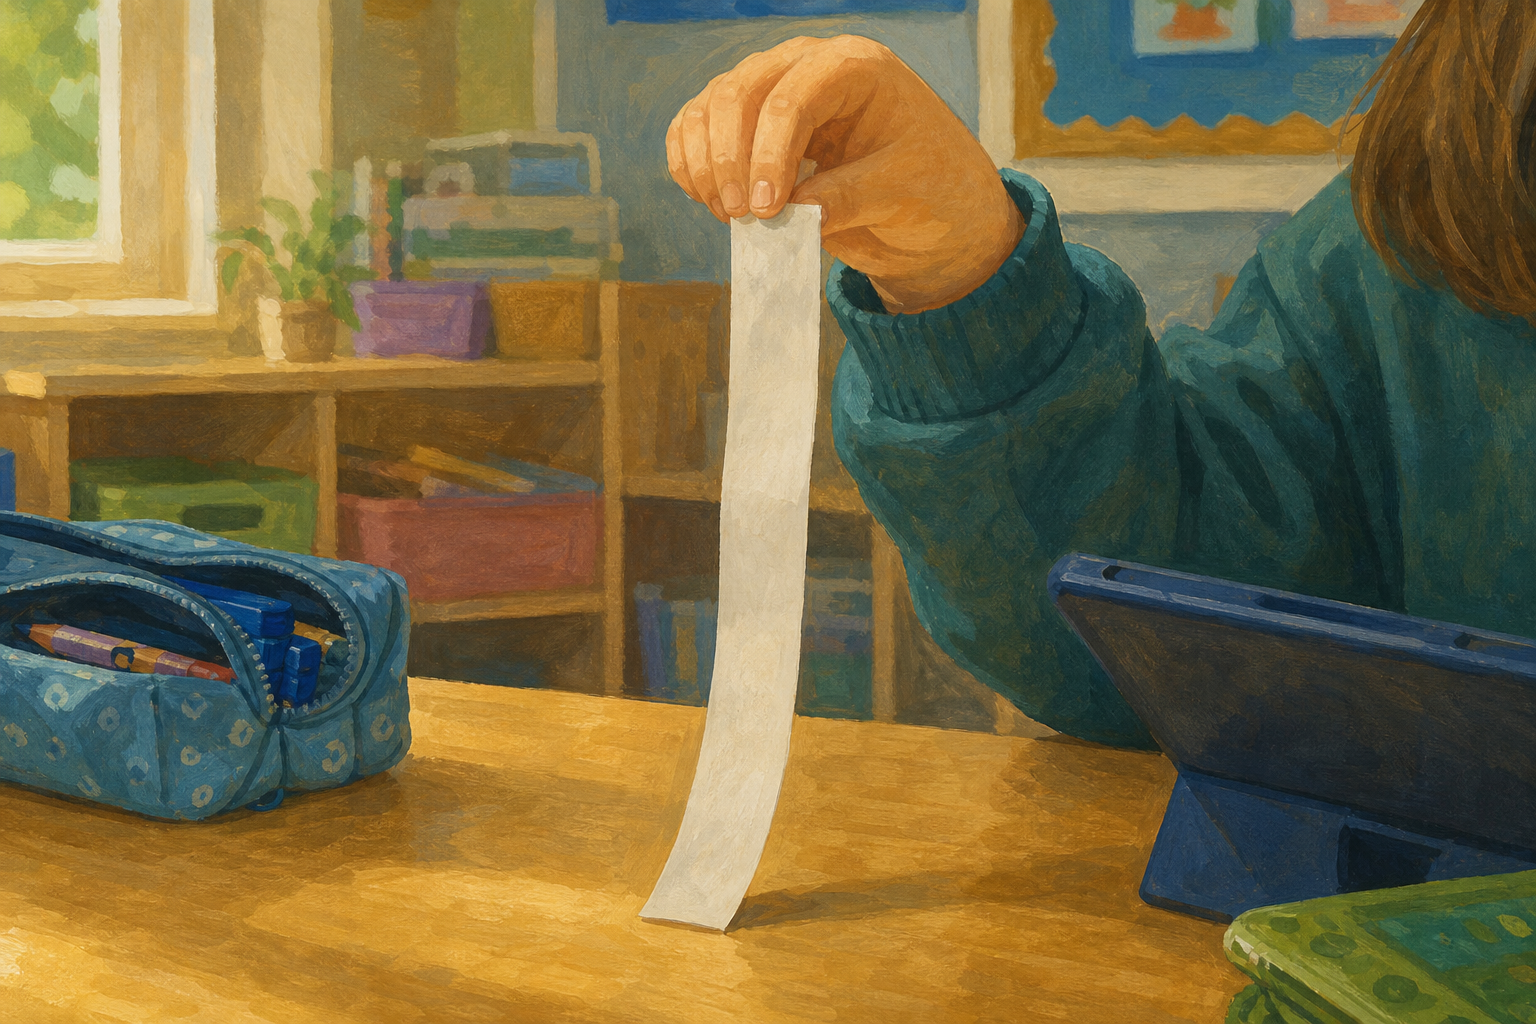
I am holding one end of this paper strip so the rest sticks out. What do you think will happen?
Hands up with your guess: will it stay out, or will it flop?
Hold one flat strip out from one end so the class can see it flop. This is a live demo in your hand, not something on the board. Keep this beat light: one surprise, one question. Do not teach folds yet and do not hand out strips until the next steps.
Key question: Why do you think the paper flopped?
Accept every idea. Common guesses are that the paper is soft, thin, or heavy. Do not correct yet. The hands-on work will do the teaching.
Can a fold stop a strip of paper from flopping?
We will try it with our hands and find out.
Keep this step short. Do not read definitions aloud yet. The wonder question is enough on the board. Name each word in plain talk when pupils meet it: fold during the hand test, ridge when you show the corrugated sample before the classroom hunt.
Use hold as ordinary classroom talk (stay stiff instead of flopping), not as a third key term.
| Concept | Why it matters | Example |
|---|---|---|
| Fold — a crease that bends a flat material so it is no longer smooth and flat | A fold can change how strong a thin material feels in your hand | A paper strip folded lengthways into a deep V stays out when you hold one end |
| Ridge — a raised fold or wavy line that helps a material keep its shape | Ridges and waves stiffen thin materials without making them thick and heavy | Corrugated cardboard has a wavy middle layer so boxes hold their shape |
Misconception to head off later: children may say the folded paper is "heavier" or "thicker paper". It is the same strip. The shape has changed, not the amount of paper.
We will try three ways, one at a time. Use a fresh paper strip for each try.
1. Hold a flat strip from one end. Feel what happens.
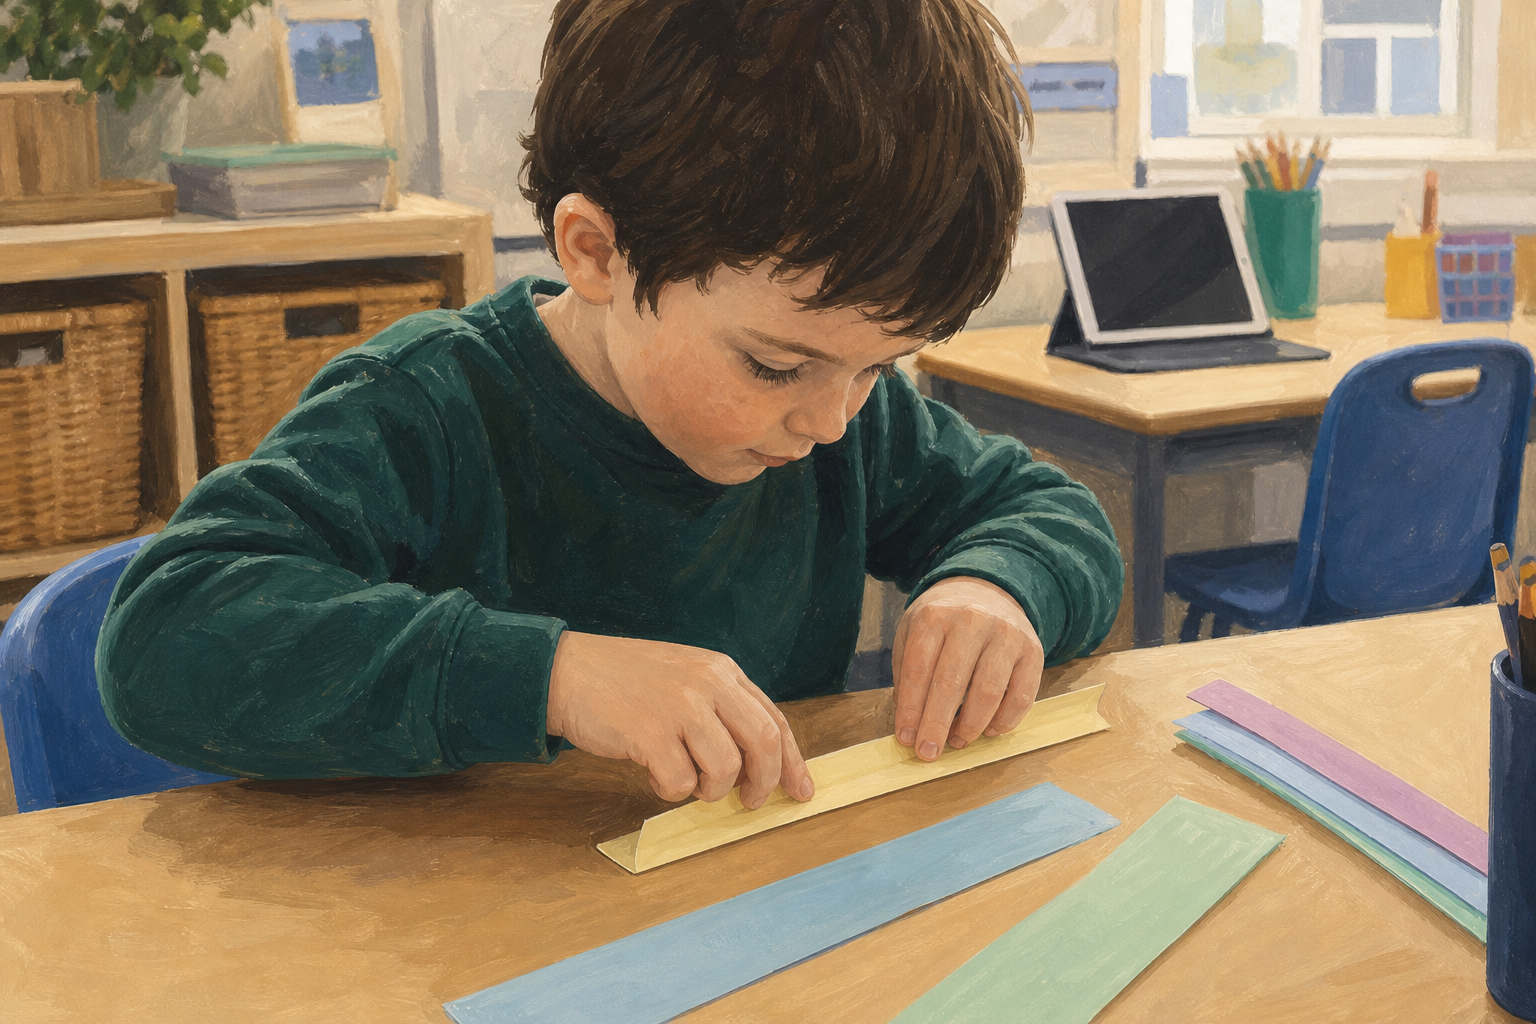
2. Fold a new strip into a deep V. Hold one end again.
3. Fold another new strip into zigzag folds, like a paper fan. Hold one end.
Each time, hold one end only. Do not put anything on top. Feel what your hand notices.
Cut several paper strips per child (about 3 cm wide and 20–25 cm long works well). Plain A4 cut lengthways is fine. Have one spare strip ready for your model. Pupils need a fresh strip for each of the three tries, so plan at least three strips each.
Do not leave all three instructions on the board at once if you can help it. Point to try 1 only, run it, then reveal try 2, then try 3. A simple 1–2–3 picture sequence on the board also works. At 7–8, one feel-test at a time keeps the order clear.
Think aloud with your own strips before pupils begin. Use a fresh strip for each try — do not try to un-crease a deep V into clean fan folds. Name fold in plain talk as you crease: a fold is a crease that bends the paper.
What to expect: almost every flat strip flops at once. A deep V usually stays out. Tight zigzag fan folds often feel strongest. If a V still flops, the fold is too shallow — press a sharper crease.
Key questions while circulating: What does your hand feel now? Is it the same kind of paper? What changed?
Differentiation: support with pre-creased starter folds if fine motor skills make deep folds hard. Stretch: try holding a strip from the short end and the long end and notice the difference.
Recording next: after the three tries, pupils share what their hands felt aloud (step 4). The Investigation Journal page is for the classroom hunt later, not for this hand test.
Tell your partner what your hand felt on each try: the flat strip, the deep V, and the zigzag fan.
Which one felt strongest? We will hear a few ideas.
This is a short oral share only. Do not send pupils to the Investigation Journal page here — that page is for the classroom hunt in the next step.
Sentence starters to say aloud if needed: When it was flat, my hand felt… When it was a deep V, my hand felt… When it was zigzag like a fan, my hand felt… The strongest one was…
Listen for: a clear flat-versus-folded contrast, and at least one feeling word (floppy, stiff, strong, wobbly, steady). Revoice ideas using the word fold.
Keep this to a few partner pairs then two or three class shares so the hunt still has time.
Some shapes have a ridge: a raised wavy line, like the wavy middle of a cardboard box.
With the group your teacher gives you, look around our classroom for folded or ridged shapes that are holding something up. Find at least one example.
On your Investigation Journal page, draw one you found. Show where the fold or ridge is and what it is holding.
Do not send unsupervised groups into corridors. Keep everyone in the classroom with you.
Board in two beats: first show only the ridge line while you hold up the corrugated cardboard sample and name ridge once (the raised wavy middle that helps the card keep its shape). Then reveal the short task line: find folded or ridged shapes that hold something up, then draw one on the journal page.
Groups before looking: put pupils into pairs or threes and point each group to a starting spot in the room so "your group" is already clear. Do not leave them to invent teams.
Pre-place several finds around the room so groups are not all crowding one box (aim for four or five clear examples: cardboard boxes with the wavy edge visible, a folded card stand, an egg box, a brochure stand, a concertina display). Groups may also spot book stands, folded displays, or ridged packing already in the room.
Set a short look time (about 3–4 minutes), then journal draw (about 4–5 minutes), then a quick oral share. Each group needs at least one find; two is a bonus if the room has enough. Watching groups share is real participation: ask the listeners Where is the ridge on theirs? What is it holding?
Recording is on the Investigation Journal page on this step (draw the classroom find; note where the fold or ridge is; what it is holding; whether it is like the V, the zigzag fan, or a wavy ridge). Do not invent extra columns — pupils draw and label what they noticed. The hand-test feelings were shared orally in the previous step.
Safety: walk, do not run; stay in the classroom with the group; look with eyes and gentle hands only; do not climb or pull fixed fittings.
Good finds: corrugated cardboard boxes, folded card stands, concertina paper displays, folded brochure stands, egg boxes. Avoid radiator fins: those ridges are mainly for heat, not for holding something up in the lesson’s sense.
You're previewing this lesson. Get full access to this lesson and hundreds more — each one ready to teach, with interactive activities, printable resources and pupil progress tracking built in.