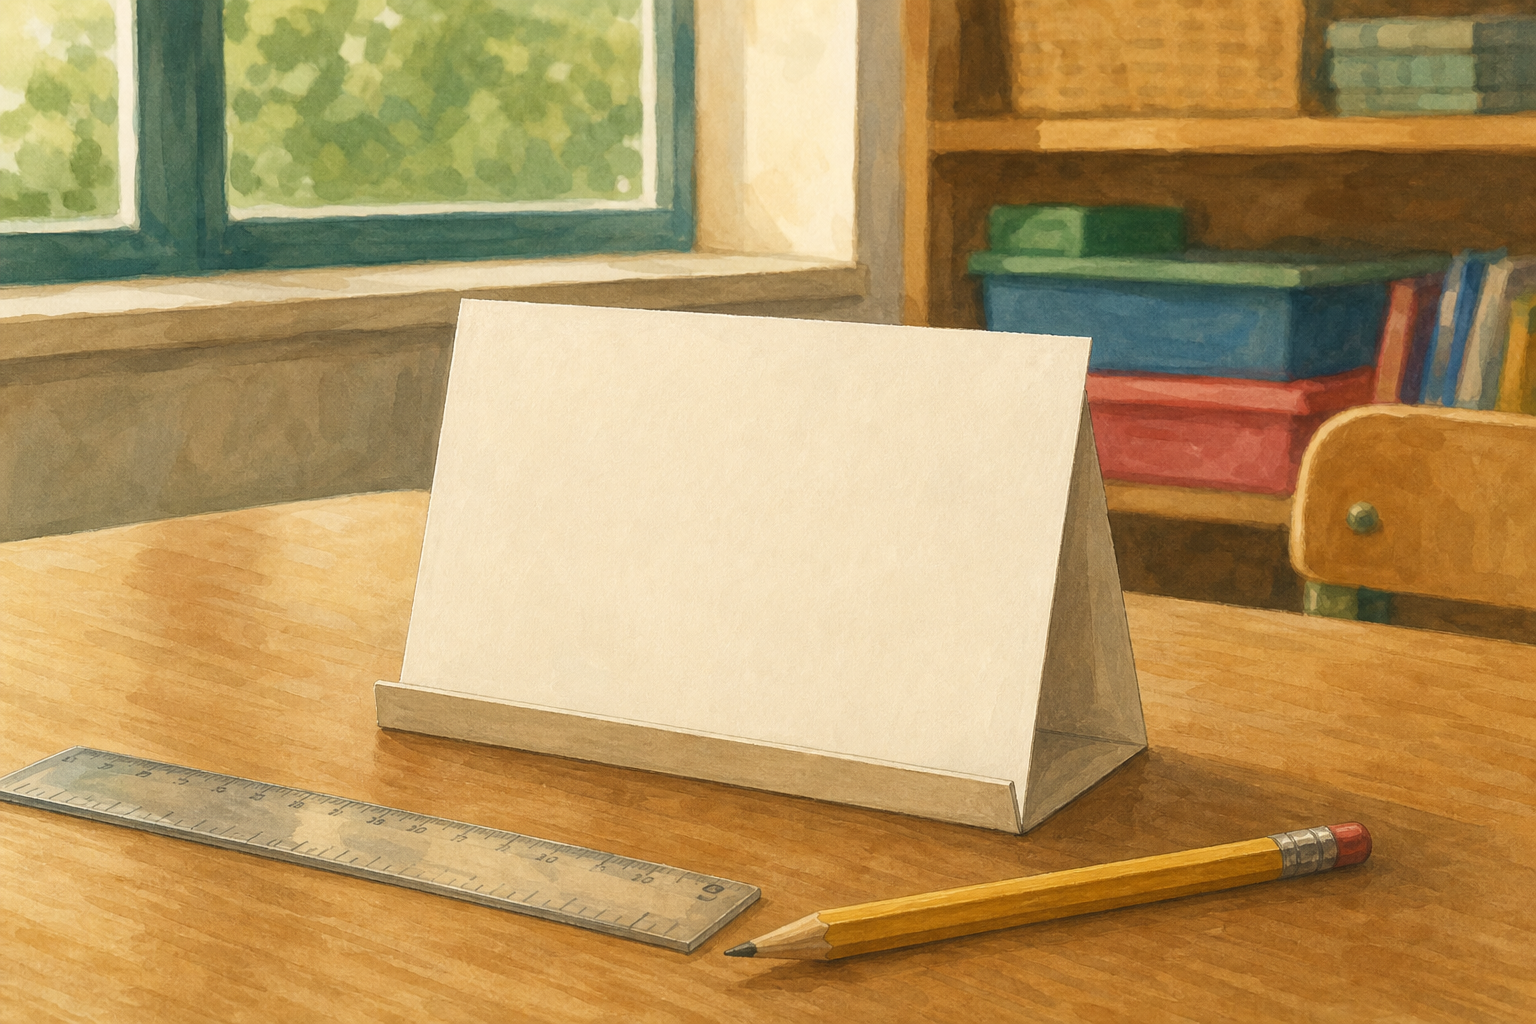
 Look at this simple postcard stand. If you had to make one just like it, but the person who designed it was not here to explain, what would you need written on a page?
Engineers do this every day: their drawing has to speak for them when they are not in the room. Today yours will too.
Today your drawing has a job: a partner should be able to follow your stand design without you saying a word. We will draw designs clear enough for someone else to follow.
Three things must be on your design sketch so someone else can follow it:
- Parts labelled — a short name for each part (base, upright, fold)
- Materials named — what it is made from (card, tape)
- Rough sizes in centimetres — about how big each piece is (it does not need to be exact)
You can also add a short build note that tells how parts join, such as fold once or use two strips of tape.
 What three things must be on a sketch so someone else can follow it?
Sketch only — do not build yet. You need your Investigation Journal page, a pencil and a ruler.
Design a simple stand that holds a postcard upright on a desk and stands up by itself. A simple folded card stand (an L-shape or a lean-back) is a full, valid design. When you build later, you may only use paper or card and tape. Today is sketch only — do not make it yet.
On your Investigation Journal page, draw your design. Check you have:
- every part labelled
- materials named
- rough sizes in centimetres
- one or two build notes about how the parts join
Swap Investigation Journal pages with a partner. Nobody explains their own design until the teacher says.
Main test for every pair: the person holding their partner's journal speaks first. They describe the build steps in order from the sketch alone. Their partner listens and checks whether each step matches what is on the page. Then swap roles so both sketches are tested. Do not talk about your own design until both of you have tried.
If there is time, your pair might try one quick shared build from one of the sketches. Notice what is clear and what is missing.
Think about the sketch you read. What made it easy to follow? What made it hard?
Be ready to share one helpful feature and one improvement with the class.
Unlock the full learning experience
You're previewing this lesson. Get full access to this lesson and hundreds more — each one ready to teach, with interactive activities, printable resources and pupil progress tracking built in.
This lesson is copyright of Coding Ireland 2017 - 2025. Unauthorised use, copying or distribution is not allowed.