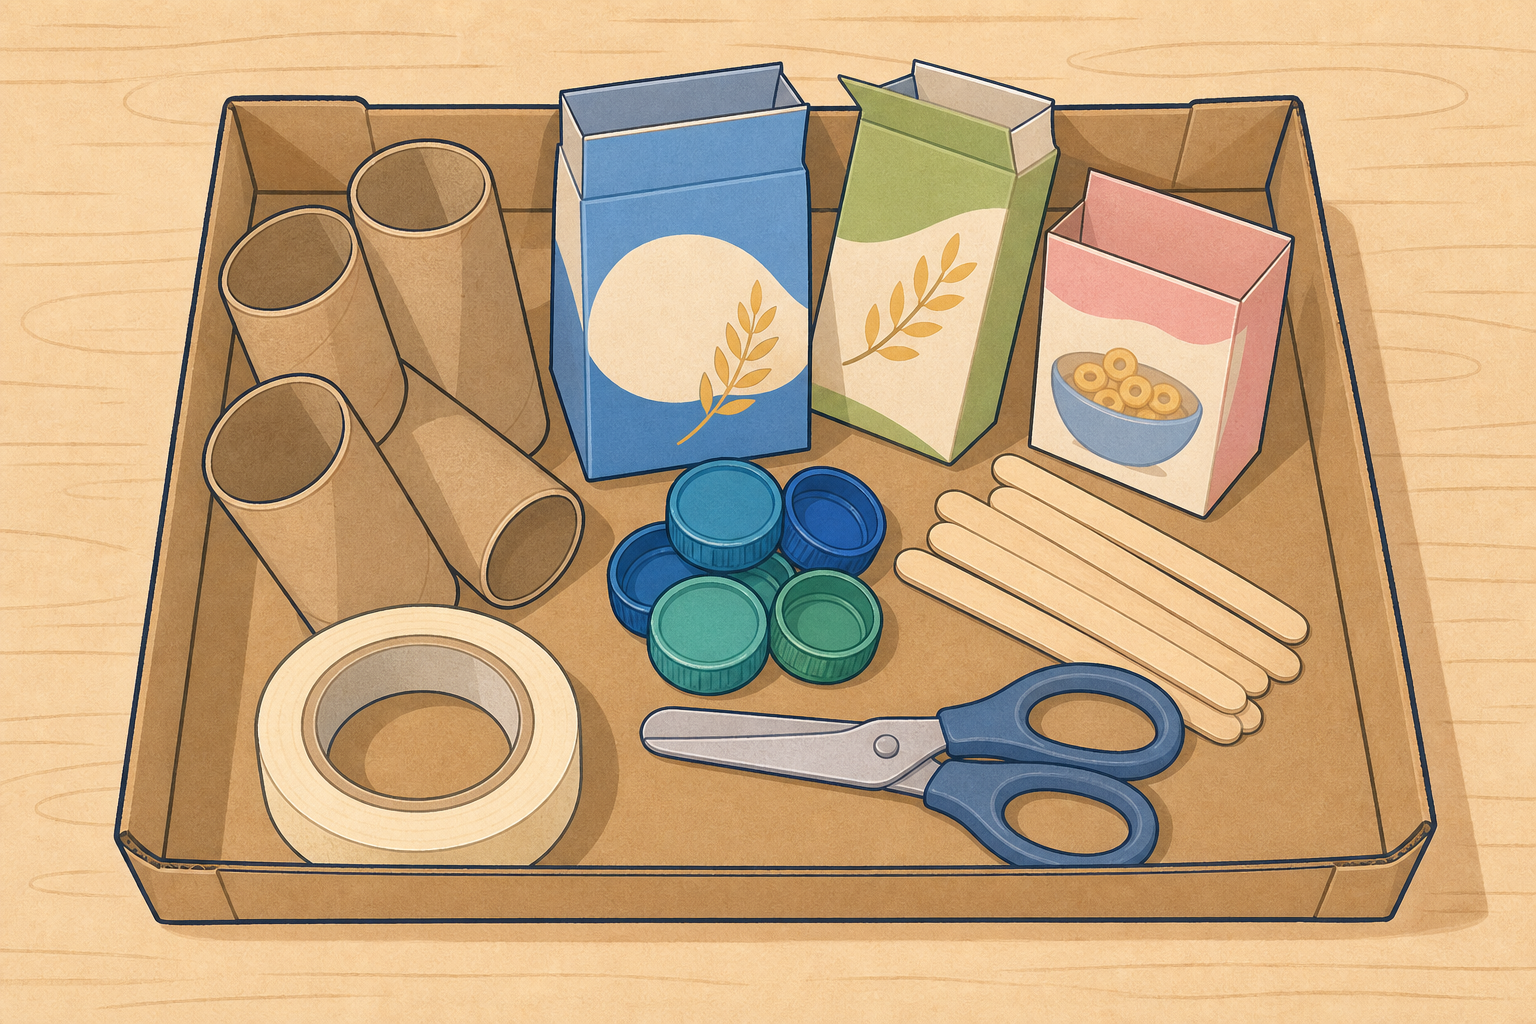
 Turn and tell your group: who is your user, and what is the one job your prototype must do for them? Be ready for one or two groups to share with the class.
Today we turn the plan on your Investigation Journal design page (your Design Brief) into a first working model: a prototype. Engineers make a simple first model so they can try it, learn from it, and make it better.
Before anything leaves the kit, get your plan back in your heads. Open the Investigation Journal design page (Design Brief) you completed earlier in this project. Read the problem, the user and what success looks like. Decide together which parts of the sketch you will build first.
Appoint two roles in your group: a materials collector, and a brief-keeper who keeps the Design Brief visible on the table. Everyone else is a builder once those two jobs are set.
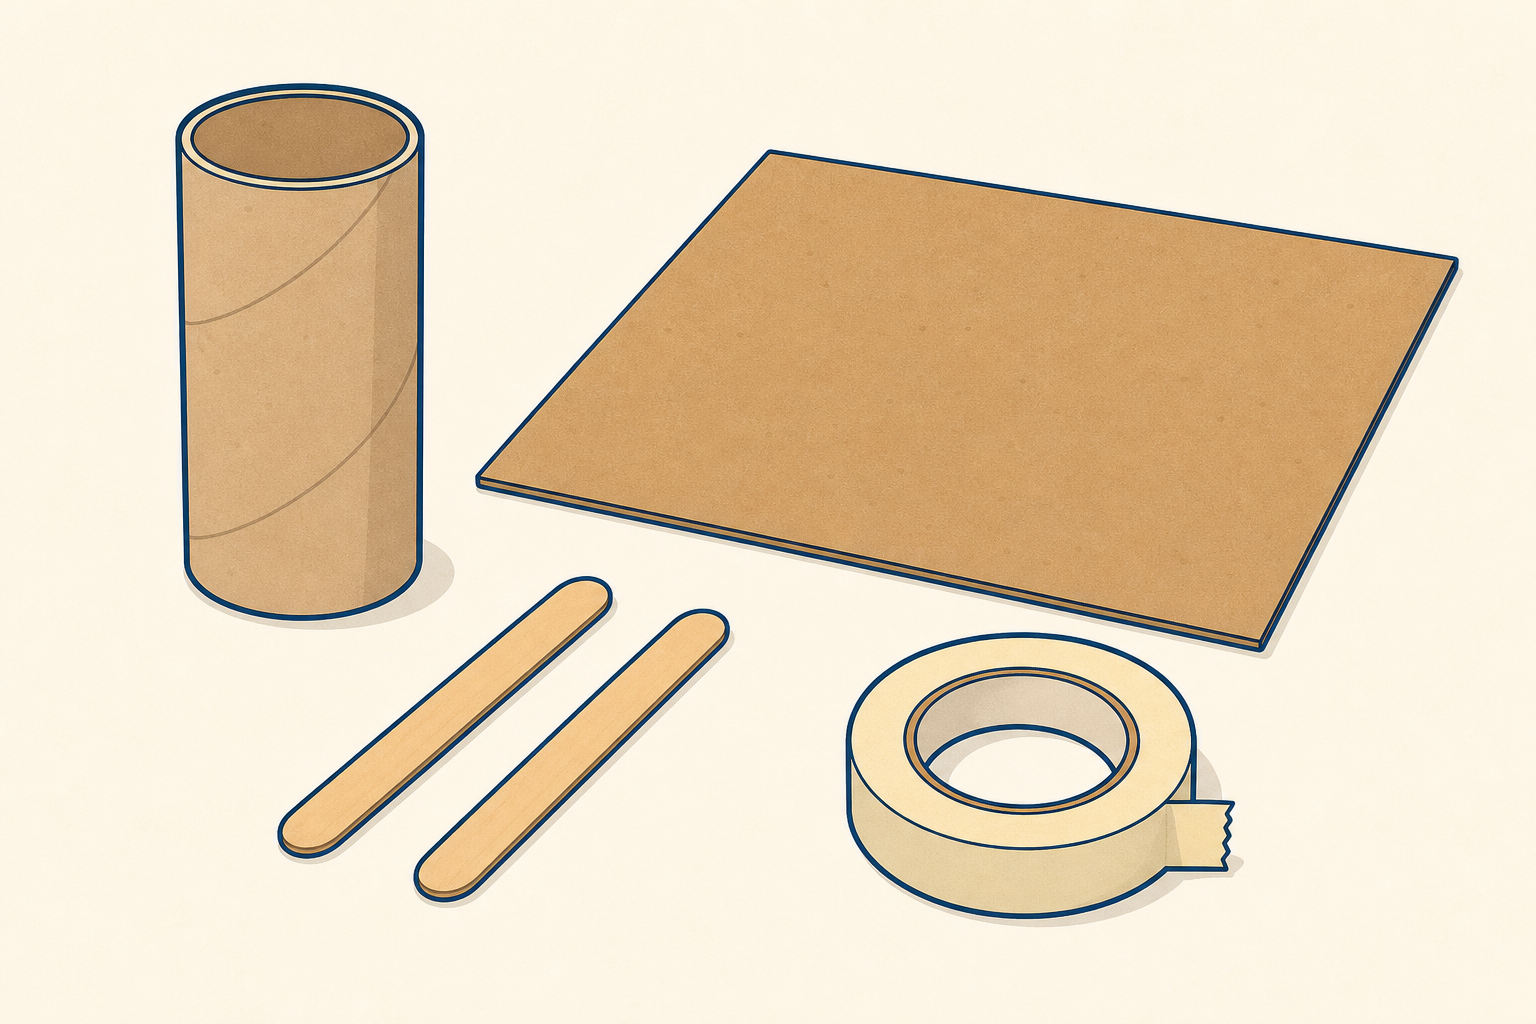
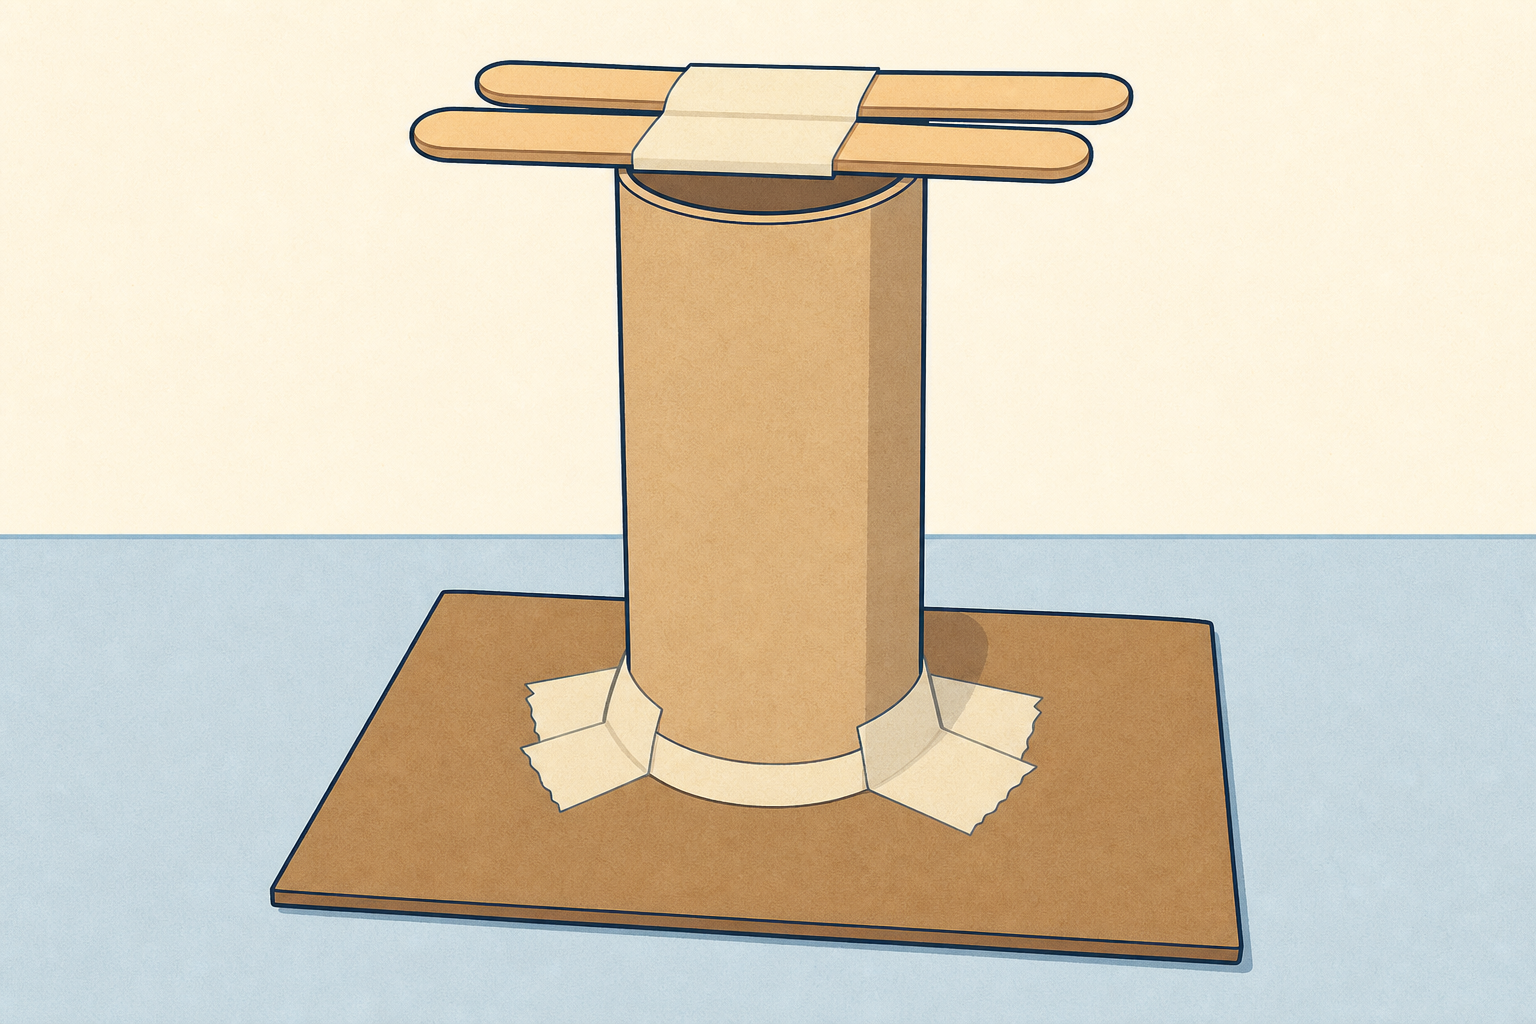 This is the bit where your sketch leaves the page: your first real try for your user. It does not have to match the drawing perfectly.
- Build from your Design Brief using only the junk-modelling kit on your table.
- If you change something from the sketch, jot one short line on a sticky note straight away so you remember why.
- Keep fingers clear when cutting. If a cut is too tricky, take it to the adult cut station. Stop when you hear the tidy signal.
Pause the build. Look at your Design Brief and your prototype side by side.
Talk only for now (no writing yet). Ask: Does this still match the problem and the user? What did we change from the sketch? What still needs to be added before we can test next time?
Now take your Investigation Journal page. Record how the build went with drawings and short notes. Use your sticky notes to help you remember.
Board example (keep yours this short): a quick sketch of the prototype, then two lines such as Changed flat card to tube — stood better and Still need a lip before test.
Note what you made, what you changed from the Design Brief, and what still needs work before the test next time. Keep the page with your group's prototype so both travel together to the next lesson.
Unlock the full learning experience
You're previewing this lesson. Get full access to this lesson and hundreds more — each one ready to teach, with interactive activities, printable resources and pupil progress tracking built in.
This lesson is copyright of Coding Ireland 2017 - 2025. Unauthorised use, copying or distribution is not allowed.