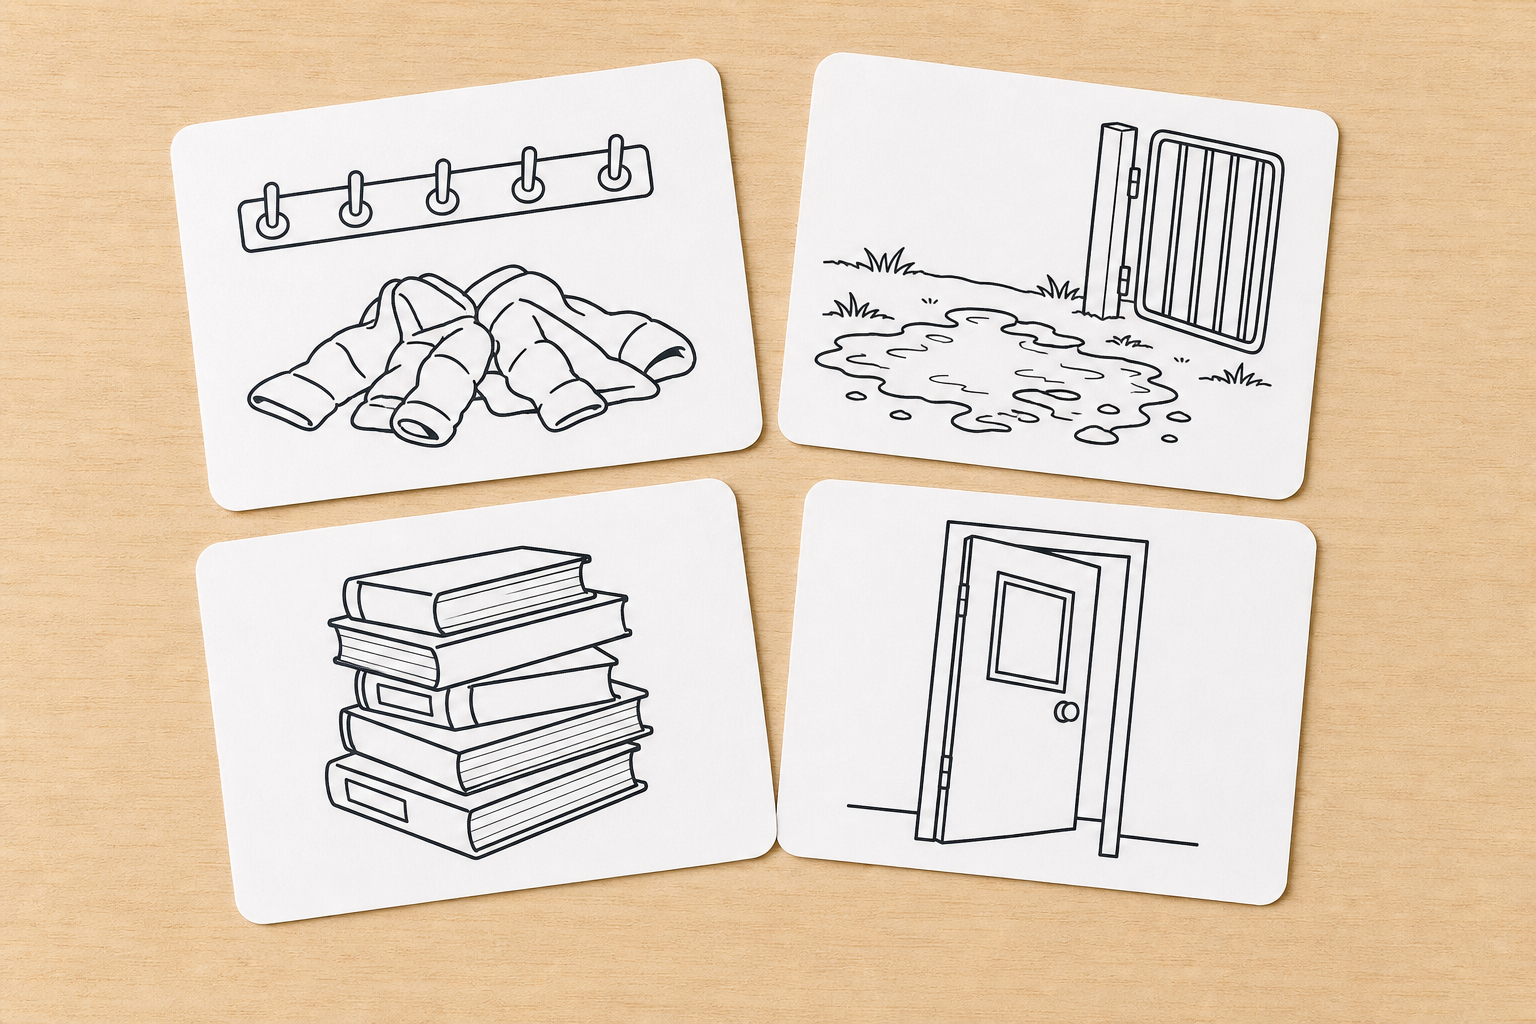
 Look around our school for a moment. What small problem keeps annoying people, and could a simple built thing fix it?
Today we pick one real school problem from a short list, name who it is for, decide how we will know it works, and sketch a solution our group can build next.
 If we rush straight to cardboard, we might build something clever that still leaves the problem exactly as annoying as it was before.
Before engineers build, they get three things clear. Who is it for and what do they need? How will we know it worked? And what is the plan on paper? We call those the user need, the success criteria, and the Design Brief.
Building without a clear need wastes time. Watch the board example, then tell me: who is the user, and name one check that would prove the design works.
Your group has one set of four problem cards on the table, plus scrap paper and a pencil. Every card is a real annoyance somewhere around our school, and only one of them becomes your group's job today, so choose the one you actually care about fixing.
Nothing goes on a Design Brief yet. Work on the scrap paper, following the order on the board, and keep your notes where you can read them back.
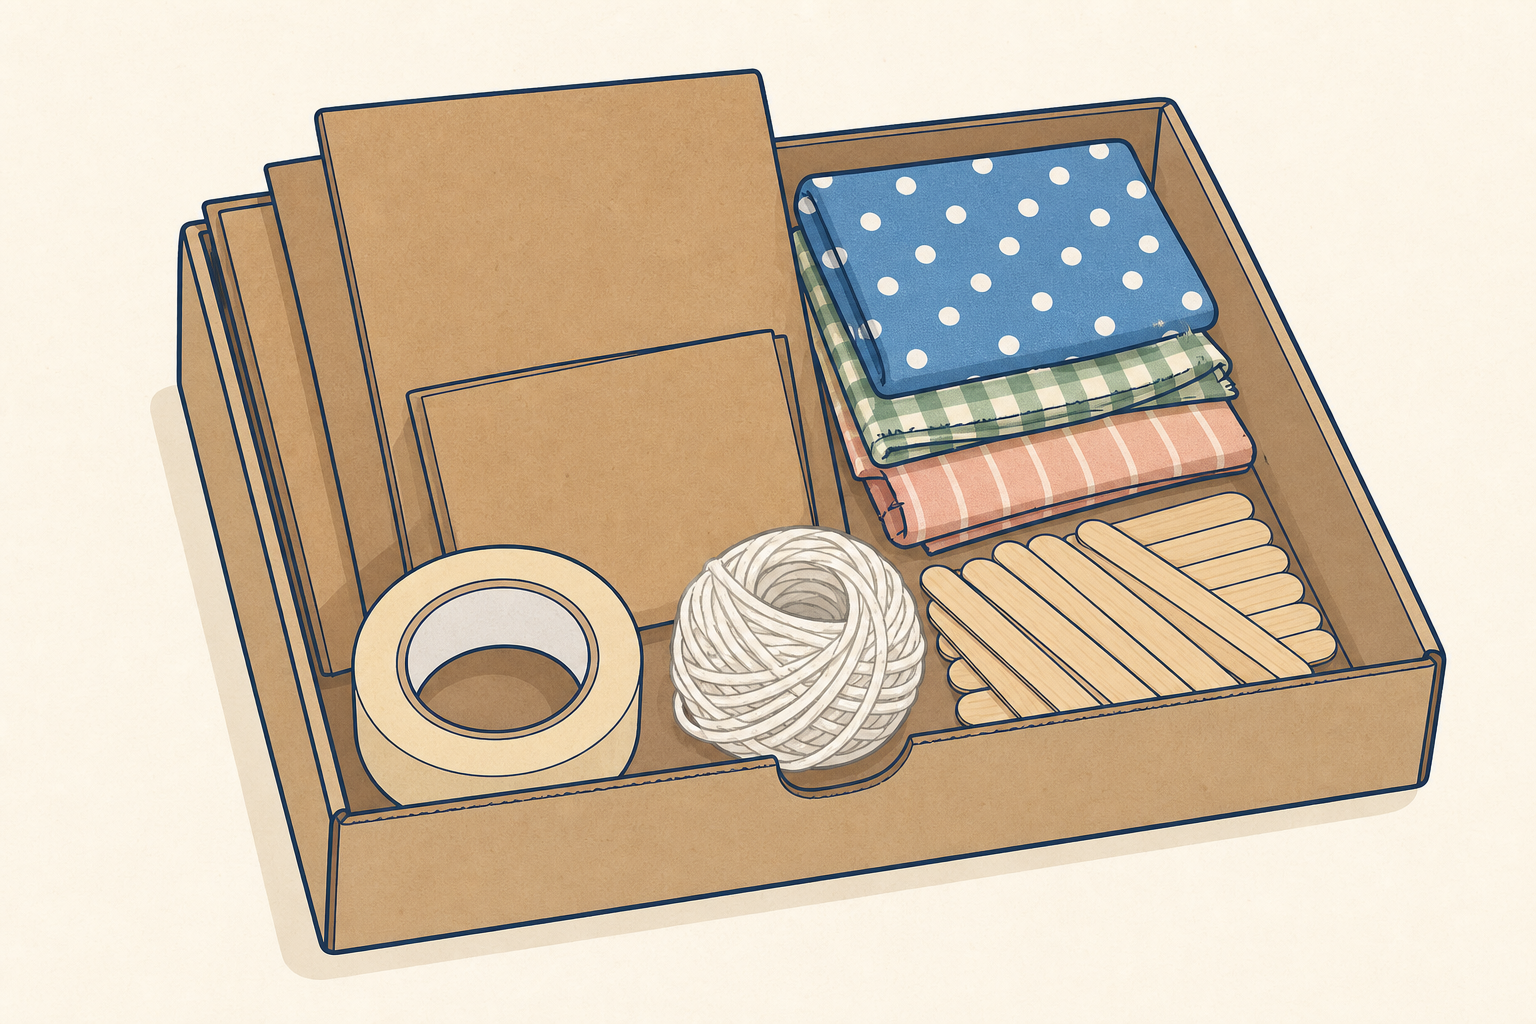 You now get one Design Brief page. First, copy your rough notes onto it: the problem, the user, and your three success criteria.
Next, plan only with the shared junk-modelling kit you will get next time: cardboard, tape, string, lolly sticks and fabric scraps.
Then sketch one clear solution. Label the parts, the kit materials you expect to use, and at least one size in centimetres. Estimated sizes are fine if you label them clearly (for example “about 80 cm, door-width guess”).
This sketch is your group’s promise for next time, so make it kind to the builder. Check that another group, or your future selves next week, could start building from it.
Swap Design Briefs with another group for two minutes. Readers only: can you tell the problem, the user, and how success will be judged? Tell the designers one strength and one question.
Designers: use the feedback to tighten one criterion or one label on your sketch. A clear plan is a kindness to the builders next time, so make that change stick.
Unlock the full learning experience
You're previewing this lesson. Get full access to this lesson and hundreds more — each one ready to teach, with interactive activities, printable resources and pupil progress tracking built in.
This lesson is copyright of Coding Ireland 2017 - 2025. Unauthorised use, copying or distribution is not allowed.