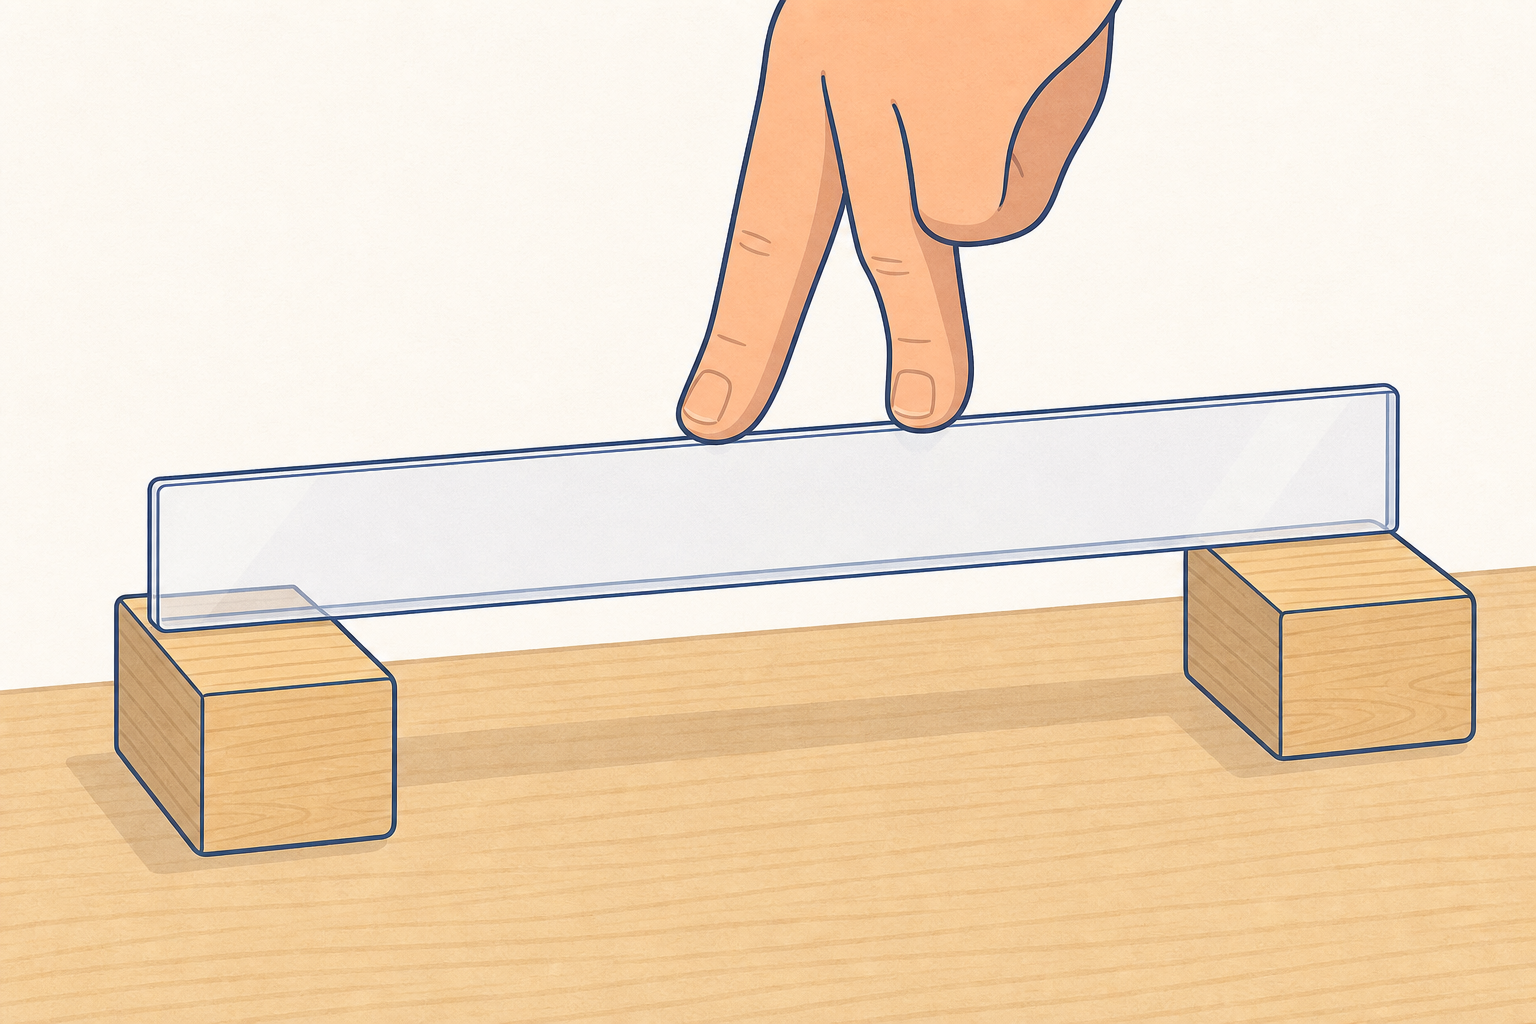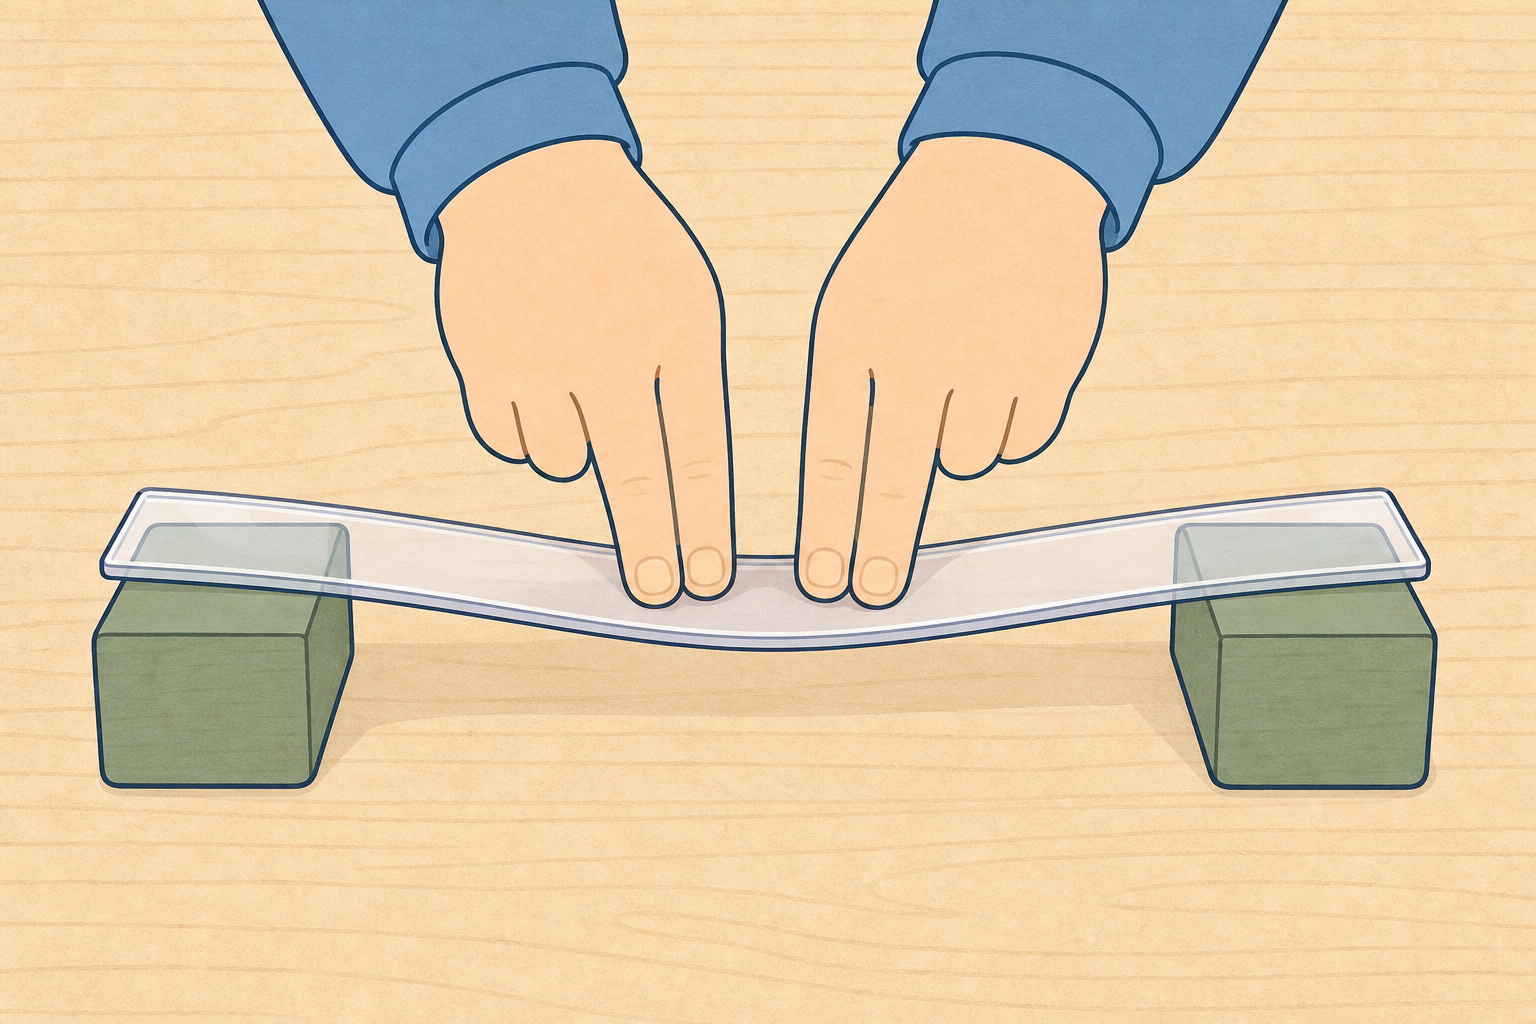
The teacher holds up a plastic ruler. Can two fingers bend it when it lies flat? What happens when the same ruler stands on its thin edge?
Why might builders care which way round a beam is fitted?
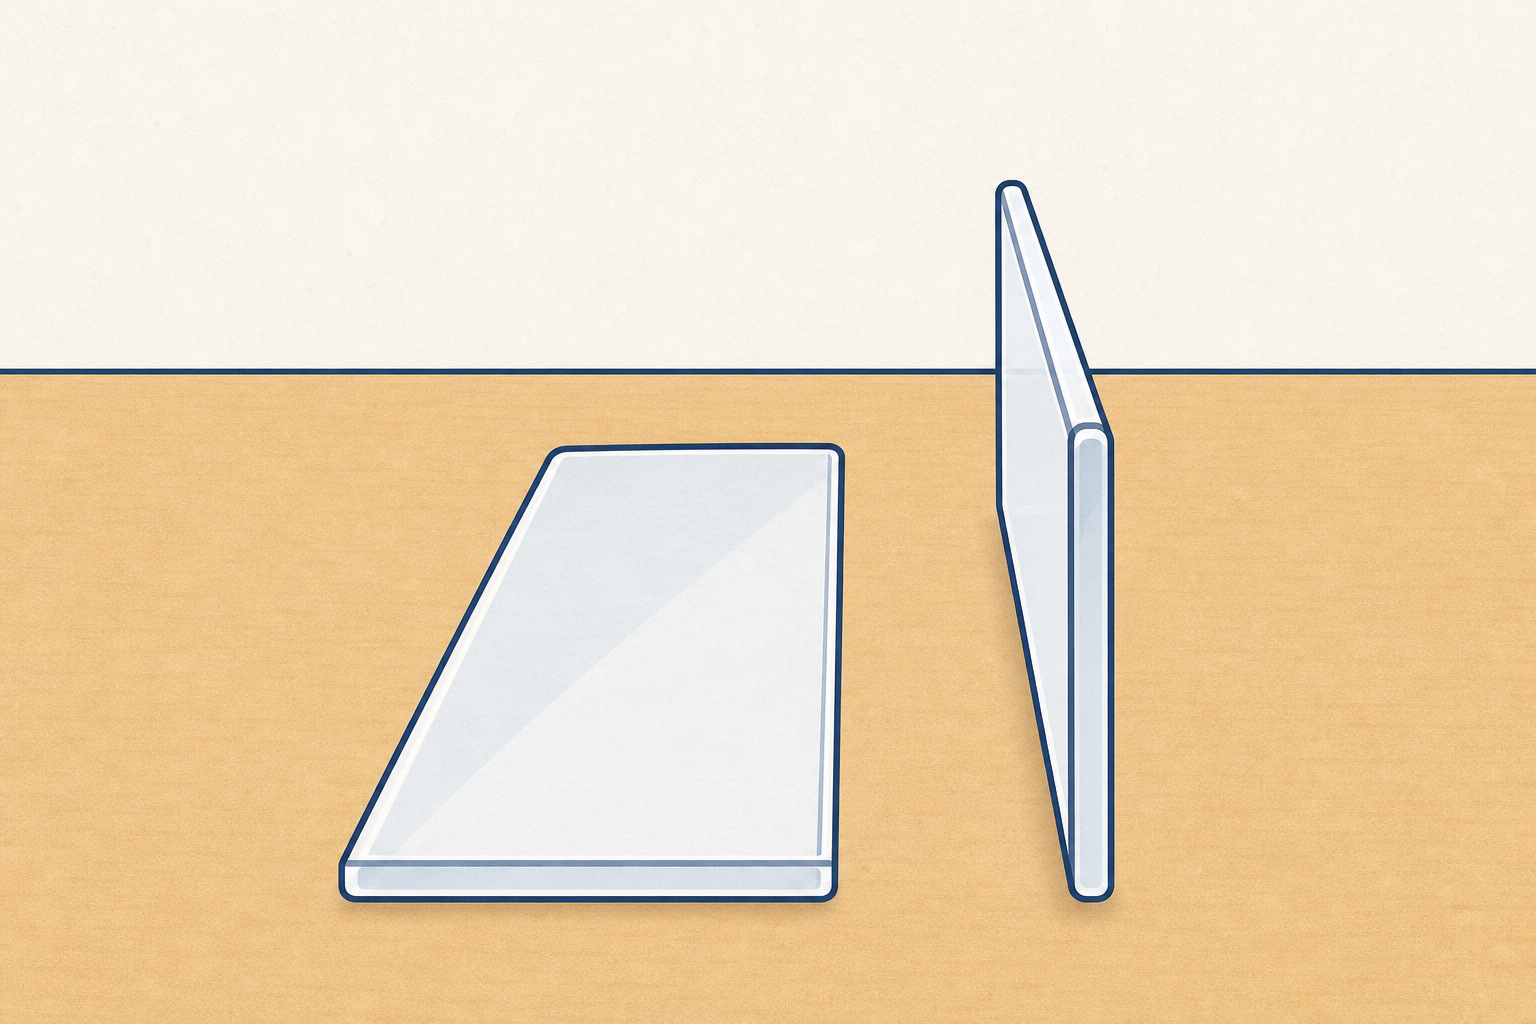
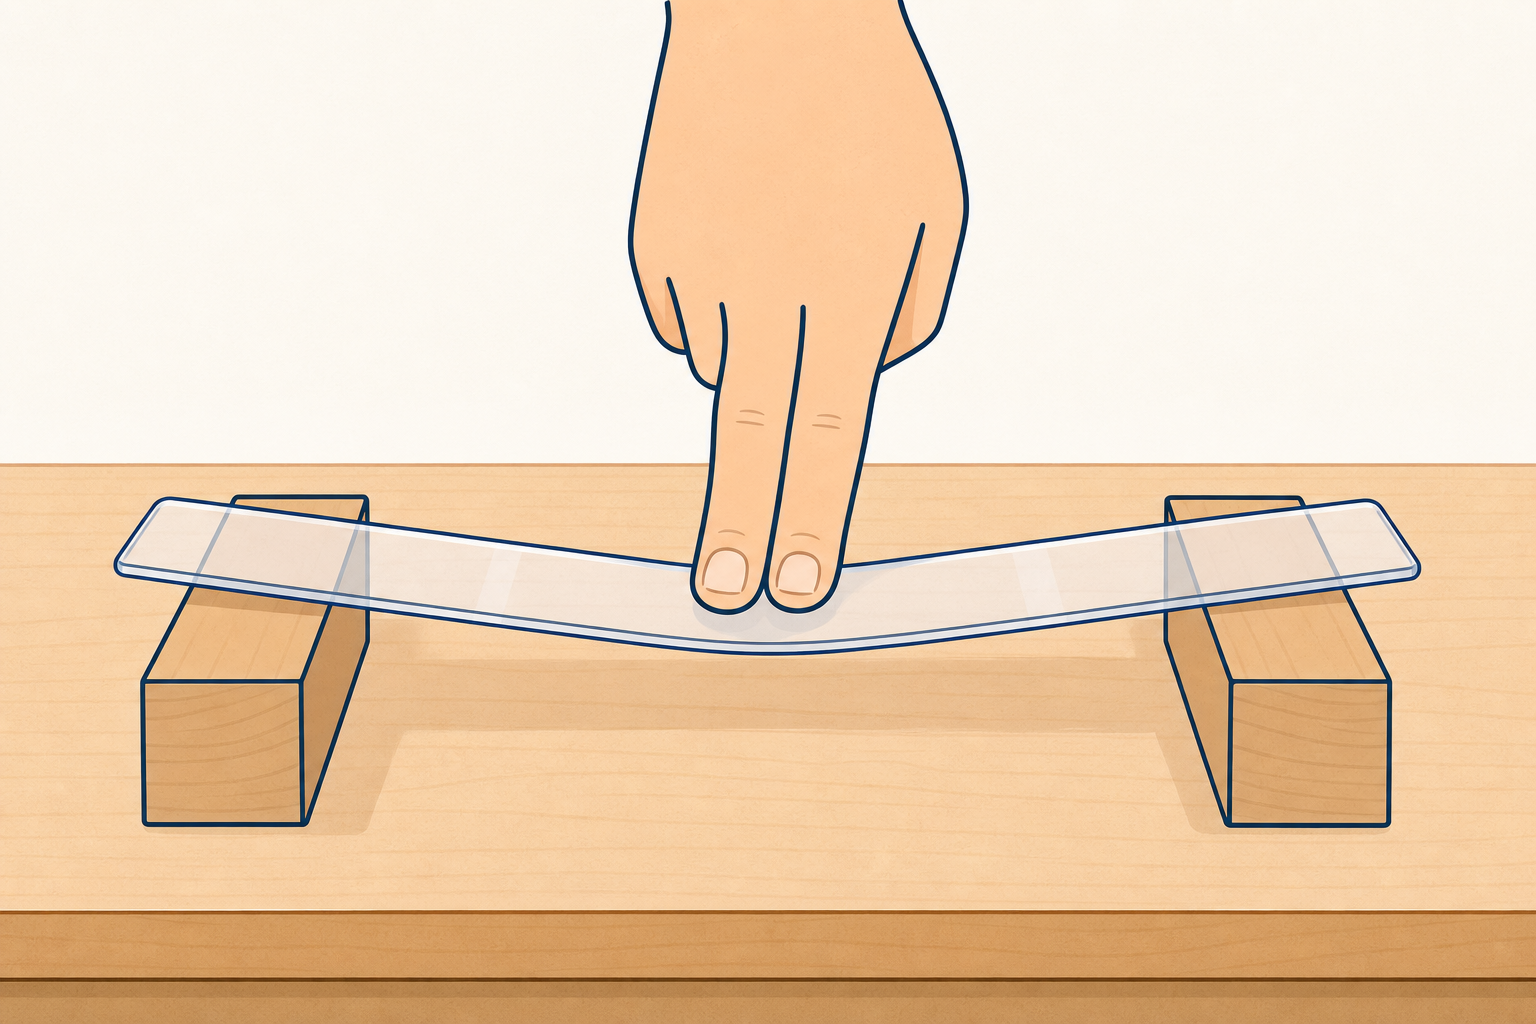
Keep this light. Hold one 30 cm plastic ruler so the class can see the real object in your hands (nothing extra appears on the board). Bend it gently flat between two fingers so they see it flex, then stand it on edge and try the same push without forcing it. Pupils watch and answer; kit is not out yet.
Do not hand out the full kit or name depth and width yet. The curiosity beat is the surprise that the same stick feels strong one way and weak the other.
Key questions: What changed when I turned the ruler? Did I use a different ruler, or the same one?
When the teacher stands the ruler tall on its thin edge, that up-down size is its depth. The thinner side-to-side size is its width.
A beam is a long piece that carries a load across a gap or holds something up. Orientation is which way round the beam is turned when it is fitted.
Does the same beam resist bending better when it is deep, or when it is wide?
| Concept | Why it matters | Example |
|---|---|---|
| Beam — a long, strong piece that carries a load across a gap or holds something up | Floors, shelves, doorways and bridges all depend on beams that do not sag | A shelf board holding a row of books is working as a beam |
| Depth — how tall a fitted beam is from its top face down to its bottom face | Depth is the direction that does most of the work against bending | A floor joist stands tall under the floorboards, so its depth is the bigger number |
| Width — how thick a fitted beam is from one side face to the other | In real structures the width is usually smaller than the depth | The thin face of a joist or a steel girder is its width |
| Orientation — which way round the beam is turned when it is fitted | The same piece of material can feel weak or strong depending only on how it is turned | A plastic ruler bends easily flat but hardly moves when stood on its edge |
Reveal the words one at a time while pointing on the same physical ruler from the hook: up-down when on edge = depth; side-to-side = width. Then name beam and orientation. The board text is labels only; the object in your hands is what pupils watch.
Misconception to head off: children often say a thicker material is always stronger. The investigation will show that direction matters as much as the material. Another common slip is mixing up depth and width: agree as a class that depth is the up-down measurement once the beam is fitted the way the builder chose.
Nature of STEM: structural engineers choose beam orientation on purpose. Every joist (floor beam), lintel and steel girder (a big steel beam, like in a sports hall) is deeper than it is wide for the same reason the class will feel with the ruler.
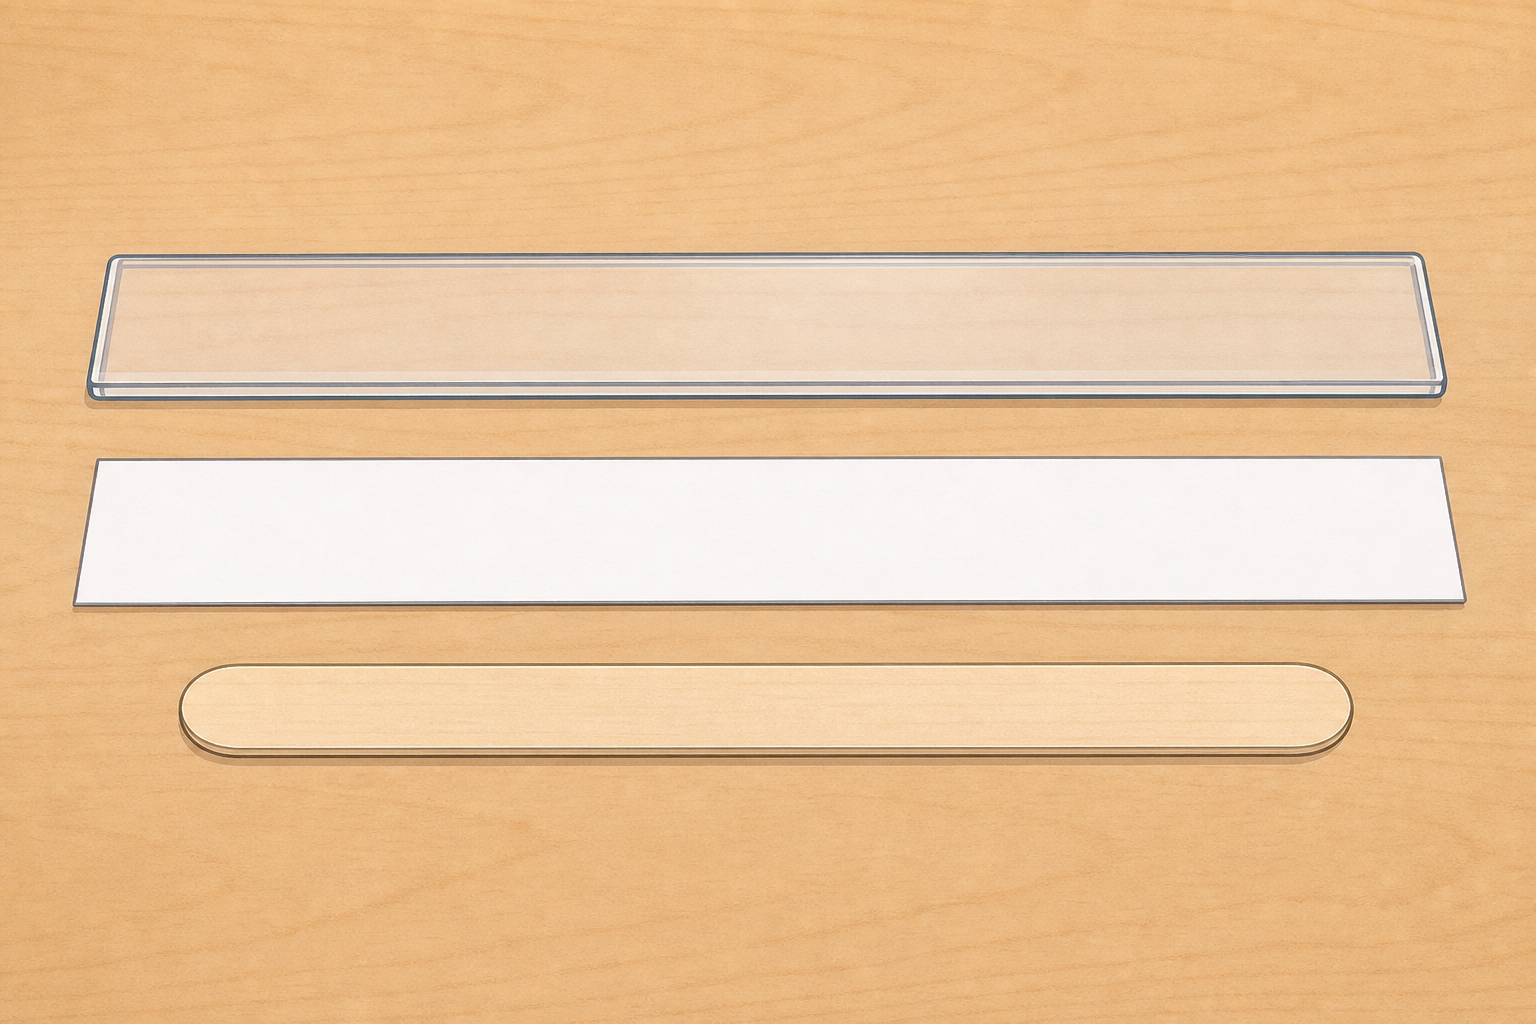
We will bend a ruler, a strip of card and a lolly stick two ways: flat, then on edge. Which way will be harder to bend? Talk with your group and be ready to say why.
Whole-class think-pair-share. Predictions are never wrong; they start the science.
Prompt stems: I think the edge will be harder because… I think it will feel the same because…
Capture two or three spoken predictions on the board without judging them. Note whether anyone already links strength to orientation rather than to material alone.
Differentiation: less confident pupils can choose between "flat easier" and "edge easier"; stretch pairs by asking whether card and wood will behave like the plastic ruler.
First watch the teacher model one full test with a ruler. Then, in your group, bend the ruler, the card strip and the lolly stick flat, then on edge. Use a gentle two-finger push. Your group decides how you will judge which way is harder: by how the push feels, or by how far each piece bends. Bend gently only. Stop before anything creases or snaps. On your Investigation Journal page, record for each material which orientation was harder to bend.
Hand out one plastic ruler, one card strip and one wooden lolly stick per pupil (or shared in pairs if kit is short). Clear desks so nothing is under the bend. Hand out Investigation Journal pages now so bend results can be written straight away.
Think aloud through the full cycle with the ruler only before groups begin:
What to expect: almost every child will feel a clear difference. If someone presses too hard on edge, stop them; the point is a fair gentle push, not a contest of strength.
Groups repeat for ruler, card and lolly stick. Each group chooses its judgement method (feel of the push, or how far it bends) and sticks to it for a fair comparison. Circulate and ask: Was it the same pattern for every material? That confirms it is direction, not only plastic, card or wood.
Pupils write on the Investigation Journal page: for ruler, card and lolly stick, which way was harder (flat or on edge). Before moving on, capture a short whole-class board table the class can still see in the evidence talk, for example Material | Harder orientation, with one agreed row per material. Spoken comparisons alone will not last until step 7.
Safety: gentle bends only; stop before anything creases permanently or snaps. Round-tip scissors are not needed this step.
Misconception: if a child says "the edge is thicker", have them measure both faces with the ruler markings so they see the material has not changed, only the way it faces the push.
Where we measure: Stay in the classroom and agreed nearby indoor spaces. Do not climb or move furniture.
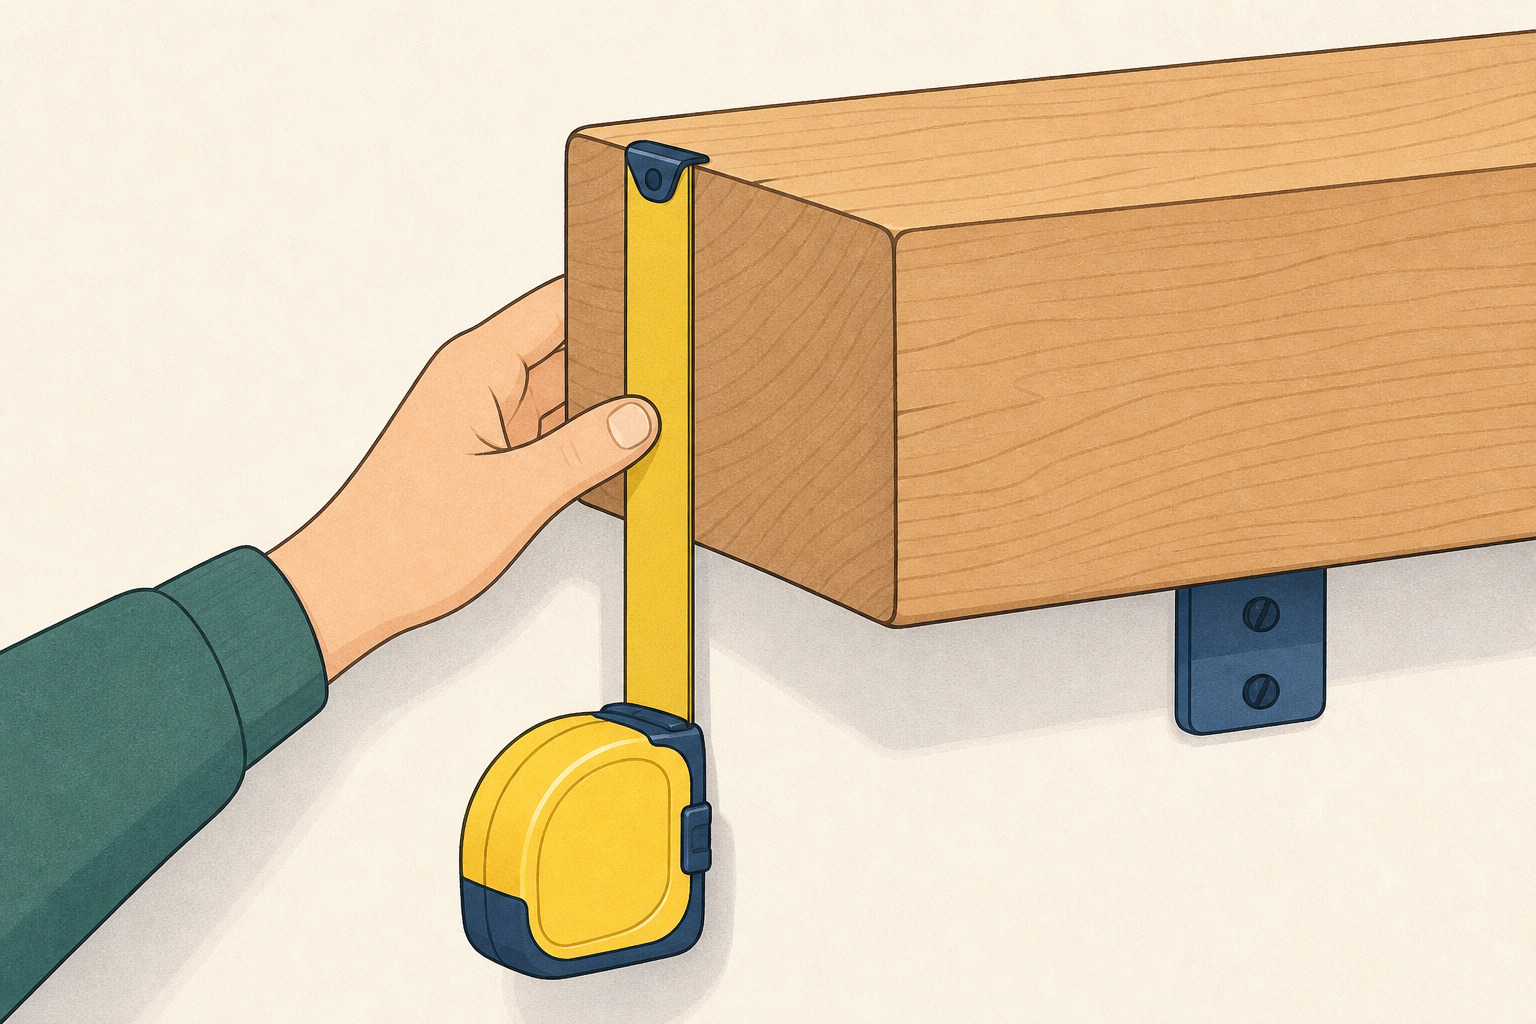
What to do: In your group, measure at least two beams you can reach safely (three if you have time). Name which way each beam is fitted first, then measure.
What to write on your Investigation Journal page for each beam:
Be ready to share your readings with the class.
Walk the room and corridor the day before. You need at least two reachable members with a clear rectangular cross-section so depth and width can be read cleanly. Prefer: timber shelf battens or supports, a visible lintel or head member over a door, a bench rail or stringer. Skip plastered-over lintels, hidden joists and thin metal L-brackets that do not match the ruler model.
Always-available fallbacks if the building hides structural members: (1) a known timber shelf batten already in the room, (2) a bench rail, (3) the class timber offcut or spare shelf batten brought as a demo beam you hold and measure together first. Pre-mark two or three zones so groups are not free-roaming. Keep groups inside the classroom and adjoining corridor only unless you have agreed outdoor or hall access with supervision. Pupils do not climb, move furniture or remove fittings.
Point to one classroom shelf support or the demo offcut. Label: depth = up-down size as fitted (e.g. about 60 mm); width = side-to-side thickness (e.g. about 18 mm). Remind them the door lining is trim around the opening; the load-carrying span above the opening is the lintel (or head member). Only measure members that truly span or support a load.
If a shelf board is fitted flat and wide: that is useful data, not a wrong answer. Ask later whether it sags under books compared with a deeper support. Not every board in a room is a structural joist.
Agree the class language before they leave their seats: depth is the up-down size of the beam as it is fitted; width is the side-to-side thickness. Measuring tapes or spare rulers work in millimetres. Each group chooses which beams to measure (child-led choice within the theme and zones). Journals stay with groups so object, orientation, depth (mm) and width (mm) are written while measuring, not after returning.
Twelve minutes is tight. Aim for three beams, but two solid, labelled measurements are enough if time runs short (this matches the published outcome). Call groups back with two minutes in hand so the chart step is not starved.
Differentiation: support groups with a sticky note labelled depth / width; stretch groups by finding one beam that is clearly a joist or lintel and explaining its job.
You're previewing this lesson. Get full access to this lesson and hundreds more — each one ready to teach, with interactive activities, printable resources and pupil progress tracking built in.