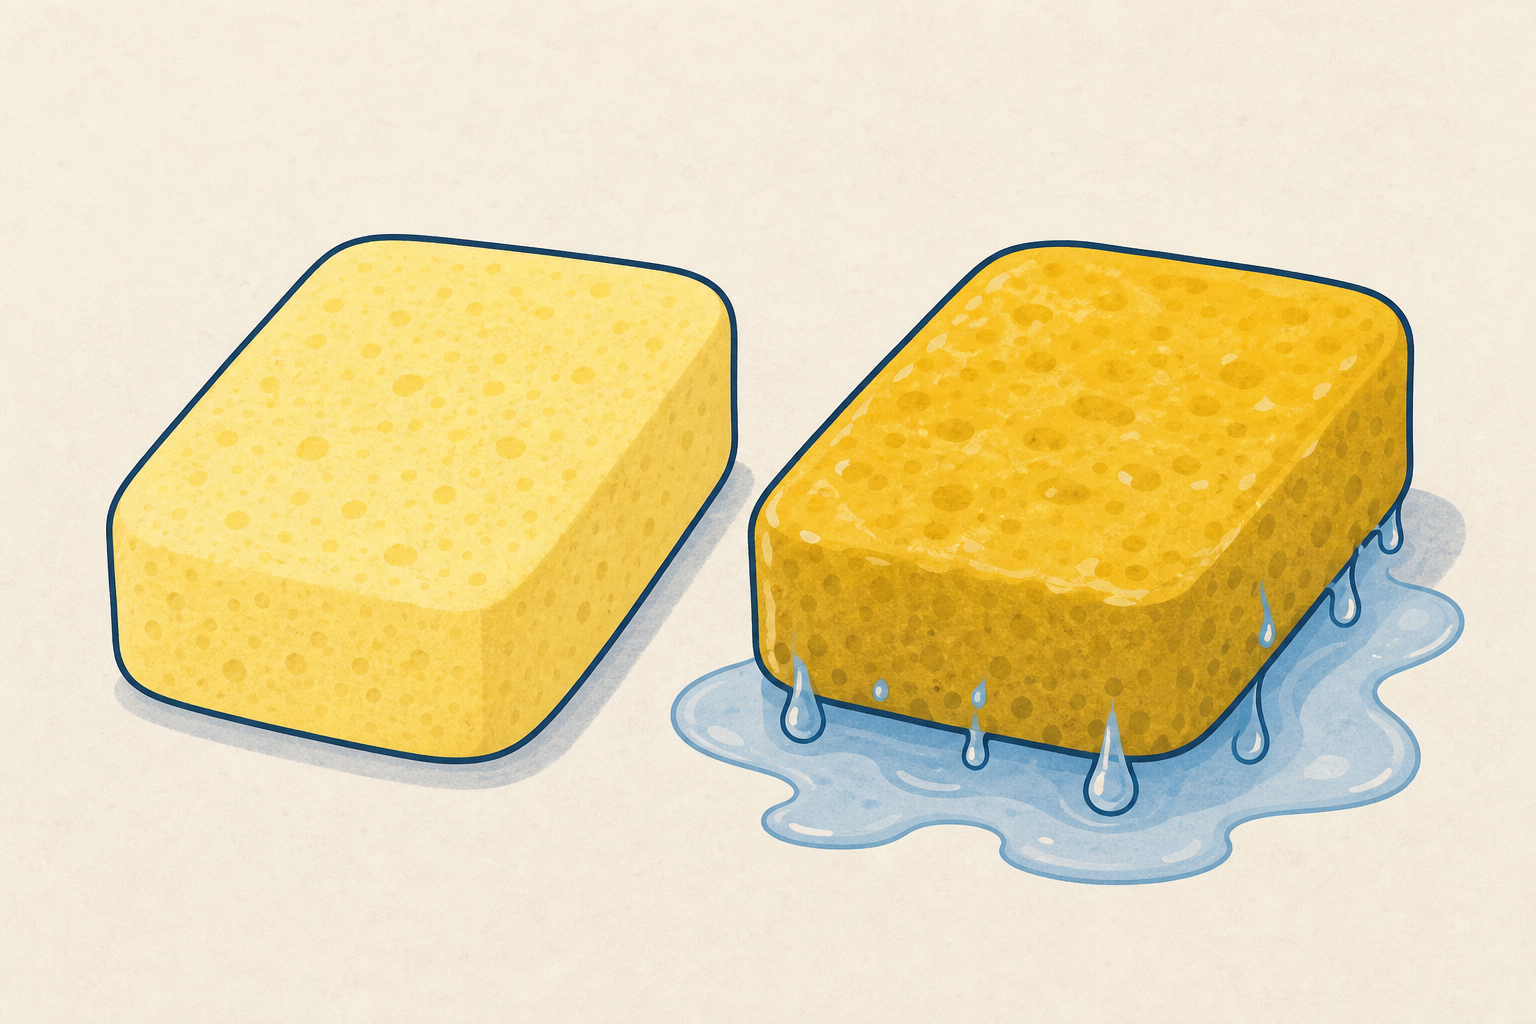
Look at these two sponges. One feels light. One feels heavy and drippy. What do you think happened to the drippy one?
Hold up one dry sponge and one already-wet sponge (or dip one quickly as the class watches). Keep the hook light: one question and a moment of wonder only. Do not set out the full wetting stations or name every material yet.
Key question: What do you think happened to this one? Accept any idea. Guesses are never wrong.
Have the ice bowls ready out of sight for later, or set one spare ice cube in a clear bowl at the side of the room now so melting is already underway by the demo. A second bowl of water that was ice earlier is ideal for the later reveal.
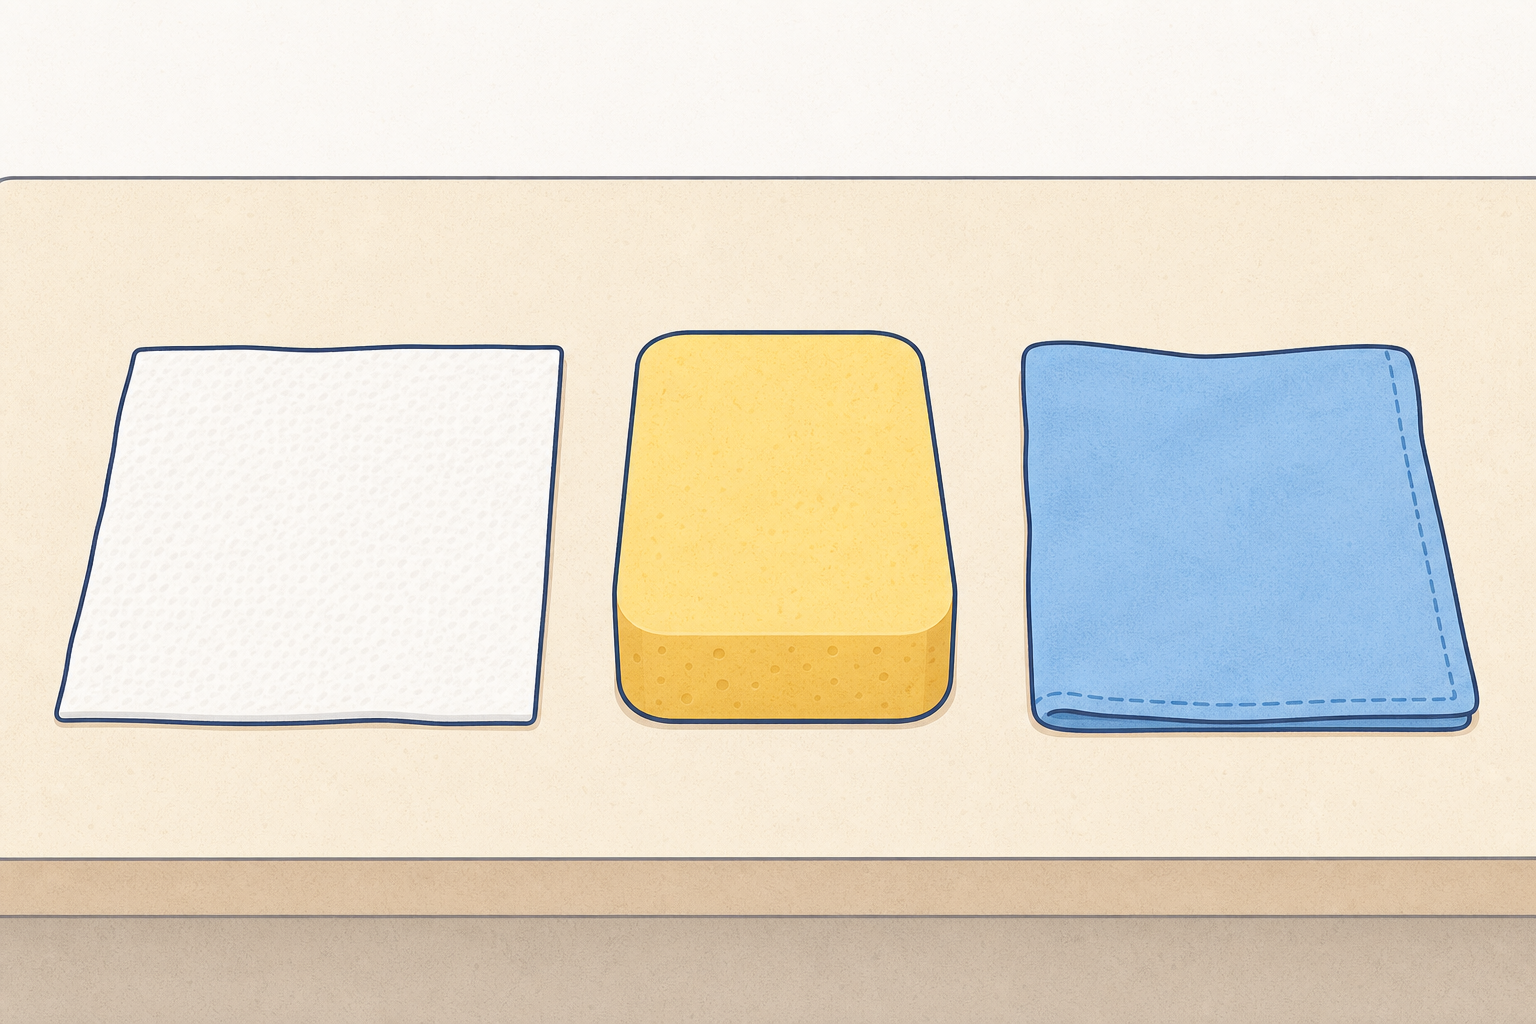
Today we will feel things that are dry — no water on them. Then we will make them wet. What do you think will change?
Point to a real dry sample (paper or sponge), say dry once, then point to a wet sponge and say wet once. Do not put melt on the board yet — save that word until the ice bowls are in front of the class. Prefer the word cloth (show the real scrap) rather than fabric. Keep the board to the short line above; the table below is for you only.
One big idea for the whole lesson: things can change when they get wet or warm. Wetting paper, sponge and cloth is the main exploration; the ice demo is one short example of change when something gets warm.
| Concept | Why it matters | Example |
|---|---|---|
| Dry — something with no water on it, so it feels the usual way | We need a dry starting point so we can notice what water does | A scrap of paper from the box feels light and rustles |
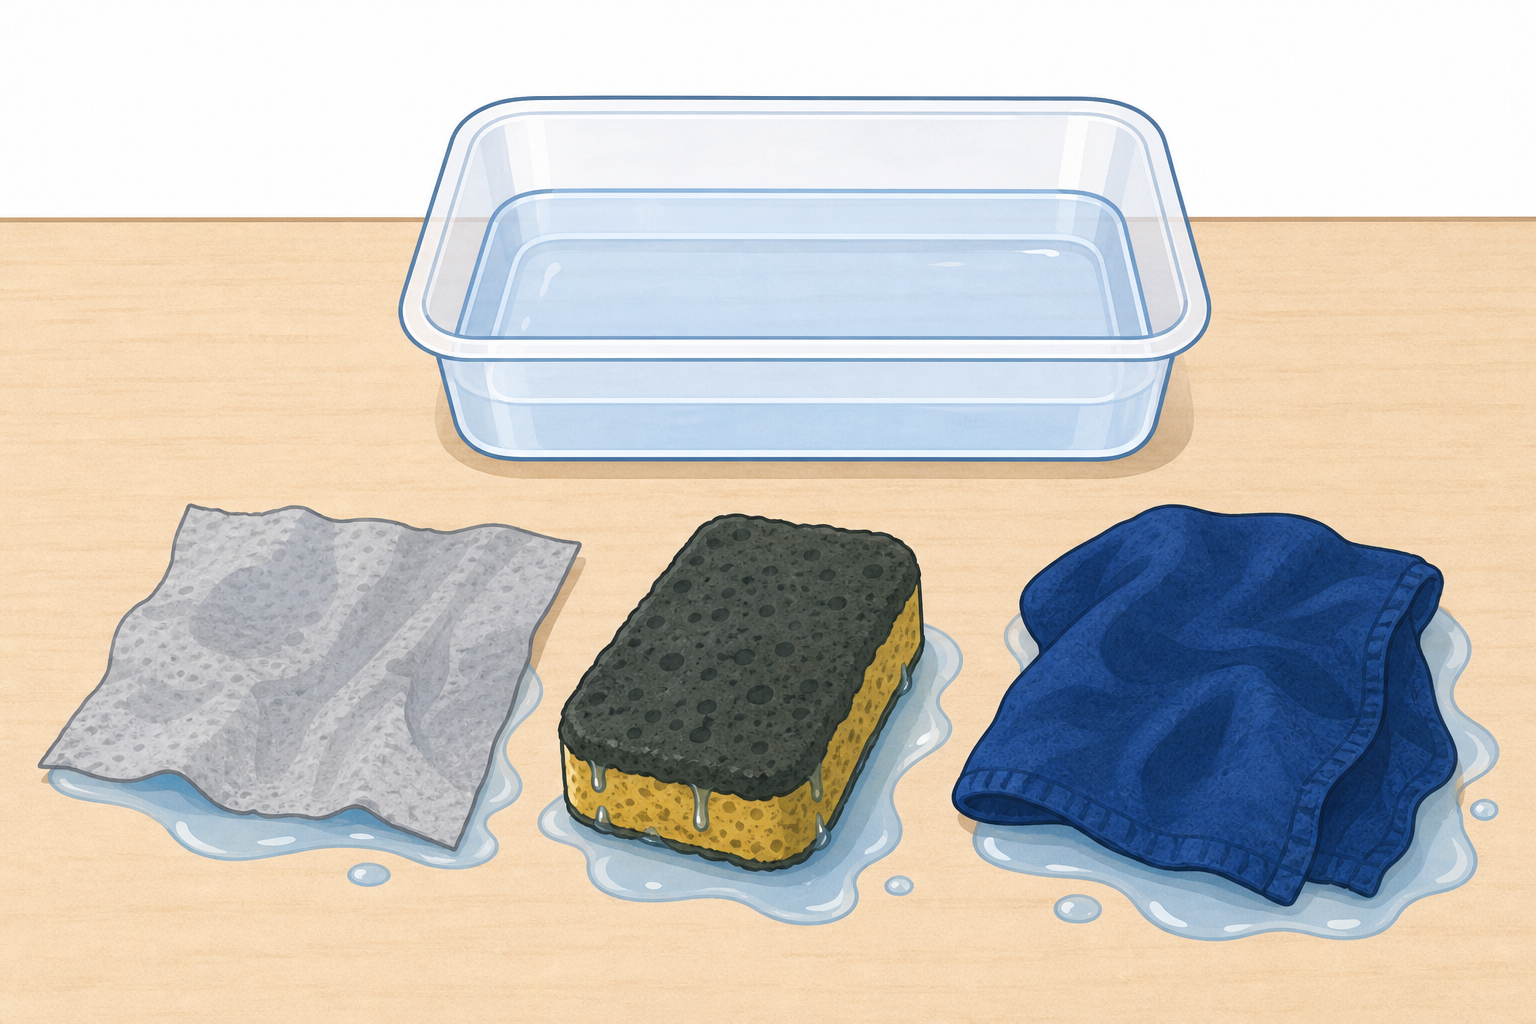
| Wet — water is on something or inside it, so it can feel damp, heavy or drippy | Rain, spills and washing all make materials wet, and that can change how they look and feel | A sponge dipped in the water tray gets dark, heavy and squeezes out drops |
| Melt — ice gets warm and turns into water (teach at the ice bowls, not here) | Warmth can change ice into water we can see — another way things change | An ice cube in a clear bowl on a warm classroom table slowly becomes a puddle of water |
Misconception to head off: some children think wet things are a different material. Keep saying it is still paper, sponge or cloth — now it is wet.
Invite two or three quick guesses about paper, sponge or cloth before stations begin.
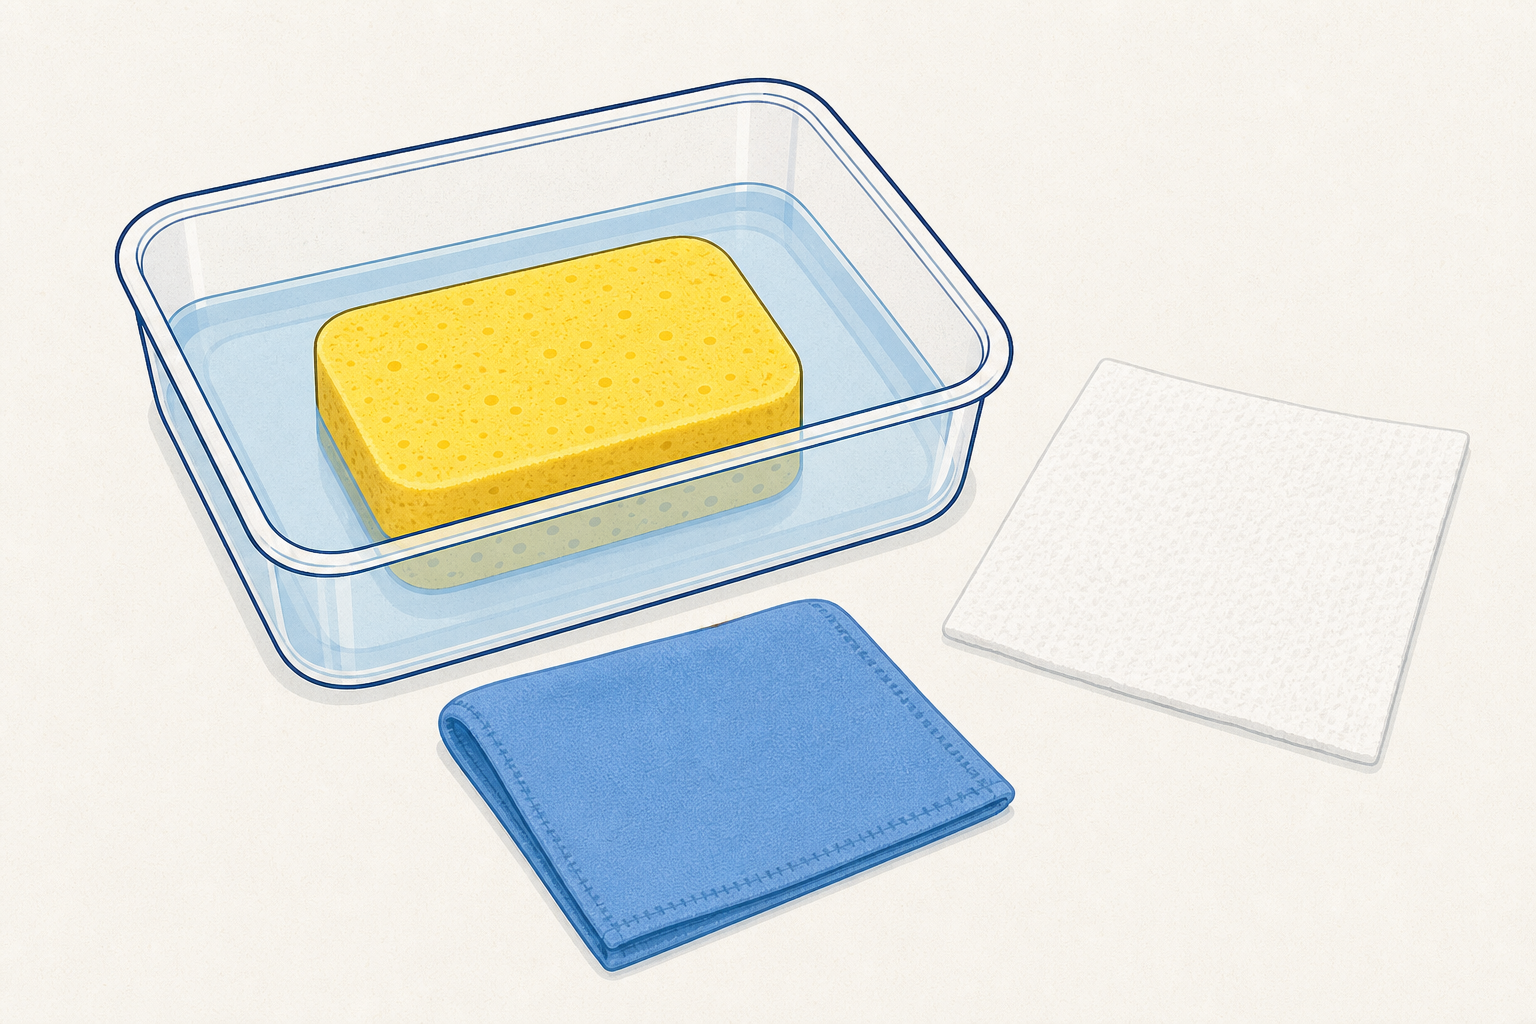
When it is your group’s turn at the water tray, feel the paper, sponge and cloth while they are dry. Then dip each one. What changes? How does it look and feel now?
Set two or three shallow water trays with a little lukewarm water (never hot). Beside each tray put dry paper squares, small sponge pieces and cloth squares, plus a towel. Keep spare dry samples on a dry mat so children can compare wet and dry.
Only one small group (about four to six children) is at the trays at a time. The rest of the class stays on the carpet or at a dry watching spot and is folded into the investigation: they watch one focus tray and answer short teacher questions (Is it still dry? What changed? Can you squeeze it?). Rotate groups in short bursts so every child tries at least two materials. Do not invent a separate desk task for waiters — watching and answering is their job.
Before the first group begins, model with paper only, thinking aloud in one tight pass:
Then send the first group. Aim for roughly five minutes hands-on, a quick regroup, then a few more minutes for the next groups. Stay close to wipe spills. Protect hands-on time by keeping the model brief.
Celebrate noticing, not a “right” answer. The sponge usually holds lots of water; paper often goes floppy; cloth may darken and feel colder.
Differentiation: less confident children point to wet or dry samples and say one word (“heavy”, “floppy”). Confident talkers compare two materials: which holds more water?
Safety: sleeves up; wipe floor drips straight away; no tasting; wash hands after.
Come back to the carpet. Hold up something you made wet. Tell us one thing that changed.
Gather on the carpet with a few wet samples and matching dry ones. Keep this oral and brisk. Invite several children to hold one wet item and say one change (darker, heavier, floppy, drippy, cold).
Look-fors:
Revoice simply: The water changed how it looks and feels. It is still paper (or sponge, or cloth), but now it is wet.
If a child says the paper “turned into something else”, gently show the dry twin beside it and keep the material name the same.
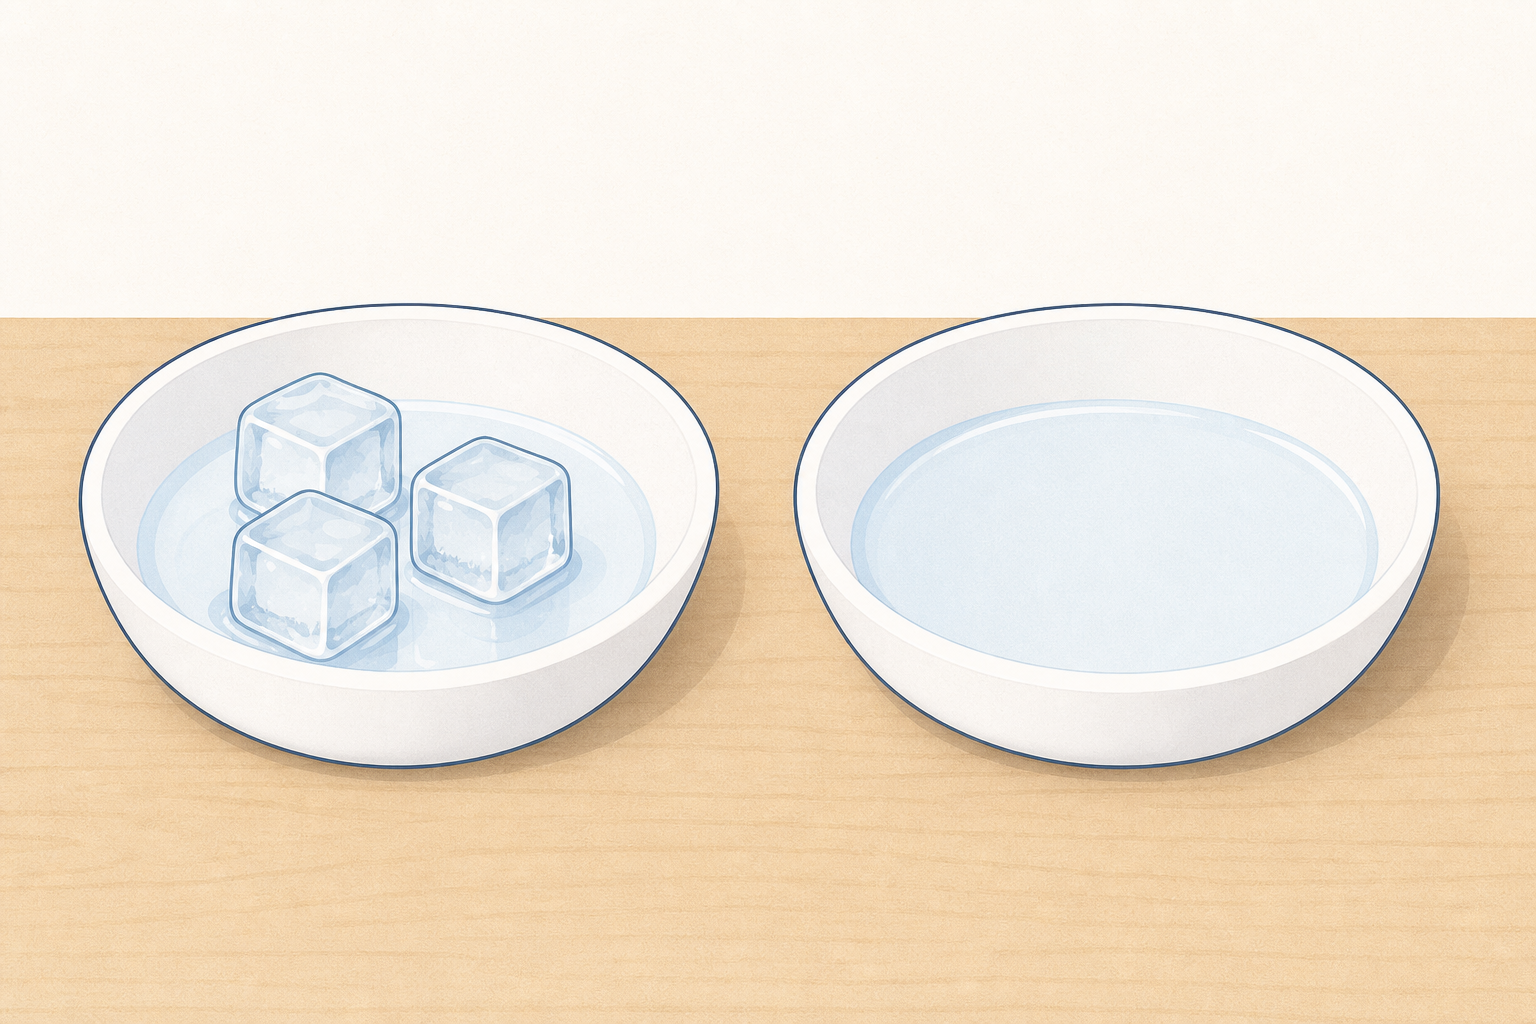
Look at these two bowls. One still has ice. One is water that was ice. What can you see? What do you think happened because our room is warm?
Teacher handles the ice only. Use clear bowls so everyone can see. Make the already-started melt and the fully melted bowl the main thing children look at straight away — not a long silent watch of a barely changing cube. Ideal plan: bowl A with ice that has been sitting in the warm room since the start (water around a smaller cube), and bowl B of water that was ice earlier in the day or before school. Never use hot water or any flame. Warm room only.
Bring both bowls to the carpet. Fold the class in with short teacher questions about what they can see now:
Hands up for a quick three-way guess if useful: stay hard ice / melt into water / get bigger. Then name what they can already see and introduce the word melt here for the first time: The ice is melting. It is changing into water because our room is warm.
Think aloud briefly: I can see water around the ice. The ice is getting smaller. This bowl was ice; now it is water. Warmth changed the ice.
Honest timing: do not rely on a full melt finishing in five minutes. The two-bowl reveal does the teaching. A still-hard cube left alone will feel like dead air for 4–5 year olds.
Link to today’s big idea: things can change when they get wet or warm — melting is one short example of change when something gets warm.
Safety: children stand back from the bowls if the floor is wet; no tasting ice or meltwater; wipe any drips.
You're previewing this lesson. Get full access to this lesson and hundreds more — each one ready to teach, with interactive activities, printable resources and pupil progress tracking built in.