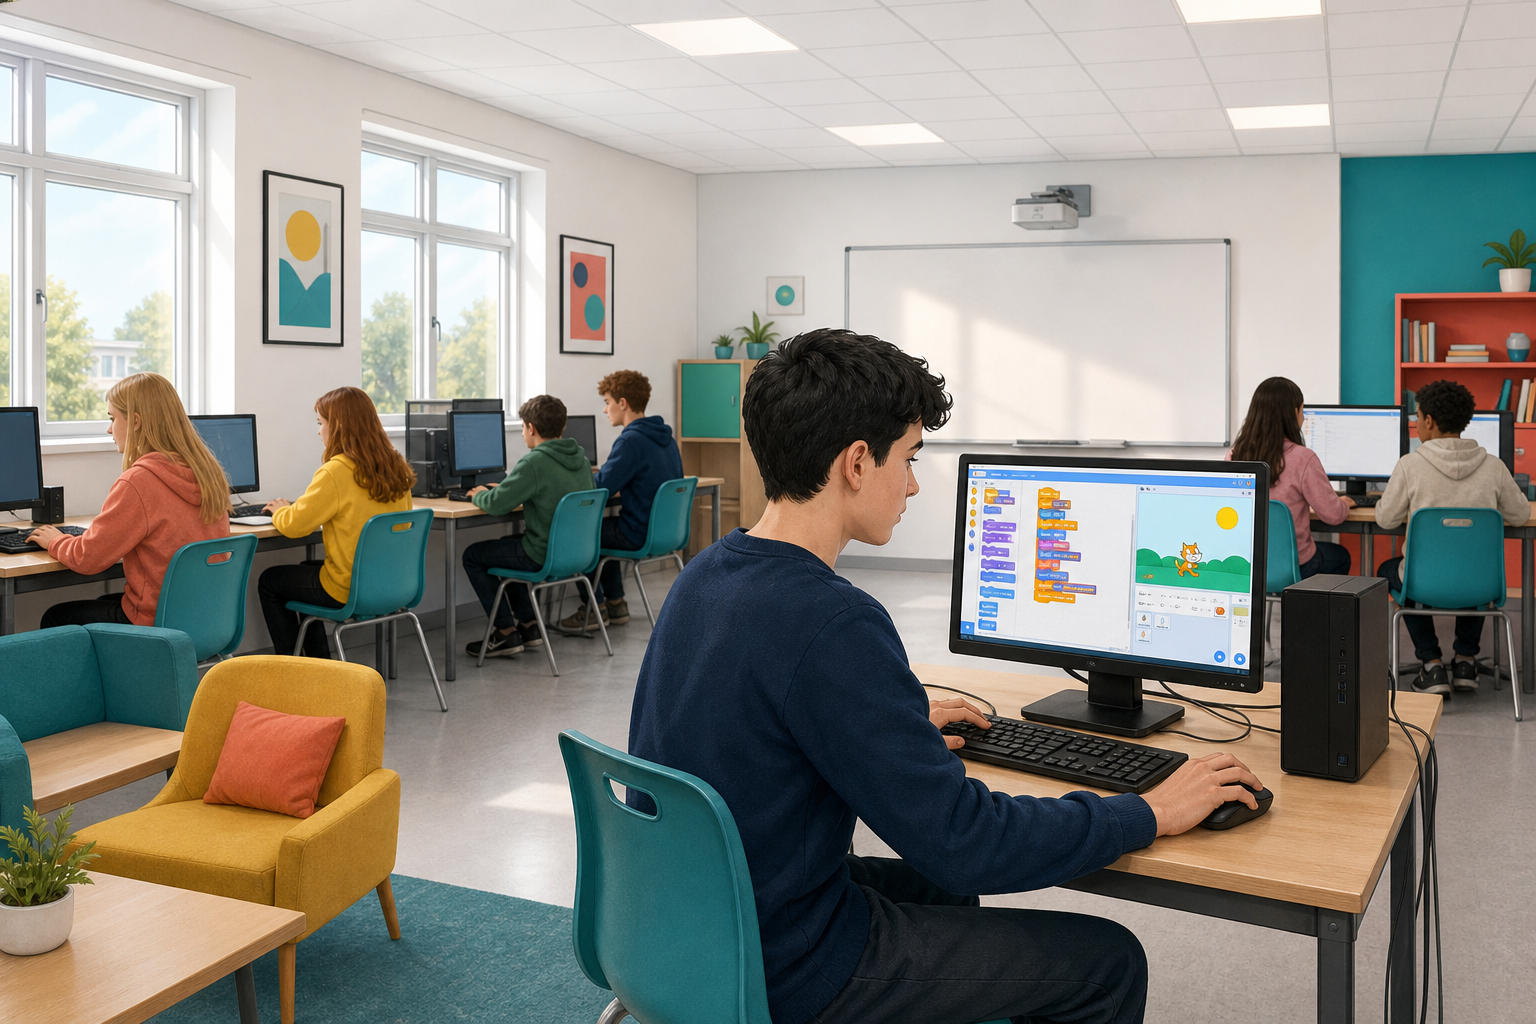
 What happens if you give a computer clear steps, in order, and press run?
Today you start coding in Scratch. In a couple of minutes you will see where this course is heading: games, a website, micro:bit, Python, and one big piece of work of your own at the end. Then you will build your first short program step by step at your device: predict what it might do, add the blocks, run it, and fix anything that does not work. You will also save your project the class way and open it again to check it is really there.
Scratch is a coding website that we can use to create our own games, animations and projects.
Watch this short minute video to get a quick introduction to it.
Now let's take a look at the Scratch website!
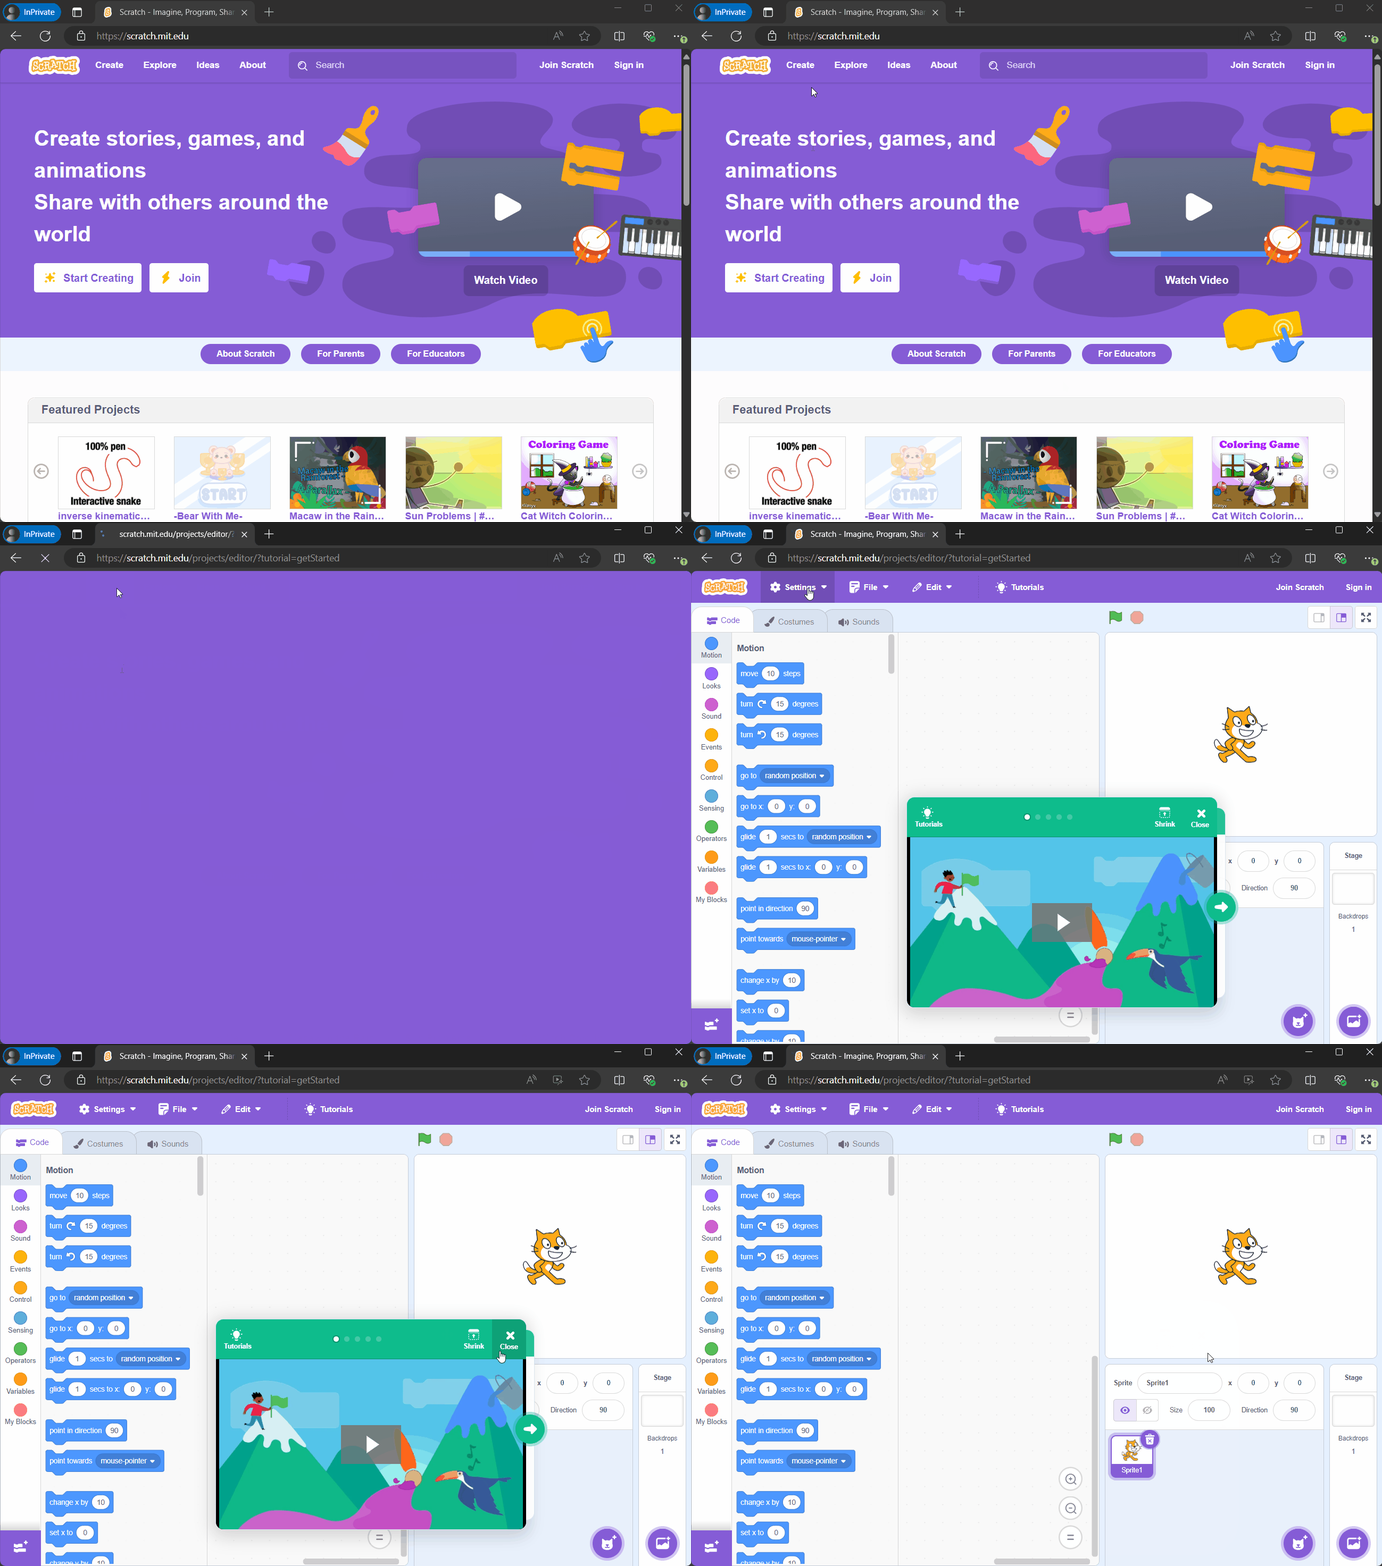
Open the Scratch website by clicking on the link below. Once it opens up click on the Create link at the top of the page. This will open up the project editor. Once you've done that come back to this tab and move onto the next step.
Go to the Scratch website using the link below and click on the 'Create' link in the blue bar at the top.
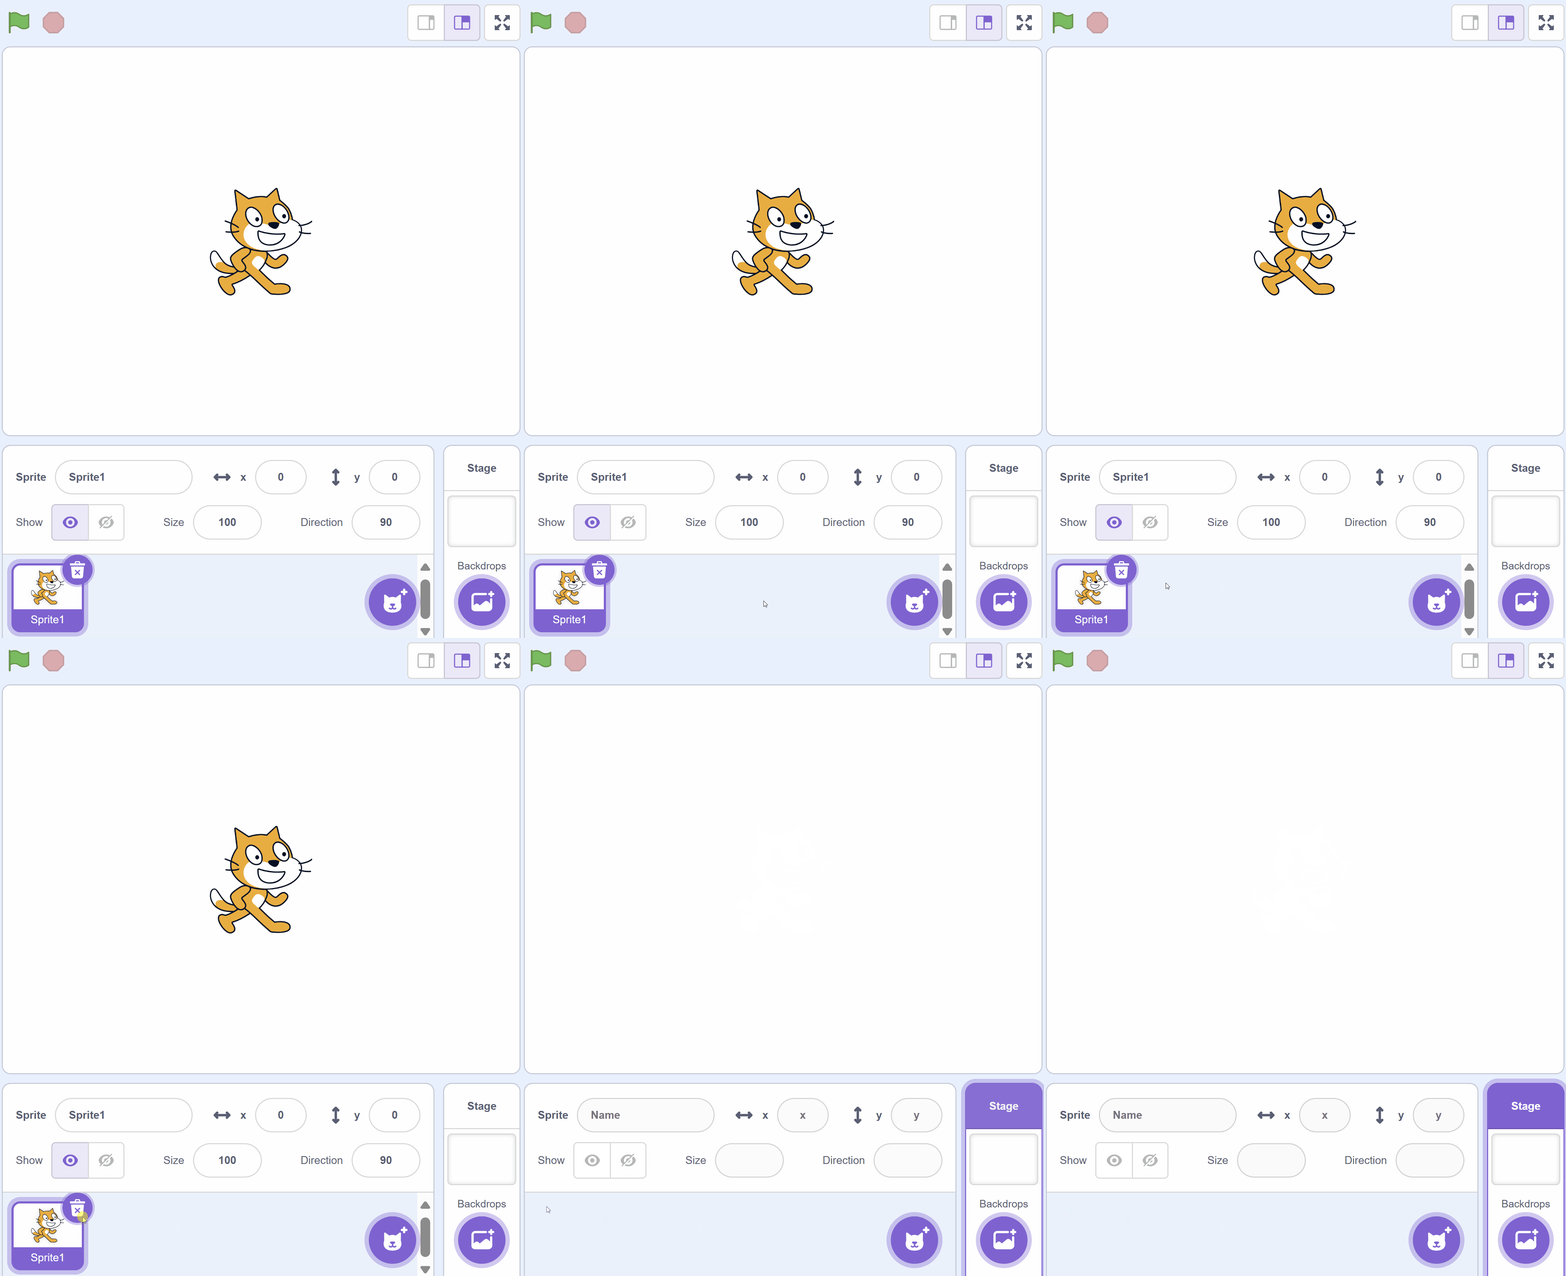
By default, each new project starts with the cat sprite already added. To delete the cat click on the x in the blue circle beside the cat in the sprite list.
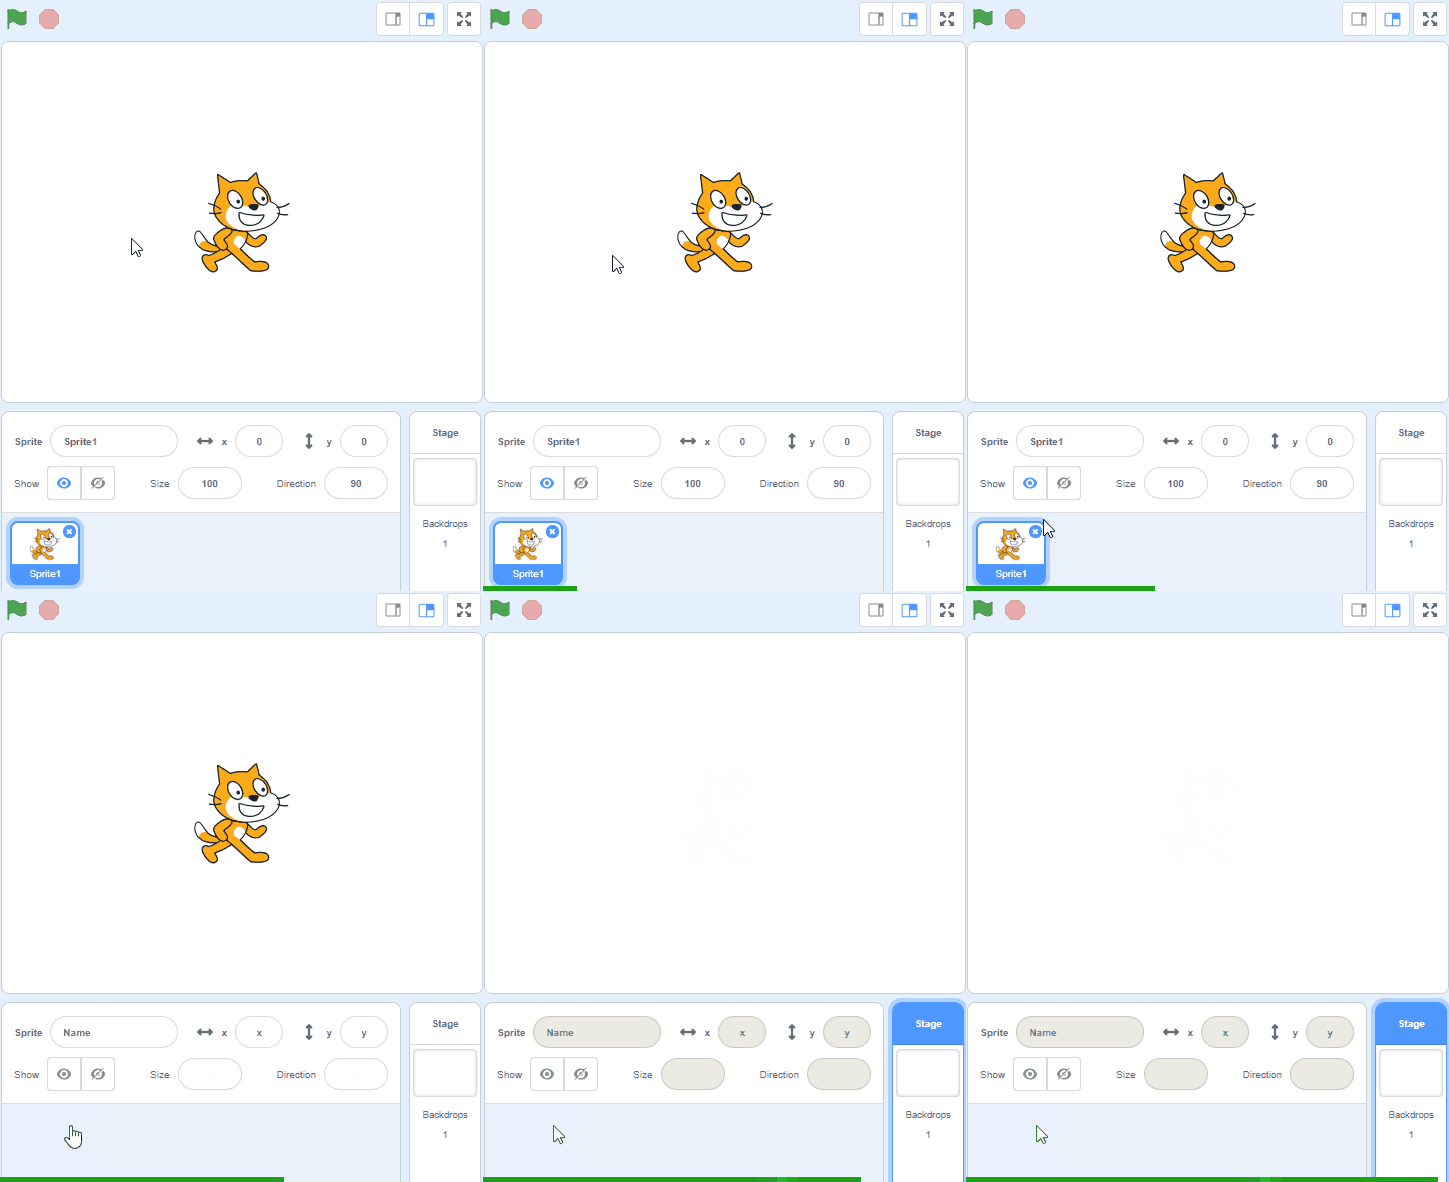
Every new Scratch project starts with a default sprite, which is a cat. For our project, we want to start with a blank slate, so we will remove this cat sprite.
To do this, look below the stage area where you see a small thumbnail of the cat sprite. In the corner of this thumbnail, there's a small 'x'. Click on this 'x' to remove the cat sprite from your project.
Don't worry about losing the cat sprite. If you ever want it back, you can always find it in the sprite library!
Scratch comes with a sprite library that's packed full of different characters.
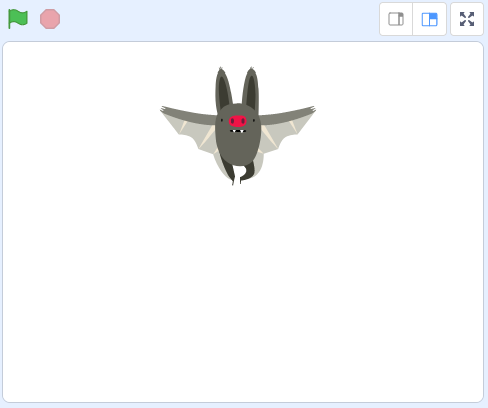
Open up the sprite library and add the Bat sprite to your project.
You'll see that it gets added into the stage area and we can now give it some code!
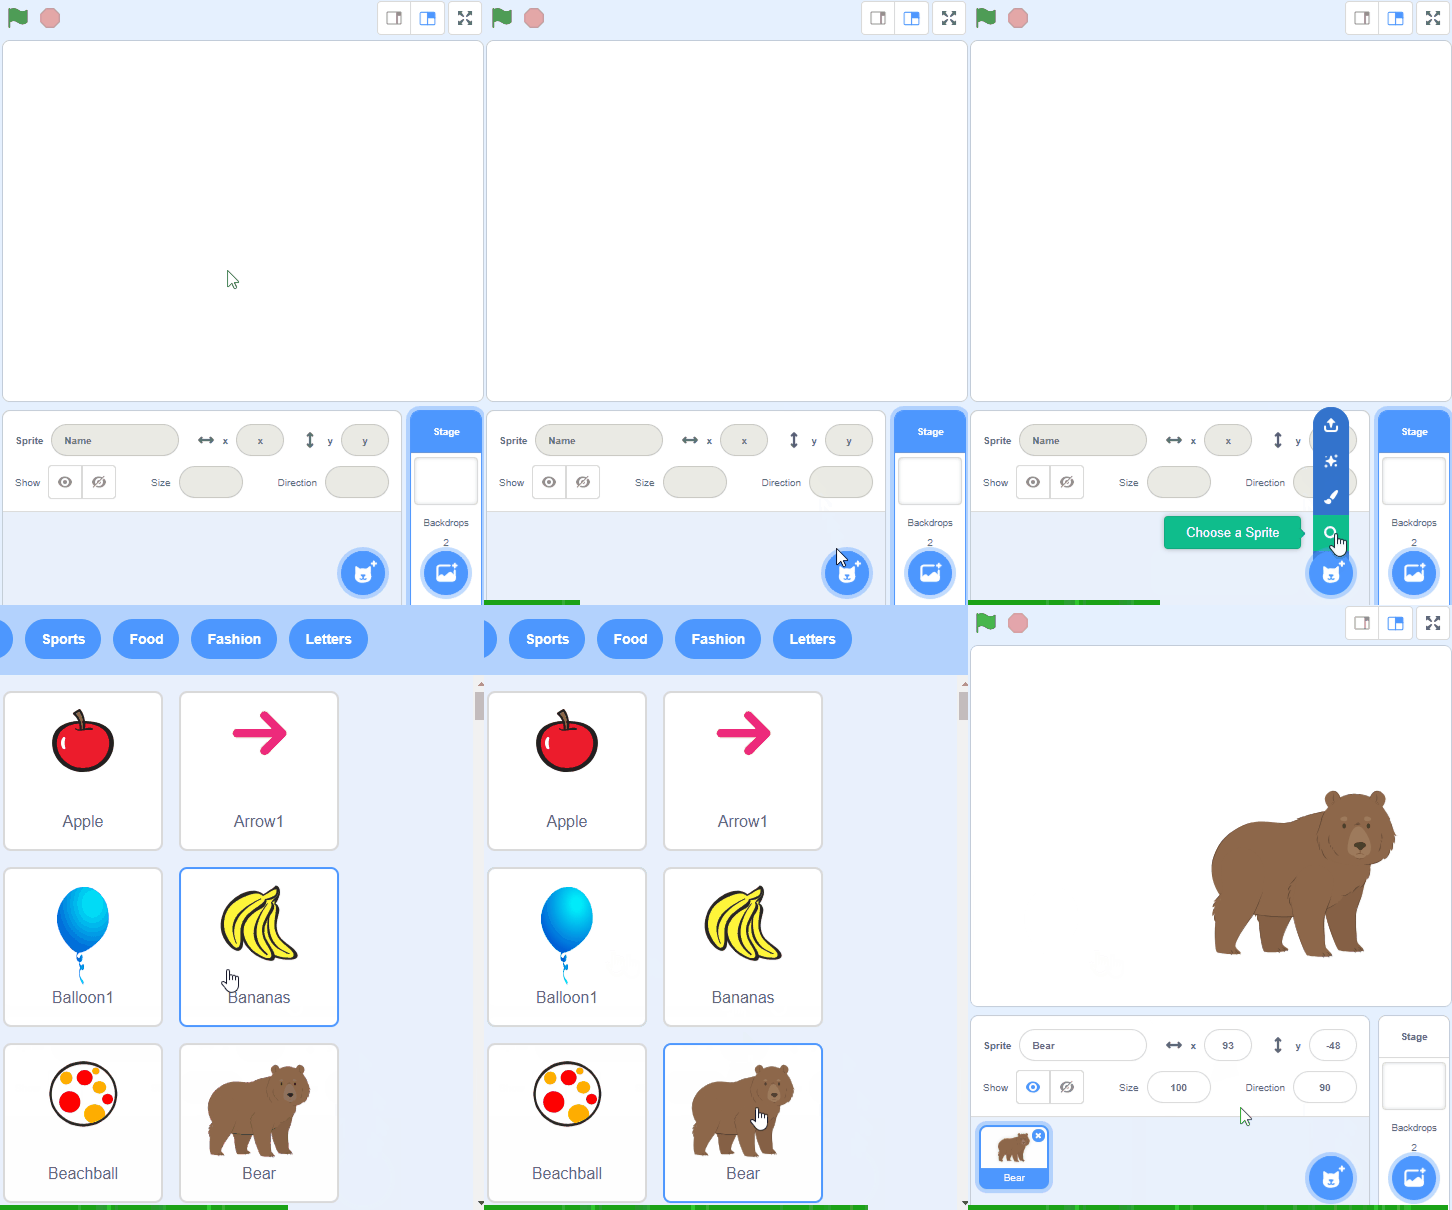
To add a sprite from the sprite library follow these steps:
- Put your mouse over the Choose a Sprite button
- Click on the magnifying glass
- Find the sprite you want in the library
- Click on your chosen sprite
You can use search box or the filter links (Animals, People, Fantasy etc) to locate your sprite.
Unlock the full learning experience
You're previewing this lesson. Get full access to this lesson and hundreds more — each one ready to teach, with interactive activities, printable resources and pupil progress tracking built in.
This lesson is copyright of Coding Ireland 2017 - 2025. Unauthorised use, copying or distribution is not allowed.
Scratch is developed by the Lifelong Kindergarten Group at the MIT Media Lab. It is available for free at https://scratch.mit.edu