Today you will
- make a sample file with headings
- change Heading 1 once so all main titles match
- find a fake heading and fix it
- give your project file matching headings
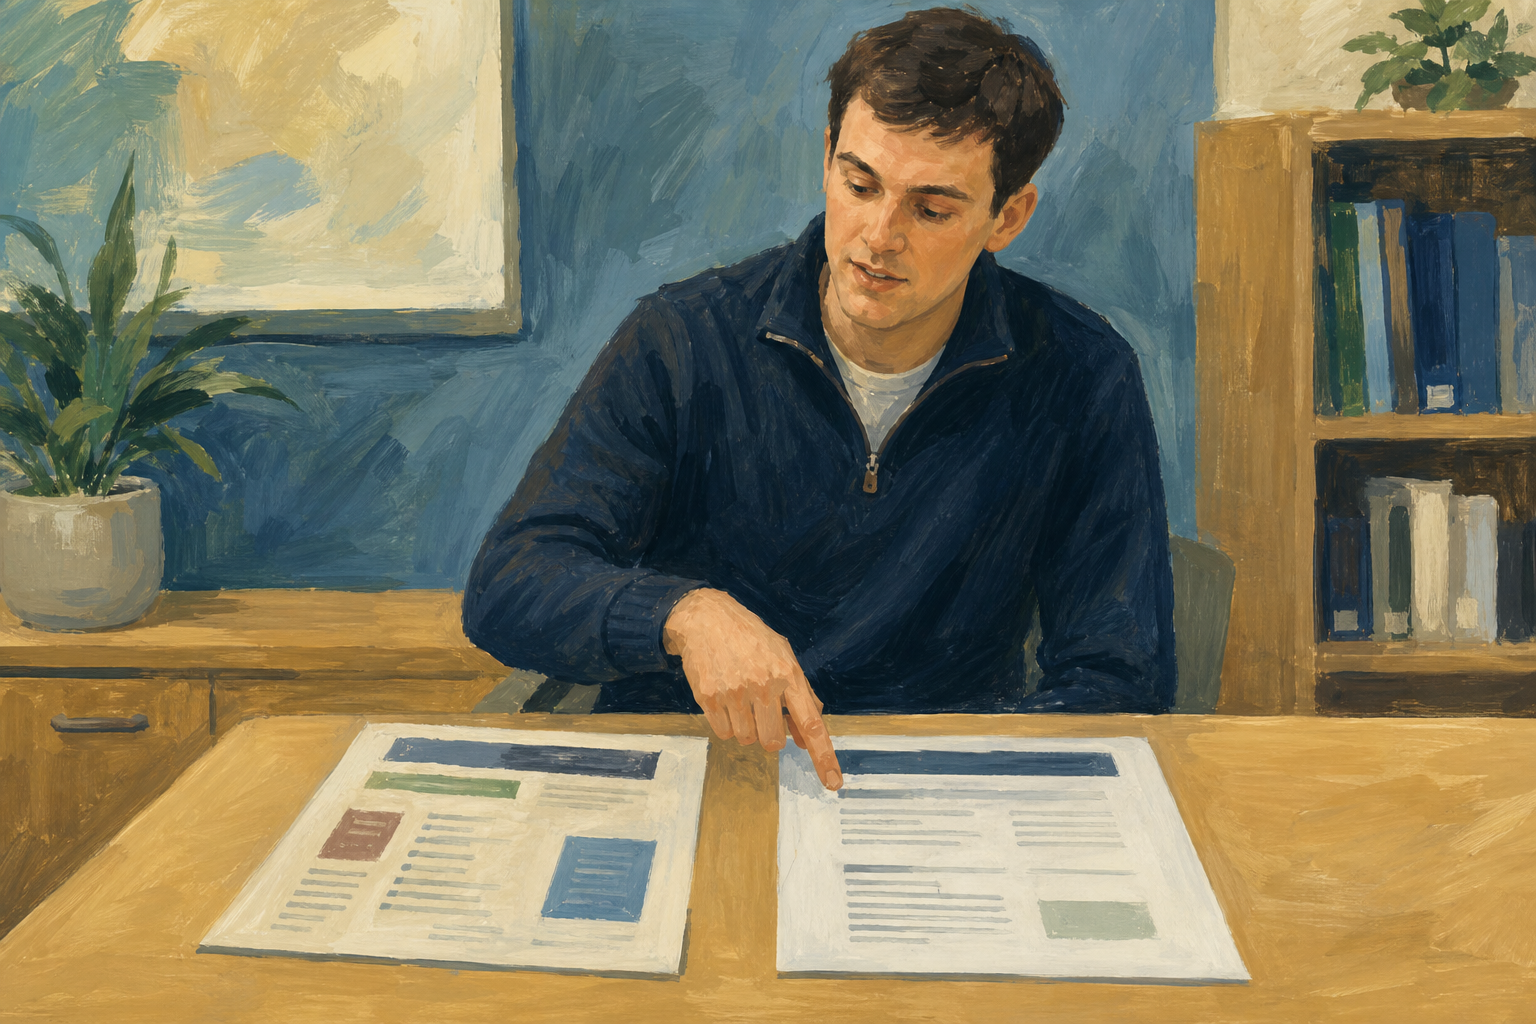 A fake heading is Normal text made bold and big by hand, so it only looks like a heading.
One title is a different size from the others. Would you fix it by hand, or change the style once?
Update to match means you format one heading the way you want, then copy that look into the style.
Global update means that when you change a style, every paragraph using that style changes at the same time.
Fake heading means Normal text made bold and big by hand. It looks like a heading, but a style update skips it.
Aoife makes one Heading 1 in her phone-repair pitch dark navy, 18 pt and bold. She updates Heading 1 to match, and every main title changes too.
You will make a sample file, change Heading 1 once and find a fake heading. Copy the practice text below, then follow the steps in the box below.
What it is
A small phone-screen repair service run from a kitchen table in Cork, booking jobs through WhatsApp.
Who it is for
Local students and workers who need a same-week screen fix without travelling to a big chain.
Costs and pricing
Labour is the main cost; parts are ordered per job.
Startup costs
Toolkit, spare screens for two common models, and simple paper receipts.
Running costs
Parts restock, phone credit, and a small ads boost near exam week.
Timeline
Four weeks to first paid job if parts arrive on time.
Common issues
- One title did not change. It is probably a fake heading, so click it and apply Heading 1.
- My body text changed too. Apply Normal to the body text again. Next time, click in a real heading before you update.
- I can't find Update to match. Keep your cursor in the heading you formatted, then check the steps again.
Independent Practice
- Open your project file ({{code:sm1_doc1_from_template_v4}}) in {{code:sm1/03_finished}}, or {{code:sm1_styles_sample}} if you have none.
- First make a copy named {{code:sm1_doc1_from_template_v5}} (or {{code:sm1_styles_practice_v5}} for the sample), and work in the copy.
- Make one Heading 1 about 18 pt, bold and dark, then update Heading 1 to match.
- Do the same for Heading 2, at about 14 pt in the same colour.
- Check your body text is still Normal, and fix any fake headings.
- All my main titles look the same.
- All my sub-headings match and are smaller than the main titles.
- My body text is on Normal and easy to read.
- I worked in my v5 copy.
Unlock the full learning experience
You're previewing this lesson. Get full access to this lesson and hundreds more — each one ready to teach, with interactive activities, printable resources and pupil progress tracking built in.
This lesson is copyright of Coding Ireland 2017 - 2026. Unauthorised use, copying or distribution is not allowed.