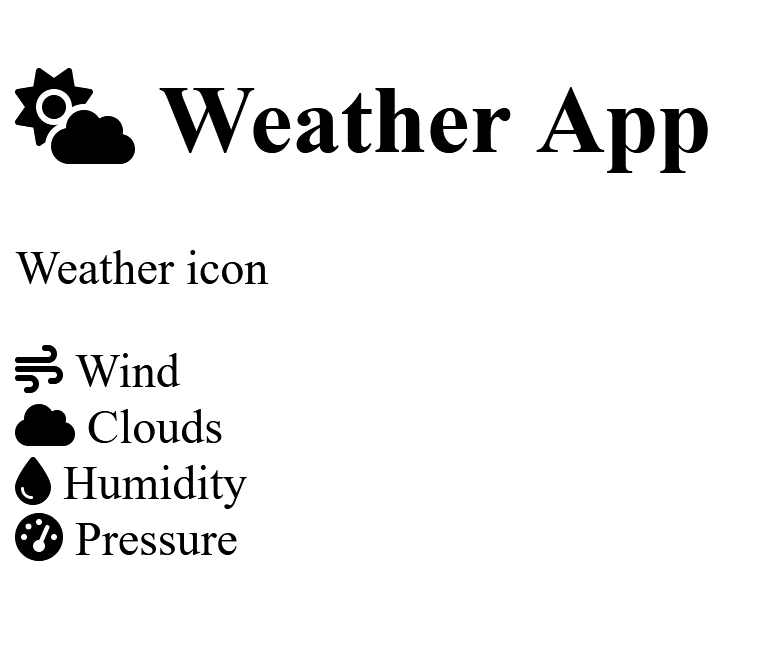
 You can already work with HTML, CSS and JavaScript in the editor. Today you will build a Weather Web App that pulls live weather for a place and shows it on screen.
Before you run anything, what do you think has to happen for real weather numbers to appear in a web page?
You will predict, build step by step, run the app, investigate what it does, and fix issues as they come up.
To start, open CodePen and create a new pen. Give it a clear name such as Weather App and save it, so you can find it again next lesson.
You will be working in three panels in this pen: HTML, CSS and JavaScript.
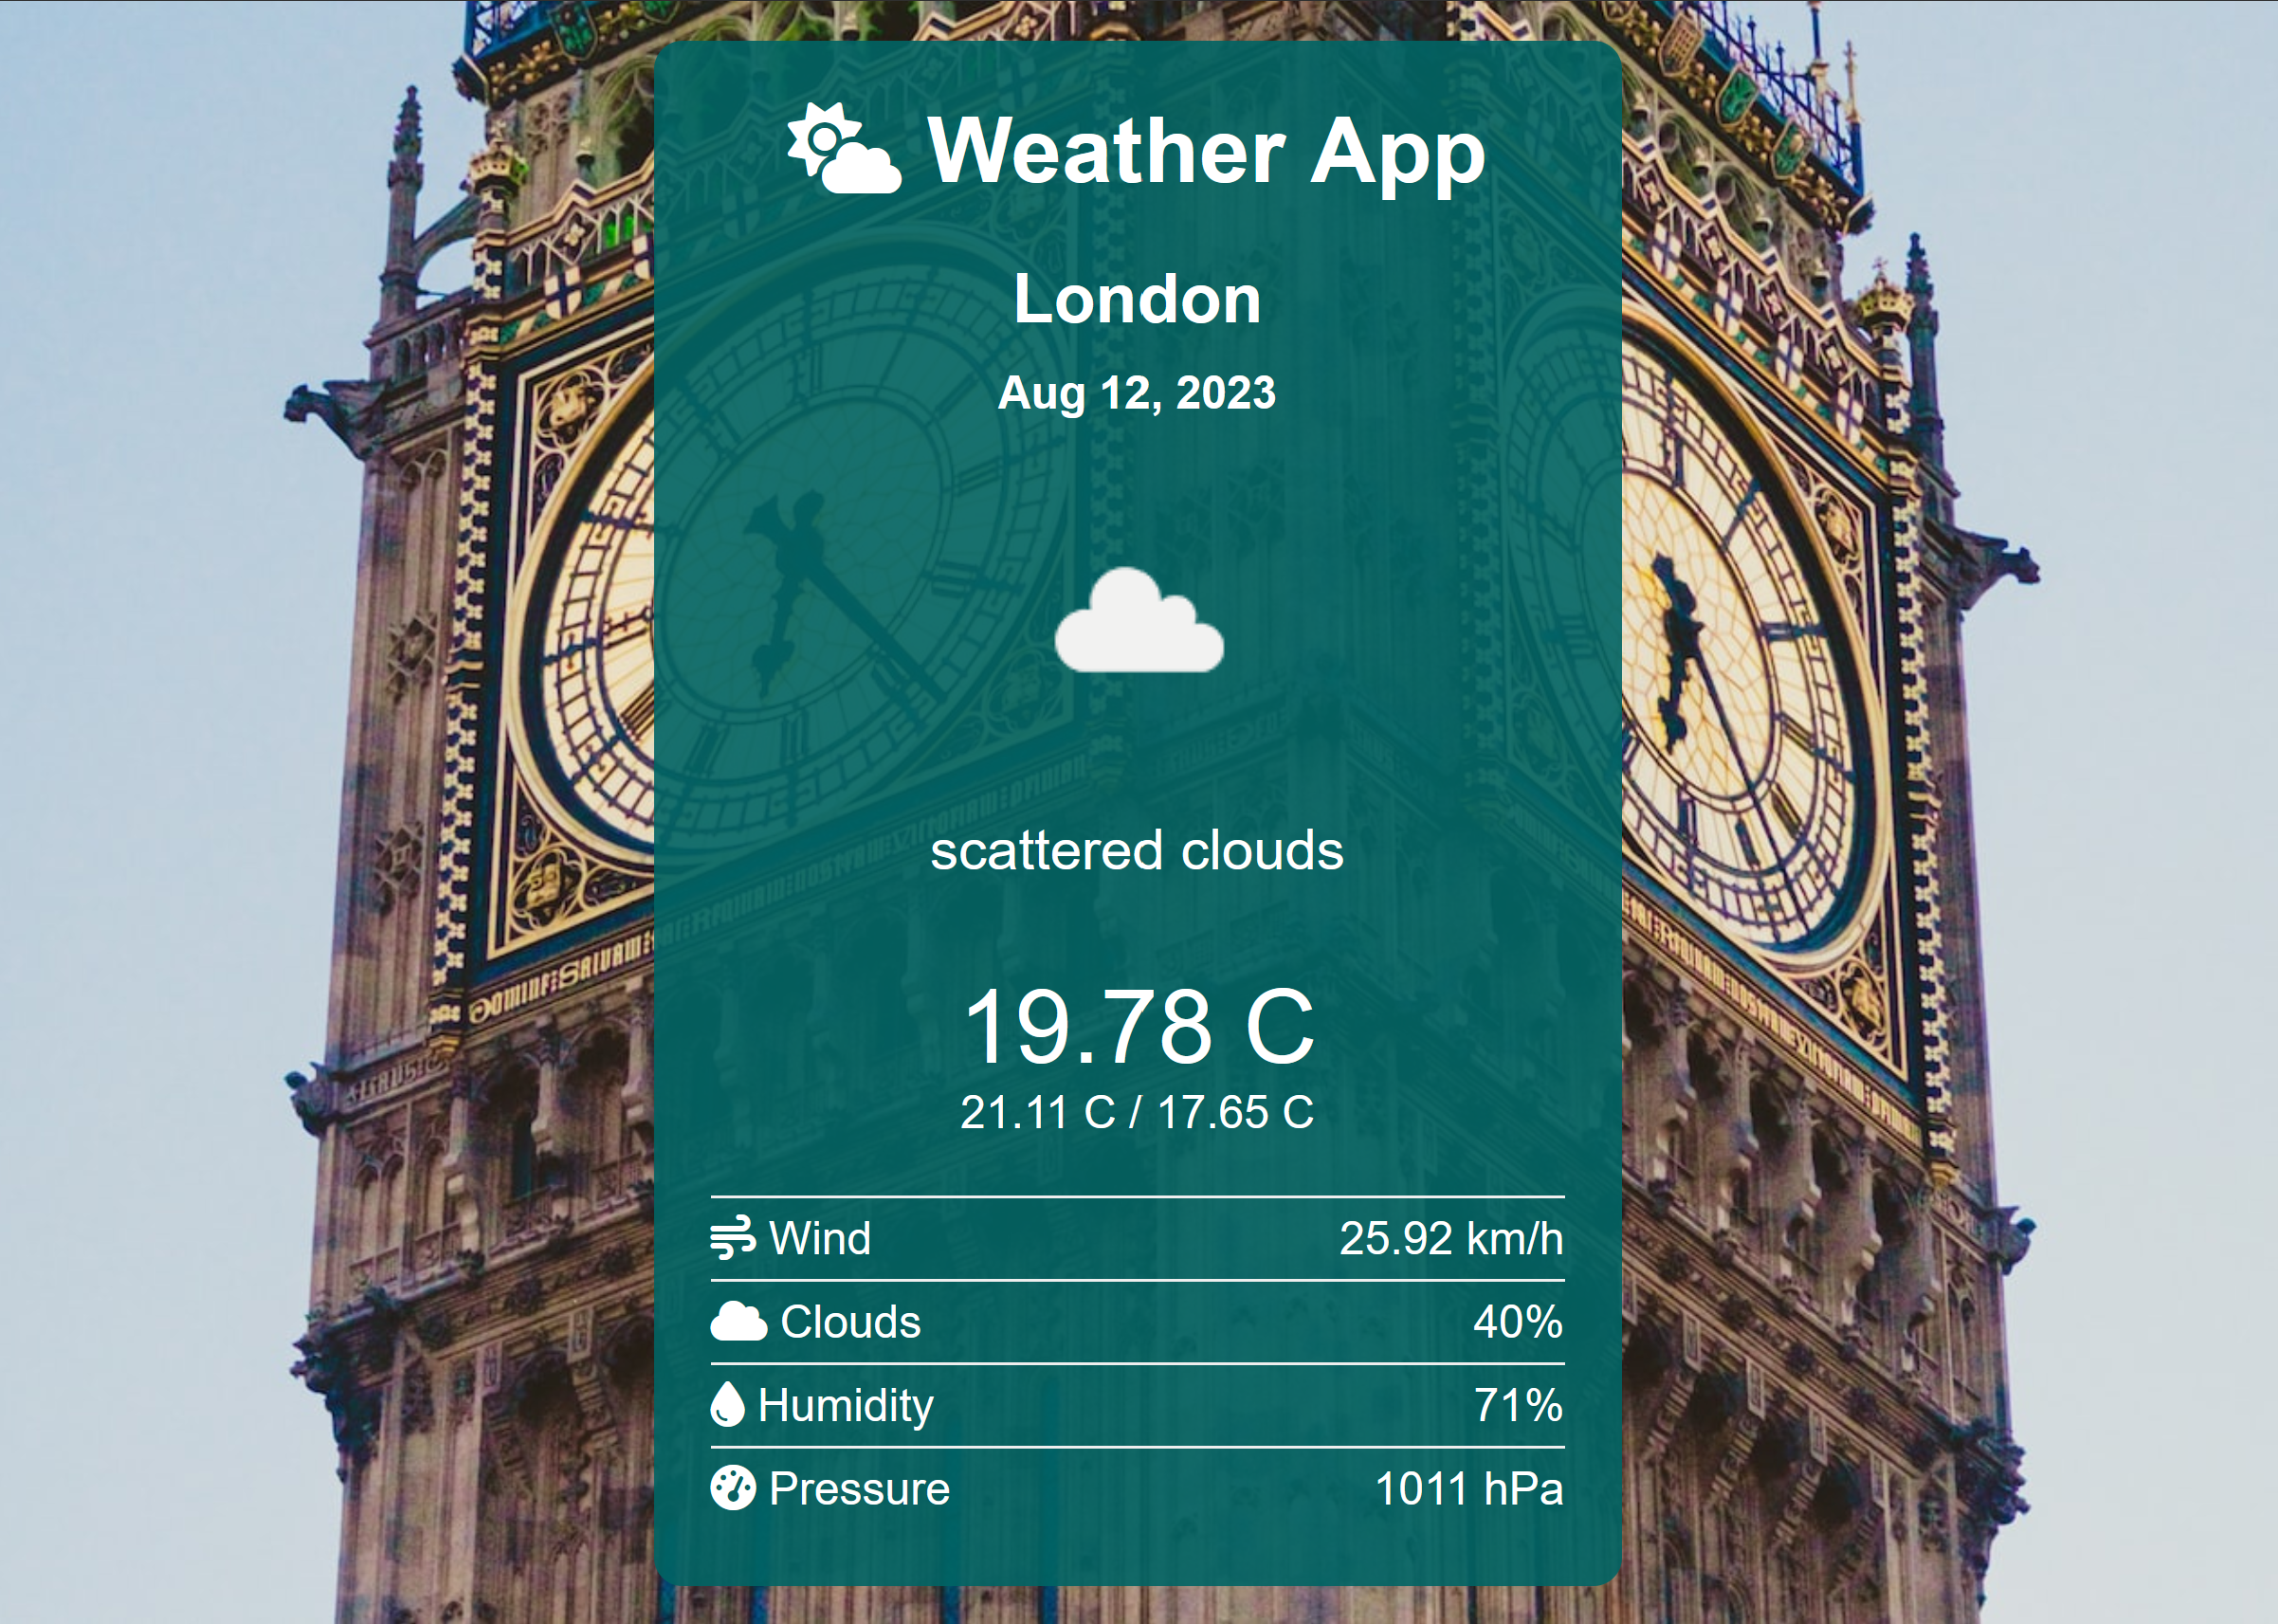
In this step, we will add the jQuery library to our project. jQuery is a popular JavaScript library that makes it easier to work with HTML documents, create animations, handle events, and perform various other tasks on a web page.
How to add it in CodePen. Click the settings cog on the JS panel, find Add External Scripts/Pens, and paste this address in:
https://cdnjs.cloudflare.com/ajax/libs/jquery/3.7.1/jquery.min.js
Close the settings. Nothing will look different yet, that is expected: you have just given the page a library it can use. If your jQuery code does nothing later, this is the first thing to come back and check.
To add a JavaScript library to your CodePen project, follow these steps:
- Click on the 'Settings' button.
- Click on 'JS' for the JavaScript settings.
- In the 'Add External Scripts/Pens' section search for the JavaScript library you wish to add i.e. jQuery.
- Click on the library you wish to add in the results that show.
- Click the 'Close' button and the library is now available in your project.
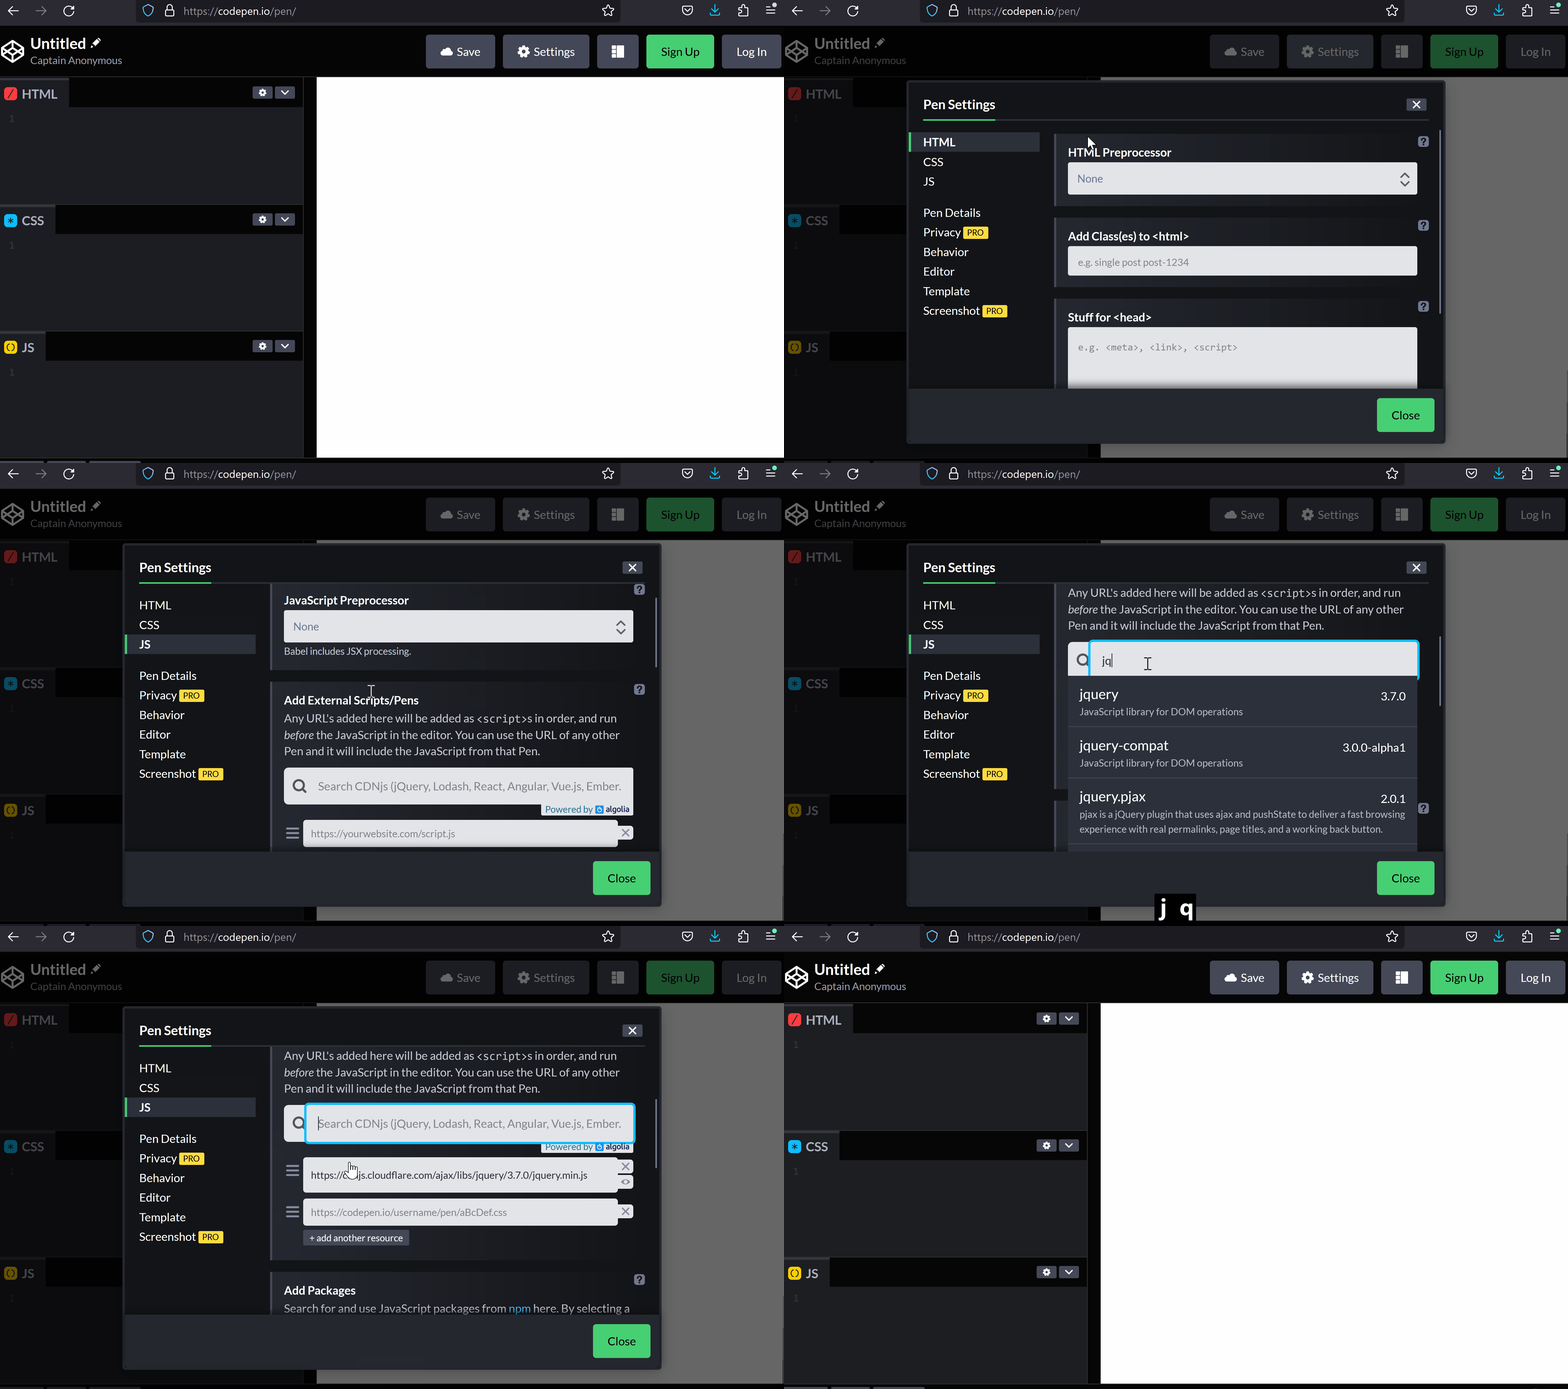

In this step, we will add Font-awesome to our project. Fontawesome is a library of icons that we can use to make our Weather Web App more visually appealing. To add Fontawesome, we need to include its stylesheet in our CodePen.
Once you add the Fontawesome stylesheet to your project, you can use Fontawesome icons in your HTML code by adding an <i> element with the appropriate class names. For example, to add a sun icon, you can use the following code:
<i class="fas fa-sun"></i>This will display
You can find more icons and their class names on the Fontawesome website.
How to add it in CodePen. Click the settings cog on the CSS panel, find Add External Stylesheets/Pens, and paste this address in:
https://cdnjs.cloudflare.com/ajax/libs/font-awesome/6.5.2/css/all.min.css
Once it is added, an icon is just an empty i element with the right class names, for example a sun icon:
<i class="fa-solid fa-sun"></i>
If your icons show as empty squares, the stylesheet has not loaded, so check the address.
To add a Stylesheet to your CodePen project, follow these steps:
- Click on the 'Settings' button.
- Click on 'CSS' for the CSS settings.
- In the 'Add External Stylesheet/Pens' section search for the external Stylesheet you wish to add i.e. Bootstrap or Fontawesome.
- Click on the stylesheet you wish to add in the results that show.
- Click the 'Close' button and the stylesheet is now available in your project.
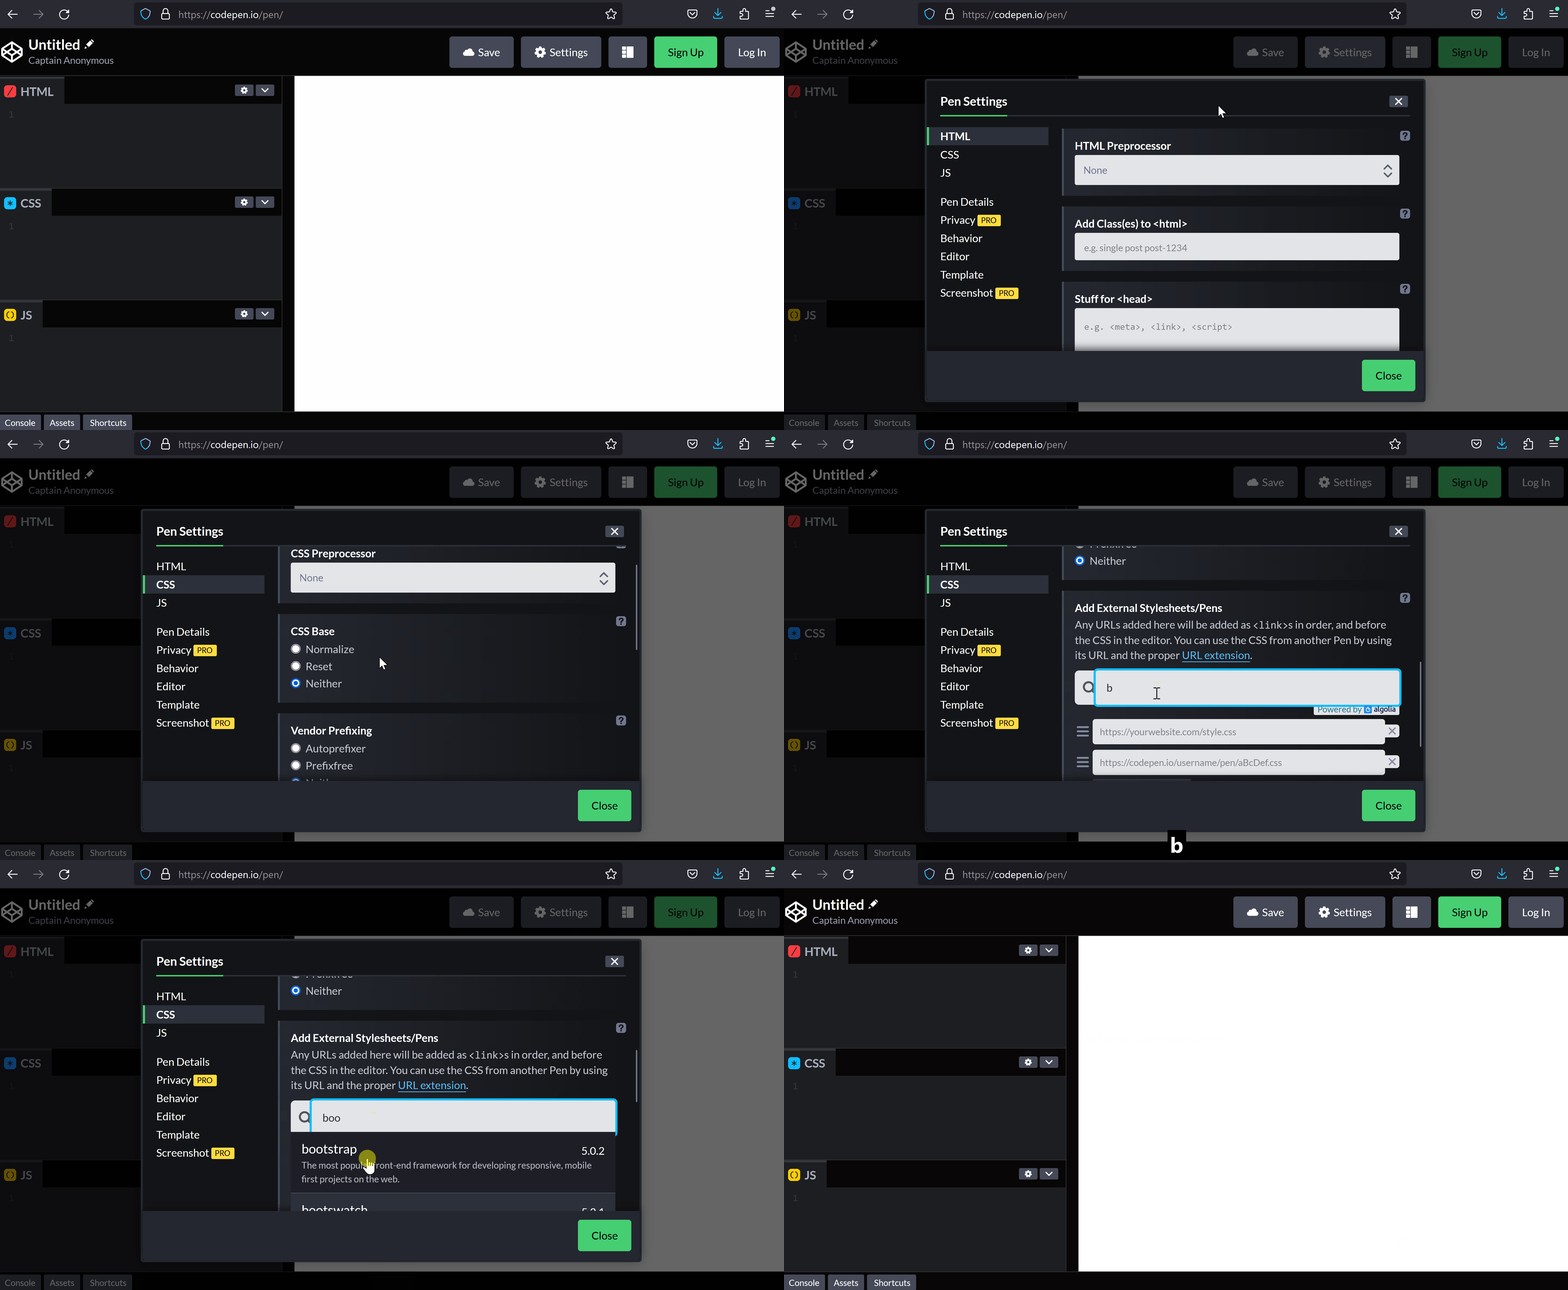

In this step, we will create the HTML structure for our Weather Web App. This structure will include various elements to display the weather data, such as the location, date, forecast, temperature, and other weather parameters like wind, clouds, humidity, and pressure. We will also add a background image of the location we are showing the weather for.
Add the following HTML code to the HTML section of your project:
<div id='bg-img'>
  <div id='wrapper'>
    <h1><i class="fas fa-cloud-sun"></i> Weather App</h1>
    <div id='location'>
      <h2 id='currentLocation'></h2>
      <h4 id='currentDate'></h4>
    </div>
    <div id='main-data'>
      <img src='' alt="Weather icon"/>
      <p id='forecast'></p>
      <p id='currentWeather'></p>
    </div>
    <div id='temp'>
      <p id='currentTemp'></p>
      <p id='high-low'></p>
    </div>
    <div id='parameters'>
      <div>
        <span><i class='fas fa-wind'></i> Wind</span>
        <span id='wind'></span>
      </div>
      <div>
        <span><i class='fas fa-cloud'></i> Clouds</span>
        <span id='cloud'></span>
      </div>
      <div>
        <span><i class='fas fa-tint'></i> Humidity</span>
        <span id='humidity'></span>
      </div>
      <div>
        <span><i class='fas fa-gauge-high'></i> Pressure</span>
        <span id='pressure'></span>
      </div>
    </div>
  </div>
</div>
Here's a brief explanation of the main HTML elements:
bg-img: This div will contain the background image of the location we are showing the weather for.wrapper: This div wraps all the content of our Weather Web App.location: This div displays the current location and date.main-data: This div contains the weather icon, forecast, and current weather description.temp: This div displays the current temperature and high-low temperatures.parameters: This div contains the weather parameters like wind, clouds, humidity, and pressure.
Unlock the full learning experience
You're previewing this lesson. Get full access to this lesson and hundreds more — each one ready to teach, with interactive activities, printable resources and pupil progress tracking built in.
This lesson is copyright of Coding Ireland 2017 - 2025. Unauthorised use, copying or distribution is not allowed.