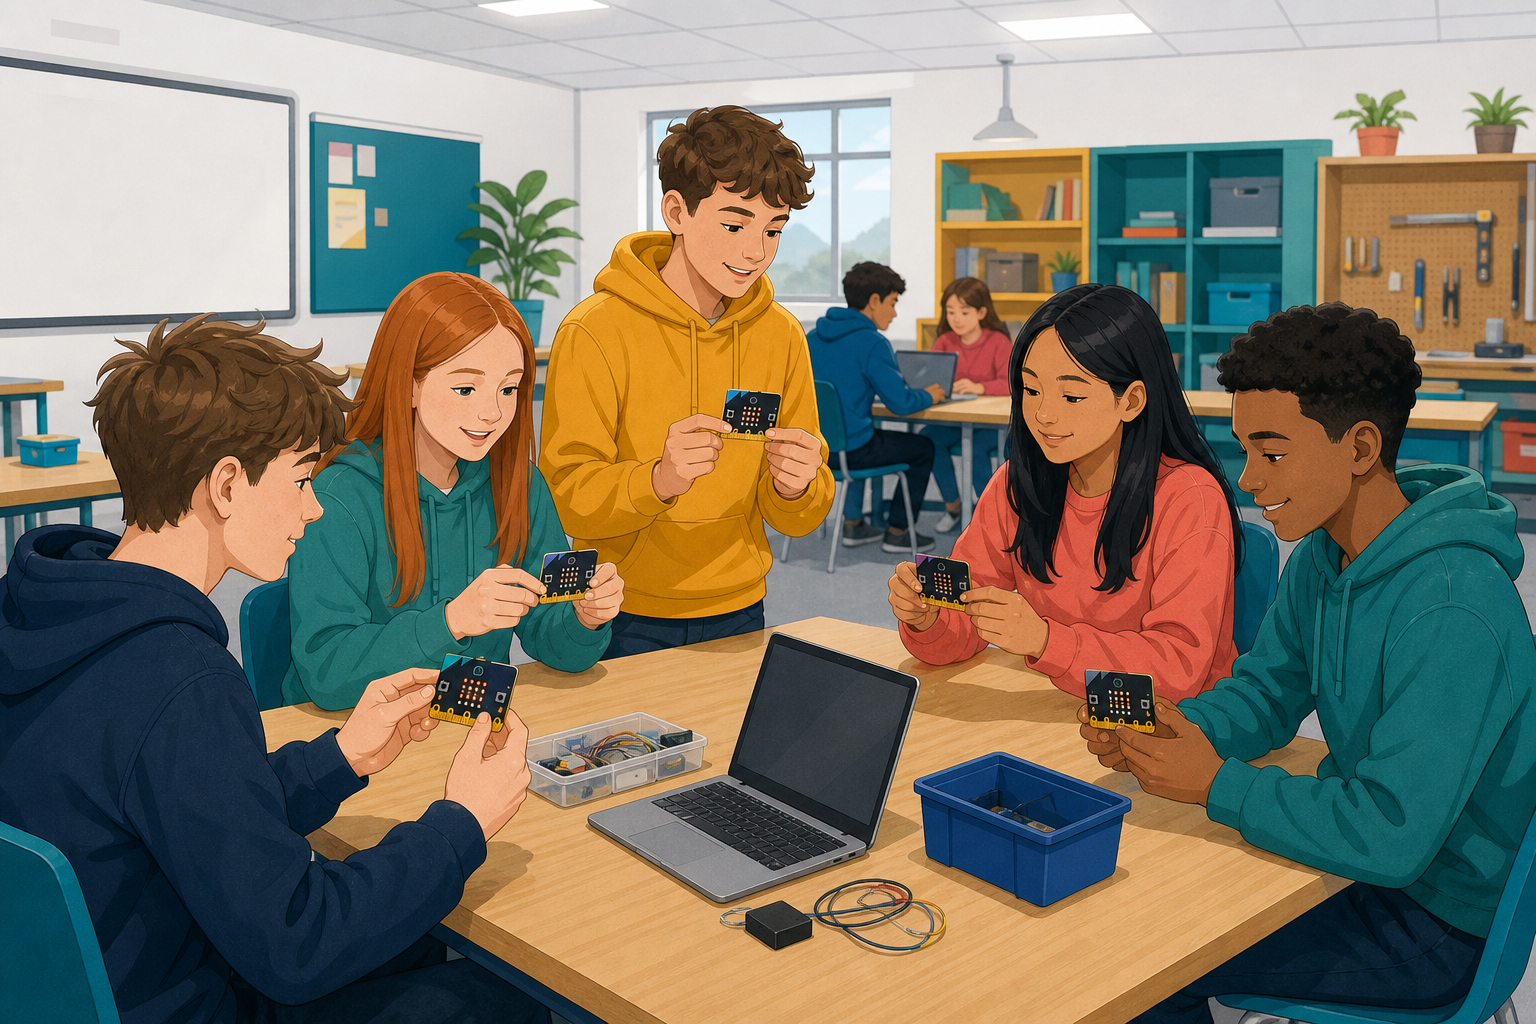
 You can already work with buttons and basic micro:bit programs. Today you will build a class voting system: some micro:bits cast a single Yes or No vote, and one central micro:bit receives the votes, shows the totals, and can reset everyone for another round.
Before you run anything, think: what needs to happen so each voting micro:bit only counts once, and how might the central micro:bit tell the others to start again?
In this lesson, you will create a voting system using microbits. This system will consist of multiple 'voting' microbits and one 'central' microbit. Each voting microbit will be able to cast a single vote, which will be sent to the central microbit. The central microbit will tally the votes and display the results. Additionally, the central microbit will have the ability to reset the voting state of all the voting microbits, allowing for a new round of voting to take place.
To start, you will need to create two separate projects on the MakeCode Microbit website. One project will be for the voting microbits, and the other will be for the central microbit. Let's begin with the voting microbits project.
Go to the MakeCode Microbit website (https://makecode.microbit.org/) and click on 'New Project'. Name this project 'Voting Microbit'. Once you have created this project, repeat the process to create a second project and name it 'Central Microbit'. These two projects will allow you to code the different functionalities required for the voting and central microbits.

In this step, we will program the A and B buttons on your microbit to allow only a single 'Yes' or 'No' vote. Once a vote has been cast, the microbit will not accept any more votes. This is achieved by creating a variable 'voted' that tracks whether a vote has been cast or not.
First, let's create the 'voted' variable and set it to false. This means that at the start, no vote has been cast yet. Add the following code to the 'Voting Microbit' project:
let voted = false
voted = false
radio.setGroup(1)
basic.showString("?")
Now, let's program the A and B buttons. We want them to send a 'Yes' or 'No' vote only if 'voted' is false, i.e., no vote has been cast yet. Once a vote is cast, we set 'voted' to true to prevent further voting.
Add the following code:
input.onButtonPressed(Button.A, function () {
    if (!(voted)) {
        radio.sendString("yes")
        voted = true
        basic.showIcon(IconNames.Yes)
    }
})

input.onButtonPressed(Button.B, function () {
    if (!(voted)) {
        radio.sendString("no")
        voted = true
        basic.showIcon(IconNames.No)
    }
})
This code checks if 'voted' is false before sending a 'Yes' or 'No' vote. If 'voted' is true, it means a vote has already been cast and it will not send another vote. Once a vote is sent, it sets 'voted' to true, preventing further votes from being cast.
In this step, we will set up the central microbit to receive votes and to send a reset signal. This will allow us to count the votes and reset the voting system when needed.
First, we need to create two variables 'yesCount' and 'noCount' to keep track of the number of 'Yes' and 'No' votes. We also need to connect our microbit to a radio group. This allows our microbits to communicate with each other. You can do this by adding the following code:
let yesCount = 0
let noCount = 0
radio.setGroup(1)
Next, we will write a function to handle the received votes. If the received string is 'yes', we will increase the 'yesCount' by 1. If the received string is 'no', we will increase the 'noCount' by 1. Add the following code:
radio.onReceivedString(function (receivedString) {
	if (receivedString == 'yes') {
    	yesCount += 1
    } else if (receivedString == 'no') {
    	noCount += 1
    }
 })
Finally, we will set up a function to reset the counts of 'Yes' and 'No' votes and send a 'Reset' radio message to all microbits when both buttons A and B are pressed at the same time. Add the following code:
input.onButtonPressed(Button.AB, function () {
yesCount = 0
noCount = 0
radio.sendString('reset')
})
Now, your central microbit is set up to receive votes, count them, and reset the voting system when needed.
Next, let's set up the individual voting microbits to receive the 'Reset' signal from the central microbit. Add the following code to the 'Voting Microbit' project:
radio.onReceivedString(function (receivedString) {
    if (receivedString == "reset") {
        voted = false
        basic.showString("?")
    }
})
This code will reset the voted state to false when the 'Reset' signal is received, allowing the microbit to vote again.
Download the code onto all the 'Voting Microbit' microbits.
Unlock the full learning experience
You're previewing this lesson. Get full access to this lesson and hundreds more — each one ready to teach, with interactive activities, printable resources and pupil progress tracking built in.
This lesson is copyright of Coding Ireland 2017 - 2025. Unauthorised use, copying or distribution is not allowed.