You can already show messages and numbers on the micro:bit and respond to a button.
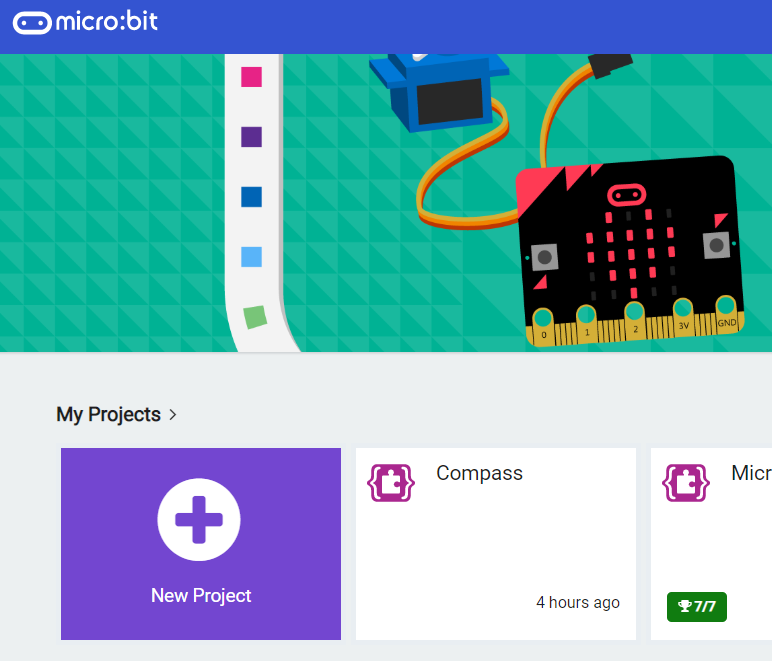
Today you will build a Reaction Timer: a short countdown, a random wait, a full-screen signal, and a reading in milliseconds when you press A. You will then run fair attempts and compare times as a class.
Before anyone runs the finished idea: when do you think the full screen should appear, and what should the number on the screen mean?
Keep this opening tight. Devices should already be logged in and the MakeCode micro:bit editor ready. Recap that students can show text and use buttons, then set the goal: a reaction timer and a fair class test. Optional predict: before anyone builds, ask when the full-screen signal should appear and what the final number should mean; park one or two answers on the board to revisit in make sense. Work in pairs at devices once you move on. Do not spend long here; time belongs to the build.
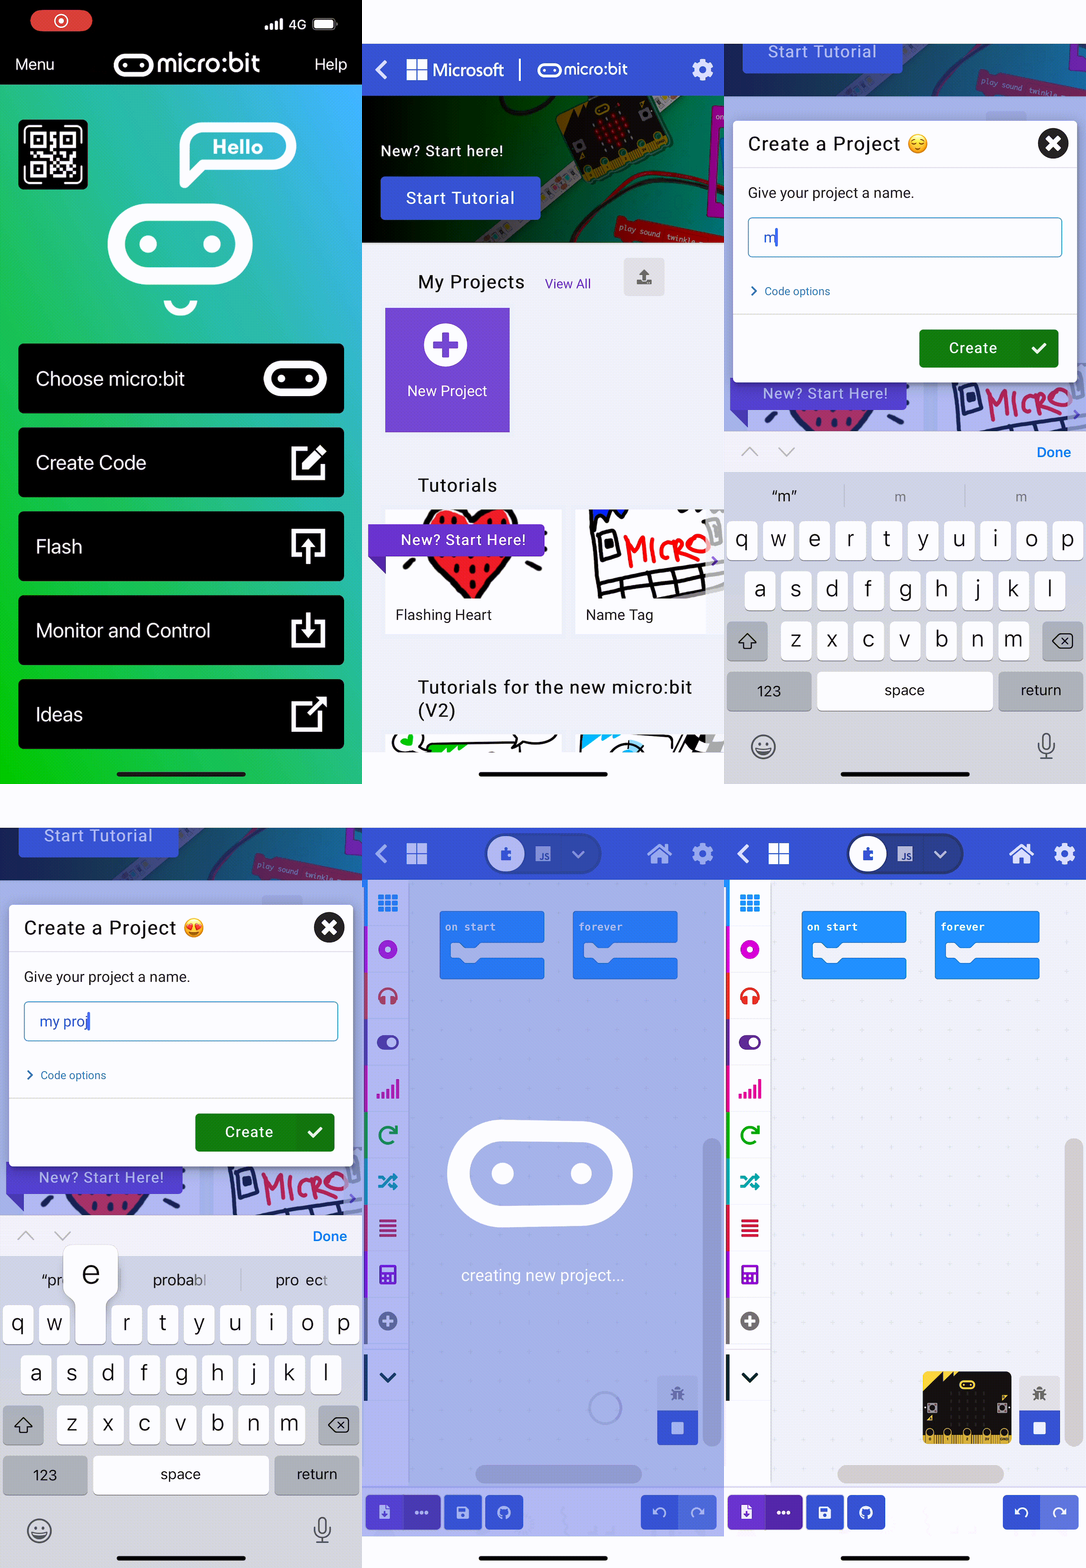
First, go to the Micro:bit website. Click on 'New Project' and name your project as 'Reaction Timer'.
Model creating and naming the new project on the board. Check every pair has named it Reaction Timer and is in a clean project before they add blocks. Watch for students editing an old file by mistake. Differentiation: stay with anyone still pairing the micro:bit or finding New Project.
Let's start by creating a welcome message that will be displayed when you power on your Microbit.
Add the following code to your project:
basic.showString("Get Ready")
Model the welcome string on the board, then let pairs add it. Key question: what should the player see the moment the program starts? Common bug: typos in the string or the show block left outside the start path so nothing appears on reset. Keep moving; this is only the hook for the countdown.
After the welcome message, we are going to create a countdown from 3 to 1 and then show a line on the screen.
Add the following new code to your project:
basic.showString("Get Ready")
basic.showNumber(3)
basic.pause(1000)
basic.showNumber(2)
basic.pause(1000)
basic.showNumber(1)
basic.pause(1000)
basic.showLeds(`
. . . . .
. . . . .
# # # # #
. . . . .
. . . . .
`)
Build the countdown with the class on the board: numbers 3, 2, 1 with one-second pauses, then the line pattern. Ask why a pause is needed between numbers. Common bugs: missing pauses so the count flashes too fast, or the LED line pattern mistyped so the middle row is wrong. Mention the function idea only as a stretch thought; do not require it. Support pairs by checking pause length is 1000 ms.
To make the game unpredictable, let's add a random delay after the countdown.
Add the following new code to create a random delay between 1 to 5 seconds (1,000 to 5,000 milliseconds) and then show the signal (a fully lit up LED screen) to the player.
basic.showString("Get Ready")
basic.showNumber(3)
basic.pause(1000)
basic.showNumber(2)
basic.pause(1000)
basic.showNumber(1)
basic.pause(1000)
basic.showLeds(`
. . . . .
. . . . .
# # # # #
. . . . .
. . . . .
`)
basic.pause(Math.randomRange(1000, 5000))
basic.showLeds(`
# # # # #
# # # # #
# # # # #
# # # # #
# # # # #
`)
Emphasise why the wait after the line must be random: otherwise players can guess the beat. Ask what would happen if the delay were always the same. Watch for ranges typed as seconds instead of milliseconds, and for the full-screen pattern not filling every LED. Investigate on the board with one sample run so students see the wait change between resets.
You're previewing this lesson. Get full access to this lesson and hundreds more — each one ready to teach, with interactive activities, printable resources and pupil progress tracking built in.