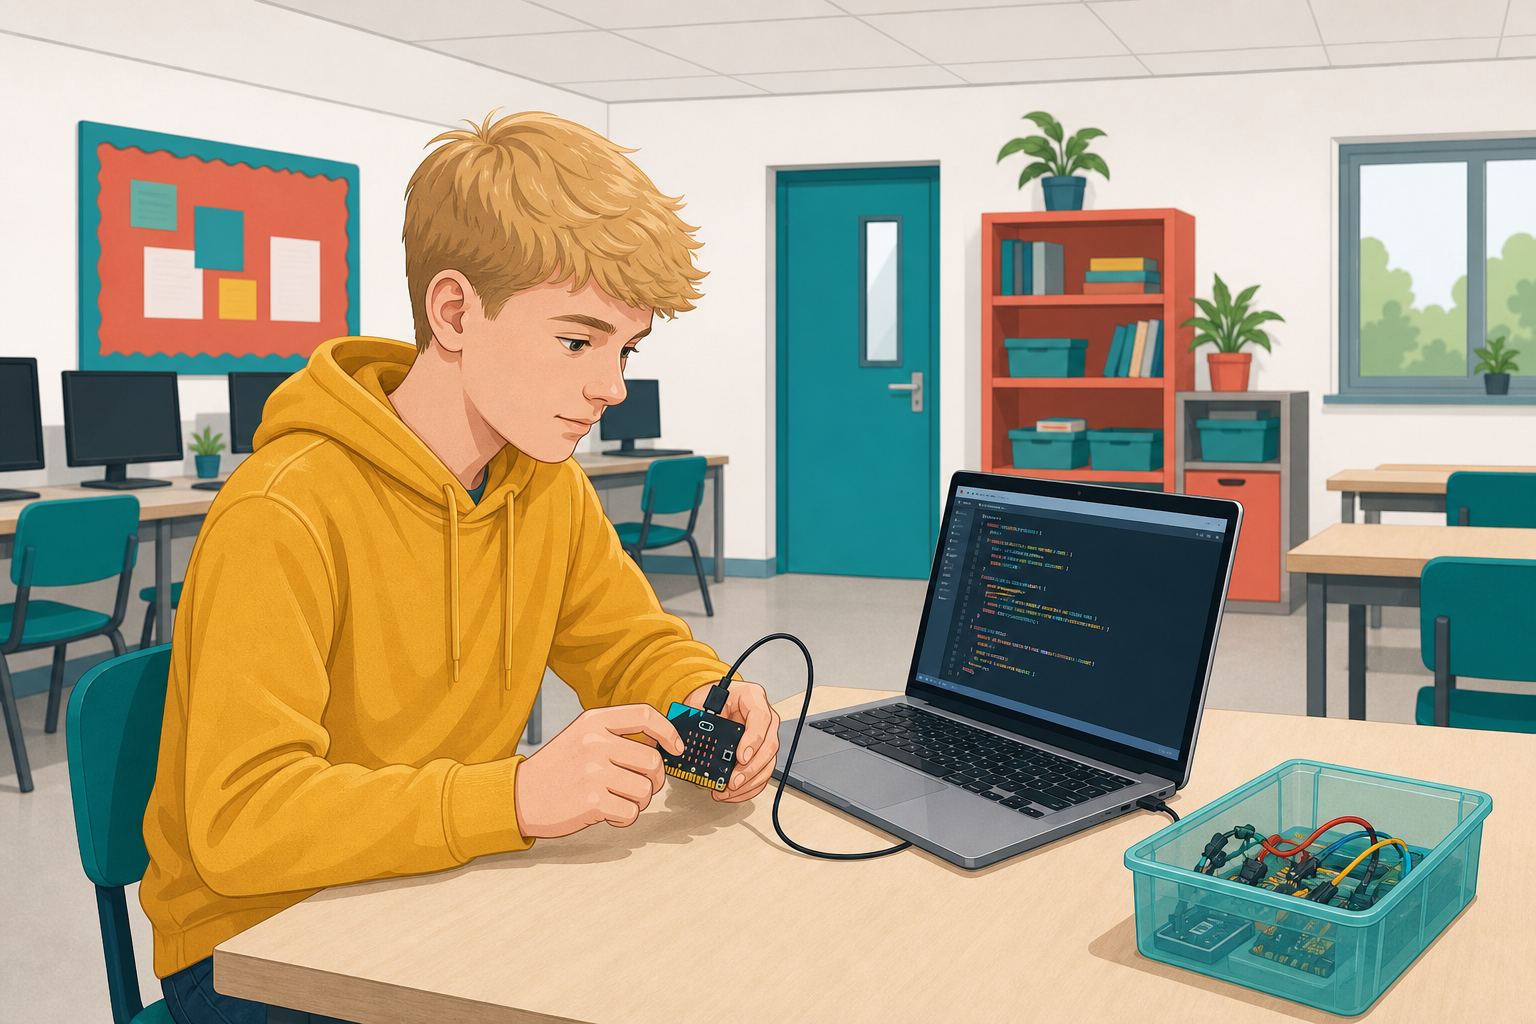
 Today you are coding in Python on the micro:bit.
You can already make sprites move and build simple games with blocks. Now you will build a Reaction Time Tester step by step: predict first, then build, run and fix.
By the end you will have a game that waits a random time, measures how fast you press, and keeps your best scores. You will also think about what felt easier in blocks and what felt easier in text.
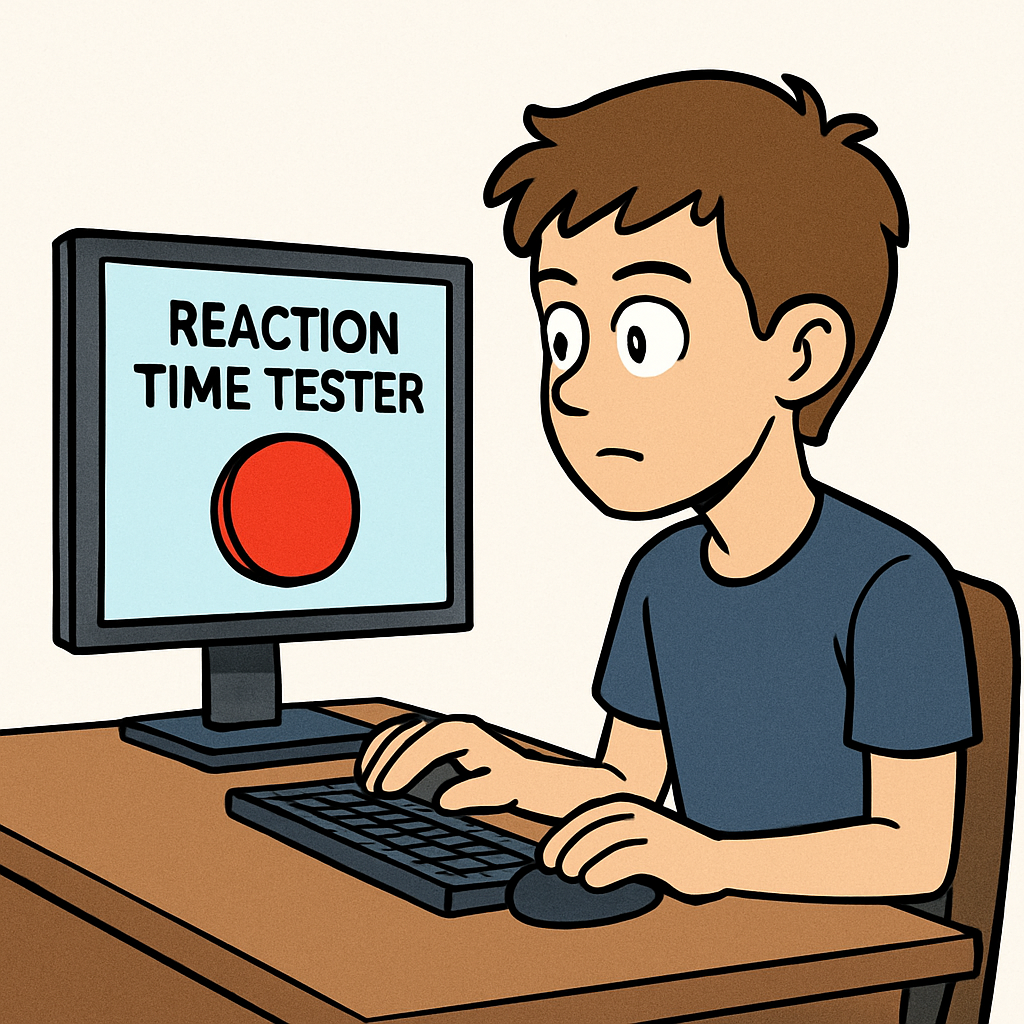
The Reaction Time Tester has five parts:
- A random delay, so the player cannot learn the timing.
- A measurement of how long they took to press.
- A list that stores every time.
- A function that checks whether a time is a new high score.
- A display of the best scores.
The random delay is what makes it a fair test. Without it you are measuring memory, not reaction.
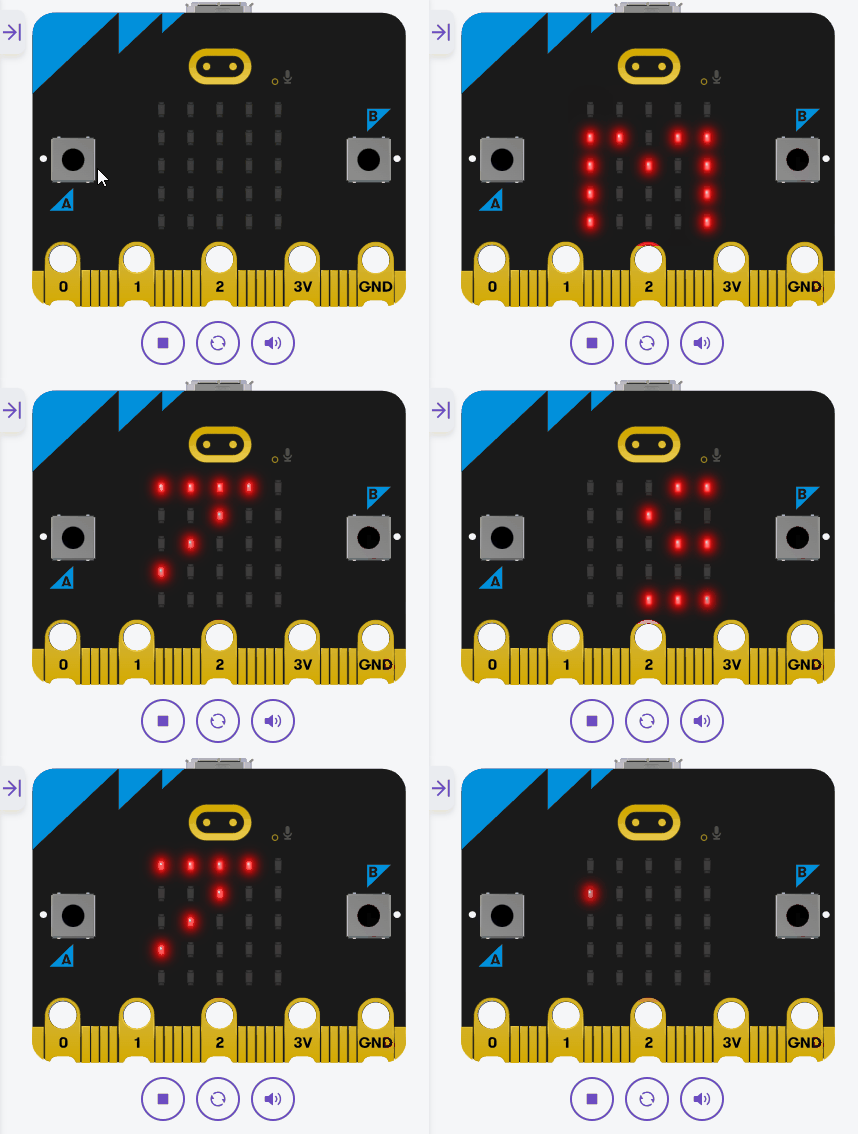
In this step, we'll import the necessary modules. We need the microbit module for hardware access, the random module for random delays, and we'll use time for timing, but since Micro:bit uses running_time() for timers, we'll handle that later.
Start by adding the following complete code to your editor:
from microbit import *
import randomNext, we'll create a list to store high scores (initially empty) and display a 'Press A to start' message to start the game. Lists are perfect for holding multiple scores, and we'll add to it later. We'll also add in a loop for the code for the game.
Update your code to the following complete version:
from microbit import *
import random

high_scores = []
display.scroll("Press A to start", delay=50)

while True:
    while not button_a.is_pressed():
sleep(100)high_scores is now set up to store times.Now, let's add a random delay before lighting up an LED (by showing an image). This sets up the 'wait' period before the signal to react.
We'll use sleep(random.randint(1000, 5000)) for a random wait between 1-5 seconds. Then show Image.YES as the 'go' signal.
Update your code to this complete version:
from microbit import *
import random

high_scores = []
display.scroll("Press A to start", delay=50)

while True:
    while not button_a.is_pressed():
        sleep(100)

    display.clear()
    sleep(random.randint(1000, 5000))
    display.show(Image.YES)
random.randint and displays Image.YES as the go signal.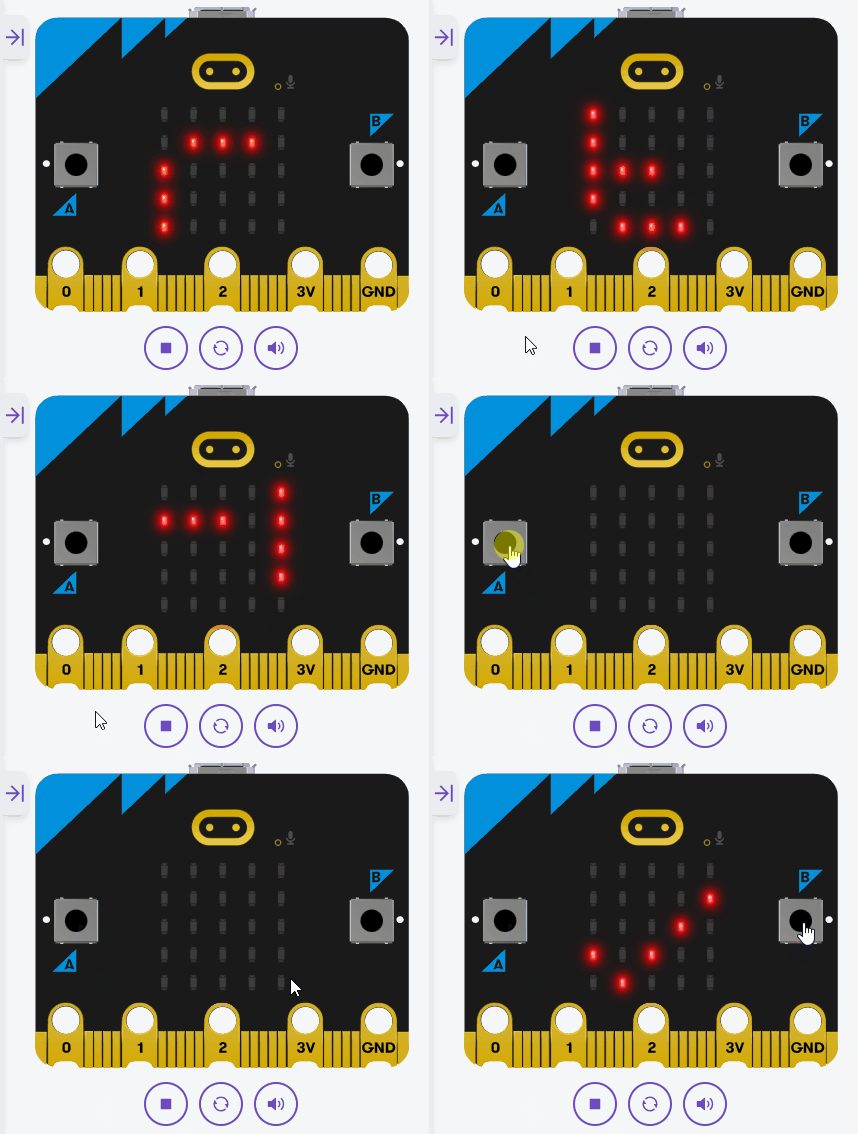
Unlock the full learning experience
You're previewing this lesson. Get full access to this lesson and hundreds more — each one ready to teach, with interactive activities, printable resources and pupil progress tracking built in.
This lesson is copyright of Coding Ireland 2017 - 2025. Unauthorised use, copying or distribution is not allowed.