Makecode Arcade
Beginner
40 mins
Teacher/Student led
+150 XP

Studio: Prison Break

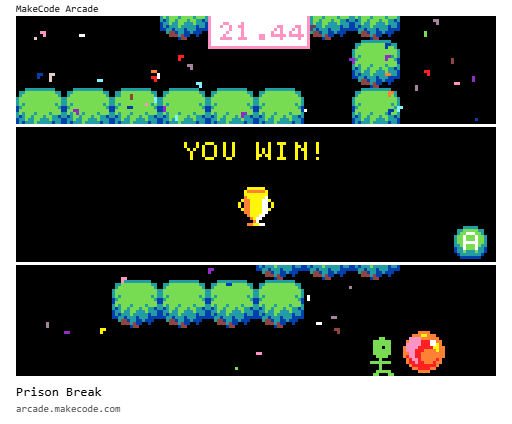
Students plan a maze layout, then build a Prison Break escape game in MakeCode Arcade with walls, player movement, a win tile and a countdown timer.
Teacher Class Feed

Load previous activity

    1 - Start: What We're Building ~4 mins

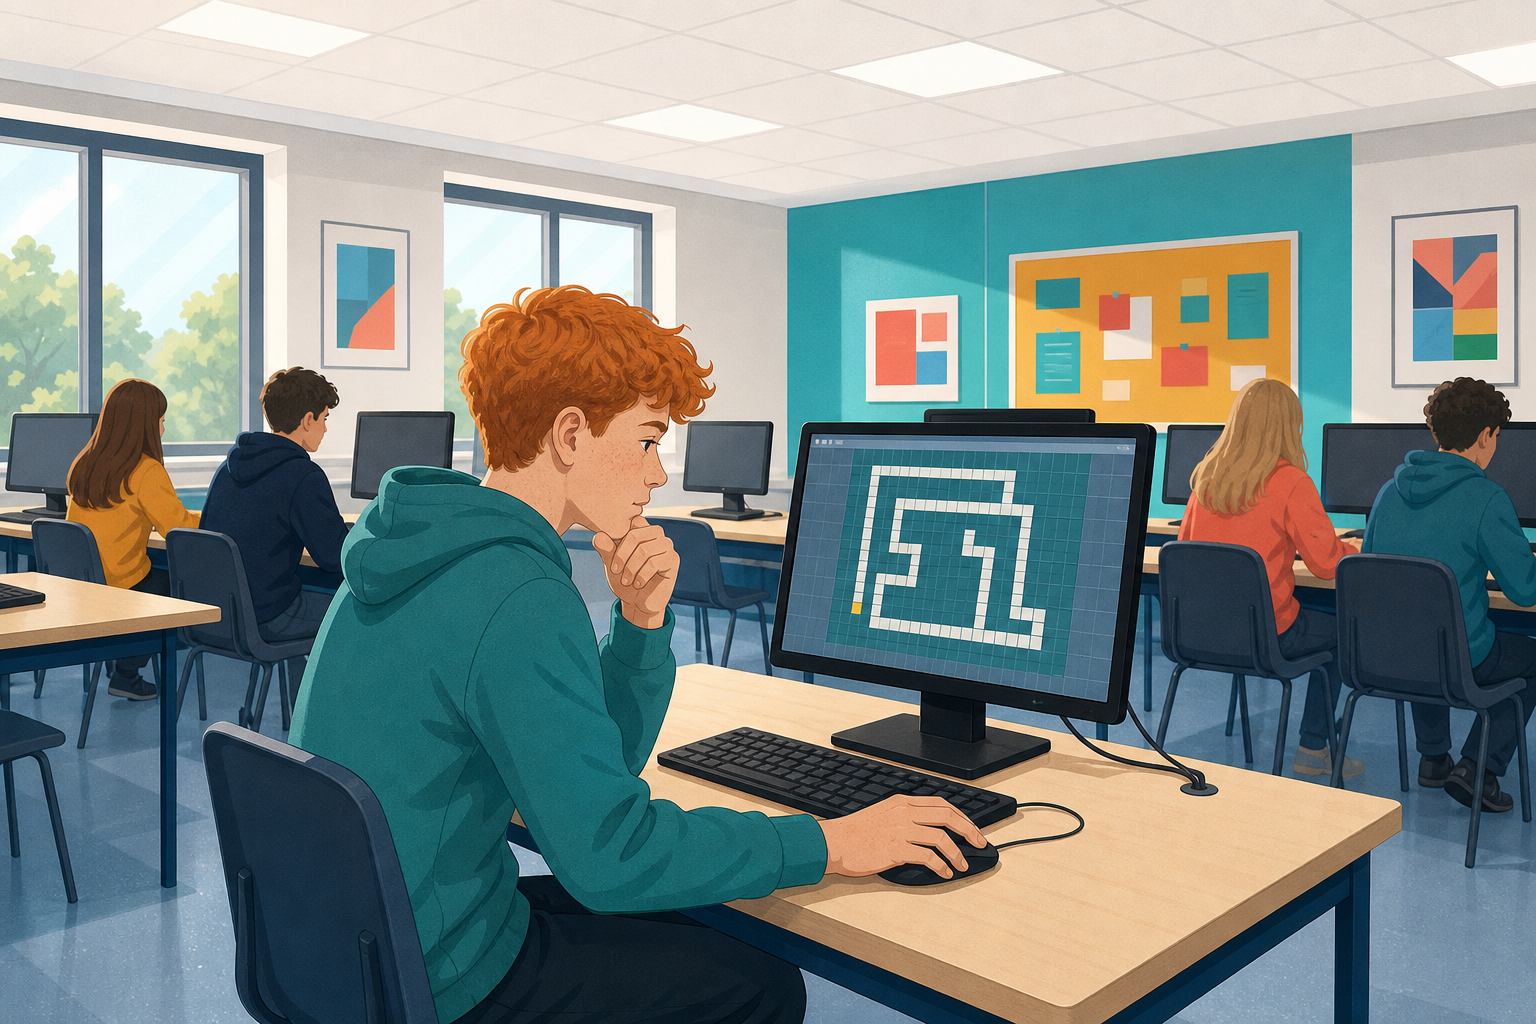
    Illustration for Start: what we're buildingToday you are working in MakeCode Arcade. You will plan a maze escape, then build Prison Break step by step at your device: predict, build, run and fix.
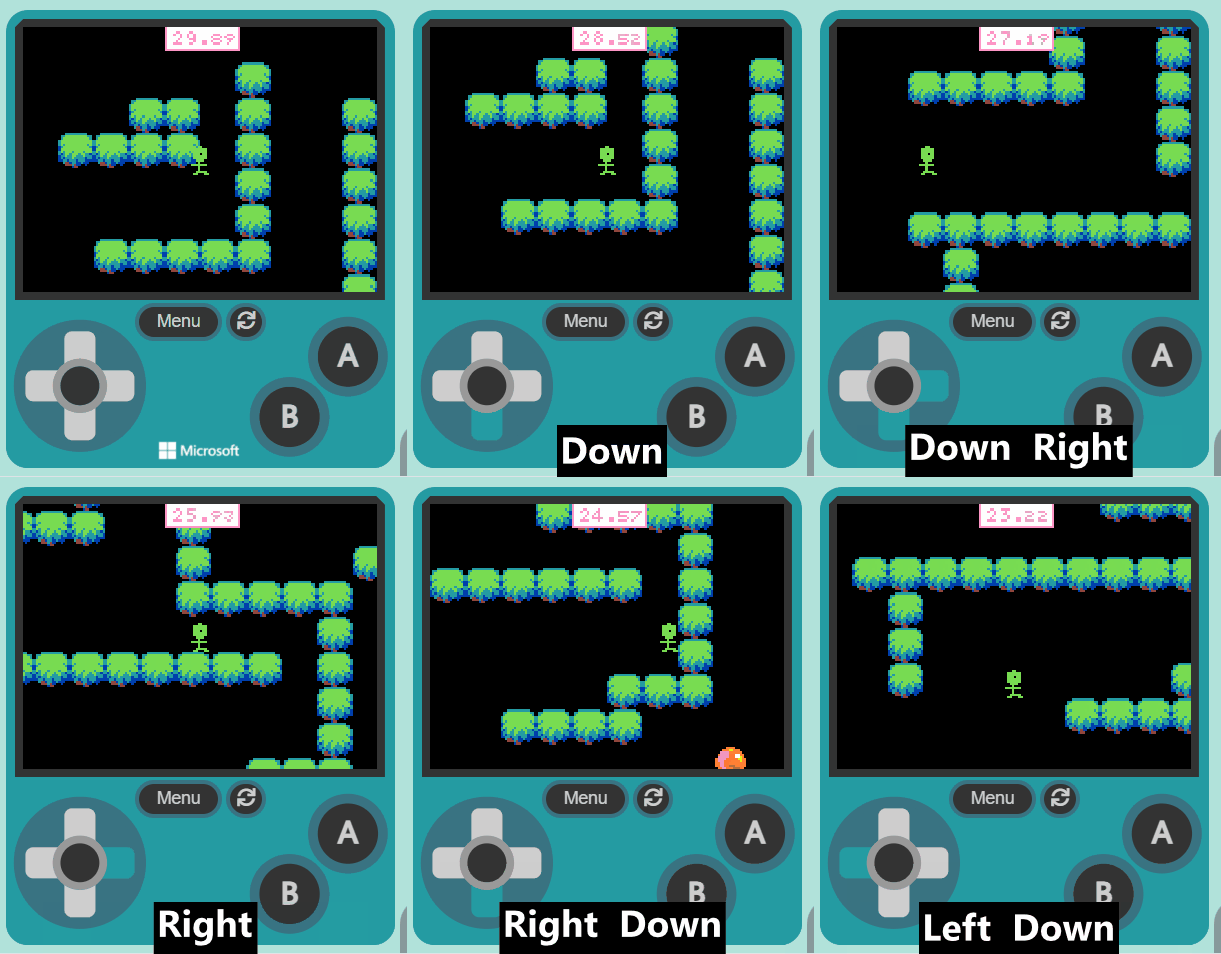
    You can already create sprites and move them. Today you add walls, a goal and a win condition, plus a short timer so the escape has pressure.

    Before you run anything, think: what should happen when your player reaches the goal tile, and what should stop them walking through walls?

    2 - Introduction to Prison Break Game ~2 mins

    Welcome to the 'Prison Break' game creation lesson! In this lesson, you will learn how to create a fun and exciting maze game using MakeCode Arcade. You will create a character, design a maze for the character to navigate, and set a goal for the character to reach. You will also learn how to add a timer to make the game more challenging. Let's get started and have some fun!


    3 - Create a New Arcade Project ~2 mins

    Go to the https://arcade.makecode.com website and create a new project.

    4 - Create a Sprite ~3 mins

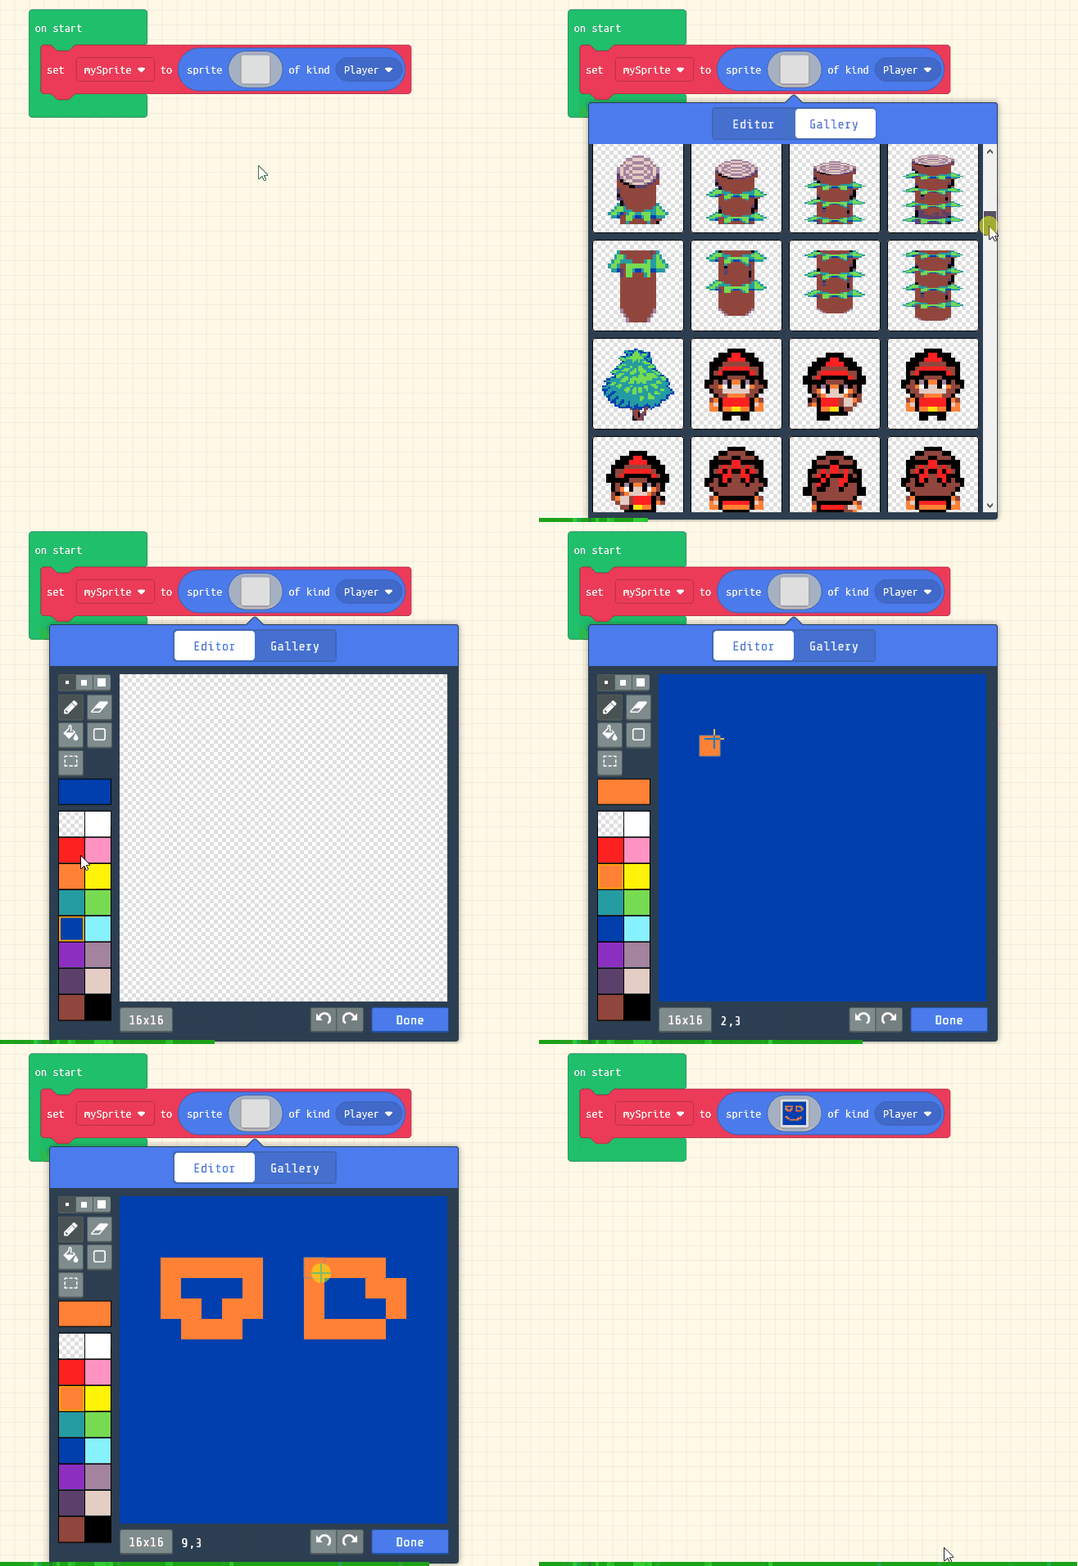
    First, switch the editor to JavaScript. This studio is written in text rather than blocks. At the top of the MakeCode Arcade editor there is a toggle that says Blocks | JavaScript. Click JavaScript and type the code below into the editor.

    It is the same program either way. Flip back to Blocks whenever you like and you will see the code you typed as blocks, which is a good way to check you have it right. If a line will not go in, check the brackets and the capital letters, text is fussier than blocks.

    Next create a sprite for your character that you will control and navigate through the maze.

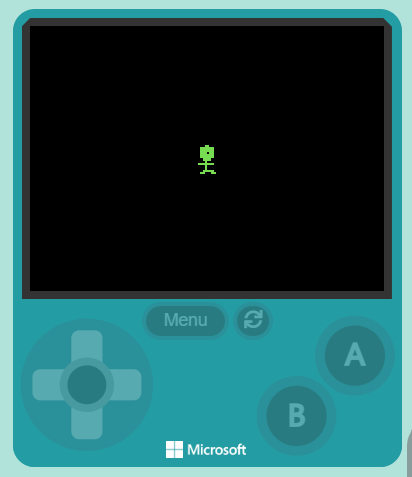
    Add the following code to your project and then design a character using the sprite editor.

    let mySprite = sprites.create(img`
        . . . . . . . . . . . . . . . . 
        . . . . . . . . . . . . . . . . 
        . . . . . . . . . . . . . . . . 
        . . . . . . 7 7 . . . . . . . . 
        . . . . 7 7 7 7 7 . . . . . . . 
        . . . . 7 7 7 5 7 7 . . . . . . 
        . . . . 7 7 7 7 7 7 . . . . . . 
        . . . . 7 7 7 7 7 7 . . . . . . 
        . . . . . . 7 7 . . . . . . . . 
        . . . . . . 7 7 . . . . . . . . 
        . . . . . 7 7 7 7 7 . . . . . . 
        . . . . . . 7 . . . . . . . . . 
        . . . . . . 7 . . . . . . . . . 
        . . . . . 7 7 7 . . . . . . . . 
        . . . . 7 7 . 7 7 . . . . . . . 
        . . . . . . . . . . . . . . . . 
        `, SpriteKind.Player)

    5 - Move with the Buttons ~3 mins

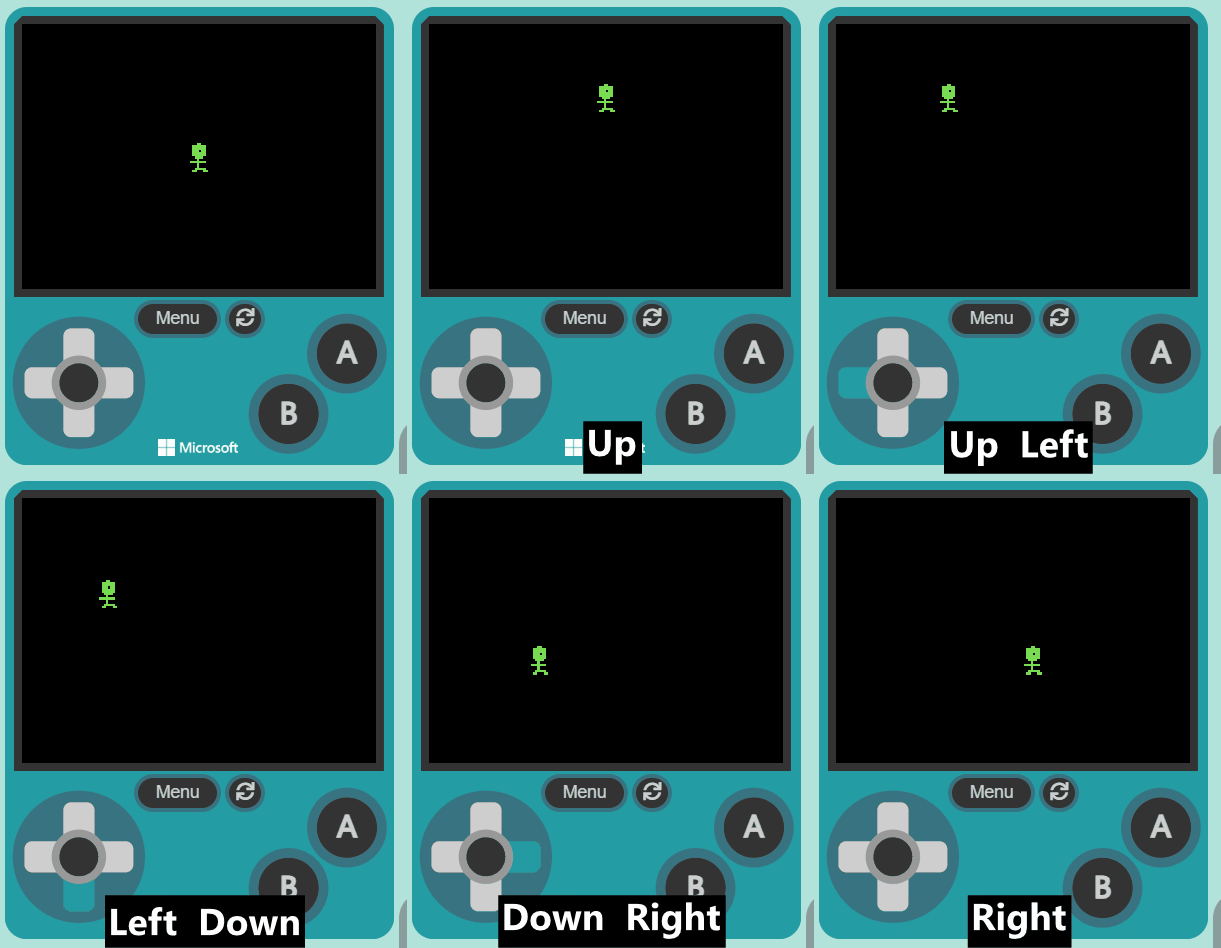
    Now let's control our player with the buttons.

    Add the following new code:

    let mySprite = sprites.create(img`
        . . . . . . . . . . . . . . . . 
        . . . . . . . 7 7 . . . . . . . 
        . . . . . 7 7 7 7 7 7 . . . . . 
        . . . . . 7 7 7 7 7 7 . . . . . 
        . . . . . 7 7 7 . 7 7 . . . . . 
        . . . . . 7 7 7 7 7 7 . . . . . 
        . . . . . 7 7 7 7 7 7 . . . . . 
        . . . . . . 7 7 7 7 . . . . . . 
        . . . . . . . 7 . . . . . . . . 
        . . . . 7 7 7 7 7 7 7 . . . . . 
        . . . . . . . 7 . . . . . . . . 
        . . . . . . . 7 . . . . . . . . 
        . . . . . . 7 7 7 7 7 . . . . . 
        . . . . . 7 7 . . . 7 7 . . . . 
        `, SpriteKind.Player)
    controller.moveSprite(mySprite)
    
    
    Once you've added the new code, test that you can move your player sprite with the joystick or your keyboard arrow keys.

    123learn · Online learning platform

    Unlock the full learning experience

    You're previewing this lesson. Get full access to this lesson and hundreds more — each one ready to teach, with interactive activities, printable resources and pupil progress tracking built in.

    Hundreds of curriculum-aligned lessons
    Interactive activities in every lesson
    Printable resources & progress tracking
    Copyright Notice
    This lesson is copyright of Coding Ireland 2017 - 2025. Unauthorised use, copying or distribution is not allowed.
    🍪 Our website uses cookies to make your browsing experience better. By using our website you agree to our use of cookies. Learn more