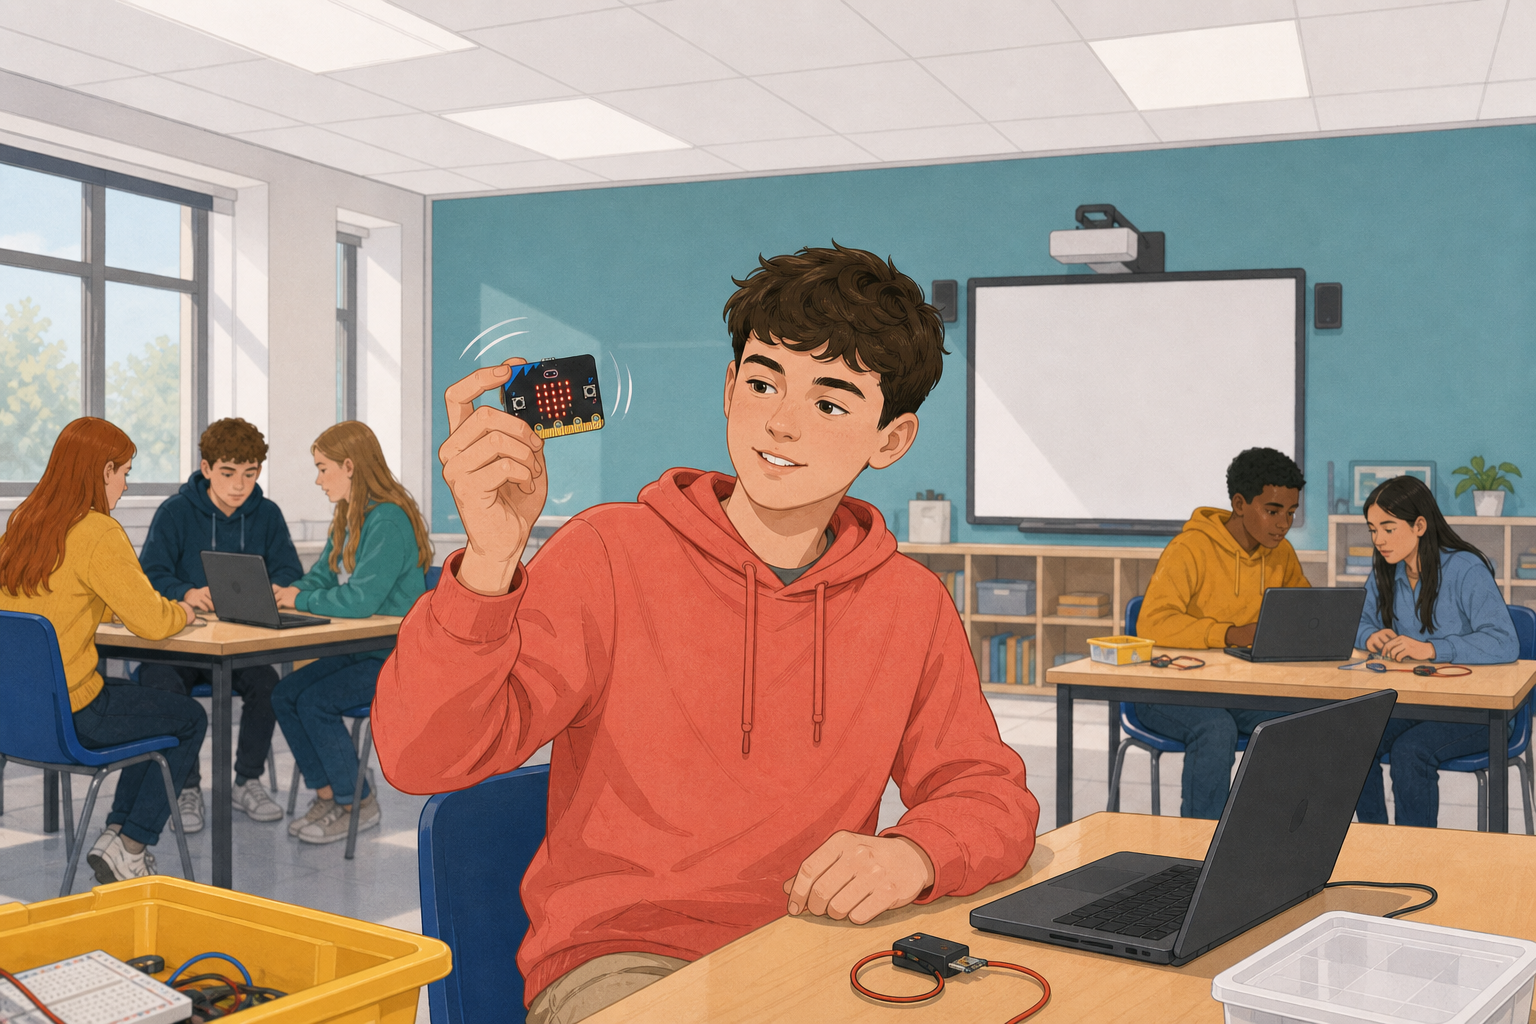
 Today you are coding in Python. You will build a Digital Dice Roller on the micro:bit: shake it (or use the simulator) and a random face from 1 to 6 appears on the LEDs.
You will predict first, then build, run and fix, step by step at your device.
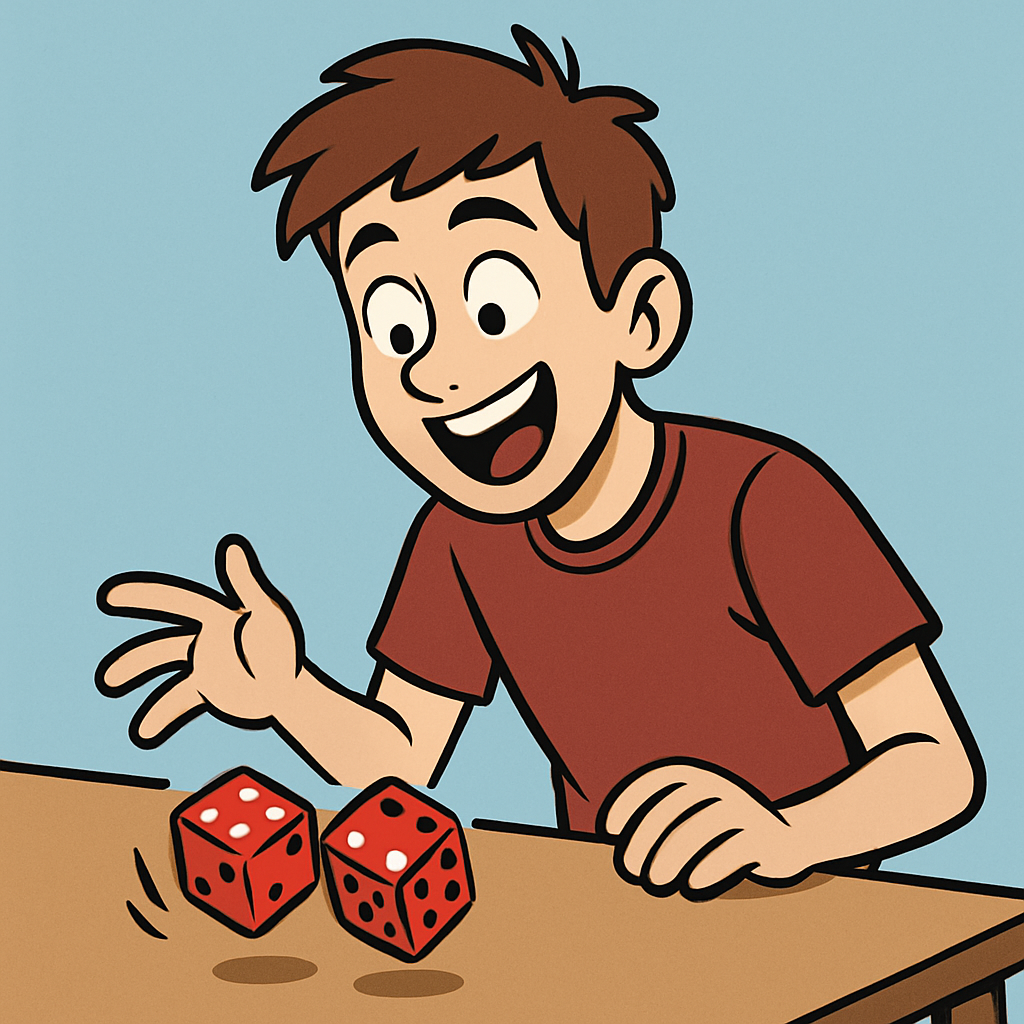
The Digital Dice Roller has four parts:
- Dice faces stored as images.
- A shake the micro:bit can detect.
- A short rolling animation so it feels like a roll.
- A random face chosen and displayed.
At the end you wrap it in a function, so one named piece of code does the whole roll and you can call it again.
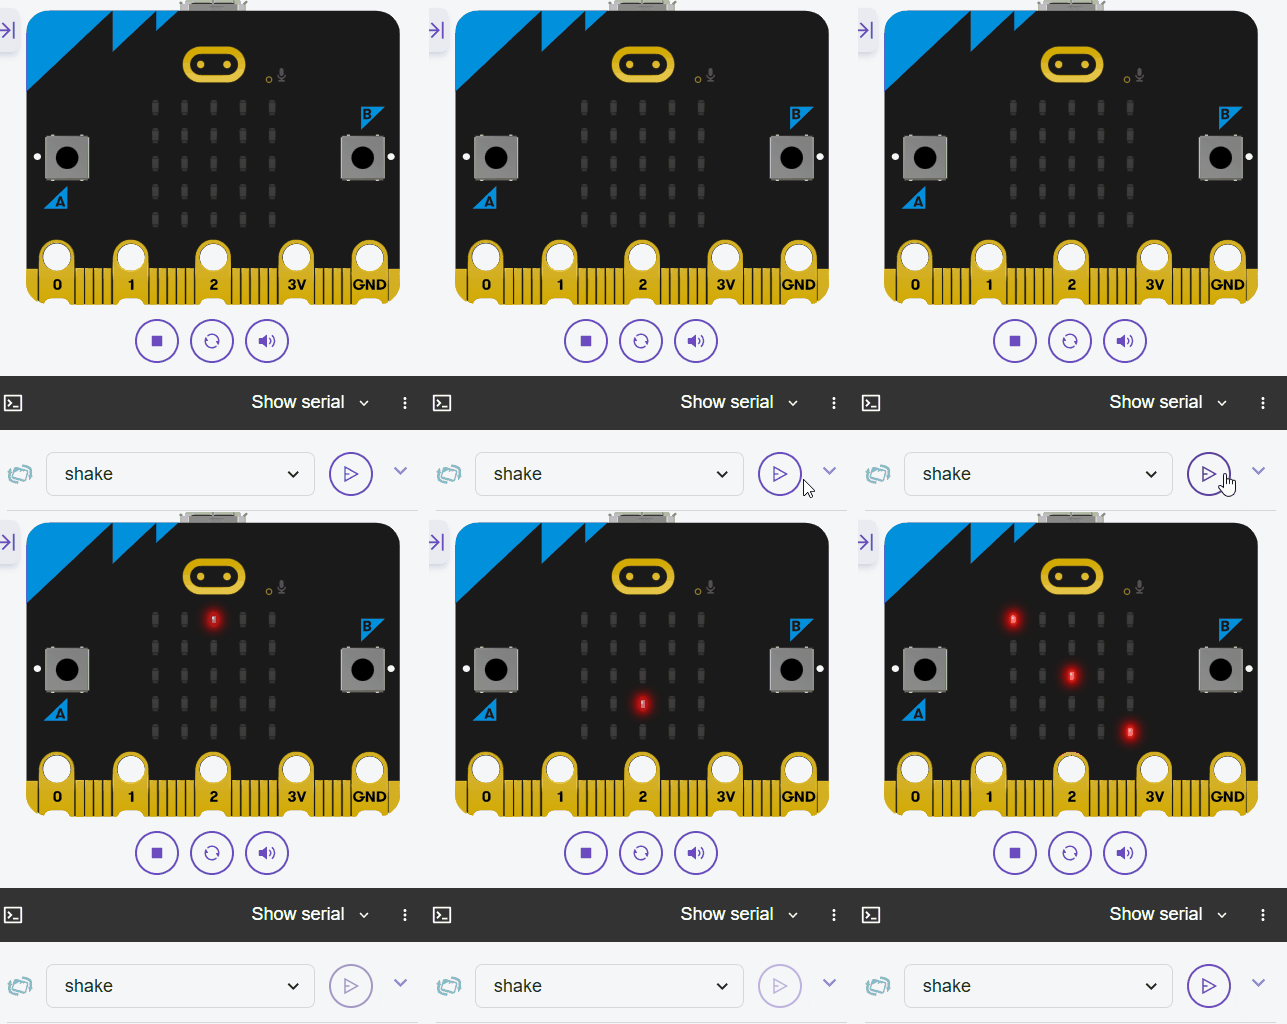
In this step, we'll import the necessary modules. We need the microbit module for hardware access, including the accelerometer and display, and the random module to generate a random dice roll.
Start by adding the following complete code to your editor:
from microbit import *
import randomNext, we'll create a list to store the dice faces as images. Each face is an Image object representing the dots for numbers 1 through 6 on a dice. Lists are perfect for holding these related items, and we'll use this list to select a random face later.
Update your code to the following complete version:
from microbit import *
import random

dice_faces = [
    Image('00000:' '00000:' '00900:' '00000:' '00000'),  # 1 - single dot in the center
    Image('90000:' '00000:' '00000:' '00000:' '00009'),  # 2 - dots in top-left and bottom-right corners
    Image('90000:' '00000:' '00900:' '00000:' '00009'),  # 3 - dots in top-left, center, and bottom-right
    Image('90009:' '00000:' '00000:' '00000:' '90009'),  # 4 - dots in top-left, top-right, bottom-left, and bottom-right corners
    Image('90009:' '00000:' '00900:' '00000:' '90009'),  # 5 - dots in four corners and the center
    Image('90009:' '00000:' '90009:' '00000:' '90009')   # 6 - three rows of two dots each (left and right positions)
]

display.show(dice_faces[0])dice_faces holds six Image objects.display.show(dice_faces[3]) to show '4'. This practises accessing list elements. Note: Images are strings representing brightness levels (0-9) for each LED in the 5x5 grid.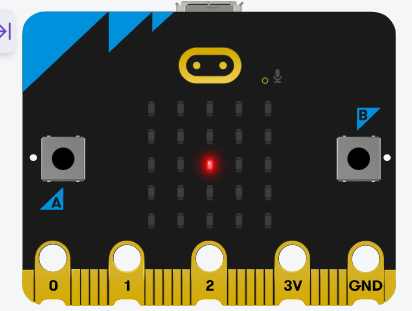
Now, let's detect when the Micro:bit is shaken using the accelerometer. We'll use a loop to continuously check for the 'shake' gesture.
Update your code to this complete version:
from microbit import *
import random

dice_faces = [
    Image('00000:' '00000:' '00900:' '00000:' '00000'),  # 1
    Image('90000:' '00000:' '00000:' '00000:' '00009'),  # 2
    Image('90000:' '00000:' '00900:' '00000:' '00009'),  # 3
    Image('90009:' '00000:' '00000:' '00000:' '90009'),  # 4
    Image('90009:' '00000:' '00900:' '00000:' '90009'),  # 5
    Image('90009:' '00000:' '90009:' '00000:' '90009')   # 6
]

while True:
    if accelerometer.was_gesture('shake'):
        display.scroll('Rolling!')
sleep(100)was_gesture method, which is a control structure for event detection. Test it multiple times.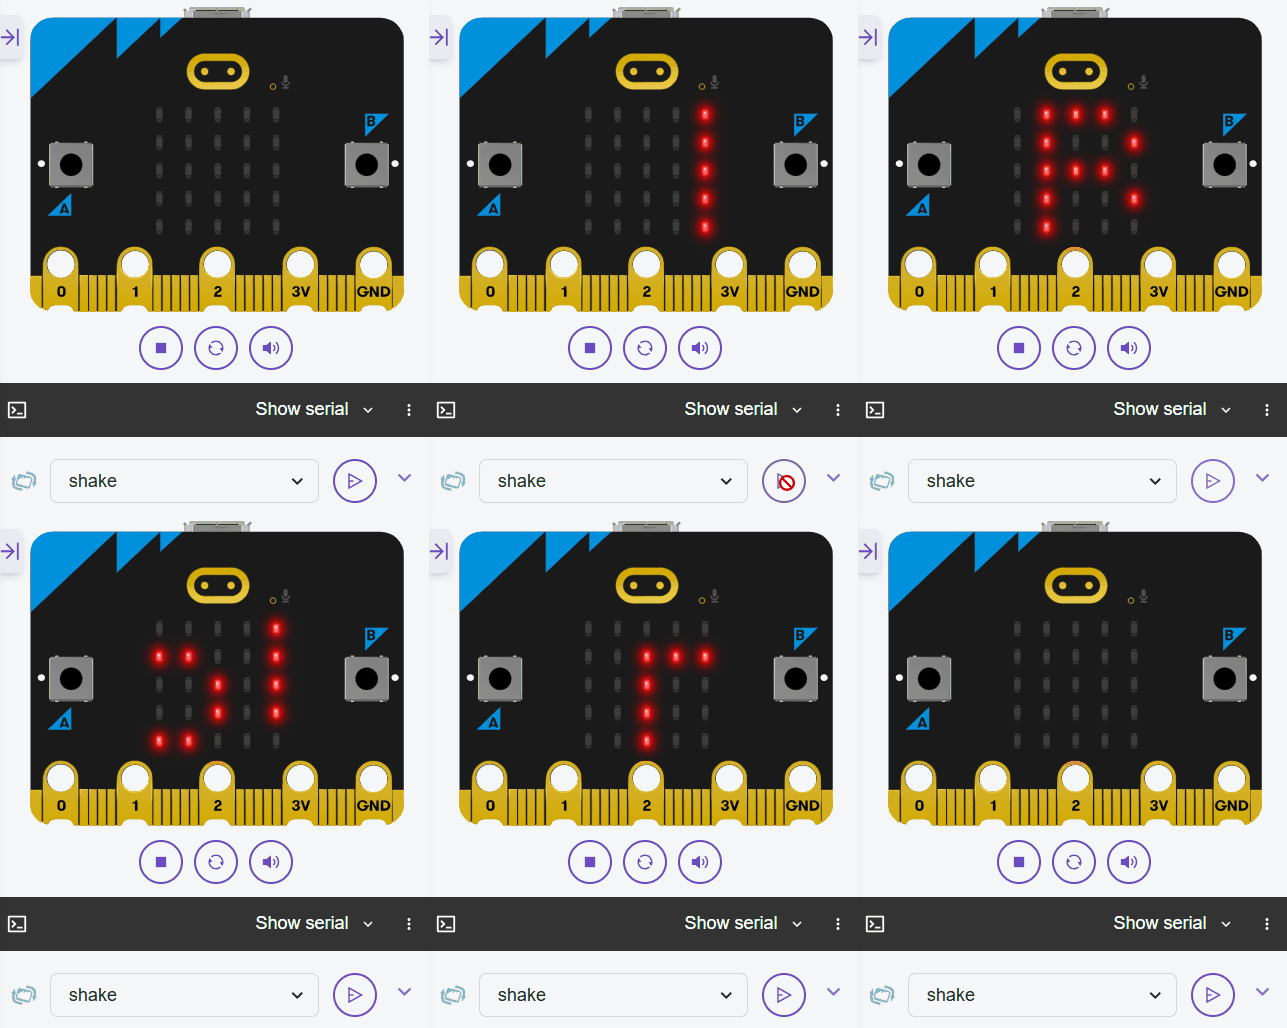
Unlock the full learning experience
You're previewing this lesson. Get full access to this lesson and hundreds more — each one ready to teach, with interactive activities, printable resources and pupil progress tracking built in.
This lesson is copyright of Coding Ireland 2017 - 2025. Unauthorised use, copying or distribution is not allowed.