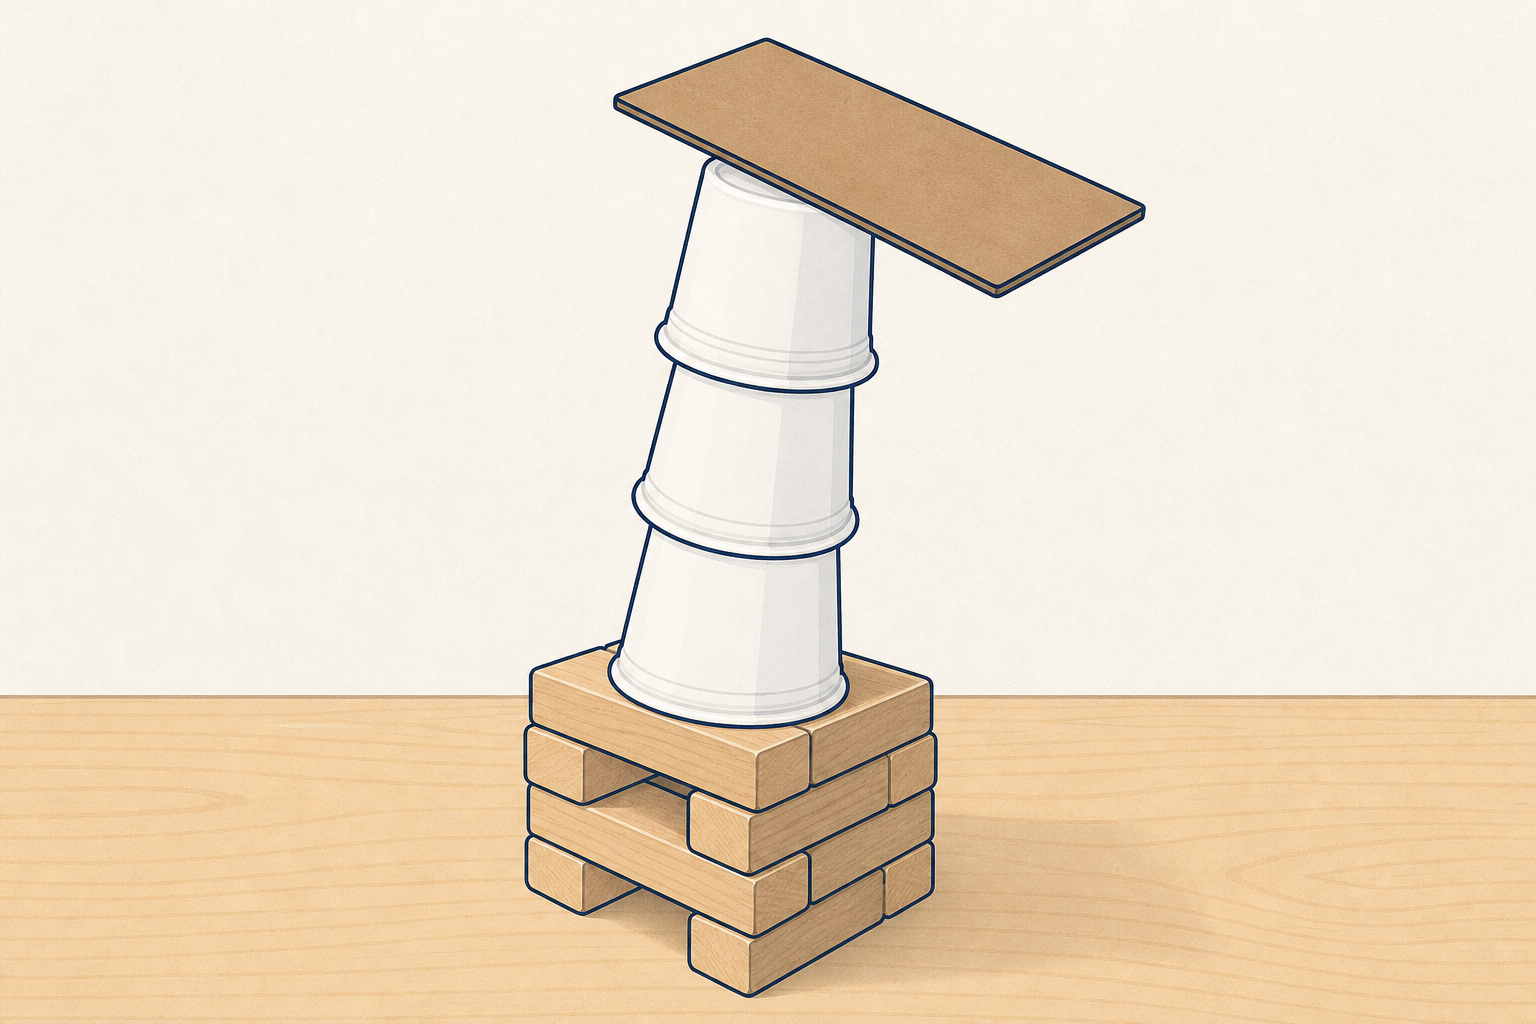
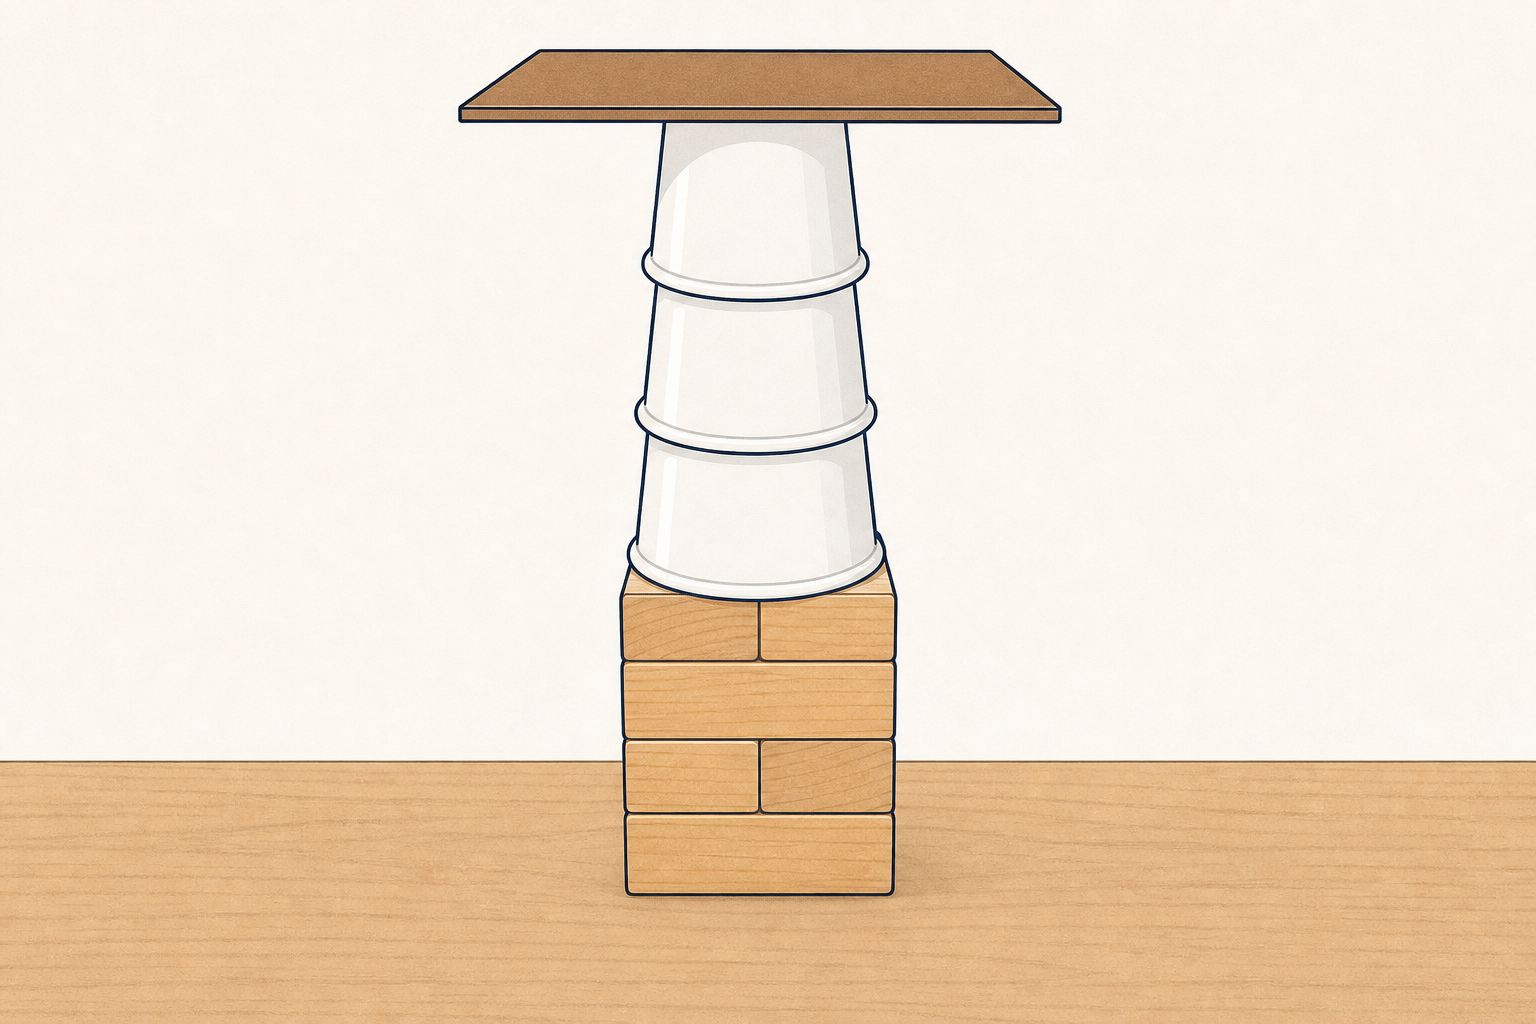
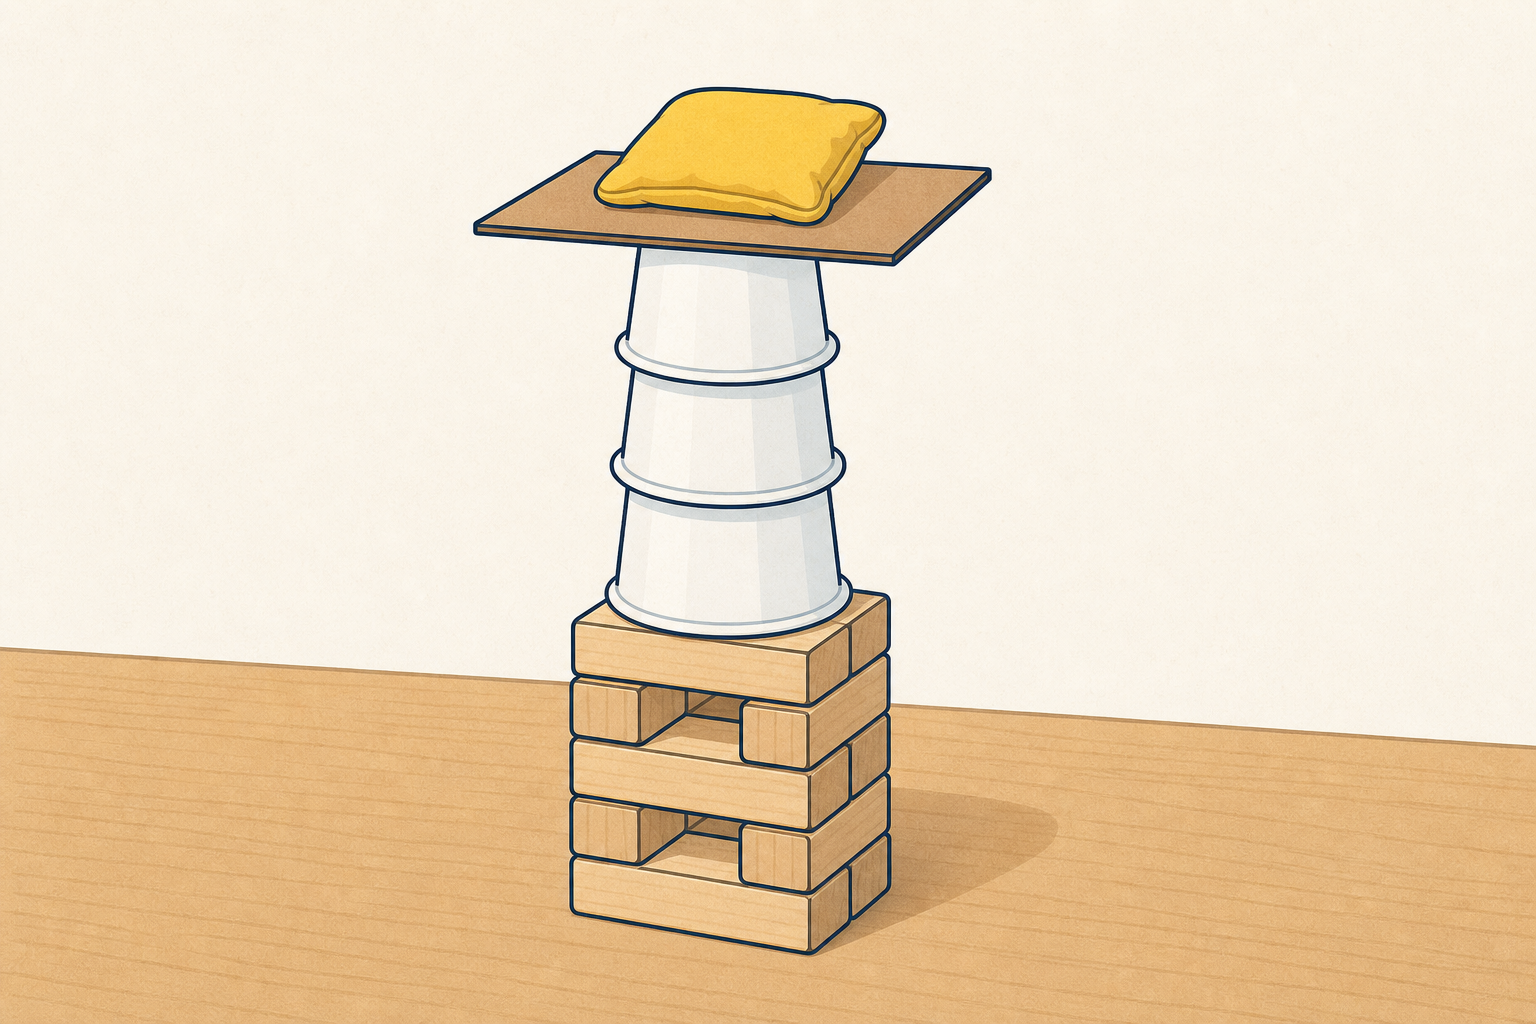
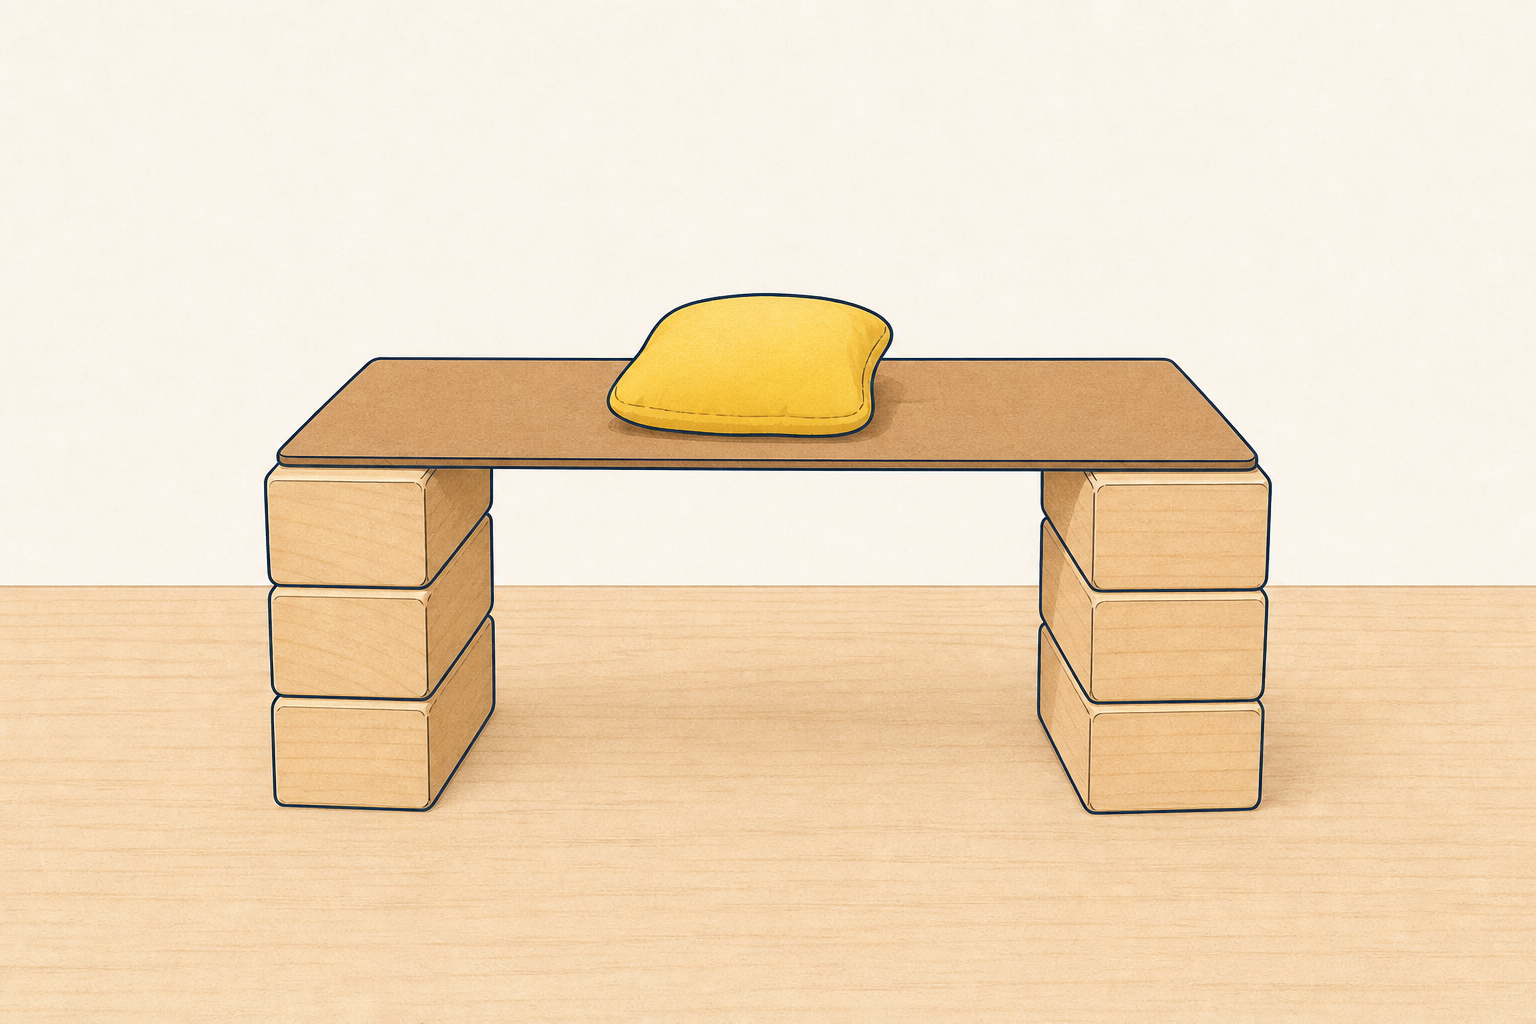
Some towers wobble. Some bridges tip. Think of our easel or a footbridge near school. How could we make a build that stands strong and holds something light?
Keep this beat light and oral. Hold up one small ready tower or a short card strip between two cups (build it in free play beforehand if you can). Children need something real to look at. Do not stage the full materials tray yet.
Ask: What makes a build fall over? What might help it stay up? Take two or three ideas. Do not name every tip yet. The making step is where children find out.
Who helps us: builders and engineers plan towers and bridges so they stand strong and stay safe for people. Point to one familiar example in the room if you have it (the classroom easel or coat stand with a wide base), or name a local footbridge children may cross near school or in town.
Look at this build. Hands off: does it stand on its own? That is free-standing.
Will you make a tower or a bridge? What could help it stay up?
Whole-class talk on the carpet. Keep the small ready tower or cup-and-card bridge from Getting Started in your hands or on the floor where everyone can see it. Say free-standing only after children have watched hands come off that real object.
Children choose tower or bridge with a partner in a moment; first gather ideas. Keep the board light: only the free-standing phrase above. Do not project the full concept table.
Named idea for this lesson (say it with a gesture on the demo build): free-standing means hands off, it stands alone. Use steady and improve as ordinary talk later, when children can point at their real build ("Is it steady now?", "What one thing will you change to improve it?"). Do not teach them as three equal new words up front.
| Concept | Why it matters | Example |
|---|---|---|
| Free-standing — a build that stands up on its own without anyone holding it | Real towers and bridges have to stay up by themselves so people can use them | A block tower that stays up on the table when you take your hands away |
| Steady (everyday talk during testing, not a board word yet) — does not wobble or fall over easily | A steady build can hold a light load without tipping | A bridge of cups and card that still stands when a soft toy sits on top |
| Improve (everyday talk in the change step) — change one thing to make the build better at its job | Makers fix and change builds as they go; that is how they get stronger | Making the base wider so the tower stops tipping |
Ideas to draw out (do not lecture): a wide base, stacking carefully, using card as a flat roof or bridge deck, a little tape to join pieces. Children already know wide feet help towers stand; welcome that idea without saying a past lesson by name. Link briefly to the easel, coat stand, or local footbridge from Getting Started.
Misconception to head off: taller always means better. At this age the win is free-standing and steady, not the tallest build in the room.
Ask: Who builds strong towers and bridges in real life? Name builders and engineers briefly.
With your group, build a free-standing tower or bridge from blocks, cups and card. Take your hands away. Does it stand on its own?
When your teacher says, gently rest the light object on top. Does it still stand?
Protect uninterrupted build time. Aim for: about 1 minute live model on the carpet, a tight move to tables (about 1–2 minutes including settle), then a clear block of hands-on building (roughly 9–10 minutes) so every group can reach hands-off free-standing and one light-object test before the improve step.
Signal the move tightly: trays already on tables, one clear "walk to your tray" call, then build.
Do this live before groups start. Do not project a scripted cycle.
Stop there. Children now build their own. They improve in the next step. Revoice free-standing when hands come off. Use steady as ordinary talk while they test ("Is it steady with the toy on top?").
Non-readers will dive into building. Call the work in two beats so the toy test is not skipped:
Freeze each group's first free-standing try (with or without the toy still on) as their "before" for the next step. Do not let them start improving yet.
Circulate. Praise free-standing builds, not height. Prompt: Hands off — does it still stand? Where could you put the light object?
If a group finishes early and already has hands-off plus toy test, they may start a second build of the other kind (tower if they made a bridge, or the other way round) rather than racing taller. Do not start the one-change improve until you call it for everyone.
Safety: build below shoulder height; stand back if it topples; mind fingers between blocks and cups.
Freeze your build. That is your before. Change just one thing to make it steadier. Test again with the light object. What did you change?
This is the improve beat. Keep it one change only so children can notice cause and effect. Say improve and steadier in plain talk against their real build; no need for a fresh definition board.
Freeze the before first (about 30 seconds, whole class): Hands still. Point at each group's standing build. Say: This is your before. Do not touch it yet. Then ask each group (or the nearest adult helper) to name the one change out loud before any hands move: What one thing will you change? Only then may they touch the build.
If a group only just reached free-standing at the end of the build block, they still name one small change and try it; if time is gone, they may say their planned change during show-and-tell instead of a full second cycle.
One-change ideas if a group is stuck:
After the change: hands off, light object on top again. Ask: What one thing did you change? Is it steadier now? Guesses and tries are never wrong; unexpected tips are useful noticing.
What good looks like: children can show the before-and-after with their hands and say the one change in plain words ("we made the bottom wider").
Safety: stand back when testing a tippy build; no pushing other groups' builds over as a game.
Stay by your table. Show your build. Tell us one thing you changed to make it steadier. Who builds strong towers and bridges to help us?
Keep builds on the tables. Children stand behind their own tables so structures stay free-standing. Do not carry builds to the carpet.
Fast share: two or three groups each give one short prompted sentence ("We made the base wider" / "The toy stayed on"). Fold the rest of the class in with one quick question after each show: What did they change? Why might that help?
Revoice the named word free-standing, and use steady and improve in ordinary talk as children point to their builds. Land the helpers link before tidy: builders and engineers make towers and bridges stand strong so people can cross roads, live in tall buildings, and stay safe. Bring back one concrete example: the classroom easel or coat stand (wide base), or a local footbridge children know.
Keep it oral and warm. No writing. No scoring whose tower is tallest.
Look-fors:
You're previewing this lesson. Get full access to this lesson and hundreds more — each one ready to teach, with interactive activities, printable resources and pupil progress tracking built in.