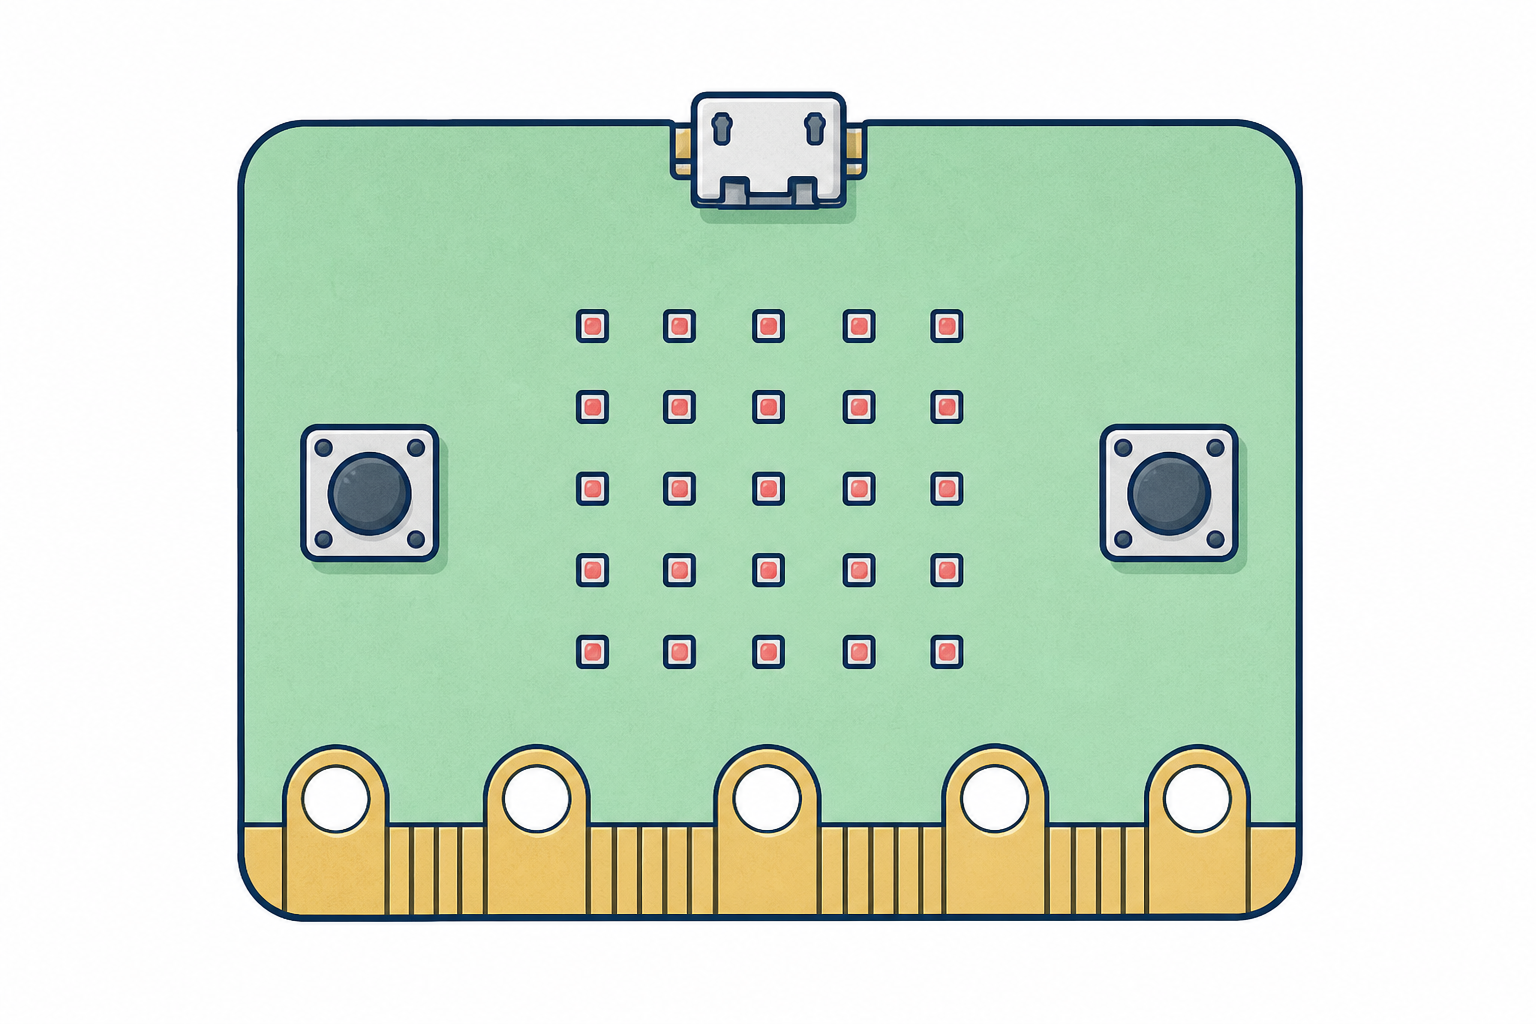
 Programmers write instructions that a computer follows exactly — no more, no less. Today you become the programmer of a real pocket-sized computer, the micro:bit. Devices like these are used all over the world to sense the environment and react to people.
We'll teach ours to react when you press a button — showing your name or a picture on its little grid of lights. Watch the board as each piece is modelled, then build it yourself and run it to see what happens.
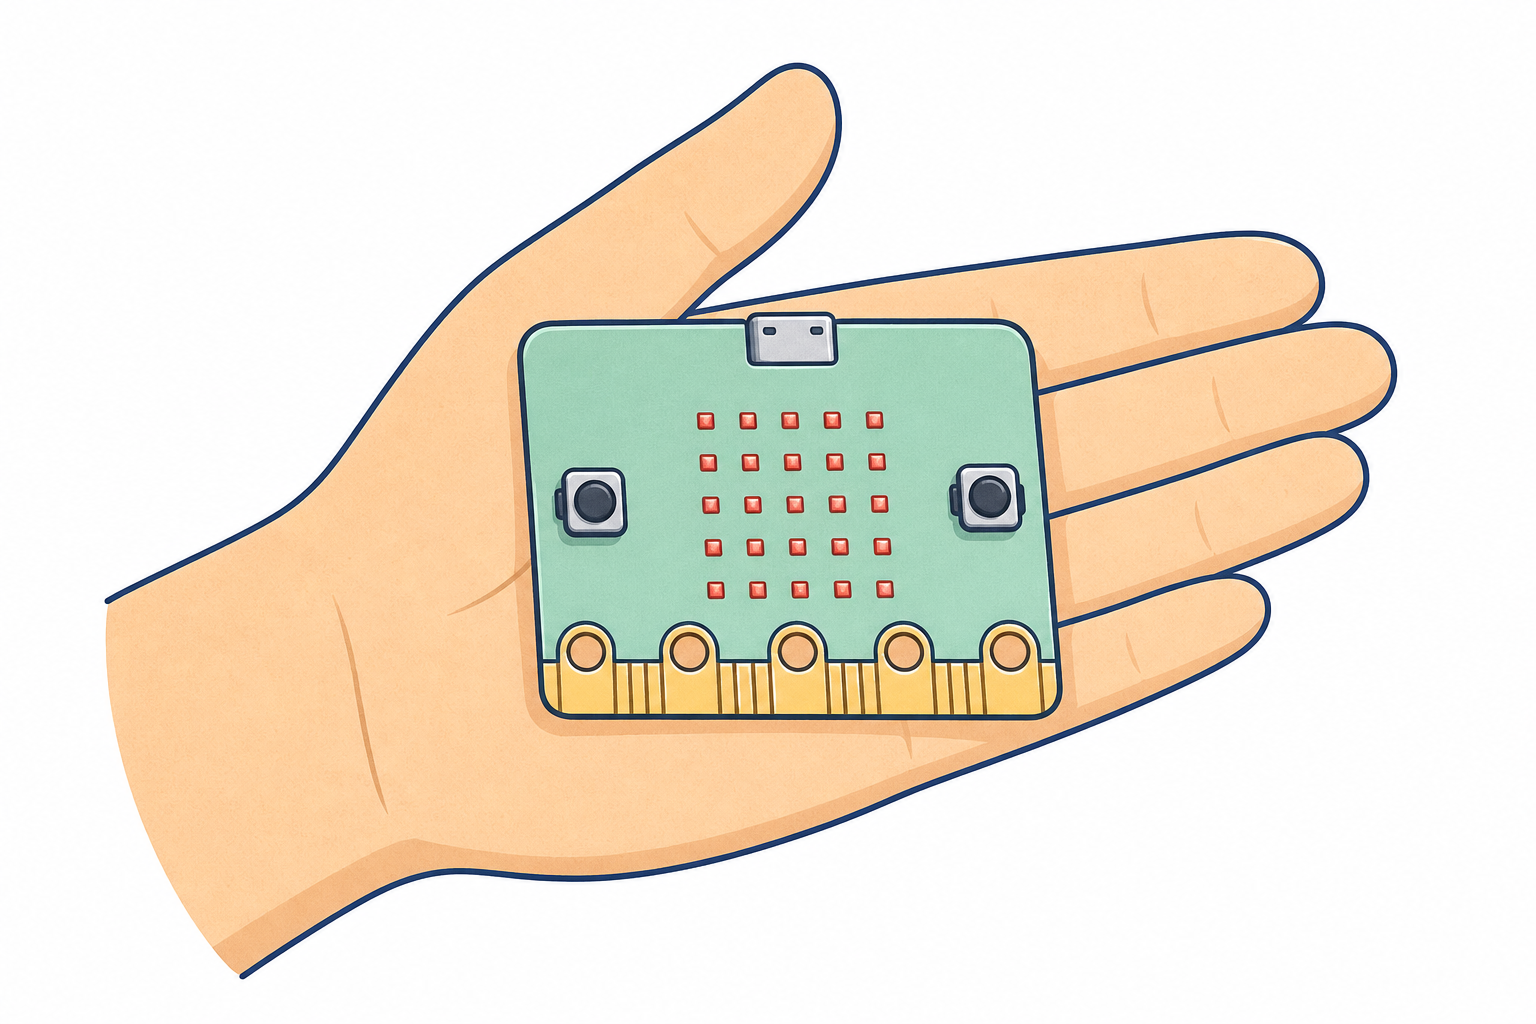 Meet the microbit! A microbit is a small, pocket-sized computer that we can program to do fun and interesting things.
It's like a tiny, interactive billboard that can display messages, play sounds, and react to your actions. You can program it to respond to buttons being pressed and even movement.
In this lesson, we're going to learn how to program the microbit to show messages and react to button presses. Let's get started!
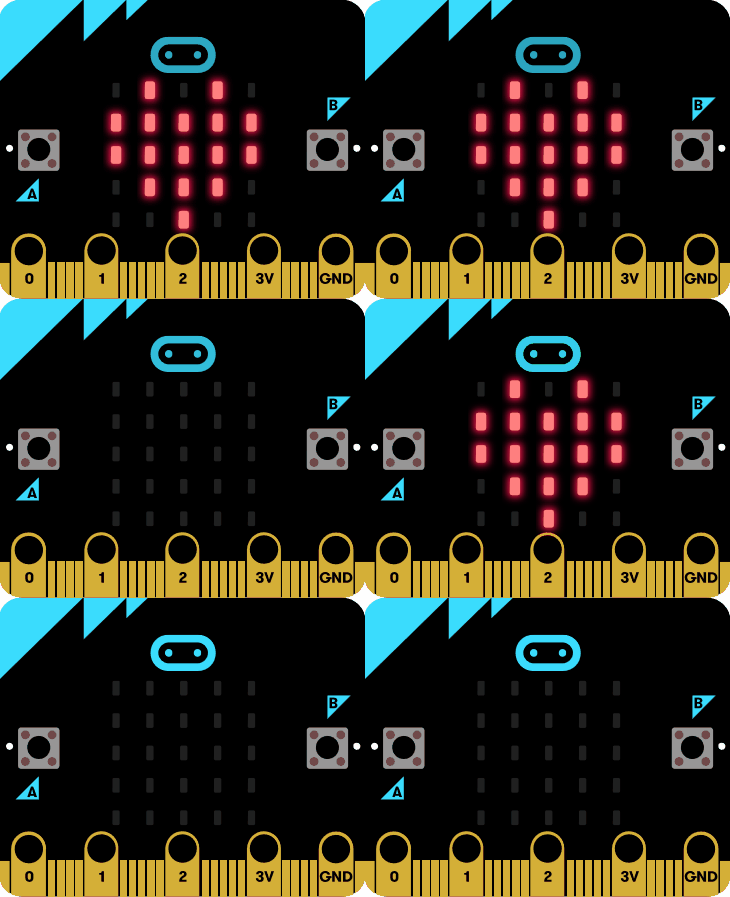
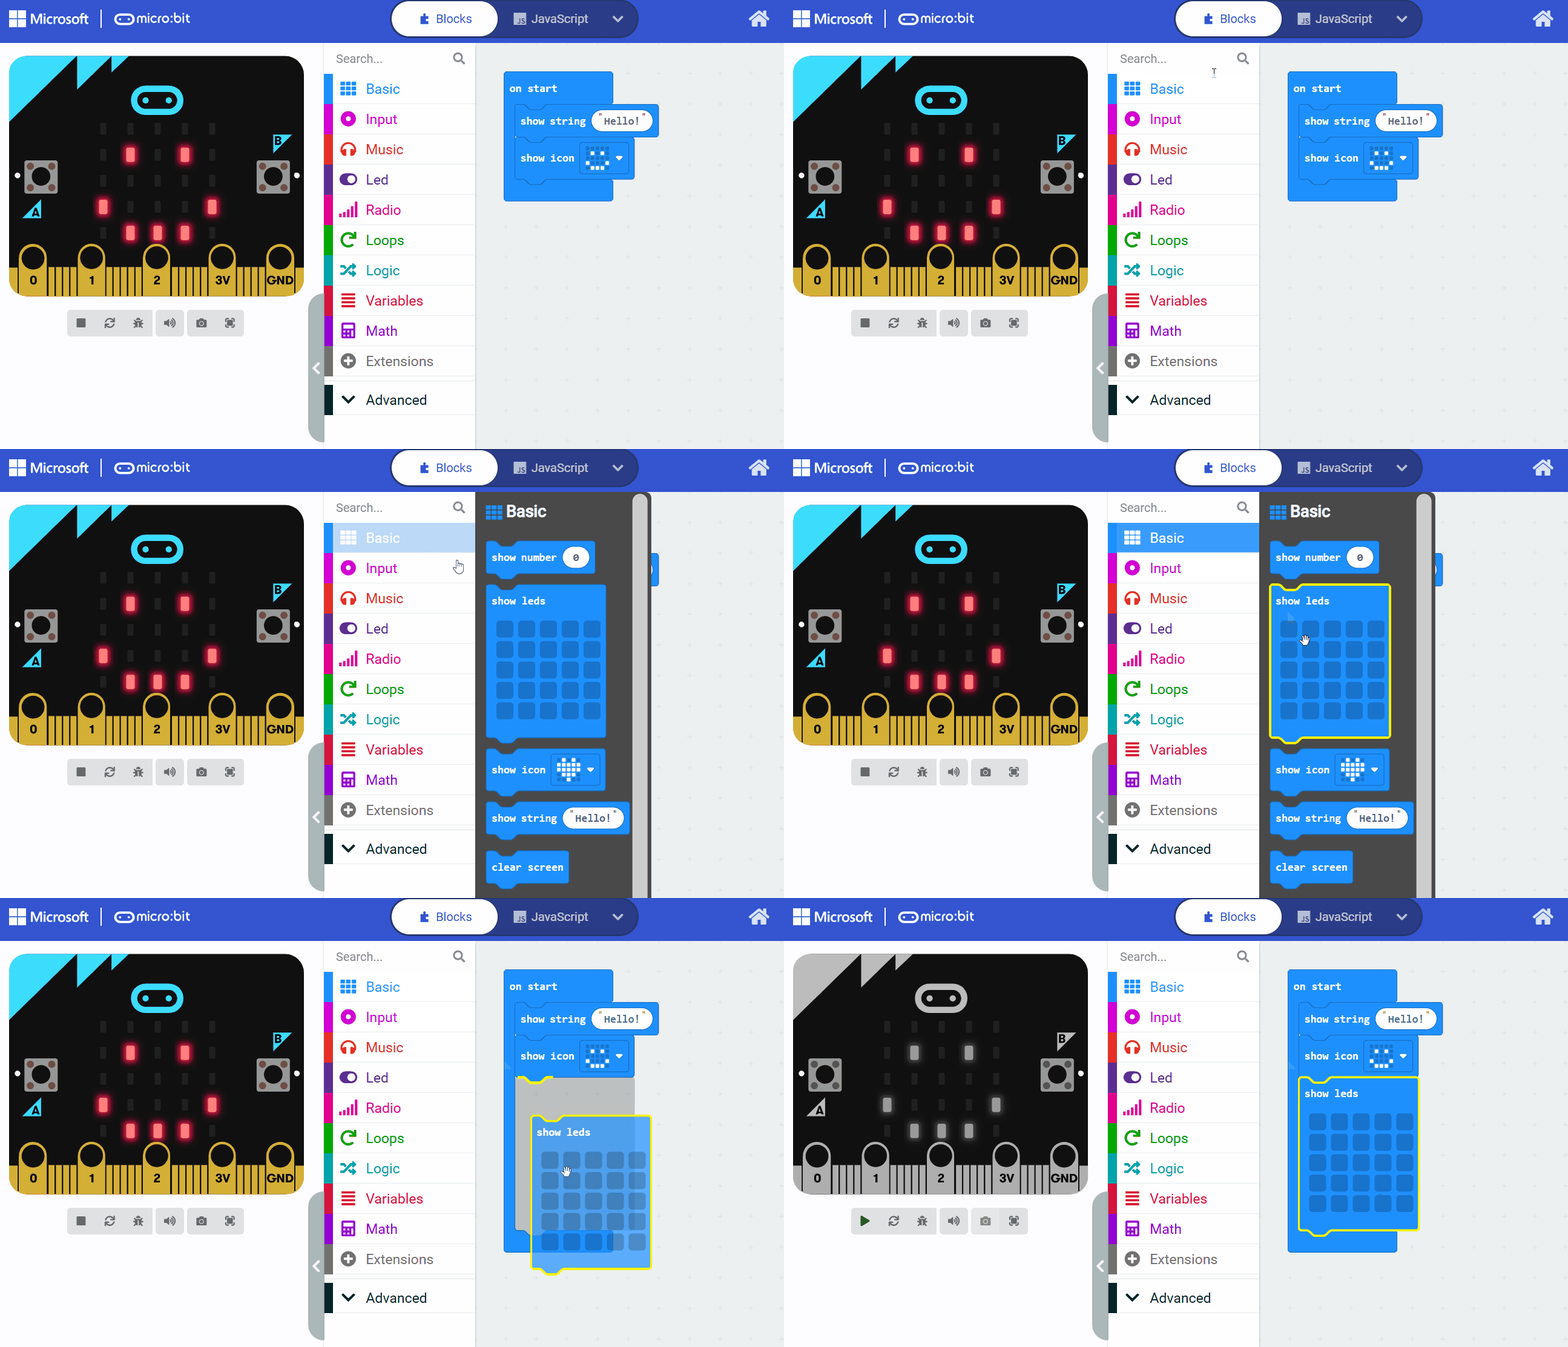
Did you know we can program our microbit using a website? To start our coding adventure, we need to create a new project.
First, open the website MakeCode for microbit.
Once you're there, look for a button that says 'New Project' and click on it. It will ask you what you want to call your project. Give your project a name (for example 'my project') and then click on the 'Create' button.
This will open a new, blank project where we can start programming our microbit and give it instructions.
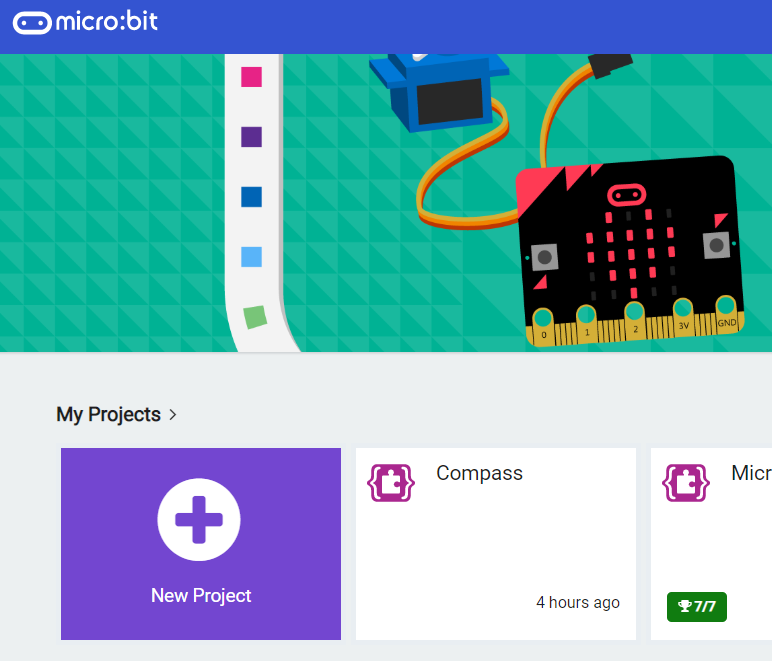
Go to the Makecode.com Microbit website using the link below and click on the 'New Project' button underneath the 'My Projects' heading.
https://makecode.microbit.org/
Install the micro:bit app on your iPad or tablet.
Open the app, tap 'Create code' and then create a new project.
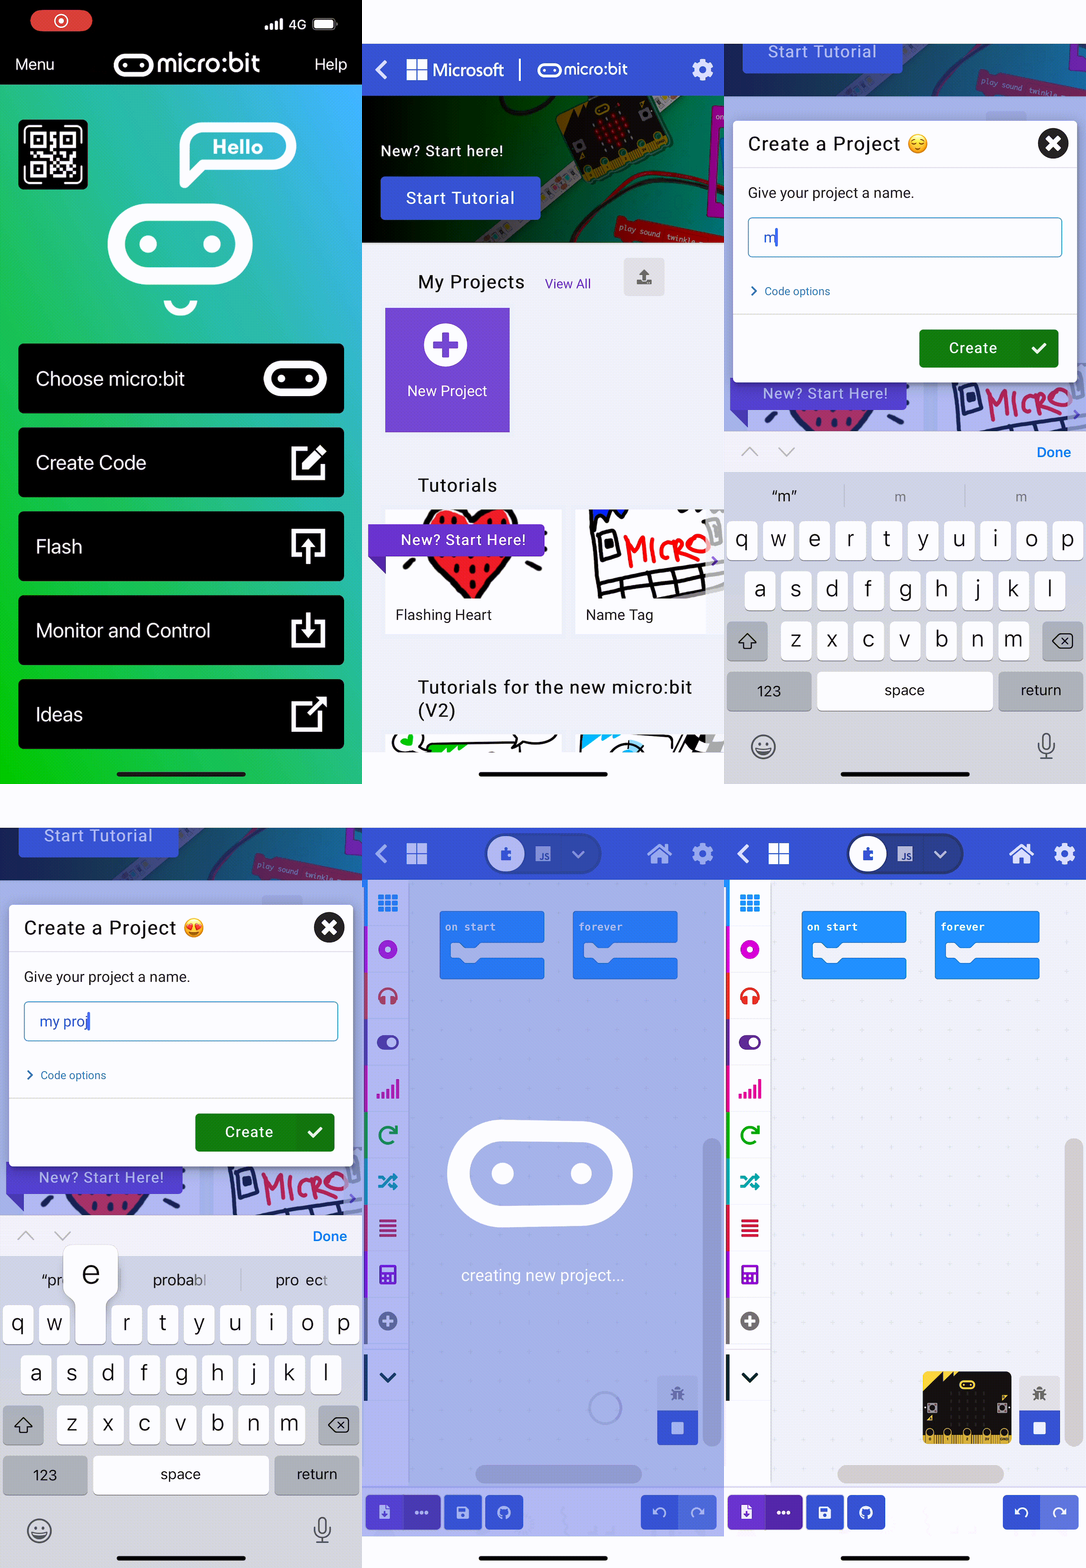
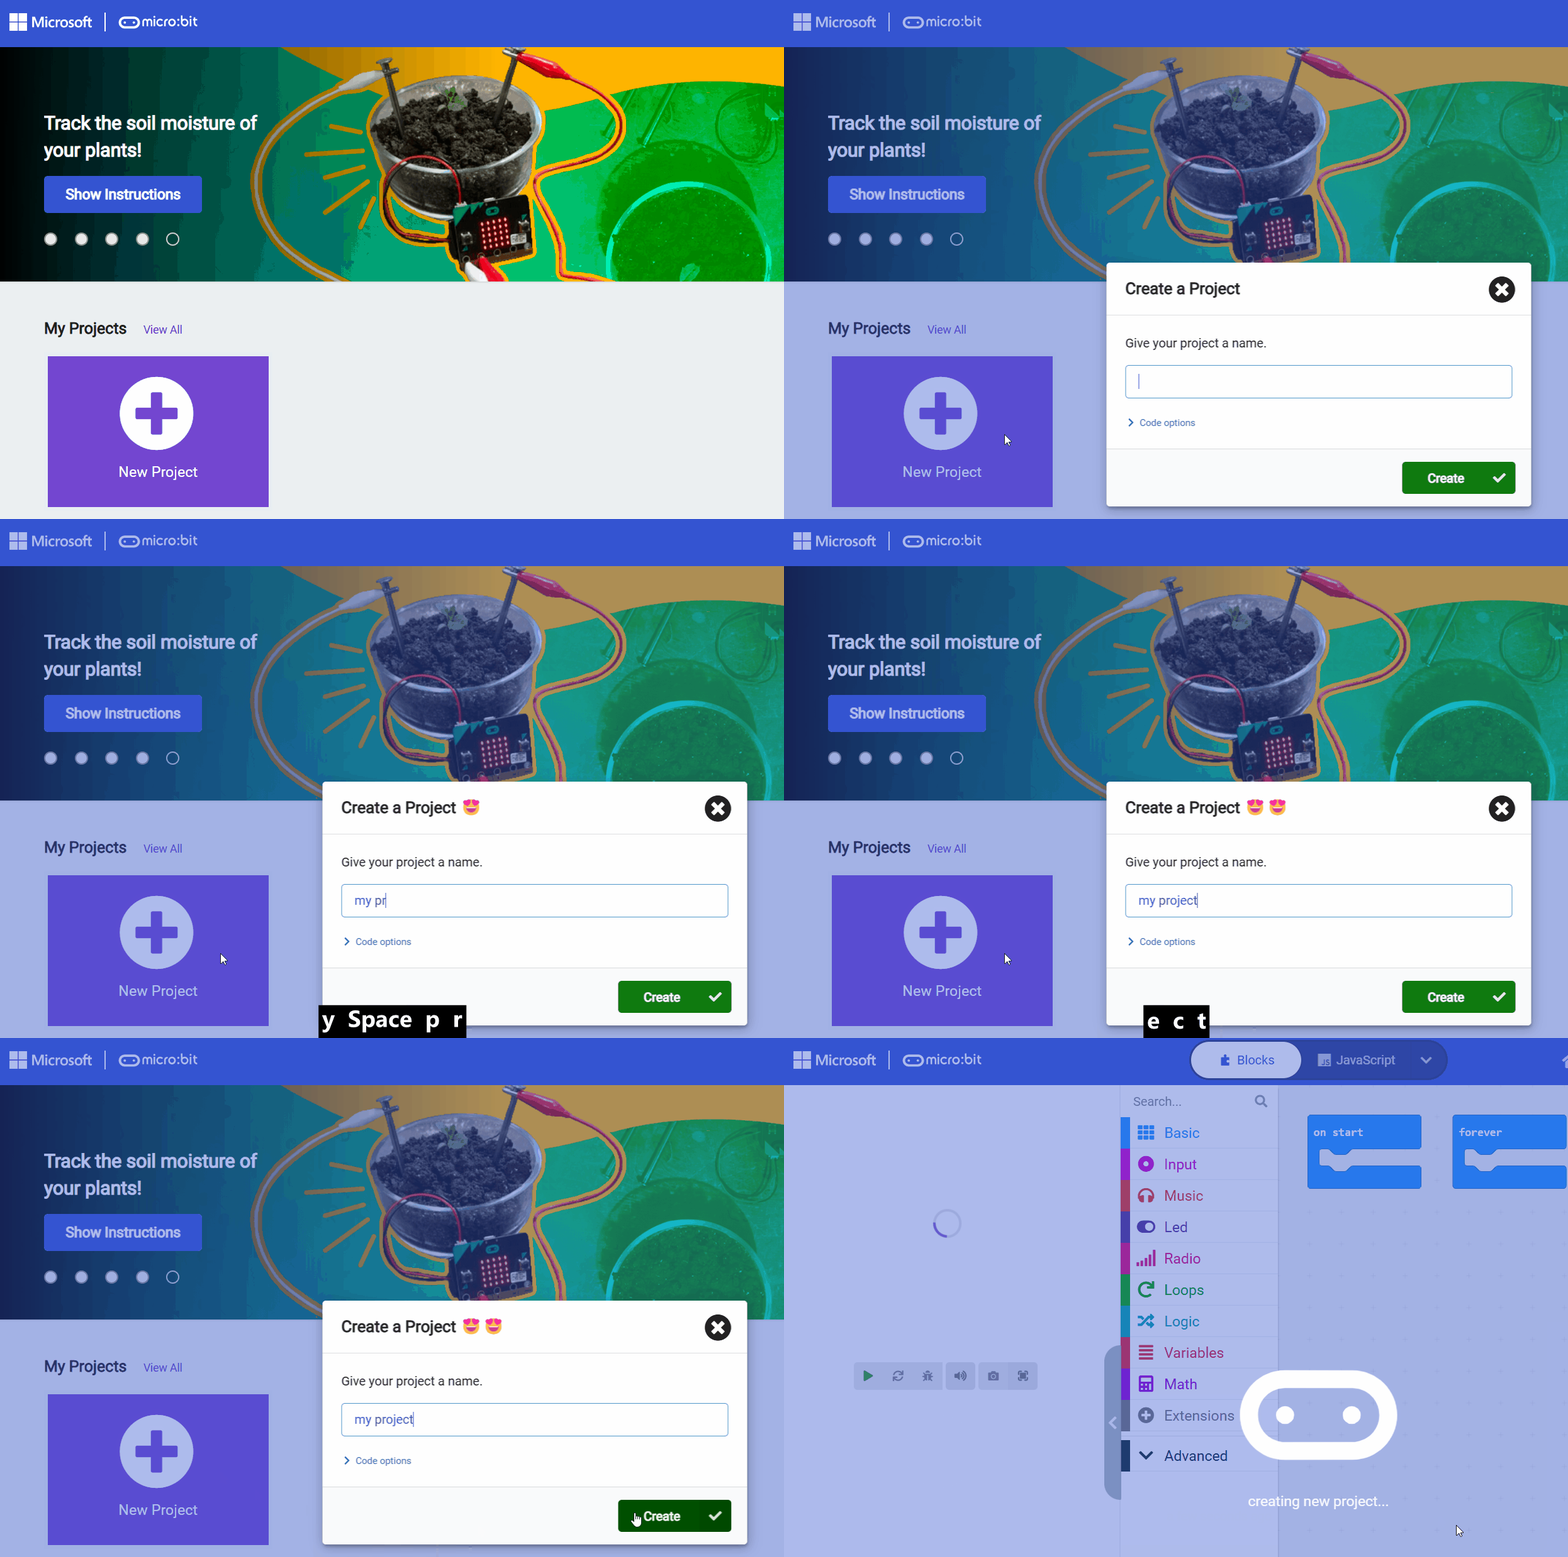
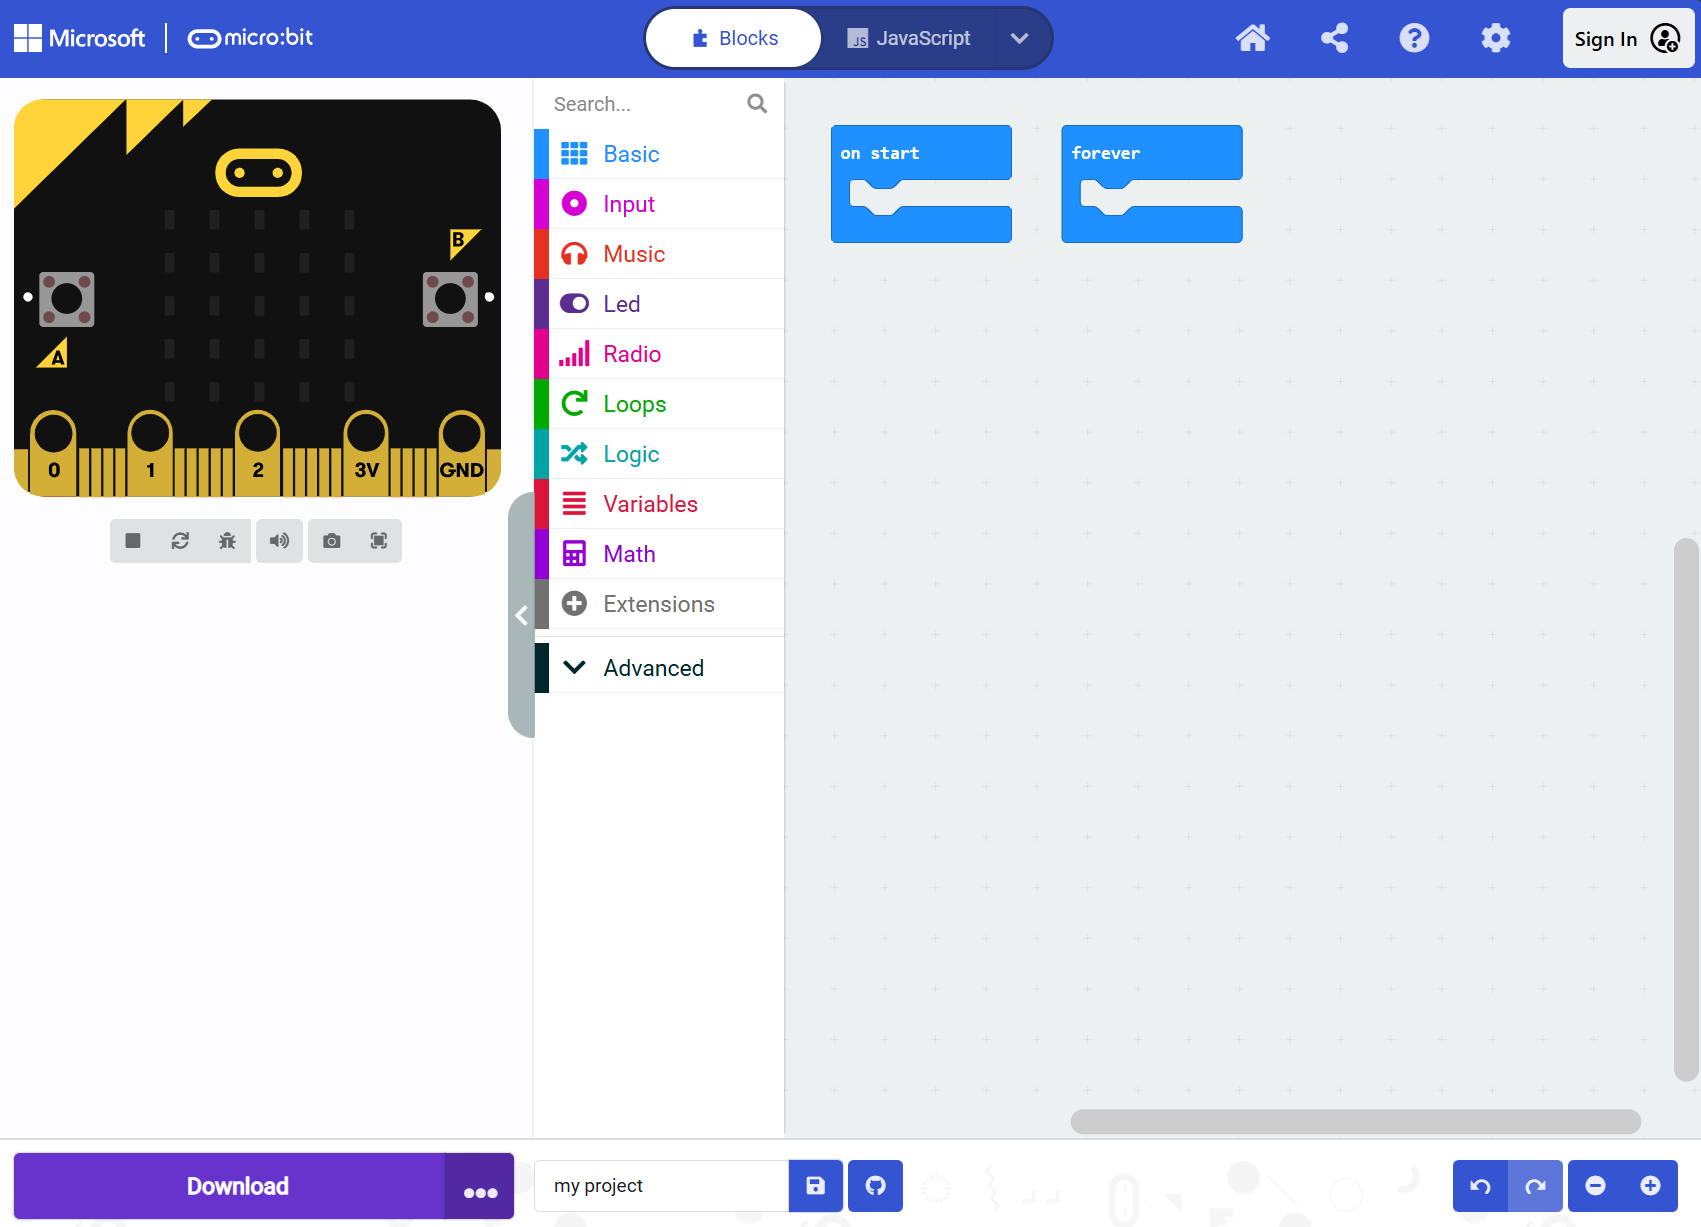
 Let's take a look around the projector editor screen.
Microbit Simulator
On the left side of the screen, you'll see a simulator of a microbit. When we create some code, we will see it play in the simulator.
Toolbox
On the right side of the simulator, you'll see a toolbox with different categories of blocks. Each of these blocks is a different type of instruction for the microbit.
Code Area
On the right is the code area where we will write our code. It starts with two code blocks already added: on start and forever. on start is used for code that should run once when the microbit starts up. forever is used for code that should keep running over and over again.
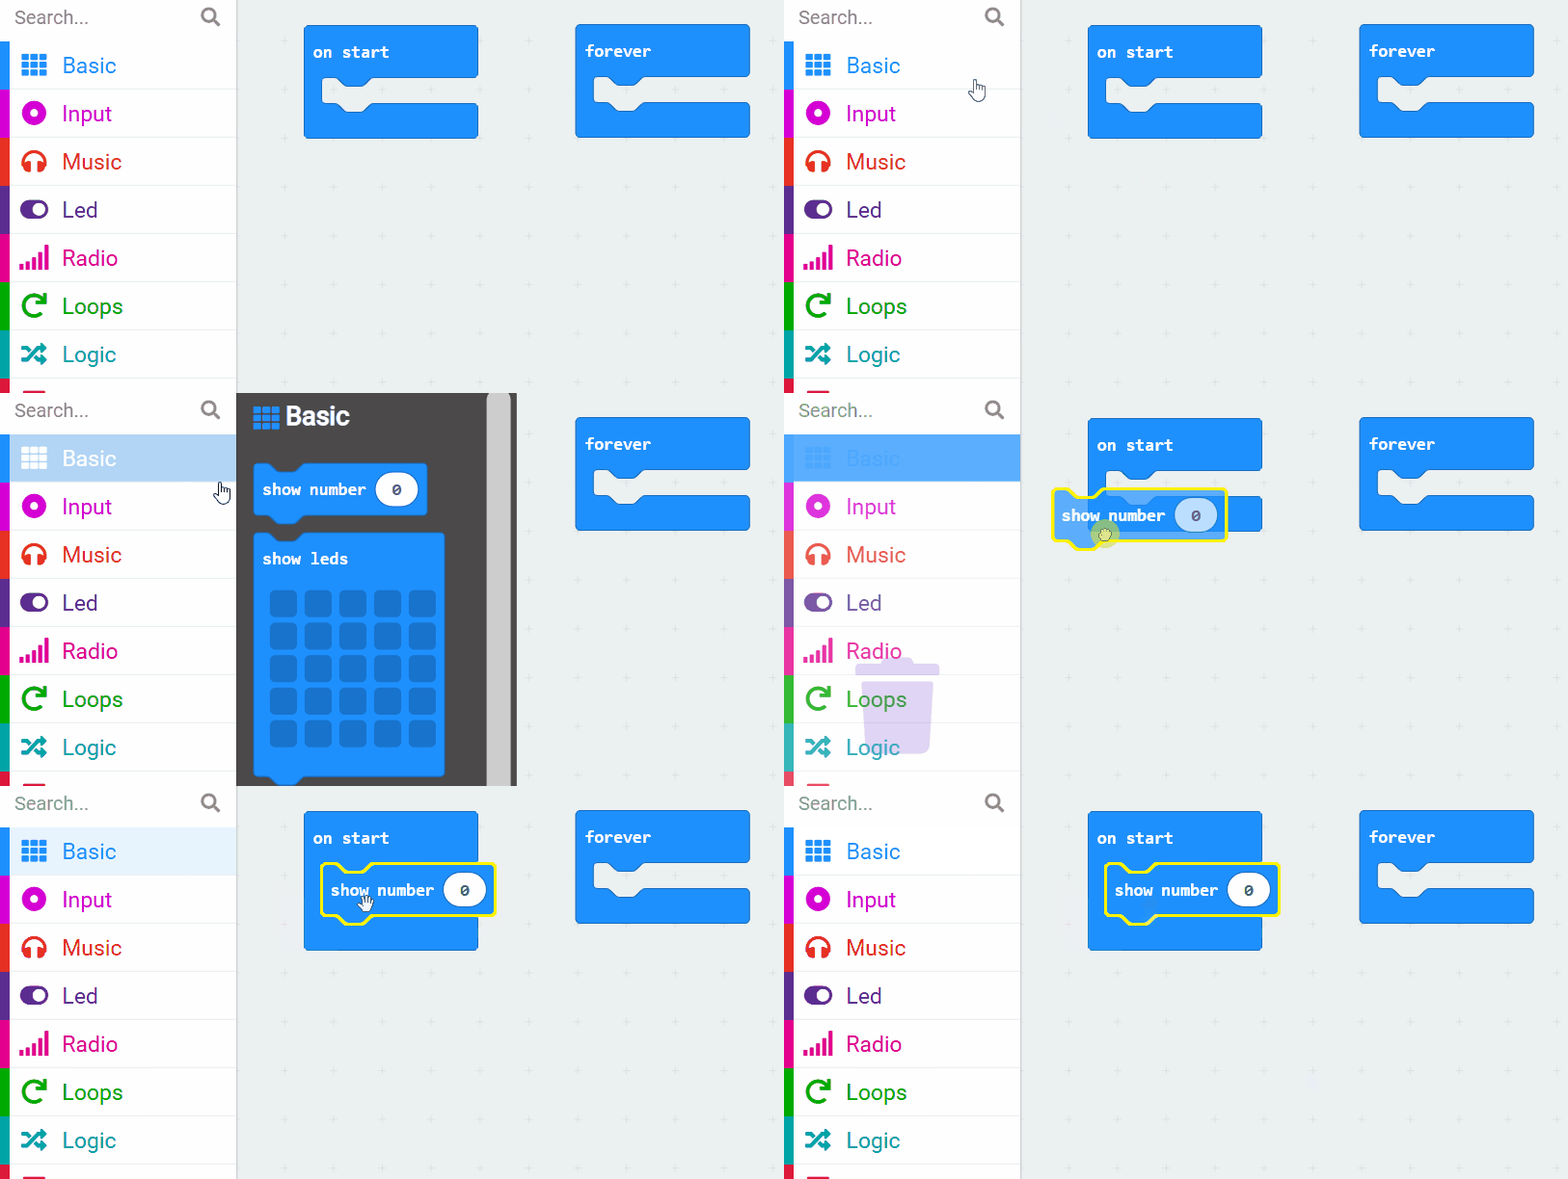
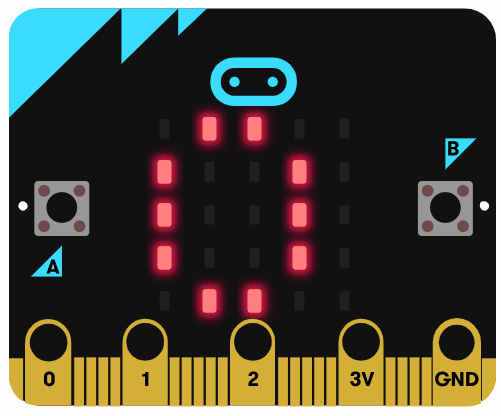
Now let's add our first piece of code. The microbit has a grid of little red LED lights and we're going to make the microbit show some numbers using those lights.
Add the following code:
basic.showNumber(0)
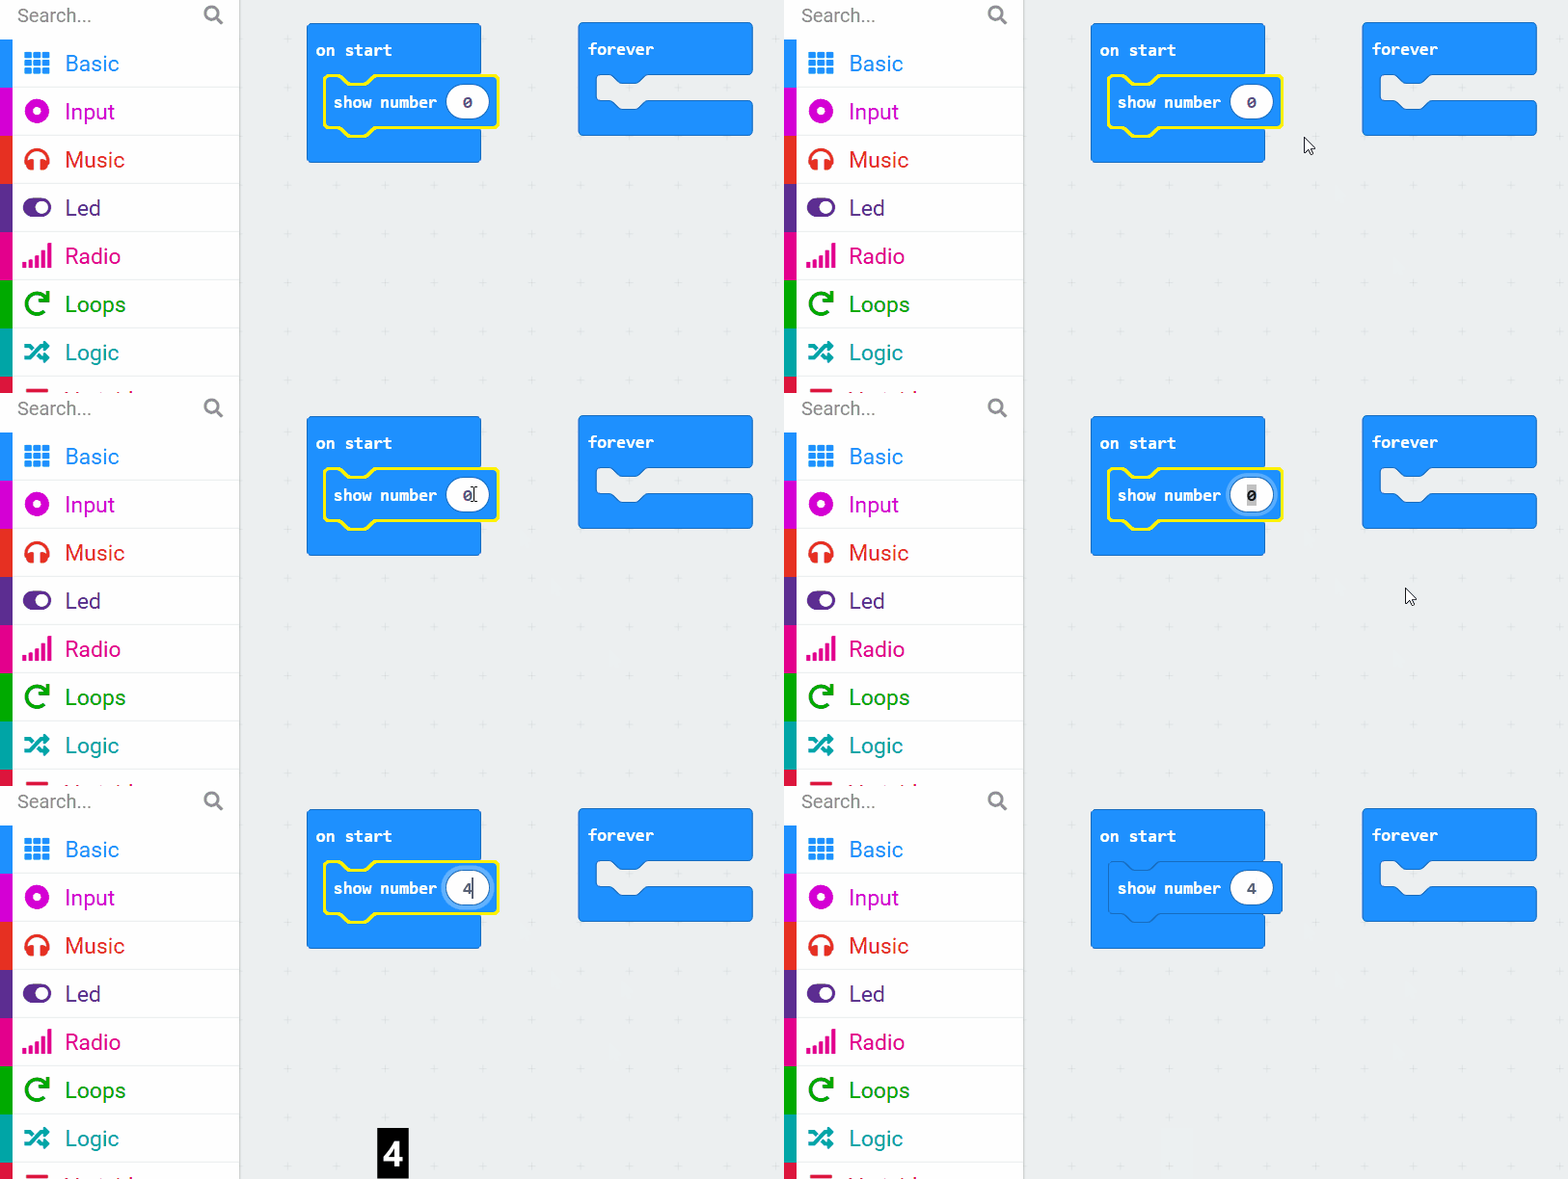
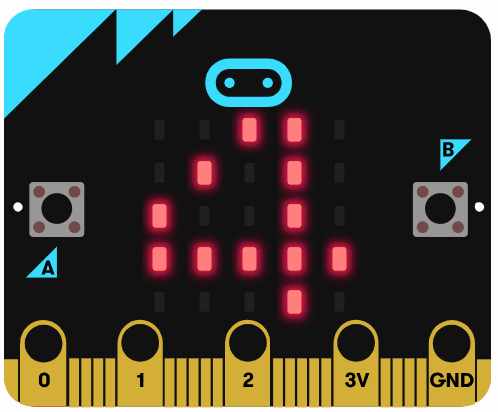
Next change the number 0 to a different number, in our example we changing it to the number 4:
basic.showNumber(4)
Unlock the full learning experience
You're previewing this lesson. Get full access to this lesson and hundreds more — each one ready to teach, with interactive activities, printable resources and pupil progress tracking built in.
This lesson is copyright of Coding Ireland 2017 - 2025. Unauthorised use, copying or distribution is not allowed.