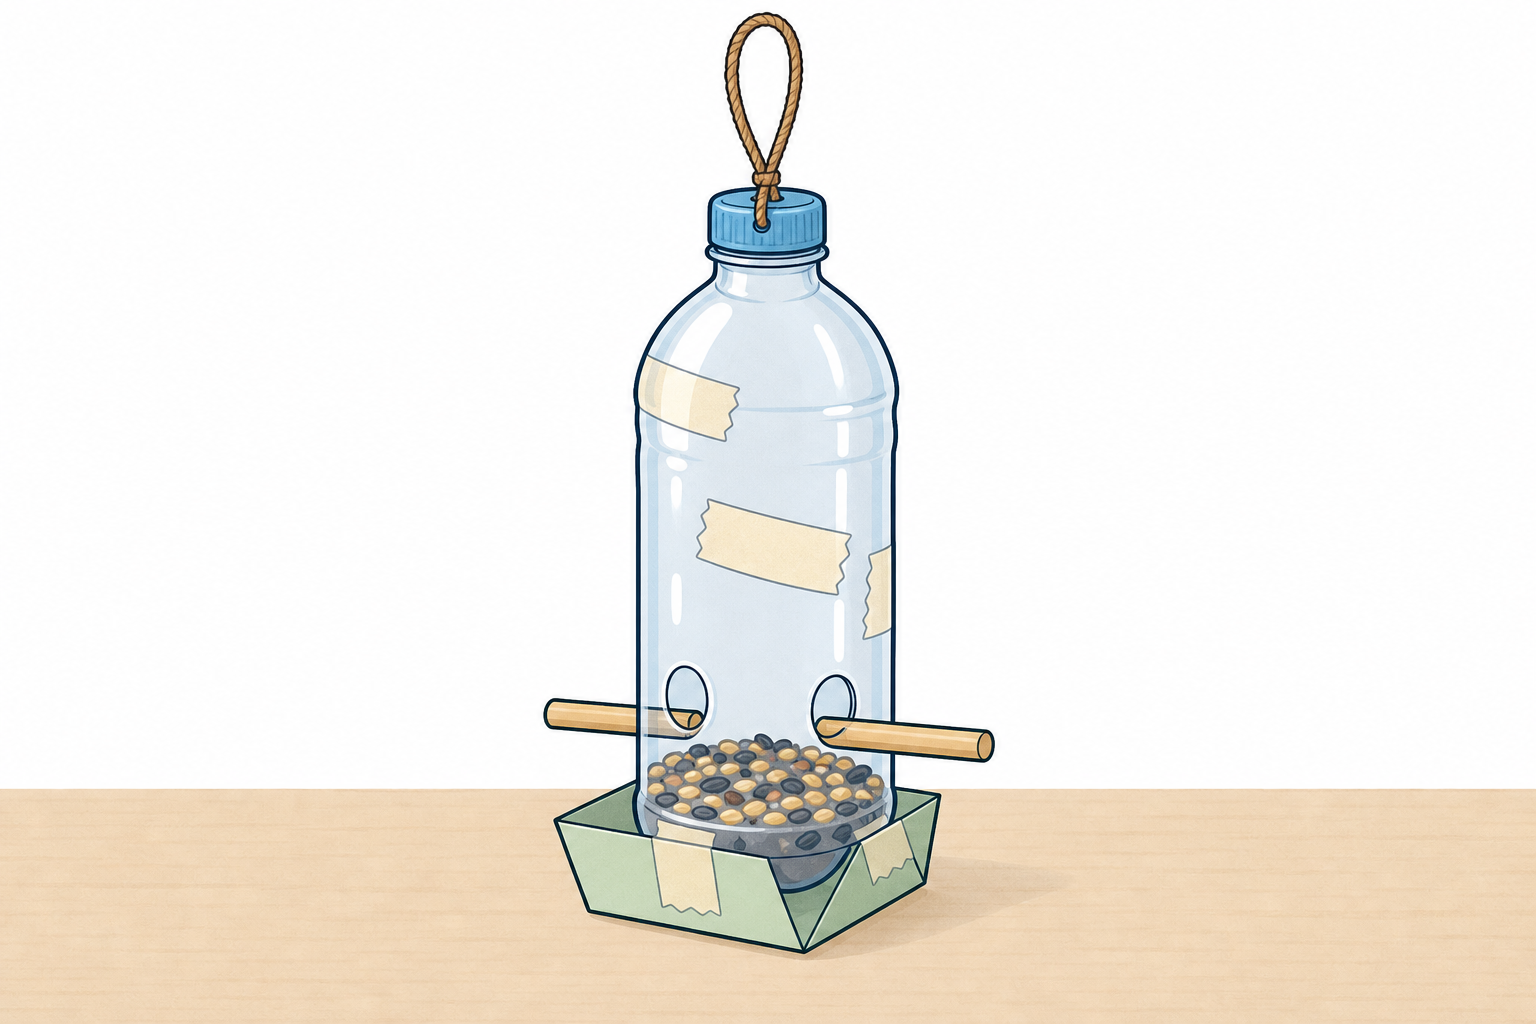
Your feeder has been planned, built, tested and improved. Today you become the engineer who explains the story of that design.
Real engineers do not only show the finished object. They explain who it was for, what they changed, what the evidence showed, and what they would try next.
Have each group's prototype and Investigation Journal pages from earlier in this project ready on the tables before the lesson starts. Those pages include the Design Brief and test notes from earlier sessions. Keep presentation paper and pencils nearby.
Key question: What would an engineer say about this feeder that a photograph alone cannot tell us?
Remind them they already know how to plan, build and fair-test a prototype. Today is the Share beat of the design process.
Today's five parts of a design analysis:
Turn to your partner for thirty seconds: which of those five will be hardest to explain in one minute? Be ready to share one idea.
Board version only above. Full reference table for you:
| Concept | Why it matters | Example |
|---|---|---|
| User need — what the living thing or person the design is for really needs it to do | A clever build that ignores the user is not a good design | Irish garden birds need dry seed and a perch they can grip |
| Design choice — a decision the group made about shape, materials or parts | Engineers must be able to explain why they chose one idea over another | We chose a bottle body because it keeps seed dry under rain |
| Test evidence — what the fair tests actually showed, not what we hoped | Evidence, not opinion, decides whether a design works | After the watering-can shower, the seed stayed dry in three out of three trials |
| What changed after testing — the iterative step: change one thing because of evidence, then test again | Real engineers improve designs from evidence rather than guessing once | We widened the perch after the first test because birds could not balance |
| Next step — one clear improvement you would try if you built the feeder again | A strong analysis always looks forward, not only back | Next we would add a wider base so the feeder does not tip in wind |
Misconception to head off: pupils may only describe the finished feeder. Push them toward the full arc: need → choices → evidence → change → next step.
Nature of STEM: presenting an analysis of the iterative design process is what engineers do when they share a project with a client or a team.
After the thirty-second turn-and-talk, take two or three quick shares so the class hears that different groups find different parts hard.
In your group, prepare a short talk about your feeder. You have about one minute to speak.
Your journal and prototype are your evidence — that is what real engineers bring to a meeting.
Cover these five points:
Use your prototype and your Investigation Journal pages as evidence. On presentation paper, jot short cue notes for the five points if that helps you remember while you speak.
Each group needs its prototype from earlier in this project, its Investigation Journal pages (including the Design Brief and test notes from earlier in this project), presentation paper and pencils.
Keep the same five-point checklist on the board that step 2 introduced:
Presentation paper is for brief cue notes only, not a poster: groups write a few words per point so speakers can glance down while holding the prototype.
Circulate and listen for groups that only describe looks. Ask: What did the watering-can test show? and What changed after your first test?
Differentiation: less confident groups may assign one sentence each. Confident groups can add what they would keep the same next time and why.
Timing tip: if a group is still building sentences at eight minutes, move them on — the talk can be short and clear.
Each group presents its feeder. You may share with another group or with the whole class — your teacher will tell you which. Hold up the prototype. Tell us the user need, one design choice, what the tests showed, what changed after testing, and what you would do next.
Listeners: be ready with one thoughtful question about a design choice or the evidence. Strong questions help the next design as much as a neat build.
Count the groups. If you have six groups or fewer, call each group to the front for about one minute plus a quick listener question. If you have more than six groups, run one paired round first (two groups present to each other for about two minutes), then invite two volunteer groups to the front for a whole-class share so every group still presents evidence and the class still hears full design analyses.
Keep each whole-class talk close to one minute so every selected group is heard. While one group presents, fold the rest of the class in: Do you agree their test evidence is strong? What would you ask next?
Look-fors:
Peer feedback stems to model: One thing that was clear… and One question I have about your design…
Think about the presentations you heard. In pairs, discuss: which design choice had the strongest evidence that the feeder holds seed, stays dry, or offers a stable perch, and why?
Be ready to share one idea with the class.
Use think-pair-share. After two minutes of pair talk, take three or four contributions on the IWB under the heading Strong evidence.
Draw out: evidence beats a neat-looking build. A group that changed the perch after a failed balance test is doing iterative design well.
Misconception: pupils may say the "best" feeder is the prettiest. Redirect to the agreed success criteria from earlier in this project: holds seed, keeps seed dry, stable perch.
You're previewing this lesson. Get full access to this lesson and hundreds more — each one ready to teach, with interactive activities, printable resources and pupil progress tracking built in.