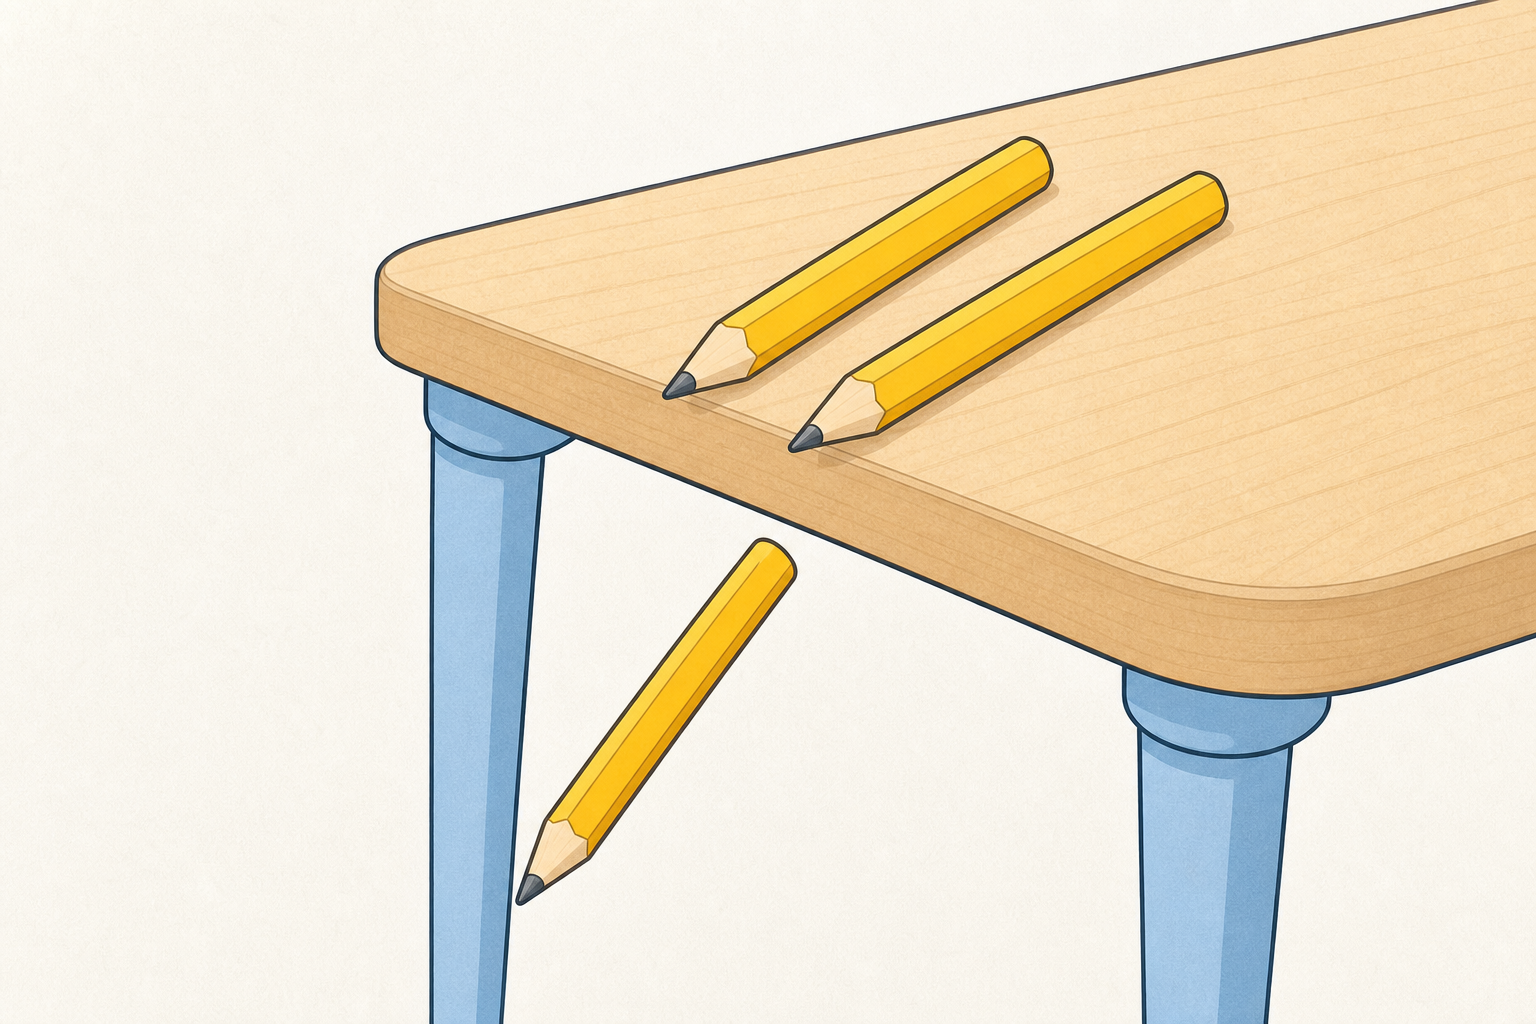
Oh no! Pencils keep rolling off our table. Who has seen this happen in our room?
Keep this beat light and curious. Hold up one real classroom moment if you can (a pencil that just rolled). Do not hand out materials yet.
Default shared problem for this lesson: pencils keep rolling off the table. Use this one problem for the whole class so every pair is making a helper for the same need. Pairs may still invent different helpers (a tray, a wall, a pot). Save free choice of problem for a later lesson in this project once the make cycle is familiar.
If pencils are not a real issue in your room, swap in one other shared problem from this short list (still one problem for everyone):
STEM habit to notice: makers look for a real problem first, then plan and build something to help.
Ask: Who has seen pencils roll off our table? Show me with your hands what happens. Stay inside this one problem; do not open free choice of a different problem on the board.
Our problem today is pencils rolling off the table. Who needs the pencils to stay put? Will the pencils stay on the table when our helper is working?
Whole-class talk. Stick to the one shared problem agreed in step 1 (default: pencils rolling off the table). Capture two or three child ideas on the board as simple sketches or words you write for them. Do not put a glossary of terms on the board; infants need the talk short and spoken.
Name the lead idea only: we are going to make a helper for a real classroom problem. Leave 'plan' and 'fix as we go' until the make step, when children meet the scrap paper and the tape.
| Concept | Why it matters | Example |
|---|---|---|
| Helper — a simple thing we make to fix a real classroom problem | Makers build for someone in our class, not just a toy | A little tray or wall so pencils stay on the table |
| Problem — something in our room that is not working well | Starting from a real problem keeps the build useful | Pencils roll off the table every time we write |
What success looks like (say it simply): the helper tries to stop pencils rolling off so they stay on the table. Perfect finish is not the goal.
Misconception to head off: children may think they must make something big or fancy. Keep helpers small enough to hold in two hands and simple enough for infant hands and tape.
Ask: Who needs the pencils to stay on the table? Will the pencils stay put, or will they still roll? Invite pointing or acting out rather than abstract answers.
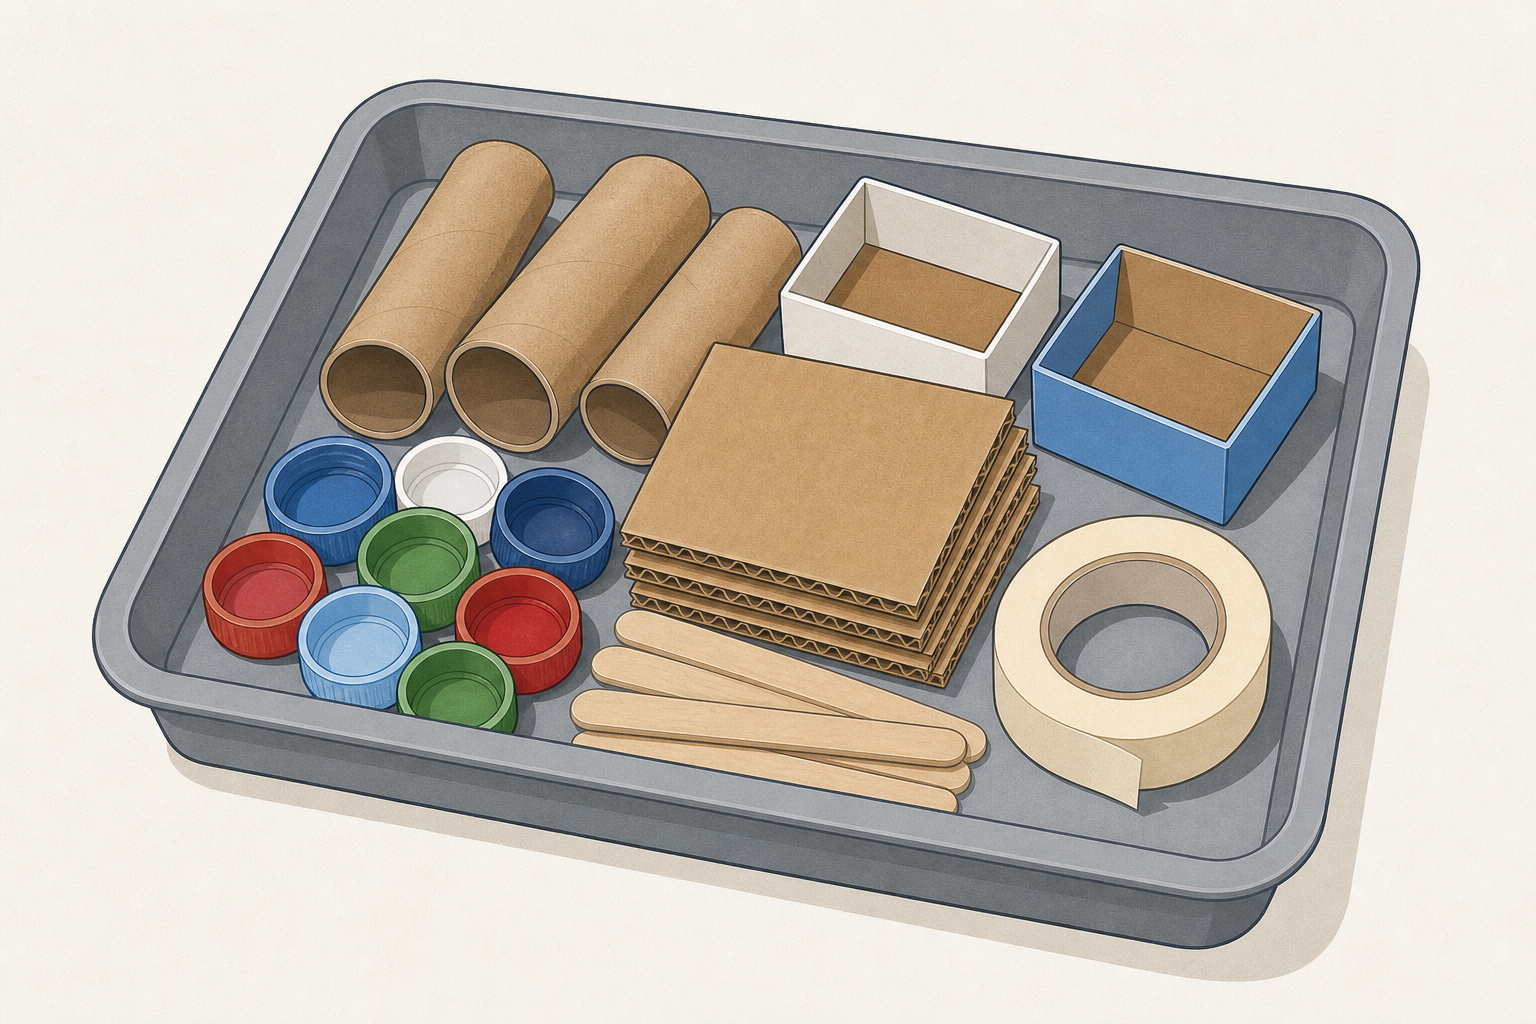
Look at the junk tray together. Which pieces feel strong enough to stand up? Which ones can bend? Which piece could hold a pencil or make a little wall?
Short hands-on burst before building. One tray of junk-modelling materials per group or table. Children handle and talk; they do not start sticking yet.
Keep tape and scissors off the explore tray and hold them back until the make step. For infants, tape on the tray makes the no-sticking rule almost impossible to keep, and joining early steals time from the paced plan-then-make beat.
Guiding talk:
Model one sentence: I think this box could hold pencils because it has sides.
Then move straight into making so the energy stays high. Bring out the tape (and scissors) only when pairs begin the make step.
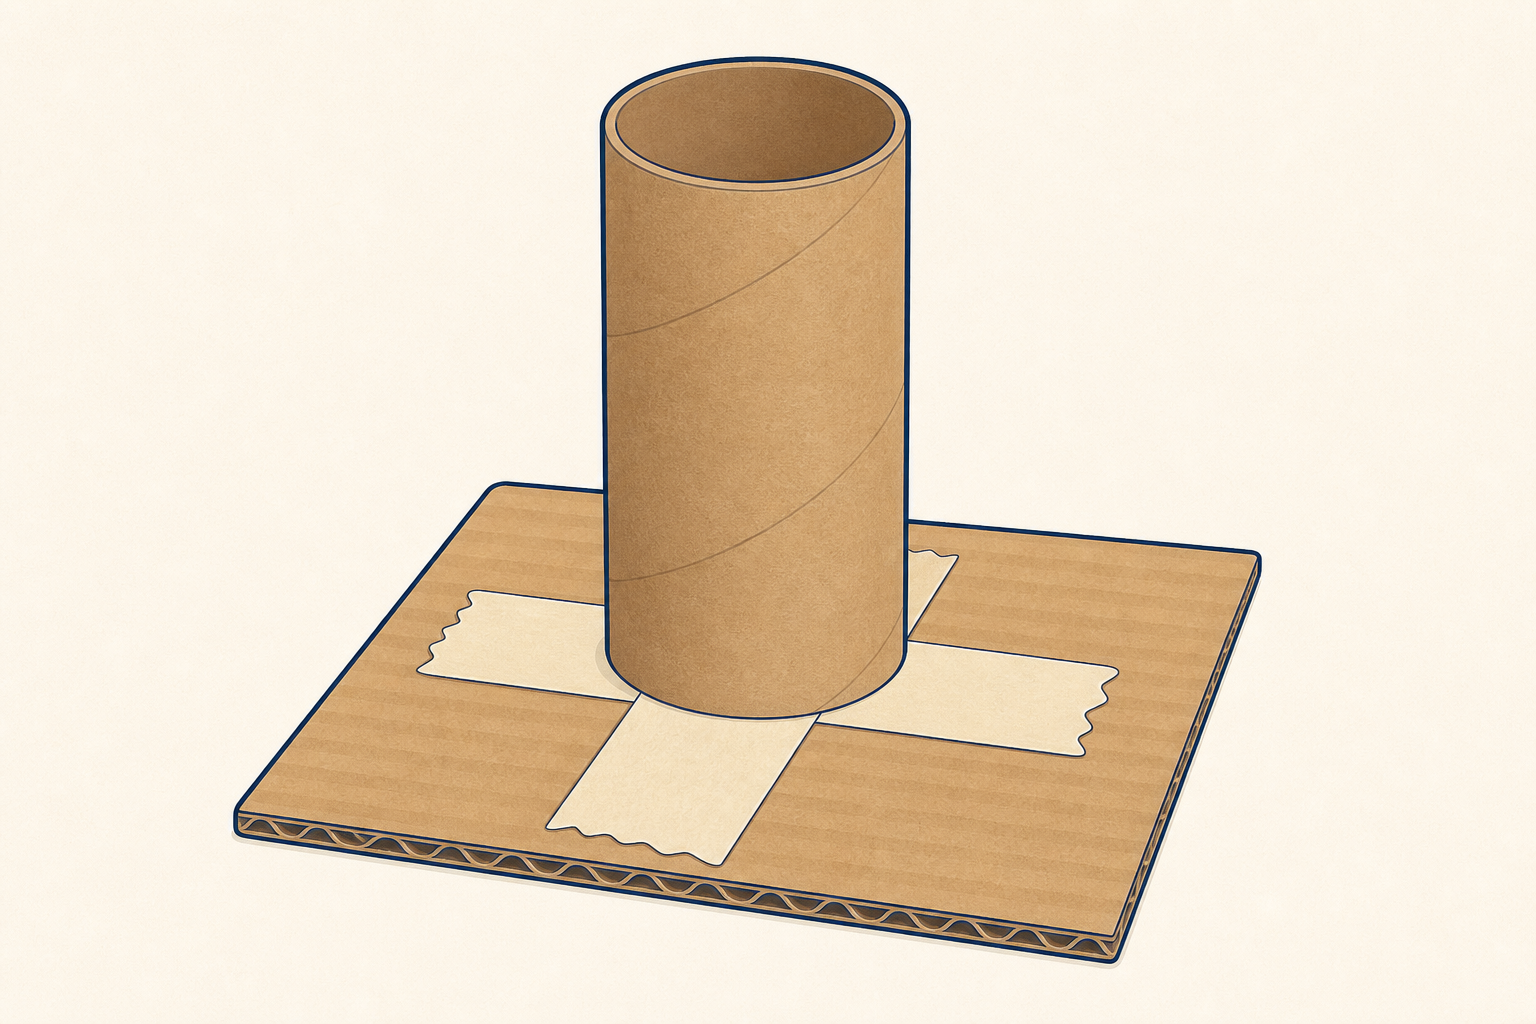
First, draw a quick plan on the scrap paper. A quick picture is enough. Then, with your partner, make one helper together from the tray. If a piece falls off, you can fix it and try again.
Junk trays already out from the explore beat. Now bring out the masking tape and safe scissors. An adult is free to make any tricky cuts. Scrap paper for the quick plan is on each table (hold one up when you say 'draw your plan').
Pace the board in two tiny beats:
Worked model (keep this short — most of the 13 minutes stays with the children): show a plan you already drew before the lesson (a rectangle with a low edge). Stick on one card lip live, then show one quick fix only (e.g. the lip loosens and you add a longer piece of tape or a lolly-stick brace). Thinking aloud in a few lines is enough: I planned a little tray… I am making the edge… oh, it came loose, so I fix it. Do not run a full five-beat demo in class time. Then let pairs make their own. Do not require every helper to match yours.
Constraints to keep it infant-friendly: use tray materials only; one helper per pair; keep the helper small enough to hold in two hands; adult cuts only when needed.
Success looks like: the pair can point to the shared problem (pencils rolling) and the build roughly tries to help. Wobbly is fine. A change of join is welcome when something wobbles, but a helper that holds together first time has still succeeded. Unfinished-but-started is fine if time runs short.
If the timer is tight: stop on a stable join and store the piece — a started helper is a success for this lesson. Keep it safe for the next lesson in this project.
Safety: supervise scissors; adults make tricky cuts; keep tape and small off-cuts off the floor; stand builds below shoulder height.
Differentiation: offer a ready small box as a base for pairs who need a start; confident pairs may add a second feature (a lid, a label space) if they finish early.
On your drawing page, draw the problem and the helper you made. We will keep your helper safe for next time.
This is the paper recording beat. Hold up the Investigation Journal page so children see which sheet you mean, then say the board line. Children draw the classroom problem and the helper they made (and a hint of their plan if there is space). They may add an emergent label or their name if ready. Do not invent extra teacher-made sheets.
Keep talk oral: Tell me who your helper helps.
Collect or store the physical helpers carefully for the next lesson in this project, when children will show them and say one thing they would change.
If a pair has almost no build yet, they still draw the plan and what they started — the piece stays with the class for the share.
You're previewing this lesson. Get full access to this lesson and hundreds more — each one ready to teach, with interactive activities, printable resources and pupil progress tracking built in.