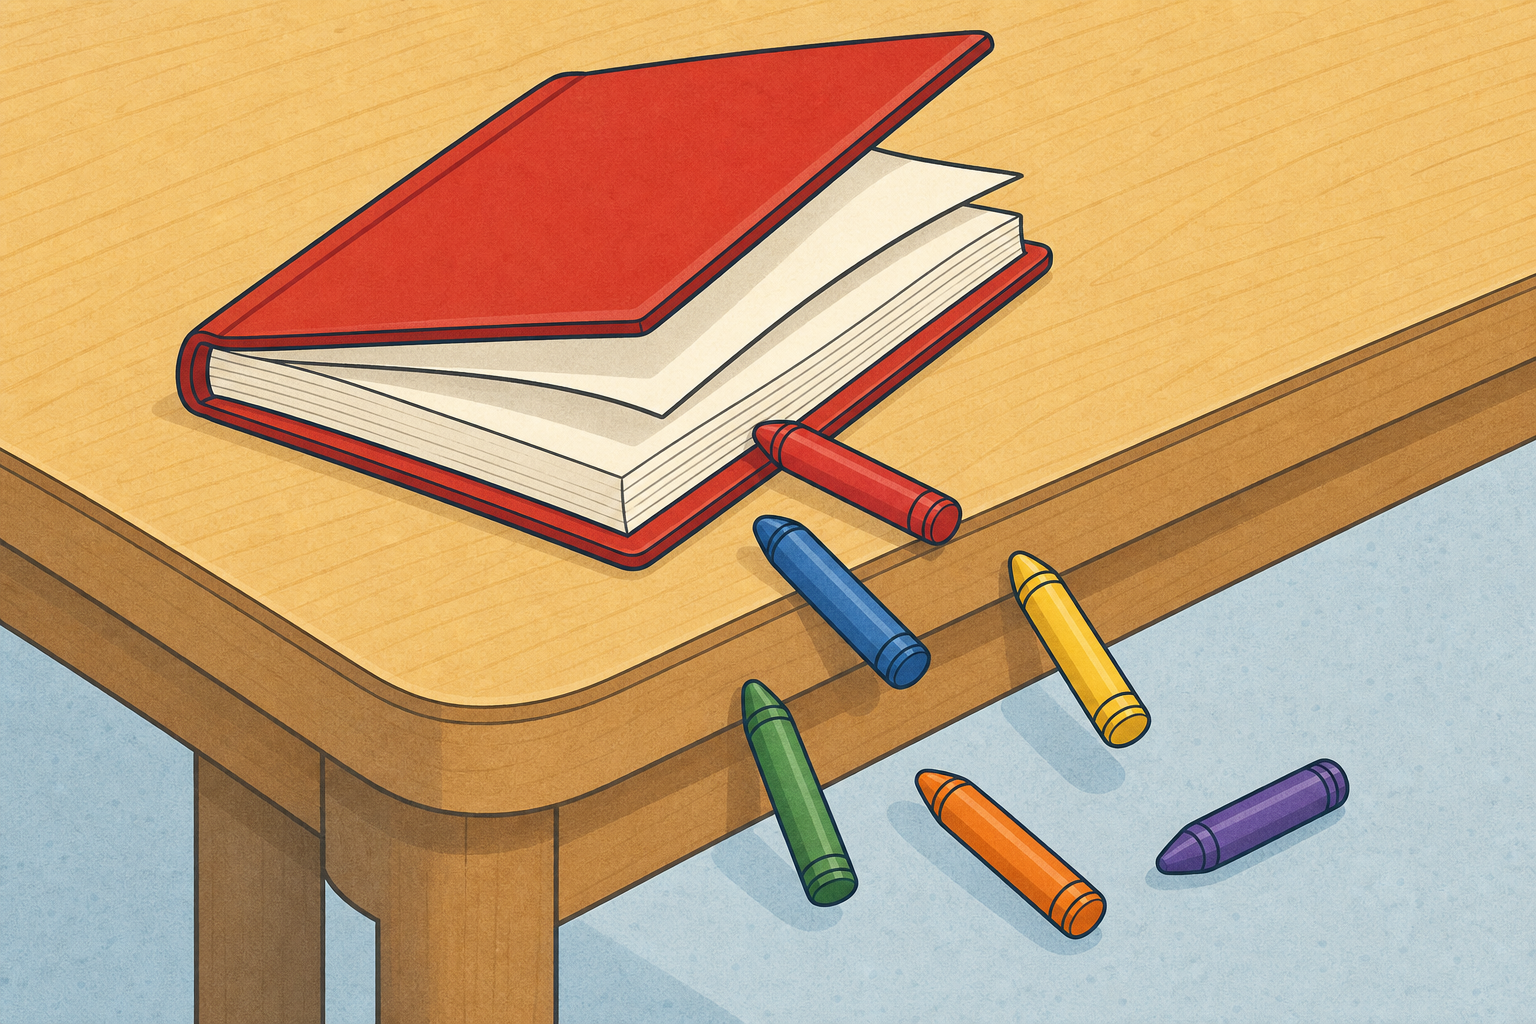
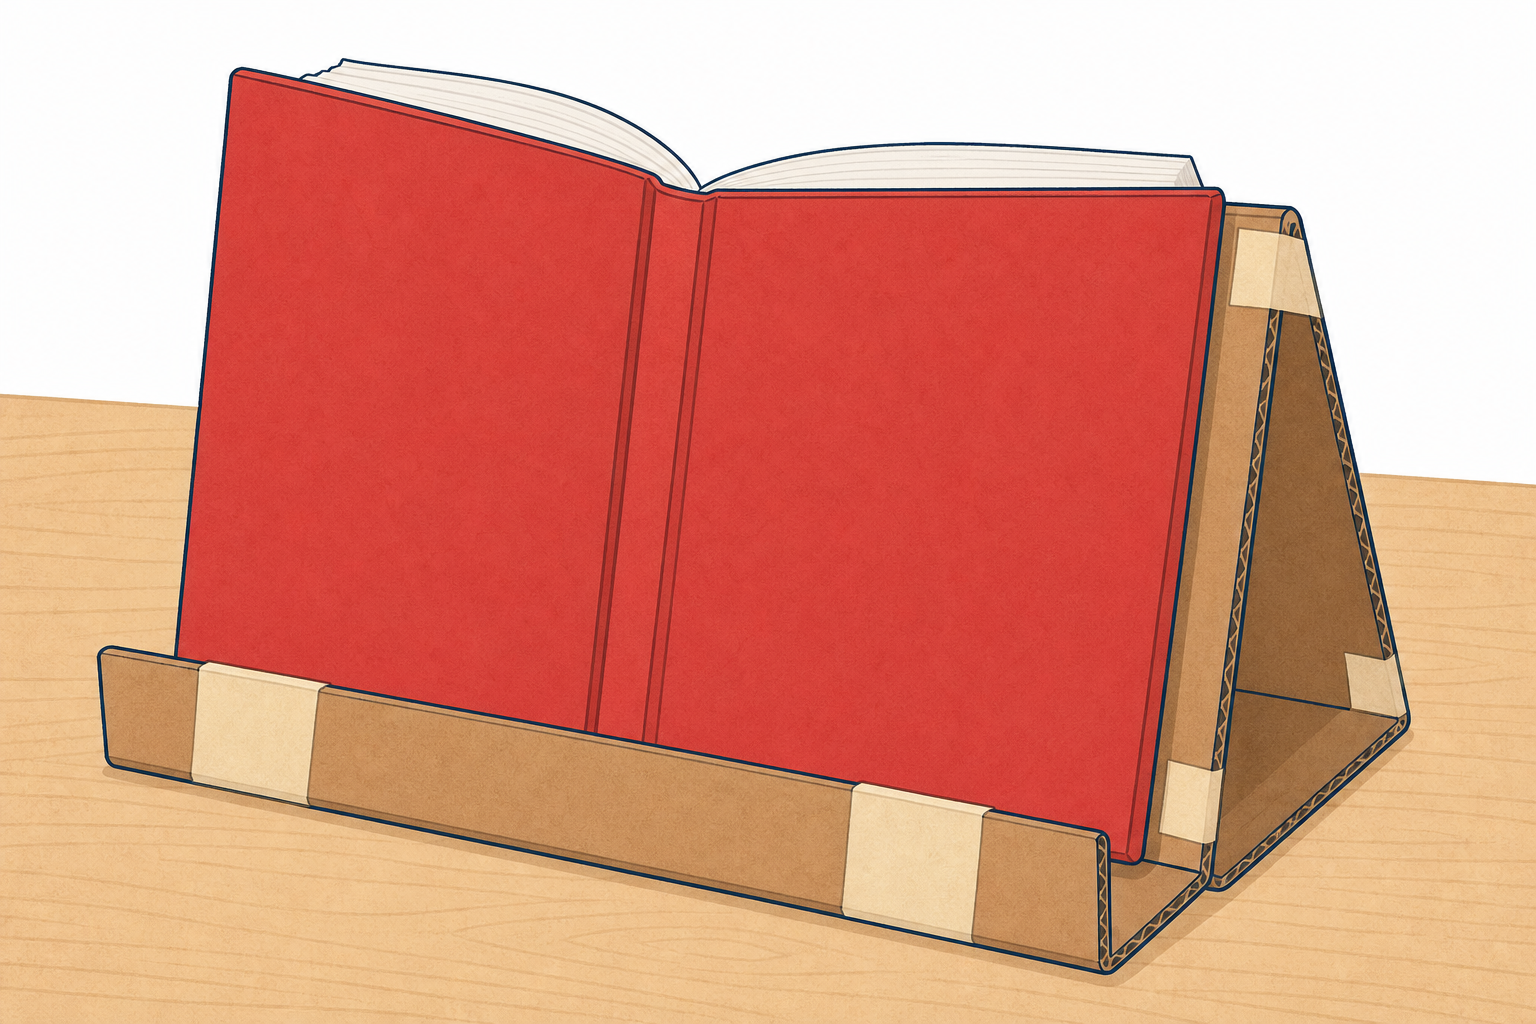
Look at this wobbly book on the desk. Look at these crayons rolling onto the floor. Who might need a little helper at school?
Today you will plan and draw one simple helper: a stand-up book prop (a holder so the book stays open), or a basket to catch lost crayons.
Keep this beat light. Hold up a soft-cover book that will not stand open, or let a few crayons roll gently across the desk. Ask: What problem do you notice? and Who might need a helper?
Do not hand out materials, name every design rule, or start the drawing yet. The curiosity beat is enough: a real desk problem the children recognise.
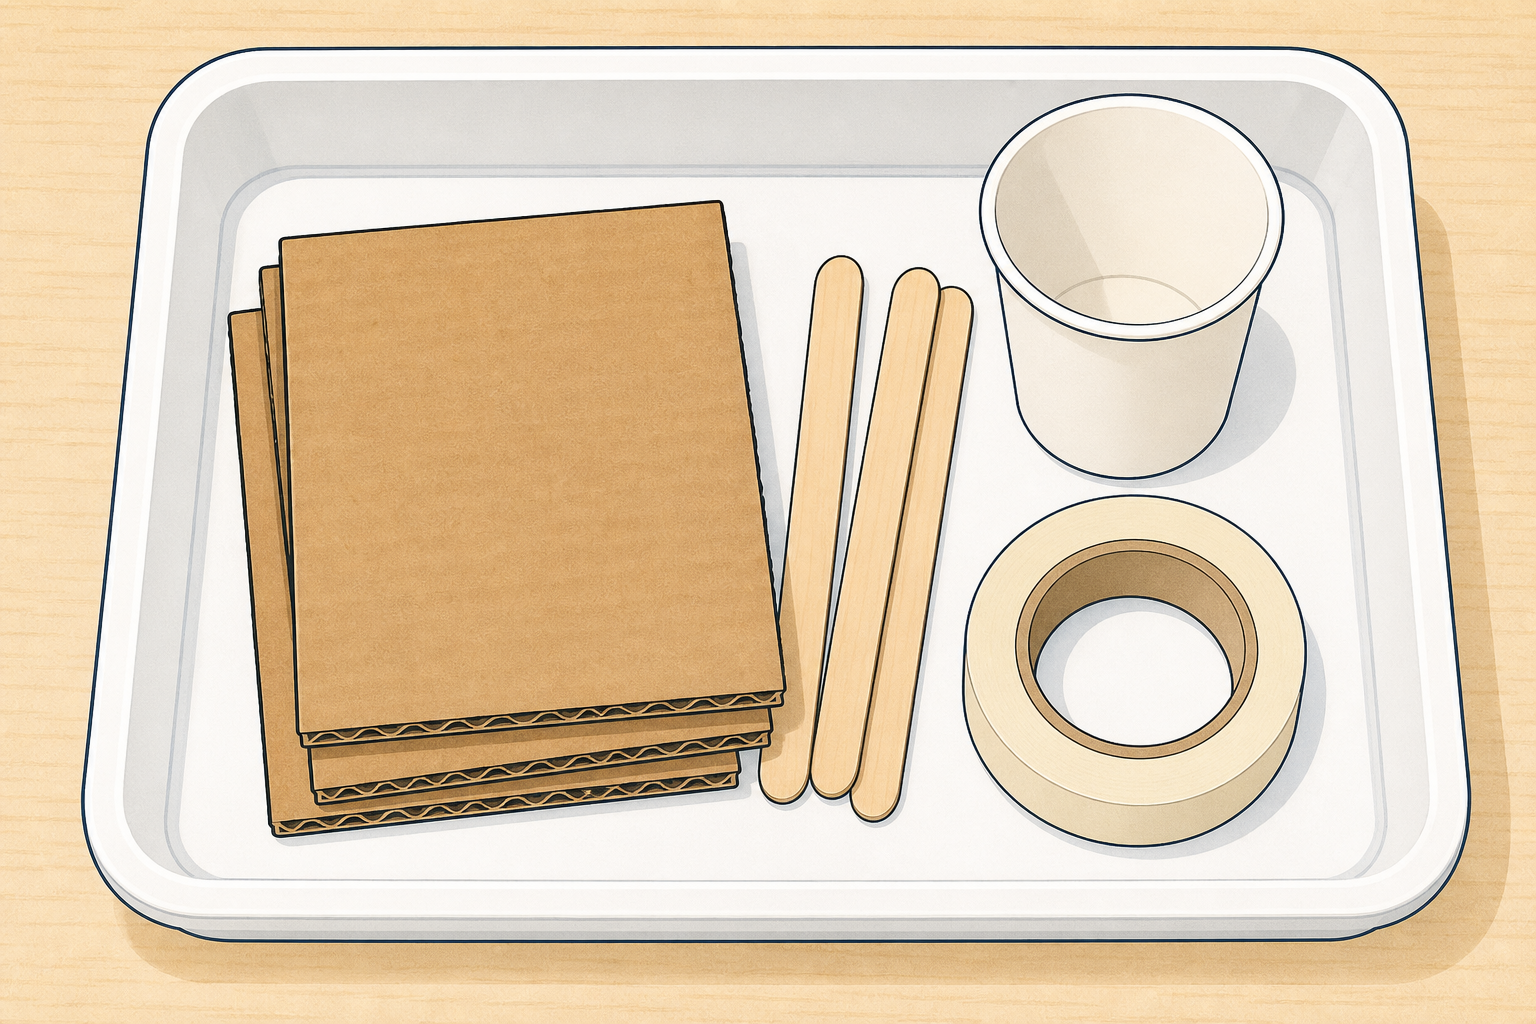
Before the lesson: gather several small sample-materials trays (one per table group) and print the Investigation Journal Design Brief page (one per pupil). You will sketch a quick book-prop model live on the board later; no pre-made drawing is needed. Plan to write a shared word bank on the board before the draw step: base, stand, basket, handle, card, tape.
Before makers build, they draw. Two words help us today.
Design drawing: a clear picture of your idea before you make it.
Label: a word that names a part.
I wonder why makers draw before they build. We will work that out together after I show my idea first. There is no single right answer yet.
Project only the short board text (two words, then the wonder line). Reveal one line at a time. Do not put a dense definitions list on the IWB. Use the table below as your teaching guide, not as a screenful for the class to read. Introduce each word against your live model sketch one at a time.
| Concept | Why it matters | Example |
|---|---|---|
| Design drawing — a clear picture of your idea that shows the parts before you make it | A drawing helps you and your friend see the idea. Makers share ideas with plans, not only with finished things | A big picture of a book prop showing the wide base and the upright stand |
| Label — a short word written beside a part so others know what it is | Labels stop people guessing. They make the plan easy to follow | Writing base next to the bottom and stand next to the upright piece |
Doing language for the draw step (not board definitions today): children will also name who it is for (the person who will use the helper) and materials (things they would build with, such as card or tape). Fold those into the Design Brief task as they draw and write, not as extra terms to memorise now.
Worked example to model aloud (then rub the board sketch away so pupils design their own):
I wonder… My friend Sam loses the place in the big class storybook we share on the carpet because it will not stand up.
I choose… a stand-up book prop for Sam.
I draw… a wide base at the bottom and a tall back to lean the book on. I draw it big.
I label… base and stand.
I name materials… thick card and sticky tape, because card is stiff and tape holds the join.
I think… Sam can stand a book on this and keep reading with both hands free.
Spoken alternate for the crayon basket. Say it aloud, then put both ideas away so pupils design their own.
Or if Pat's crayons from the art shelf keep rolling off the desk, I might draw a shallow basket with a wide mouth. I label basket and handle. I would use card and a paper cup.
After you show your idea first, return to the wonder question together: Why do makers draw first? Revoice answers such as so a friend can see the idea, so we know the parts, so we can choose materials before we build.
Misconception to head off: some children draw a tiny picture in the corner or decorate without labels. Praise a large, simple drawing with two clear labels over a fancy picture with none.
STEM eyes: drawings and plans are how makers share ideas at home, in school and in workshops. A plan is a way of talking with a picture.
Talk with a partner. Who needs a helper? Will you design a stand-up book prop or a basket to catch lost crayons? What might it look like?
Think-pair-share, then two or three pairs feed back to the class.
Give about one minute of quiet think time, then partner talk. Circulate and listen for a real person and a real need, not only a cool shape.
Prompts to use:
What to draw out: empathy first (the person and the problem), then a rough idea. There are many good answers. A book prop and a crayon basket are both welcome.
Differentiation: less confident pupils may choose from the two named helpers only and point to a classmate as the user. Confident pairs may add one extra feature (a soft lining, a name tag) as long as the main job stays clear.
On your Design Brief page (the planning sheet in your journal), work in this order:
Choose a stand-up book prop or a crayon basket. Plan and draw only today; do not build yet.
1. Hand out one Design Brief page to each pupil (the planning sheet in the Investigation Journal). Do not assume it is already on desks: step 1 held materials back on purpose.
2. Confirm one sample-materials tray is already in the middle of each table group.
3. Shared word bank on the board before pencils go down: write base, stand, basket, handle, card, tape clearly so early writers can copy labels and material names. Leave the words up for the whole draw window.
4. Handle routine: give each table about one minute to handle their tray and feel stiffness, bendiness and softness. Handling only; no scissors or building today. Trays then stay in the middle of each table so children can glance or touch again without queuing.
5. Quick remodel: remodel one line of your book-prop sketch on the board: big shape, two labels, materials named. Mention the crayon-basket option again in one sentence so both paths feel equal. Then rub the board sketch away so children do not copy it line for line.
The provided Design Brief page has large, clearly headed spaces that match the board order: a big drawing space, room for labels, who it is for, and materials. Point to those headed spaces once as you read the numbered list so pupils can complete each job by looking at their page. If you are using the plain-paper substitute, pre-draw the same four headed spaces on each sheet.
This lesson is plan and draw only. Pupils do not build the helper today. The Design Brief page is their paper record of a planning skill: a clear labelled idea a friend can understand.
Look-fors:
Support: scribe labels for pupils who need it; point them to the board word bank (base, stand, basket, handle, card, tape). Stretch: add a third label or a short note on why that material suits the job (stiff, soft, strong).
Common snag: tiny drawings or pure decoration. Kneel beside the child and say Make the helper as tall as your hand on the page, then name two parts.
Homework noticing (optional, paper only): at home, notice one everyday object and tell an adult what job it does and what material it is made from. No digital task.
Show your Design Brief to a partner. Say who it is for, name two parts, and name the materials you would use. Listen to your partner's plan too.
Paired share, then two volunteers show the class if time allows.
Partner job: listen, then say one kind thing (I like your wide base) and one curious question (Where will the book rest?). Model one pair share yourself if the class is shy.
Fold the whole class in: when one pair is sharing at the front, ask the others What label did you hear? Which material did they choose? Watching and listening is real participation; do not set a separate desk task.
STEM eyes: makers share plans so other people can understand the idea. A clear drawing plus clear words is how the idea travels.
You're previewing this lesson. Get full access to this lesson and hundreds more — each one ready to teach, with interactive activities, printable resources and pupil progress tracking built in.