Today you will
- open your word processor, which is Word Online or Google Docs
- find six main parts of the screen
- make a file called {{code:03_ribbon_tour}} with a short label for each part
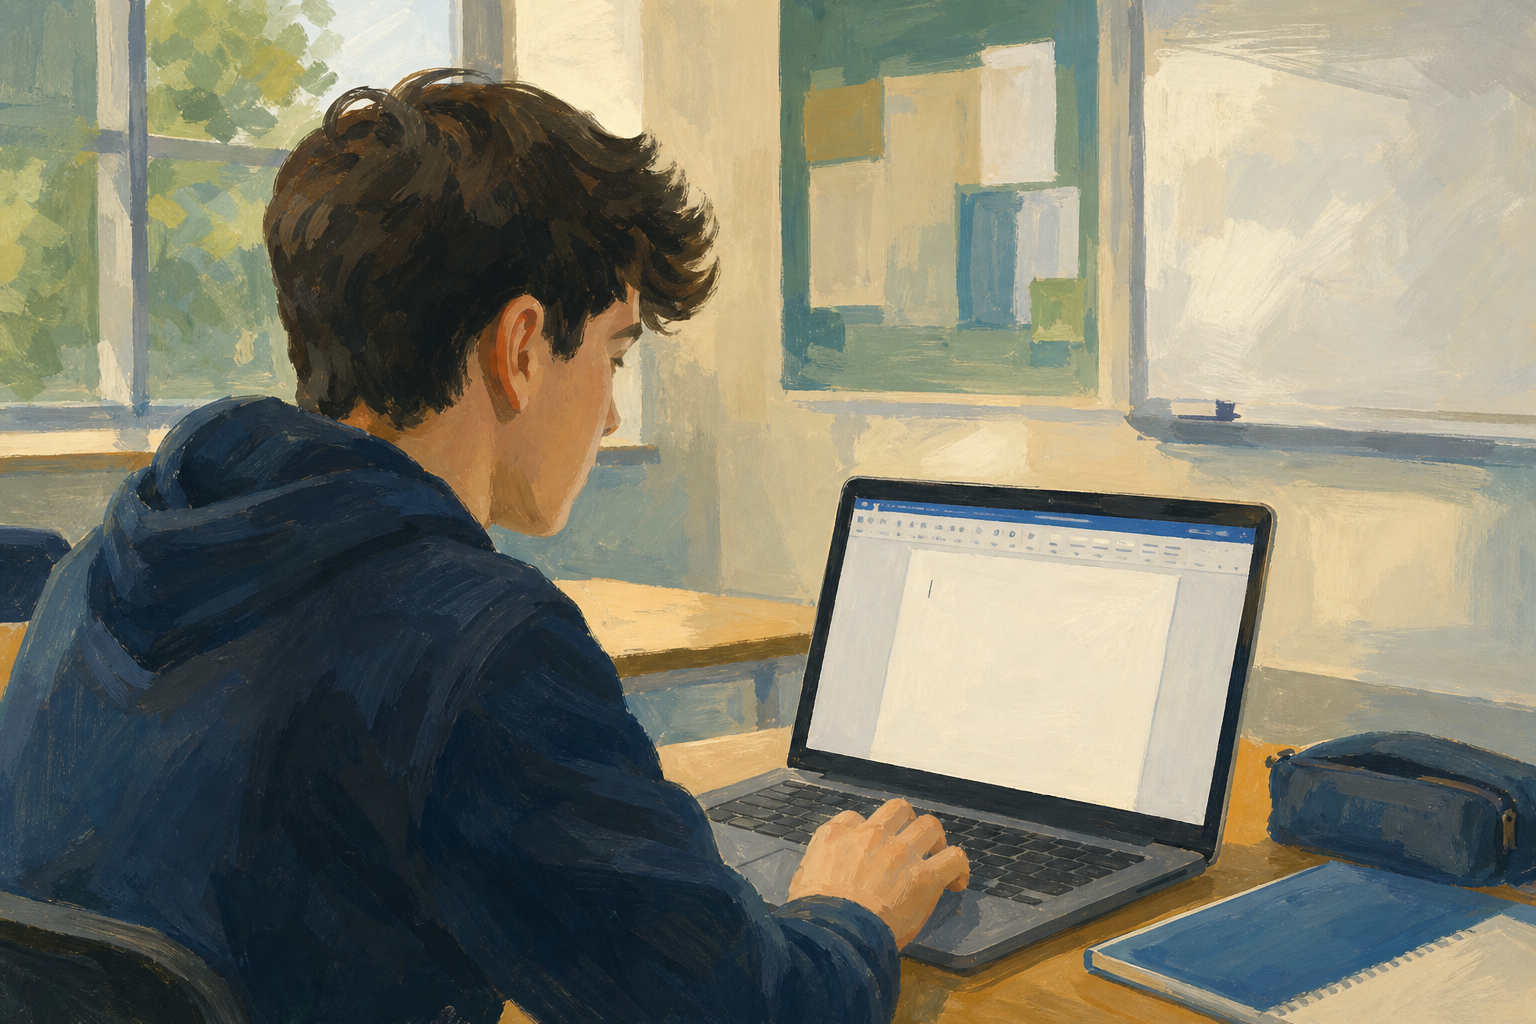 You can use {{code:03_proposal_draft}} from {{code:03_documents}}, or a blank page in {{code:03_documents}}.
Warm-up
Where on the screen would you look to make a word bold?
The ribbon is the strip of tabs and buttons along the top. In Google Docs it is a menu bar with a toolbar underneath.
The insertion point is the blinking line. Whatever you type goes there.
A selection is text you have highlighted. Buttons like bold only change the selected text.
The status bar along the bottom of Word Online shows the page and word count. In Docs, use {{menu:Tools -> Word count}}.
Example label
Insertion point: the blinking line that shows where my next word will go.
You will take a tour of your word processor. Then you will make a new file called {{code:03_ribbon_tour}} and paste a screenshot into it. Watch your teacher first, then follow the steps in the box below.
If screenshots are blocked on your computer, that's fine. You can use a table in the next task instead.
Common issues
- Bold does nothing. Select the text first, then press the button again.
- I am typing in the wrong place. Scrolling does not move the insertion point, so click where you want to type.
- My screenshot will not paste. Click on the {{code:03_ribbon_tour}} page first, then paste again.
- A tab is missing. Make your browser window wider.
Independent Practice
- Open {{code:03_ribbon_tour}} in {{code:03_documents}}. If you don't have it yet, make it there now.
- Paste in a screenshot of your word processor. If screenshots are blocked, add a table with six rows instead.
- Under it, type the six names from the box below.
- Write one short sentence for each part saying what it does.
- Title / document name
- Ribbon tabs or menu bar
- Formatting toolbar or Home group
- Document canvas (page area)
- Insertion point
- Status bar or word count
- {{code:03_ribbon_tour}} is saved in {{code:03_documents}}.
- It has a screenshot or a six-row table.
- All six parts have a one-line label.
- Someone else could find each part from my labels.
Unlock the full learning experience
You're previewing this lesson. Get full access to this lesson and hundreds more — each one ready to teach, with interactive activities, printable resources and pupil progress tracking built in.
This lesson is copyright of Coding Ireland 2017 - 2025. Unauthorised use, copying or distribution is not allowed.