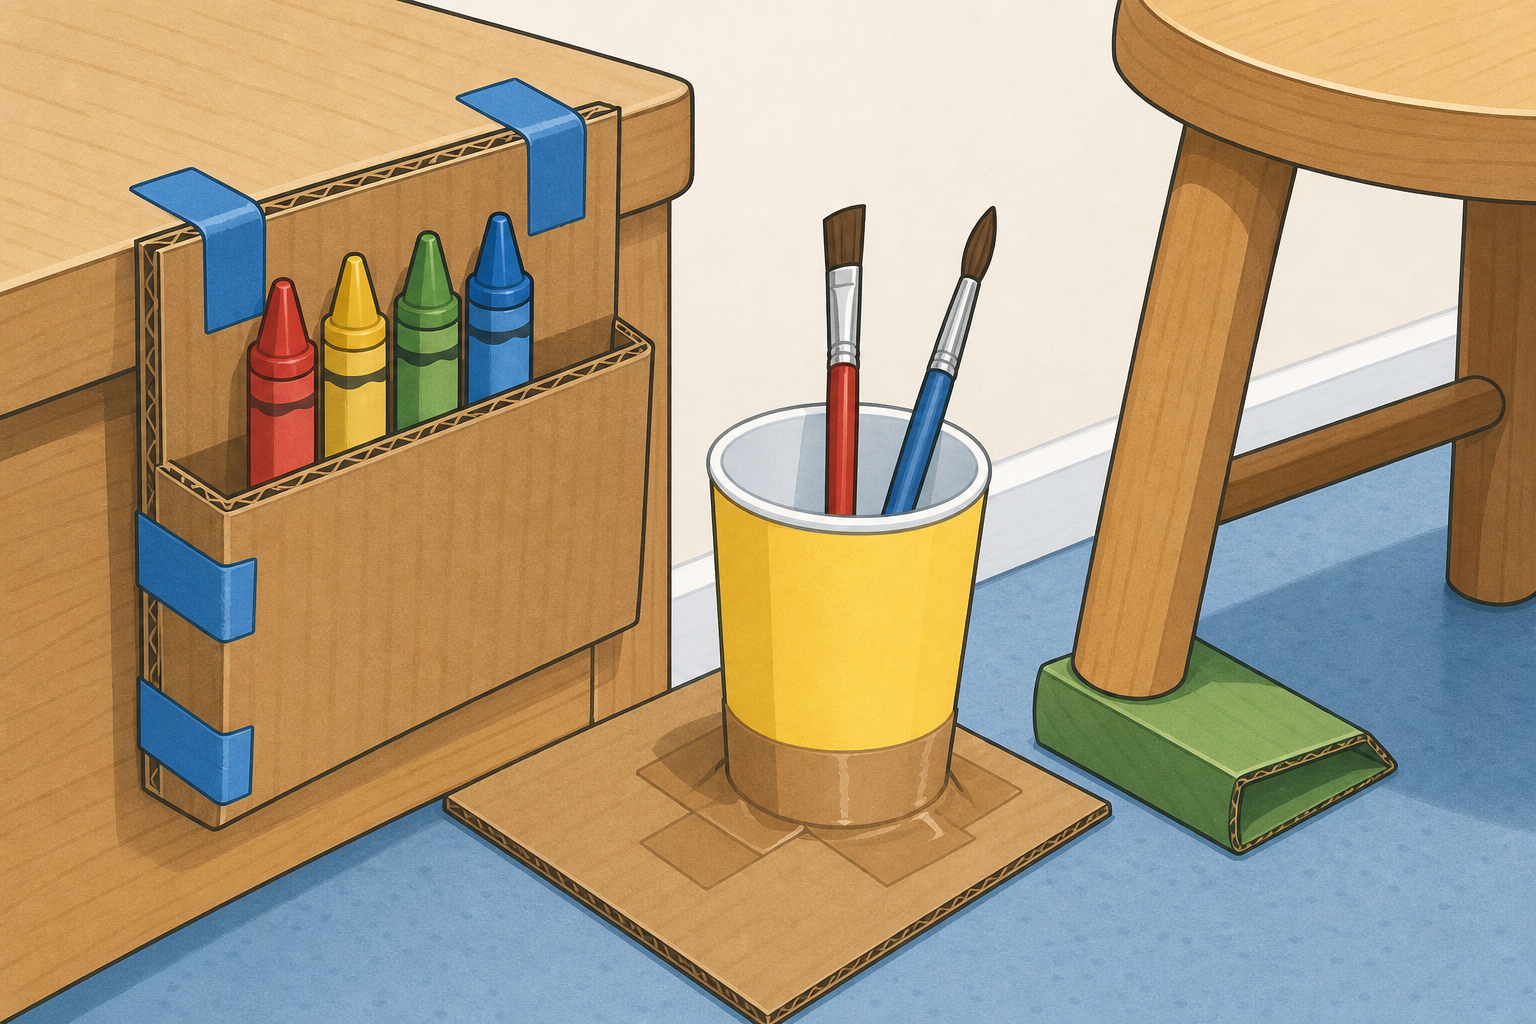
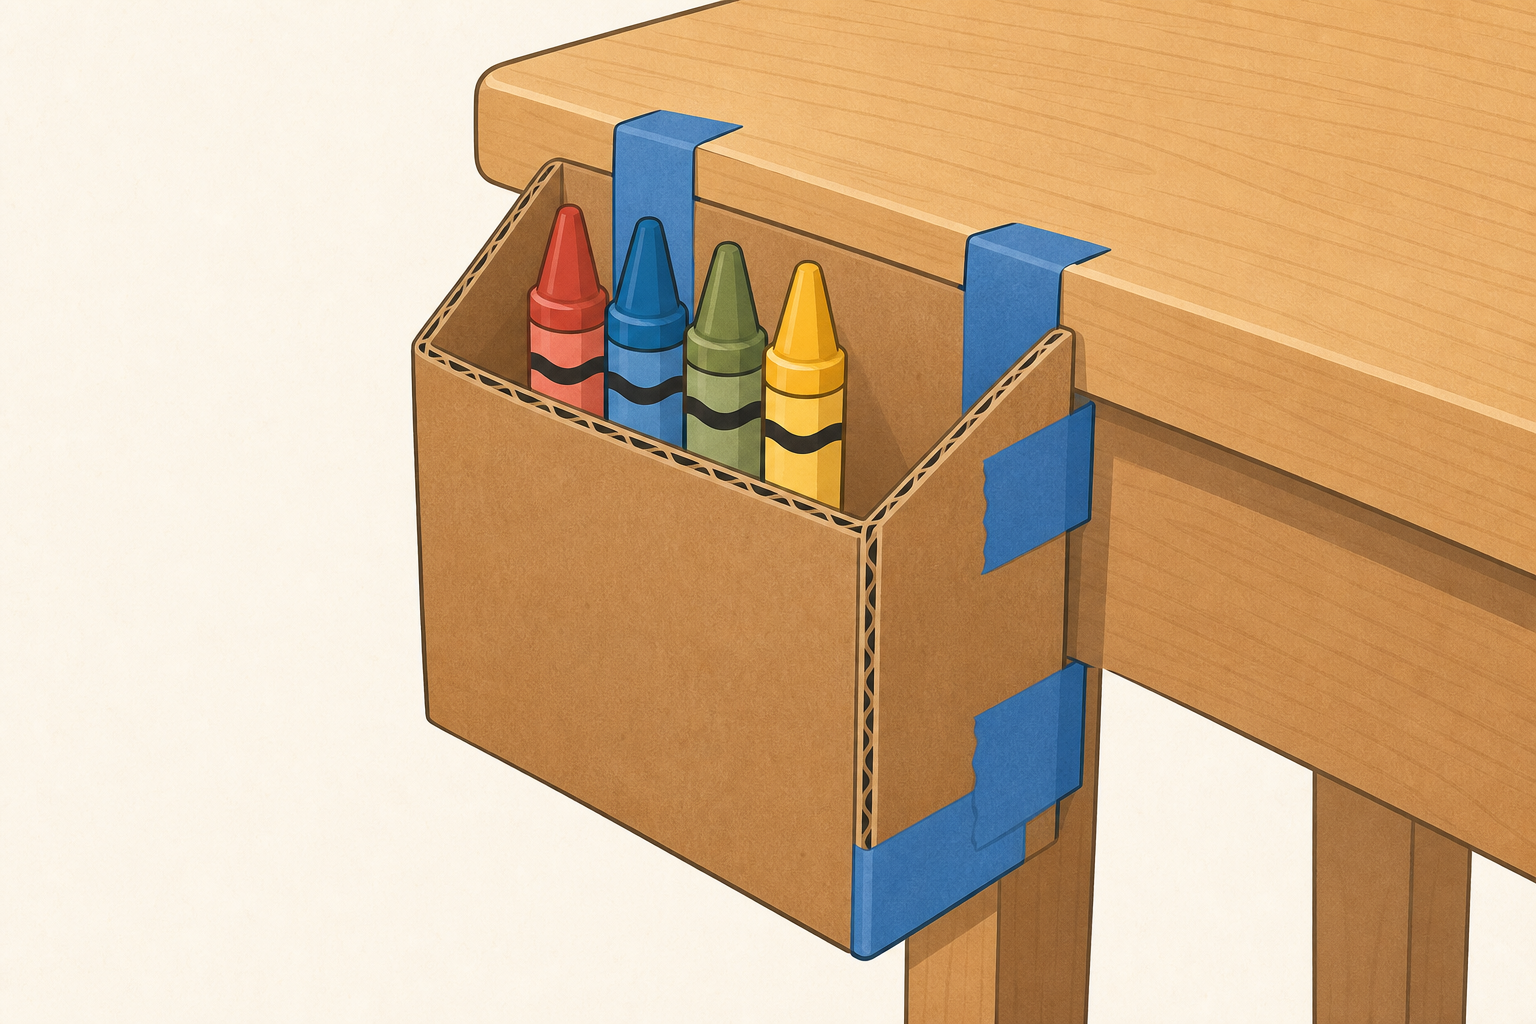
Our helper models are ready. Today we get to show them off like real makers! Maybe yours catches crayons, holds brushes, or stops something tipping. Who was your friend, and what problem were you helping with?
Have every model from earlier in this project ready on tables or a side bench before the lesson starts. Greet the class as makers coming back to finish the project arc, and let a beat of pride land before the questions. Name one familiar project type (crayon catcher, bag hook, tip-stopper) so pupils reconnect after the gap between make and share.
Ask two quick questions only: Who was your friend? and What problem were you helping with? Keep answers short so energy stays high for sharing.
Before the lesson: gather the models pupils made earlier in this project (one model per presenting pair, or per pupil if they built alone); print the Investigation Journal page; clear table spaces so pairs can share in small groups without blocking walkways; write the three share points on the board ready for step 3 (Who it is for / What problem it helps / How it works).
If a model was left at home or is unfinished, pair that pupil with a buddy who has a model so they can still help present and join the kind-comment talk. Keep any labelled photo or drawing substitute with that pair for the journal step later.
Before we show our models, we practise how makers listen. A kind comment names one good thing about the work.
Our starters are: I like how… and That would help because…
Example: I like how the pocket is deep so the crayons do not slide out.
Now your turn. Look at our sample model. With a partner, finish: I like how…
Write the two sentence starters on the board: I like how… and That would help because… Have one sample junk model (or a volunteer pair's model) ready for the class to comment on.
| Concept | Why it matters | Example |
|---|---|---|
| Kind comment — a friendly remark that names one real strength in someone else's work | Makers grow when feedback is specific and kind, not a race to be best | I like how the sides are tall so the crayons stay in |
| Listening like a maker — looking at the speaker and using their idea to think about your own model | Sharing is a two-way job: we show and we learn from one another | Hearing a friend praise a strong base makes you notice your own base |
| Improve — one change you would try next time | Real makers always see a next step; the first model is not the last idea | Next time I would add a wider bottom so it does not tip |
Keep the board light: short meaning line, two starters, one vivid example only. Model that example yourself on the sample model: I like how the pocket is deep so the crayons do not slide out. (Save a second example, such as thick handle for small hands, for your own talk if pairs need another prompt.)
Then give every pair a clear pupil turn: 20–30 seconds to finish I like how… about the sample model. Hear three or four pairs aloud. Ask the class to rephrase a vague comment like "it's nice" into something specific.
Misconception to head off: pupils may think feedback means picking faults. Kind comments name strengths first. "One thing I would change" comes later and is said by the maker about their own work, not shouted at a friend.
Keep this step oral and whole-class. No writing yet.
With your partner, show your model to your table group. Hold it so everyone at the table can see. Tell them three things from the board: who it is for, what problem it helps with, and how it works.
After each pair, one classmate at the table gives one kind comment using I like how… or That would help because…
Share structure (fits a full 1st Class in 15 minutes): do not run every pair through a whole-class conveyor belt. Use small-group share first so every pair gets a real turn and one kind comment, then a short whole-class spotlight.
Differentiation: offer a whisper rehearsal with you first for less confident speakers. Confident pairs may add one material choice and why they picked it.
Safety: carry models with two hands; keep walkways clear; sit models down between turns so nothing topples near faces.
Link to real life: when someone designs a school bag, they try the zip and straps, listen to who will carry it, then make the next bag easier to open.
On your Investigation Journal page, do three things: draw your whole model, mark one part you are proud of, and write or draw one thing you would change next time.
If you still have time, add labels for important parts, like handle, base, or pocket.
Pupils record on the paper Investigation Journal page. They do not type into the platform.
Before they start: on the board, quickly sketch a simple junk-model shape and label two parts (e.g. handle, base). Say: important parts are real pieces of the model, not decoration. Leave those two words visible. Point to the three-part success minimum on the board or say it aloud so the class is not chasing four outcomes.
In-lesson minimum (success for this beat): (1) a whole-model sketch, (2) one part they are proud of marked or labelled, (3) one change noted with words or a drawing. Extra labels are optional stretch if time remains. If the bell is close, stop at that minimum; fuller labels can be finished quietly later the same day if needed, but the journal page is an in-lesson beat, not homework.
Sentence starters on the board: Next time I would… and This helps my friend because…
Circulate and scribe a short phrase for pupils who need support with writing. Praise specific labels (handle, base, pocket) over vague decoration.
No physical model: the pupil draws the buddy model they helped present, or the labelled photo/drawing substitute already gathered. They still mark one proud part and one change (for the buddy model, the change can be something they would try if they built their own next time).
If a pupil finished presenting early in step 3, they may begin drawing as soon as their table has finished sharing.
Think, then tell a partner: one thing I would change about my model. Use this starter: Next time I would… because…
We will hear a few ideas as a class. Makers always see a next step.
This is verbal reflection only. Nothing is typed or saved on screen.
Use think–pair–share: 20 seconds of quiet think, 1 minute with a partner, then three or four volunteers aloud. Revoice answers so the class hears the pattern: change + reason.
What good sounds like: Next time I would make the base wider because it wobbled. Gently redirect empty answers like "make it better" toward one concrete part.
Link back to everyday making: when someone designs a school bag, they try the zip and straps, listen, then make the next bag easier to open. Curtains, lunch bags and classroom helpers improve the same way.
Leave two minutes to tidy models onto a display shelf or into labelled trays so work is celebrated and safe.
You're previewing this lesson. Get full access to this lesson and hundreds more — each one ready to teach, with interactive activities, printable resources and pupil progress tracking built in.