Some boats carry people and things across the water. Today we will make a little boat that stays up on the water and holds things without falling over. Can we do it?
Hold up a small toy boat or a simple foil boat you made earlier if you have one, or show a picture of a boat carrying boxes. Point to the things on the boat and say they are what the boat carries. Show tipping with your hands if you like. Keep the hook light: one question only.
Ask: What does a boat need so it can hold things and stay up on the water? Accept all ideas. In plain words first: stay up on the water, hold things, not fall over. Later you can say float and load as everyday talk, not as words to learn.
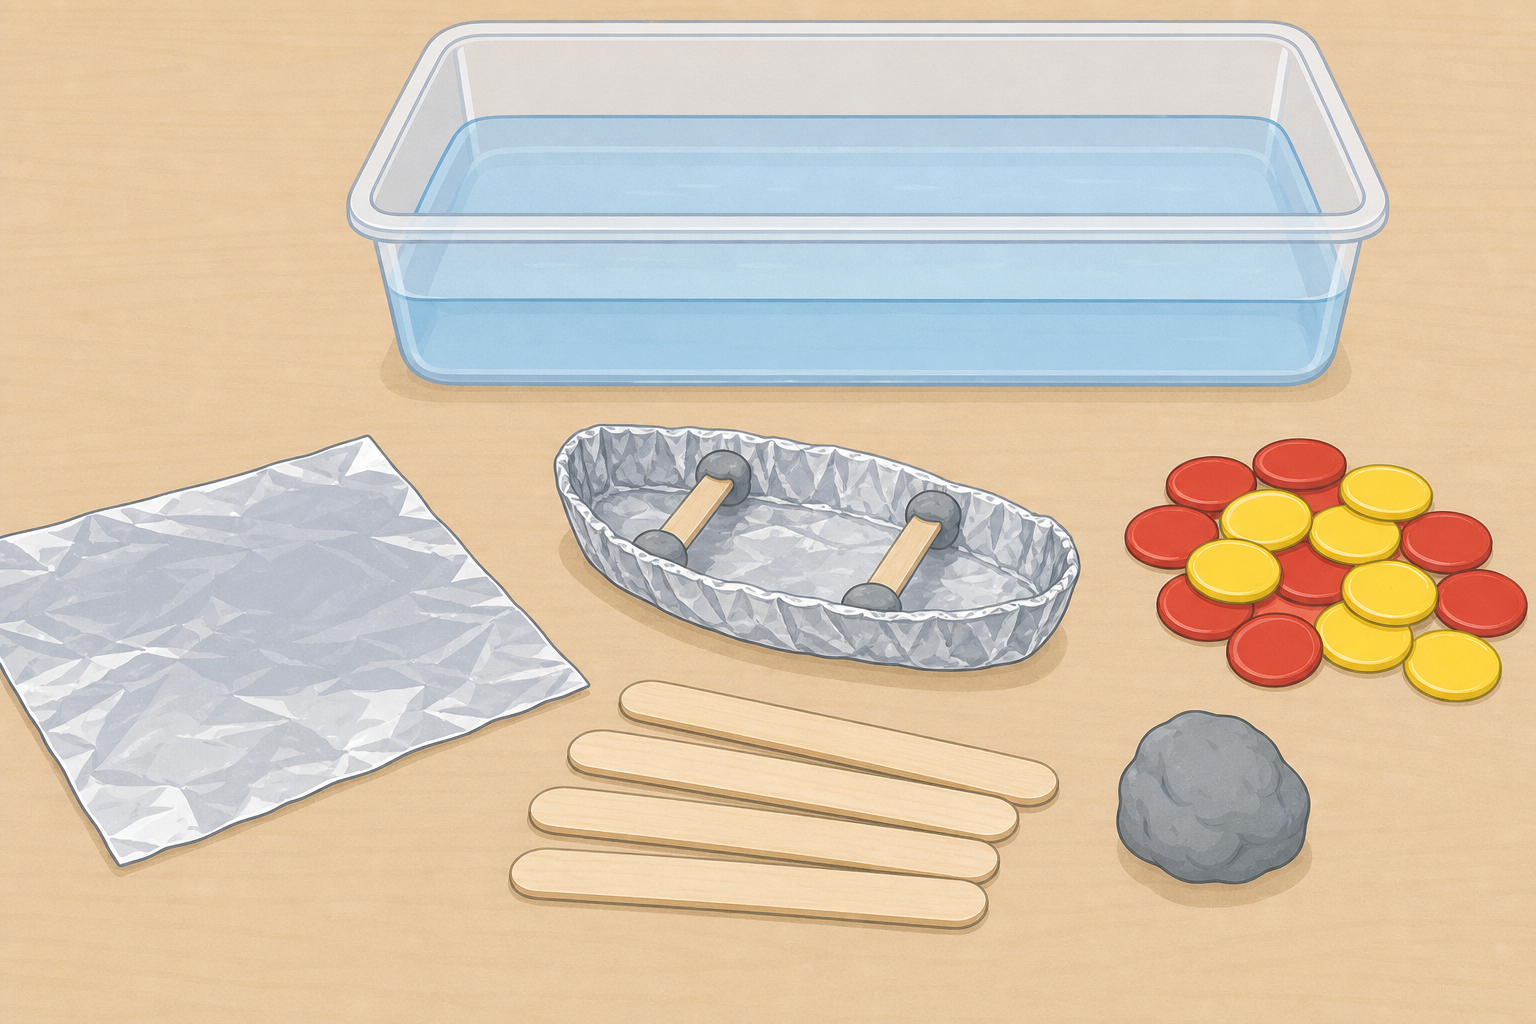
Before the lesson: set out enough shared water trays or basins a few centimetres deep so each pair can get about one minute at the water (typically 3–5 stations for a full class; 2 trays only for a very small class); tear foil sheets roughly A5 size (one per pair); set out lolly sticks, modelling clay, counters and towels at the making tables.
How could we make a boat that stays up on the water and holds counters? Share one idea with your partner. Then we will hear a few together.
| Concept | Why it matters | Example |
|---|---|---|
| Shape — the way the sides and bottom are formed | The shape helps the boat stay up and hold things without tipping | Turning the sides up higher so water stays out |
Board word only: shape. Use float and load as plain spoken words at the tray, not as terms to remember. Keep any spoken definitions very short.
Talk tips: pairs share one idea each (about one minute). Capture two or three ideas on the board in pictures or very short words: flat bottom, high sides, stick for a seat. There is no single right design.
Misconception to head off: children may think bigger always means better. A wide, shallow boat can tip more easily than a neat boat with turned-up sides.
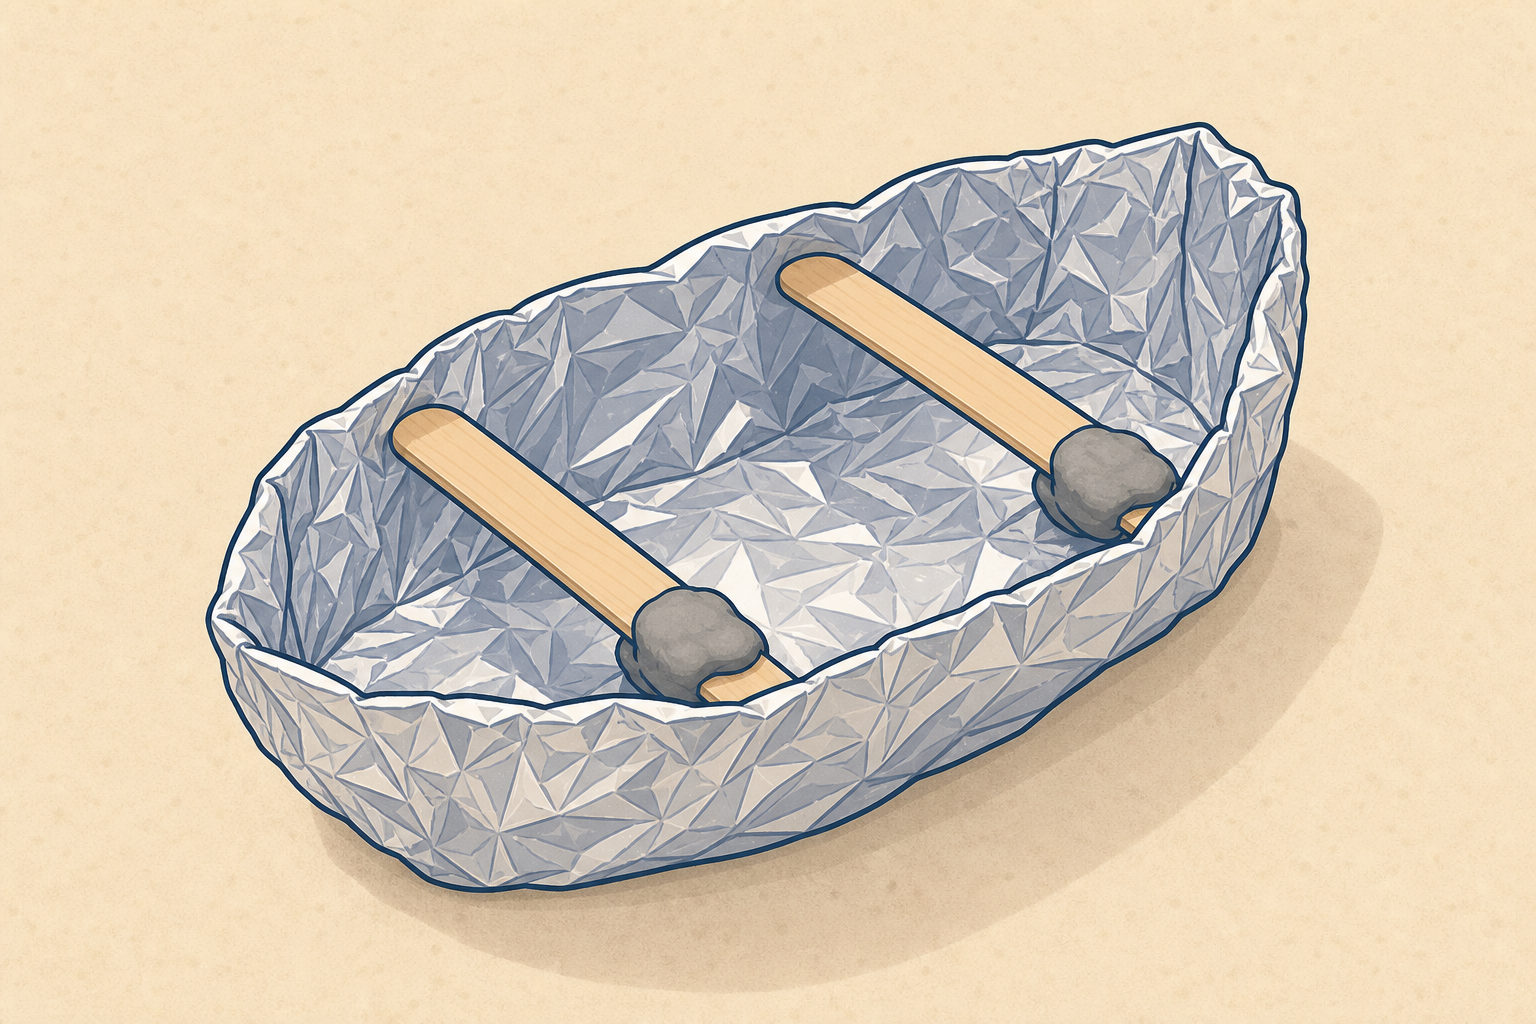
With your partner, make one boat from foil and lolly sticks. You may use a little modelling clay to hold parts together. Remember: sides up, and a space inside for counters.
One boat per pair (shared build). One sheet of foil per boat is enough.
Model first (about two minutes): think aloud while you fold a foil sheet into a simple open boat with turned-up sides. Press a lolly stick across as a seat or brace. Press a pea-sized bit of modelling clay if something needs holding. Say: I wonder if this will stay up on the water. I will try it soon.
Then pairs make at their table. Offer help with folds; do not make the boat for them.
Look-fors: sides turned up (not a flat sheet); a space inside for counters; children talking about shape.
If a boat is just a flat raft: show how to pinch the corners up so water stays out.
Safety: foil edges can be sharp if scrunched hard. Model gentle folding. Modelling clay stays on the table, not near mouths.
We take turns at the water trays.
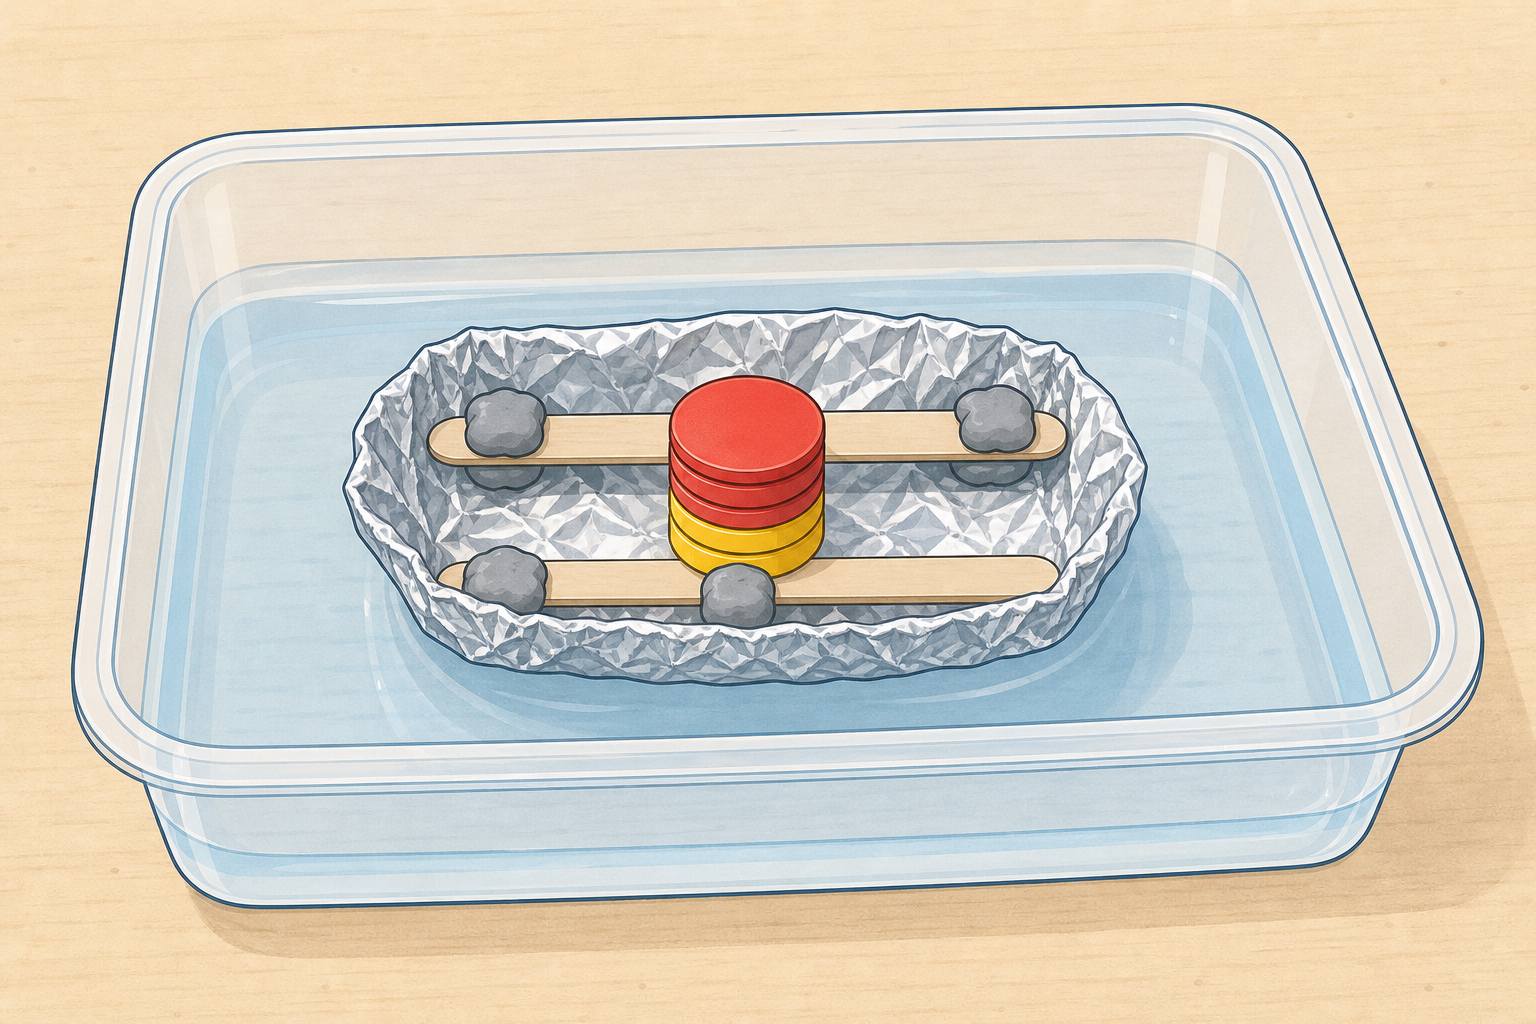
Your turn: put the boat on gently. Add counters one by one in the middle. Stop when it tips or water comes in.
At your tray: watch and count out loud. How many did it hold?
Sleeves up first.
Station model: scale trays to class size so each pair gets about one minute at the water. A typical Senior Infants class needs about 3–5 shared basins (roughly one station per 3–4 pairs). Use 2 trays only for a very small class. Run short rotations so every pair gets one timed float-and-count turn. While one pair tests, the other children at that same tray watch, count aloud, and notice what happens. Keep the queue moving calmly so waiting stays short.
Pacing cue: aim for about 1 minute per pair at the water (place, add, count, lift out) so rotations finish inside the 6-minute slot.
Worked cycle to model once at the class tray before rotations begin:
Memory hook for the first count (no journal page): as each pair leaves the tray, say their first number out loud once with the station group. Have the pair put that many counters in a little pile on their towel beside the boat. Those counters stay with the boat until show-and-tell so both numbers are still available later.
During play: ask How many so far? and Where are you putting the counters? Counters in the middle usually work better than stacked at one end. Fold watchers in: Do you think one more will stay up? What do you notice?
Wipe spills straight away. Keep counting oral only; there is no Investigation Journal page for this lesson.
Dry your boat on a towel at your table. Change the shape once: turn the sides up higher.
Then take turns at the water trays again for a quick try. What do you notice?
Keep this to one quick change so the lesson stays calm: the default on the board is turn the sides up higher. Dry and reshape at tables first, before the queue reforms at the water. This is one fold change and a quick re-count only, not a full rebuild.
Optional teacher prompts only (do not list as a menu for children): a slightly wider bottom, or placing counters more carefully in the middle, if a pair already has high sides and needs a next idea.
Retest: same station model as step 4 (trays scaled to class size; short rotations). One quick re-float and count per pair is enough. Ask: Did it hold more, fewer, or the same? An unexpected result is useful: say so out loud.
Second-count memory hook: as each pair leaves the tray, say the new number once and have them put that many counters in a second little pile on their towel (keep the first pile separate). Both piles stay with the boat for show-and-tell.
Observation focus: children should be able to point to the higher sides and say one thing they noticed (more counters, tipped sooner, stayed drier).
Nature of STEM: boat-builders change the shape on purpose so boats stay up and hold things. We did a little bit of that work today.
You're previewing this lesson. Get full access to this lesson and hundreds more — each one ready to teach, with interactive activities, printable resources and pupil progress tracking built in.