1 - Introduction ~5 mins
Welcome
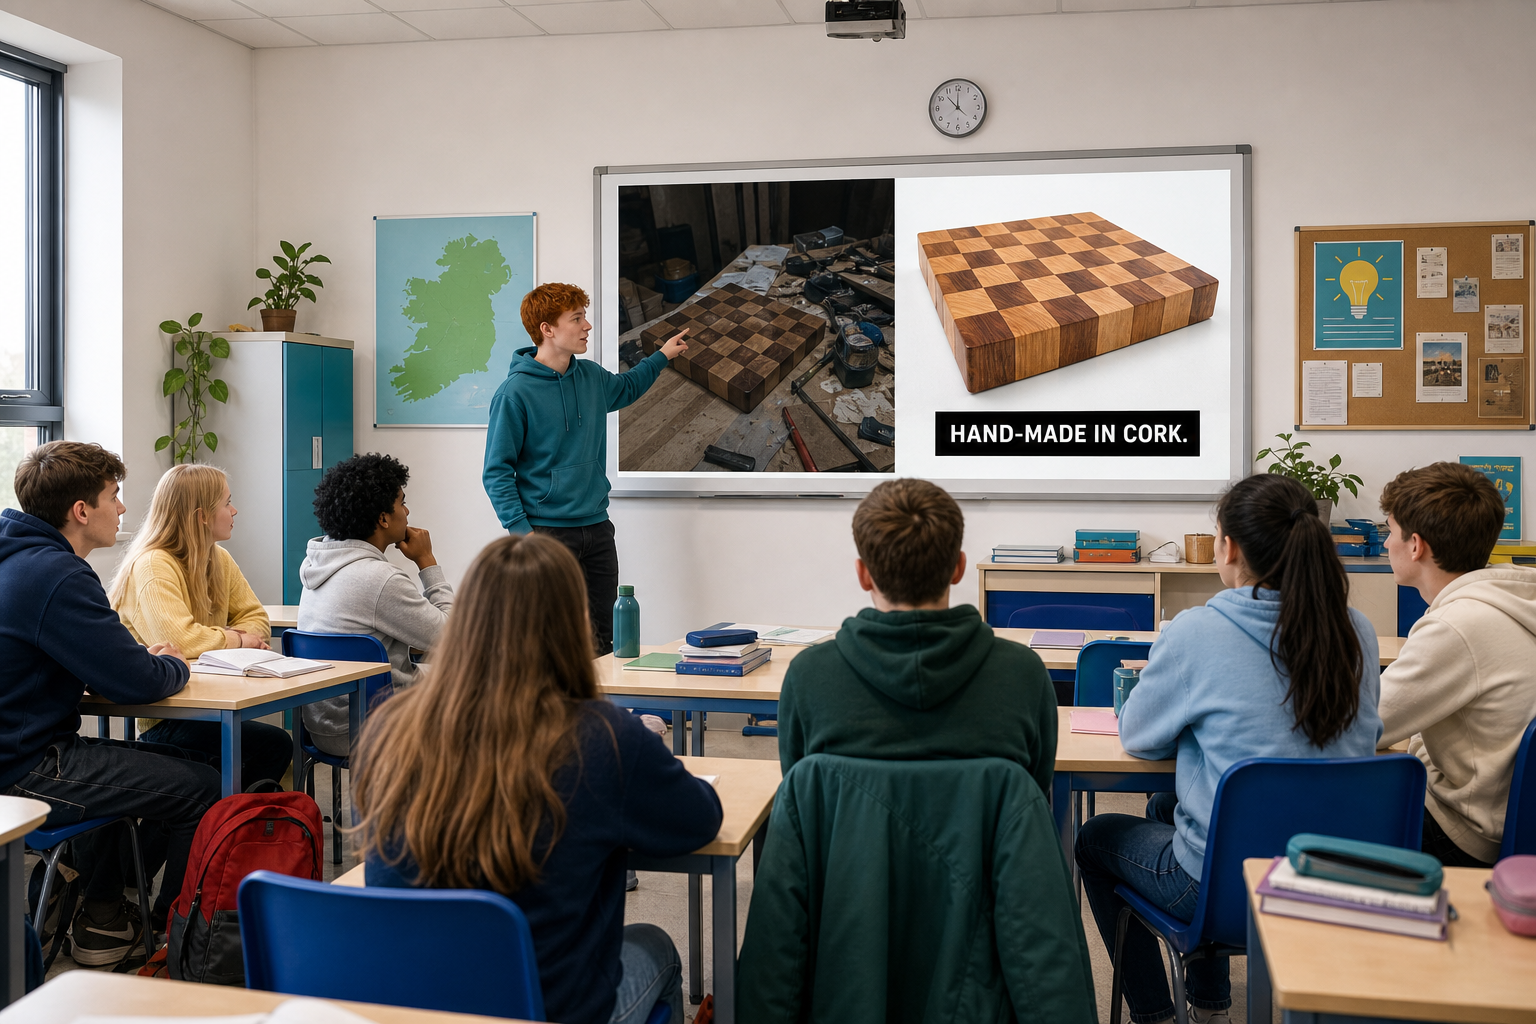 Raw project photos rarely look ready for a pitch slide or flyer. Today you use Canva — a free tool people open at work and college right now — to make a few high-impact edits, then save a cleaner version next to the original so your Key Assignment promotional document (ICT2 KA3) has a stronger image to build on.
By the end of this lesson, you will be able to:
- Crop and brighten a project photo so the subject is clearer
- Add a short promo text overlay in Canva
- Choose JPG or PNG for the job
- Save {{code:08_edited_image.jpg}} (or {{code:.png}} only if needed) beside the original in {{code:08_promo}}
Warm-up
Think of one photo you might use in a promo. What is the single most distracting thing in the frame: cluttered background, dark lighting, or too much empty space?
2 - Key Concepts ~5 mins
Image editing is not about fancy filters. It is about making one photo do a job: grab attention, look professional, and fit the surface where it will appear (pitch slide, flyer, noticeboard printout).
| Concept | Why it matters | Example |
|---|---|---|
| Crop, brightness, text — the three edits that fix most phone photos quickly | Most weak promo photos are composition or light problems, not camera problems | Crop a GAA kit shot so the crest fills the frame, lift brightness, add Open Saturday |
| Canva (design-led) — start from a canvas, drop in a photo, add words | Fast when you need a promo-ready graphic with text on the image | Work Experience café photo with a clean text strip: Saturday brunch specials |
| JPG vs PNG — JPG for real-life photos; PNG for transparency or sharp logos | Wrong format means a huge file or a fuzzy logo on a promo | Café photo → JPG; logo with background removed → PNG |
Worked example (listen while your teacher shows it)
Aoife is pitching custom phone cases. Her phone photo shows the case on a cluttered desk. In Canva she crops tight to the case, brightens slightly, adds Hand-printed in Galway, and downloads a JPG. Both the original and the edit land in her {{code:08_promo}} folder.
3 - Step-by-step Task ~15 mins
Today’s guided path is Canva only. Follow the walkthrough for your device. Use the class file {{code:practice_product_shot.jpg}} from the shared class folder (or another clear practice photo your teacher names). Your own Something Real image comes in the Portfolio Build — do not use the practice file as your KA evidence.
You will: open a square design, upload the practice photo, crop, lift brightness if needed, add a short text overlay, download as JPG, and put the practice file in {{code:08_promo}}.
4 - Common Issues ~4 mins
Common Issues
| Issue | Solution |
|---|---|
| Canva will not let me download, or the button is greyed out | Check you are downloading a simple JPG of your own upload, not a locked premium template element. Sign in, wait for the design to finish saving, then try {{btn:Share}} → {{btn:Download}} again. If school blocking is the problem, ask your teacher to switch you to the Photopea fallback path. |
| My edited file looks blurry or huge | This catches everyone once. Blurry often means the original was tiny and got stretched — start again from the original phone photo rather than re-exporting the soft version. Huge files often mean you exported a giant PNG of a normal photo. Use JPG for ordinary photos; keep PNG for logos or transparent backgrounds. |
| My text is hard to read on the photo | Use a high-contrast colour, make the words larger, or place them on a cleaner part of the image. Three to six words beat a full sentence. |
| Extension only: I wanted a see-through background but got a white box | That usually means the file was saved as JPG. JPG cannot store transparency. If you try a transparent cut-out later as stretch work, export again as PNG and check for the chequered background in the editor before you download. Not required for today’s success criteria. |
5 - Portfolio Build ~20 mins
Portfolio Build
Your real photo will not look as tidy as the practice shot — that is normal. One clear improvement beats five tiny tweaks. If the edit goes wrong, close the design and start again from the original; you are not stuck with it.
Quick checklist:
- Open {{code:08_promo}}
- Pick one real project photo (not {{code:practice_*}})
- Canva: same path (crop → brightness if needed → optional short text)
- Download the correct format (JPG for a normal photo)
- Save as {{code:08_edited_image.jpg}} (or {{code:08_edited_image.png}} only for transparency) beside the original
Support path: crop and brightness only is enough — skip the text overlay if you need to, and still save {{code:08_edited_image.jpg}}.
- File is named {{code:08_edited_image.jpg}} (or {{code:08_edited_image.png}} only for transparency or a sharp logo) and sits beside the original in {{code:08_promo}}
- The edited version shows at least one clear improvement you can point to in five seconds (tighter crop, brightness lift, or short text overlay)
- The image is ready to drop into a pitch slide or promotional layout without obvious clutter or darkness fighting the message
Unlock the full learning experience
You're previewing this lesson. Get full access to this lesson and hundreds more — each one ready to teach, with interactive activities, printable resources and pupil progress tracking built in.
This lesson is copyright of Coding Ireland 2017 - 2025. Unauthorised use, copying or distribution is not allowed.