Intermediate
60 mins
Teacher/Student led
+65 XP

Gridlines and Print Area Selection

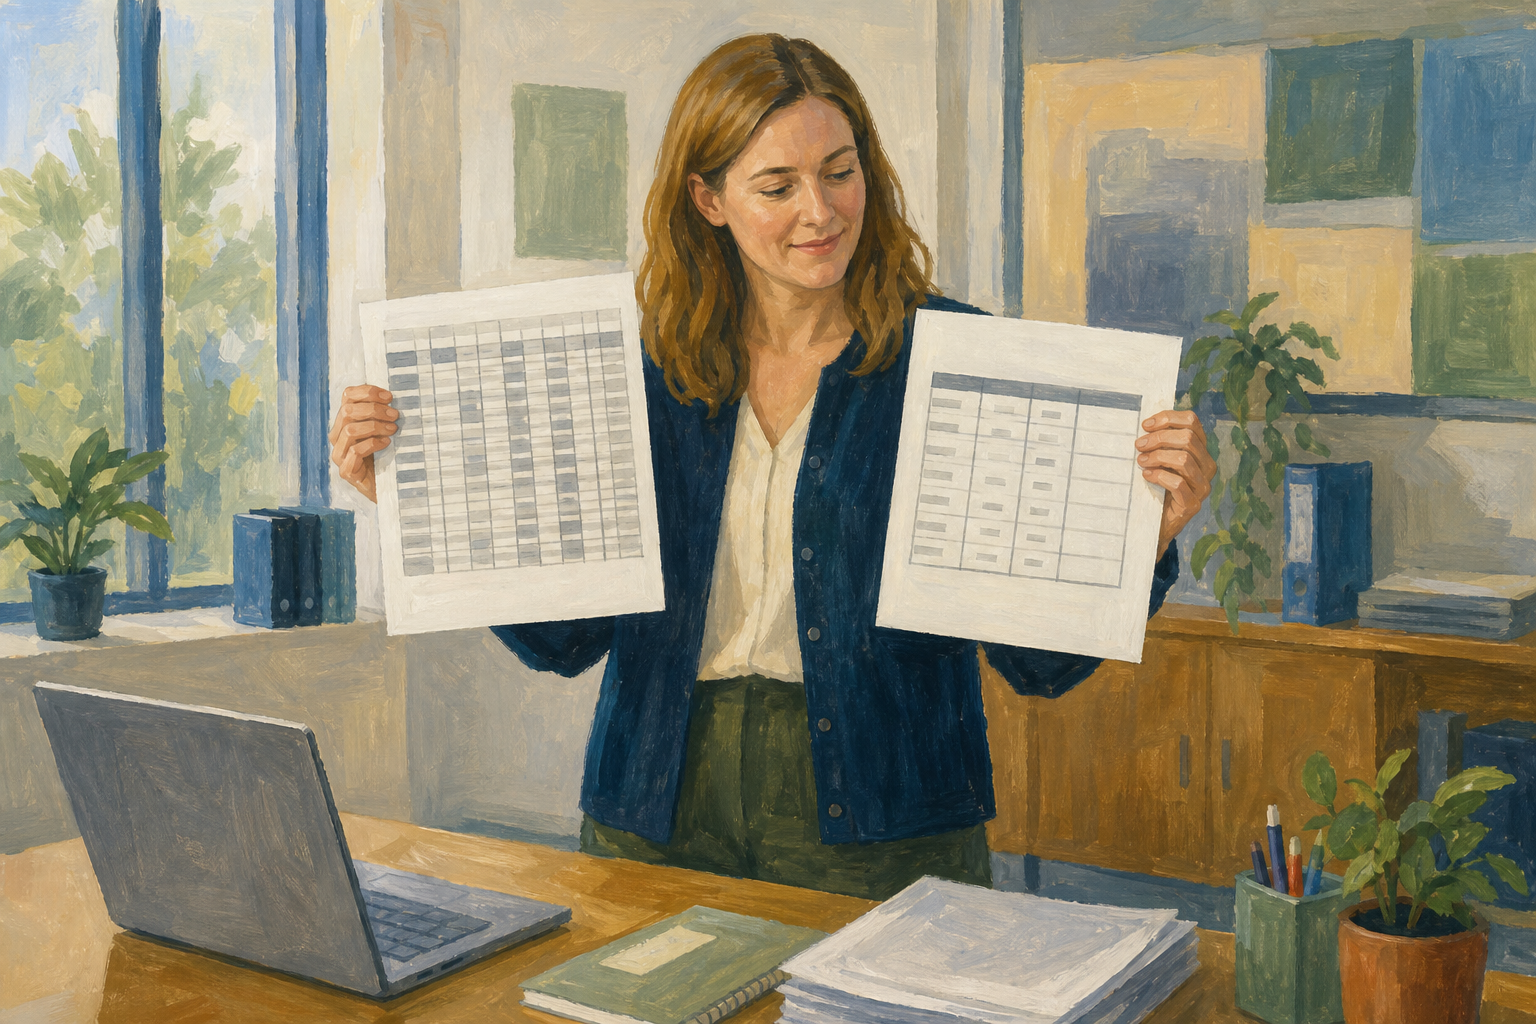
Students learn to manage what prints from a spreadsheet. They toggle gridlines and set print areas to hide working cells, then save a print-ready PDF for a real reader such as a supervisor.

Teacher Class Feed

Load previous activity

    1 - Introduction ~5 mins

    Welcome

    Building on page setup: a spreadsheet that looks tidy on screen can still print as a mess, with intermediate calculation columns, scratch totals, and gridlines that clutter every cell. Today you take control of what leaves the page, so a supervisor, examiner, or community contact only sees the finished story.

    By the end of this lesson, you will be able to:

    • Toggle gridlines on screen versus on the printed page
    • Set and clear a print area to exclude working cells
    • Apply a clear print area on a portfolio spreadsheet and save a print-ready PDF

    Warm-up

    Look at the hours-log example on the board (Date, Start, End, Hours, plus a working Check column). Which columns are for you (working maths, checks, notes) and which should a real reader see on paper or in a PDF? If you already have a spreadsheet for your Something Real project, you can answer with that sheet instead.

    2 - Key Concepts ~5 mins

    Key point

    Print control is two switches that work independently: what you see while editing, and what a printer or PDF includes. Turning gridlines off on screen does not remove them from print.

    Worked example

    Worked example: hours log for a local placement. Columns A–D are the public record. Column E is working only. The print range is {{range:A1:D4}}, and print gridlines are off so the PDF looks finished.

    ABCDE (working only)
    DateStartEndHoursCheck
    03/03/202609:0013:004.0OK
    04/03/202609:0017:008.0OK
    05/03/202610:0014:304.5OK
    • On-screen gridlines help you navigate while you edit; switch them under View.
    • Print gridlines are chosen later in File → Print so the paper or PDF matches the reader.
    • Print area / Selected cells limits the page to the public range (here {{range:A1:D4}}) and leaves working columns in the file but off the page. Clear or reselect when the sheet grows.

    3 - Step-by-step Task ~18 mins

    Follow the steps for your spreadsheet app to toggle gridlines, set a print area that excludes working cells, check print preview, and leave the public range ready. Use the sample hours log (or a matching practice sheet your teacher provides). Name the practice file {{code:hours_log_print_practice}} inside {{code:09_specialism/sm3/}}.

    4 - Common Issues ~3 mins

    Common Issues

    IssueSolution
    I turned gridlines off on screen, but they still appear in print previewOn-screen gridlines and print gridlines are separate. In Excel for the web use {{menu:File -> Print}} and the print gridlines option in print settings. In Google Sheets use {{btn:Show gridlines}} inside {{menu:File -> Print}}.
    My print area still includes the working columnClear the print area (Excel) or cancel the print dialog (Sheets), select only the public range including headings, then set the print area or choose {{btn:Selected cells}} again. Confirm in preview before you export.
    Print preview is blank or shows the wrong sheetClick once inside the sheet that holds your data, check you are not on an empty sheet tab, then open print preview again. If a print area was set on the wrong range, clear it and reset to {{range:A1:D4}} (or your public range).
    I cannot find Print Area in Google SheetsGoogle Sheets does not use an Excel-style Print Area button. Select the cells, open {{menu:File -> Print}}, open the range dropdown (usually {{btn:Current sheet}}), and choose {{btn:Selected cells}} each time you export. Save a PDF as your lasting evidence.

    5 - Independent Practice ~20 mins

    Independent Practice

    Your goal: Make one real portfolio spreadsheet print-ready for a genuine reader by excluding working cells, choosing gridlines on purpose, and saving a clear PDF proof your teacher can bank for your Practical Achievement Task.
    Time: ~20 minutes
    Task: Open your {{code:Project_Portfolio}} folder, go to {{code:09_specialism/sm3/}}, and open one spreadsheet tied to your Something Real project. If your sheet has no working column yet, insert a Notes or Check column, keep it in the file for yourself, and leave it out of the print range. If you do not have a multi-column Something Real sheet yet, use {{code:hours_log_print_practice}} from the guided steps and treat it as your reader-facing log. Before you click: (1) pick the public range including headings, (2) set print area (Excel) or Selected cells (Sheets), (3) choose print gridlines for a named reader and check preview. Then export or download a PDF of that public preview into {{code:09_specialism/sm3/}} and name it exactly {{code:09_print_ready_preview_v1}}. Excel users should also leave the print area set on the sheet. Sheets users should remember the range is chosen each export (a short cell note such as Public print = A1:D… helps).
    Success criteria:
    • {{code:09_print_ready_preview_v1}} PDF shows only the public range; working or intermediate cells are excluded
    • Headings for the public columns are included in the printed region
    • Print gridlines are clearly on or clearly off for a reason that fits a named reader (supervisor, examiner, club treasurer, customer)
    • PDF is saved in {{code:09_specialism/sm3/}} with the exact name {{code:09_print_ready_preview_v1}}; Excel also keeps print area set to the public range; Sheets users can reopen Print, choose Selected cells on the same range, and match the same preview
    123learn · Online learning platform

    Unlock the full learning experience

    You're previewing this lesson. Get full access to this lesson and hundreds more — each one ready to teach, with interactive activities, printable resources and pupil progress tracking built in.

    Hundreds of curriculum-aligned lessons
    Interactive activities in every lesson
    Printable resources & progress tracking
    Copyright Notice
    This lesson is copyright of Coding Ireland 2017 - 2025. Unauthorised use, copying or distribution is not allowed.
    🍪 Our website uses cookies to make your browsing experience better. By using our website you agree to our use of cookies. Learn more