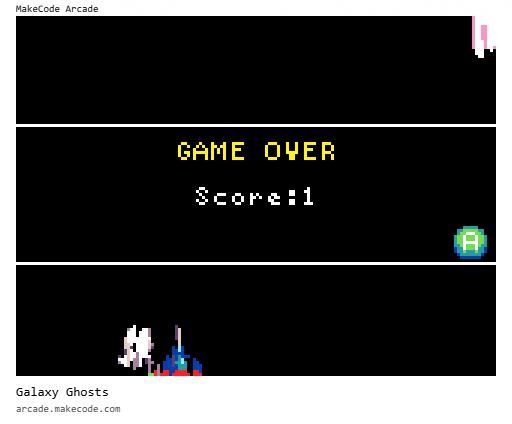
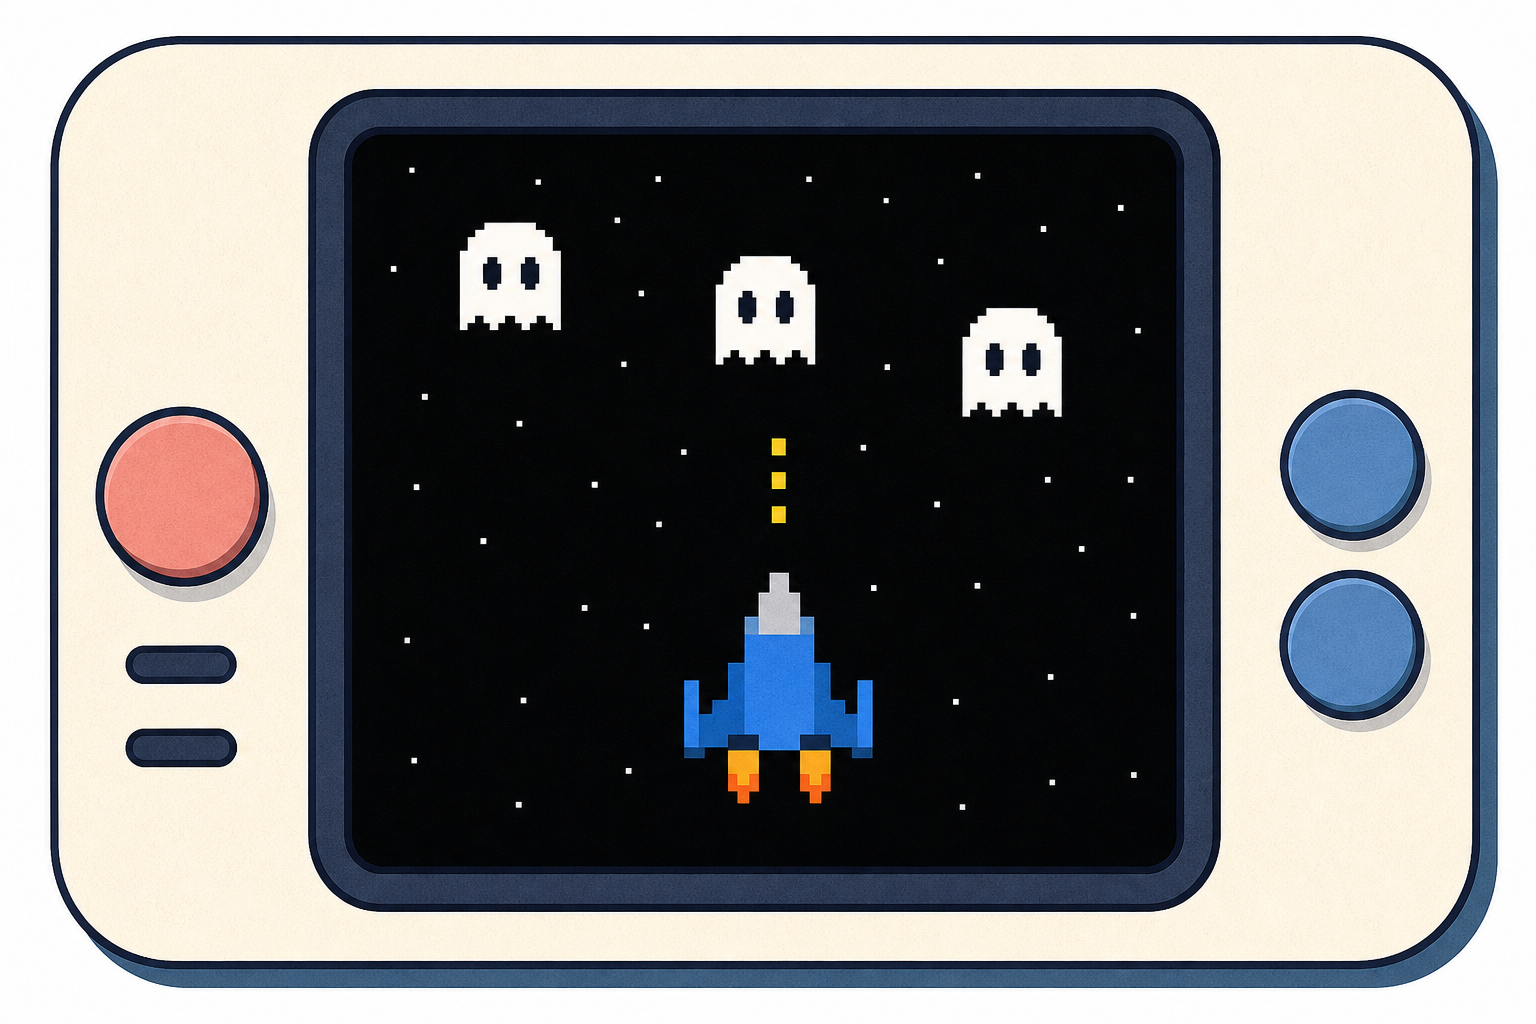
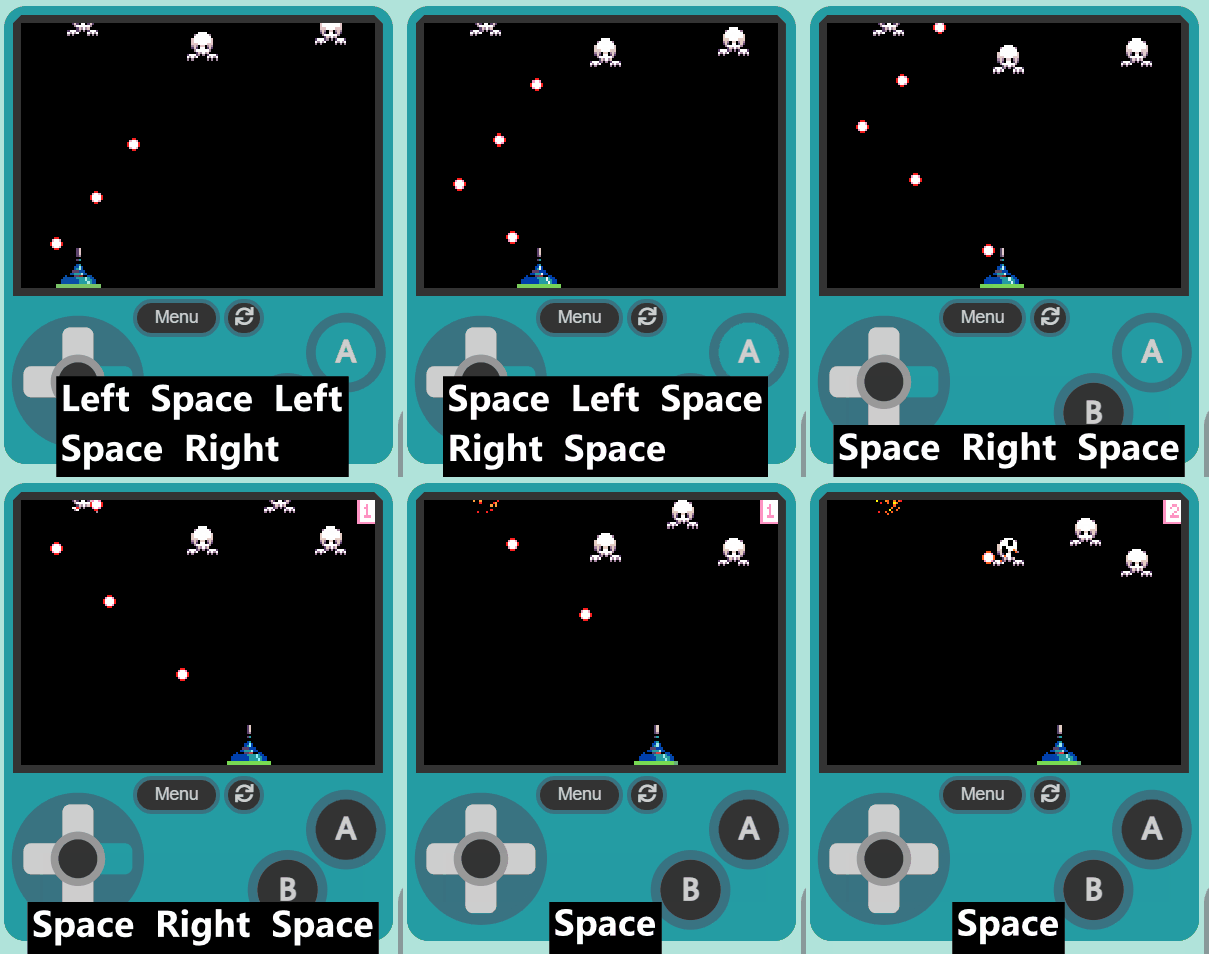
Game designers rarely finish a game in one go — they build a piece, test it, find what breaks and fix it. Today you become the finishers: you'll complete Galaxy Ghosts, run it the way real programmers do, and check it against the plan you made at the start. Open the project you saved earlier and watch the board as we model each new piece, then try it on your own device.
Settle the class and have each pair reopen the project they saved earlier — this is the reopen routine for the final part. Ask: <em>What does your game already do, and what's left on your plan?</em> Model the first new step on the IWB before pairs work. Circulate to check everyone has the correct saved file open before building.
Welcome to the Galaxy Ghosts lesson! In this lesson, we will be using MakeCode Arcade to create an exciting space-themed game. You will learn how to create and control a player sprite, generate enemy sprites, and program interactions between them. By the end of this lesson, you will have a fully functional game where your player sprite can shoot at the enemy sprites and earn points. Let's get started!
Read the overview aloud so pairs know today is about finishing and testing, not starting fresh. Key question: <em>Which features from this list are already in your game?</em> Keep it brief and move to the build.
Open the MakeCode Arcade website using the link below and create a new project. You can call the project whatever you want.
Create a new Arcade project using the makecode.com website.
Most pairs will already have their project open from earlier, so this is a safety net for anyone who lost work. Show the class link on the IWB. Watch for pupils accidentally creating a duplicate new project instead of reopening — check before they start adding blocks.
First let's create our player sprite.
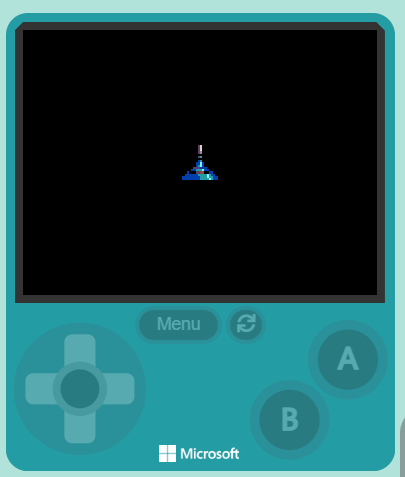
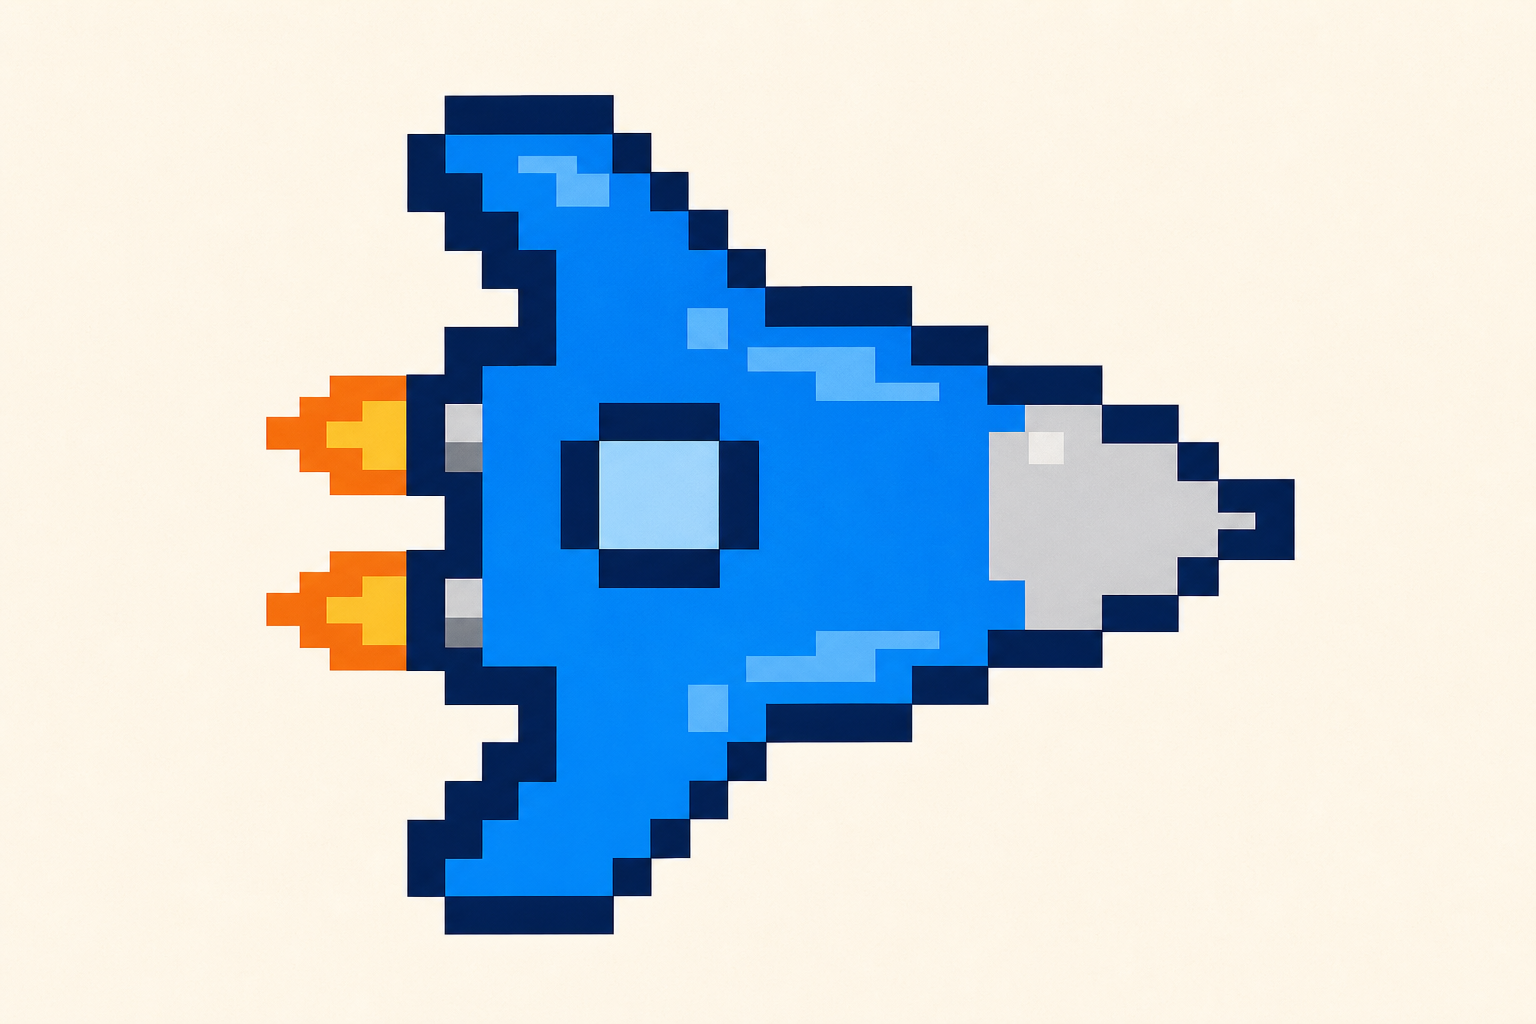
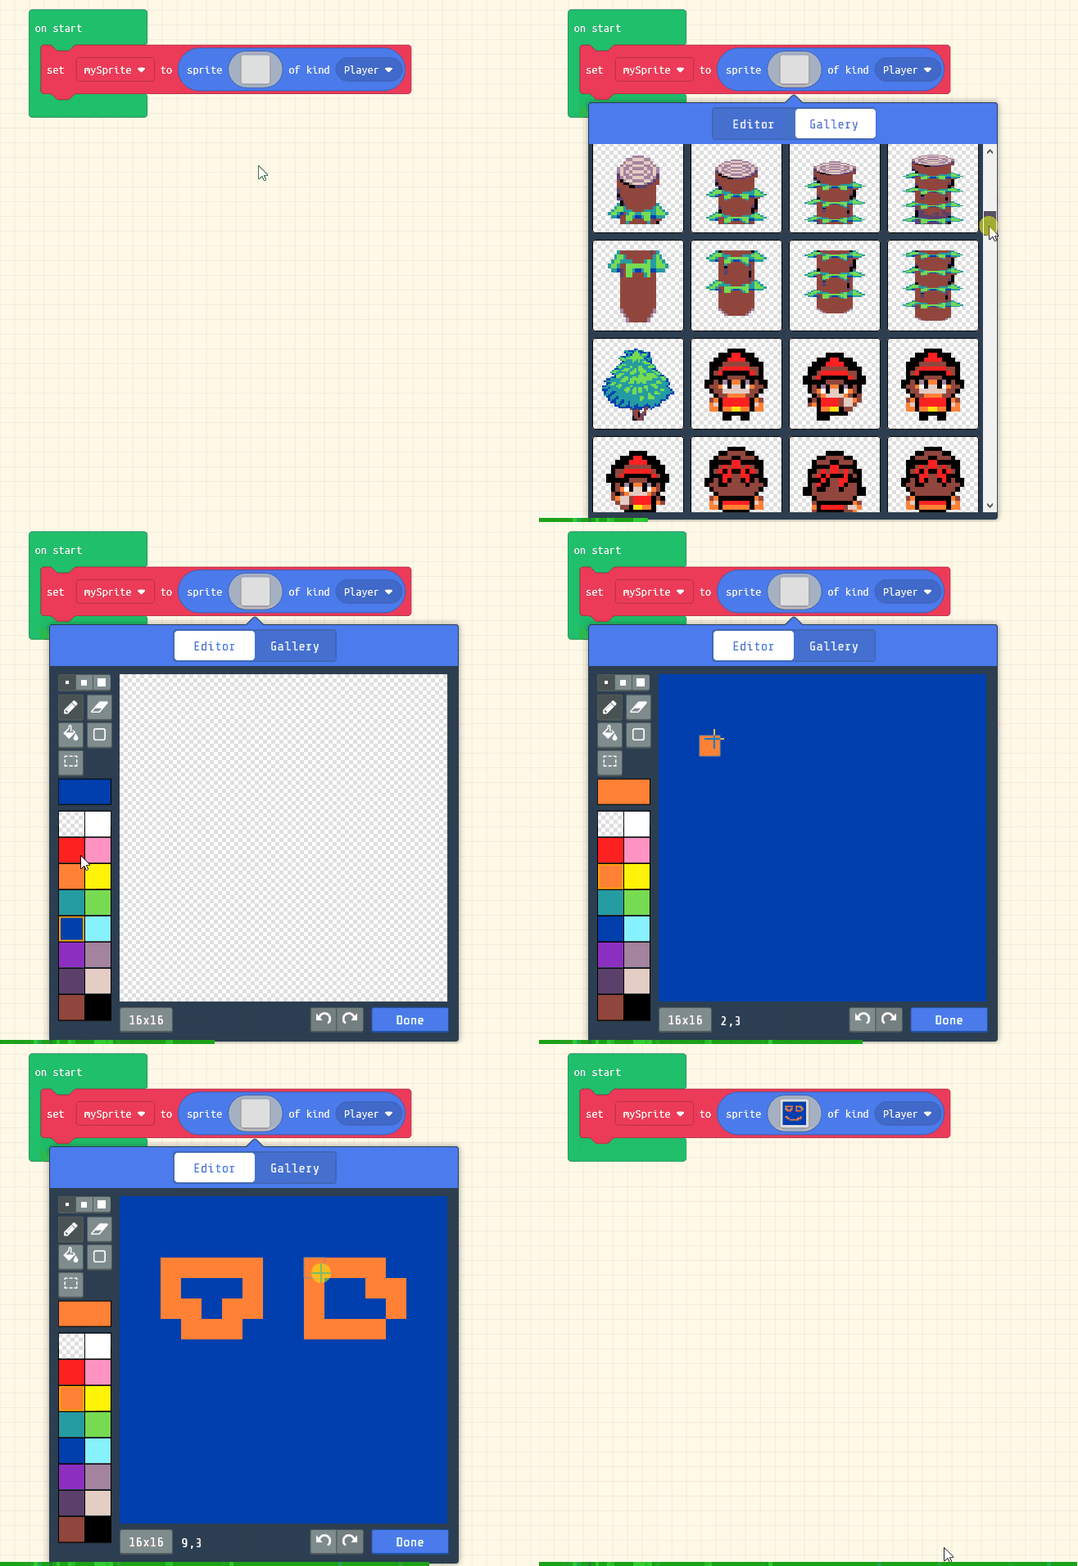
Add the following code and choose the blue space ship sprite:
let mySprite: Sprite = null
mySprite = sprites.create(img`
. . . . . . . c d . . . . . . .
. . . . . . . c b . . . . . . .
. . . . . . . f f . . . . . . .
. . . . . . . c 6 . . . . . . .
. . . . . . . f f . . . . . . .
. . . . . . . 8 6 . . . . . . .
. . . . . . 8 8 9 8 . . . . . .
. . . . . . 8 6 9 8 . . . . . .
. . . . . c c c 8 8 8 . . . . .
. . . . 8 8 6 6 6 9 8 8 . . . .
. . 8 f f f c c e e f f 8 8 . .
. 8 8 8 8 8 8 6 6 6 6 9 6 8 8 .
8 8 8 8 8 8 8 8 6 6 6 9 6 6 8 8
8 8 8 8 8 8 8 8 6 6 6 6 9 6 8 8
`, SpriteKind.Player)
Click on the gray box in the sprite block to open the Editor. You can choose a sprite from the Gallery or you can paint your own sprite using the Editor.
Model adding the player sprite on the IWB and choose the ship together. Ask pairs to run it and confirm the ship appears. Common issue: pupils skip choosing the sprite image and end up with a blank sprite — pause and select it together.
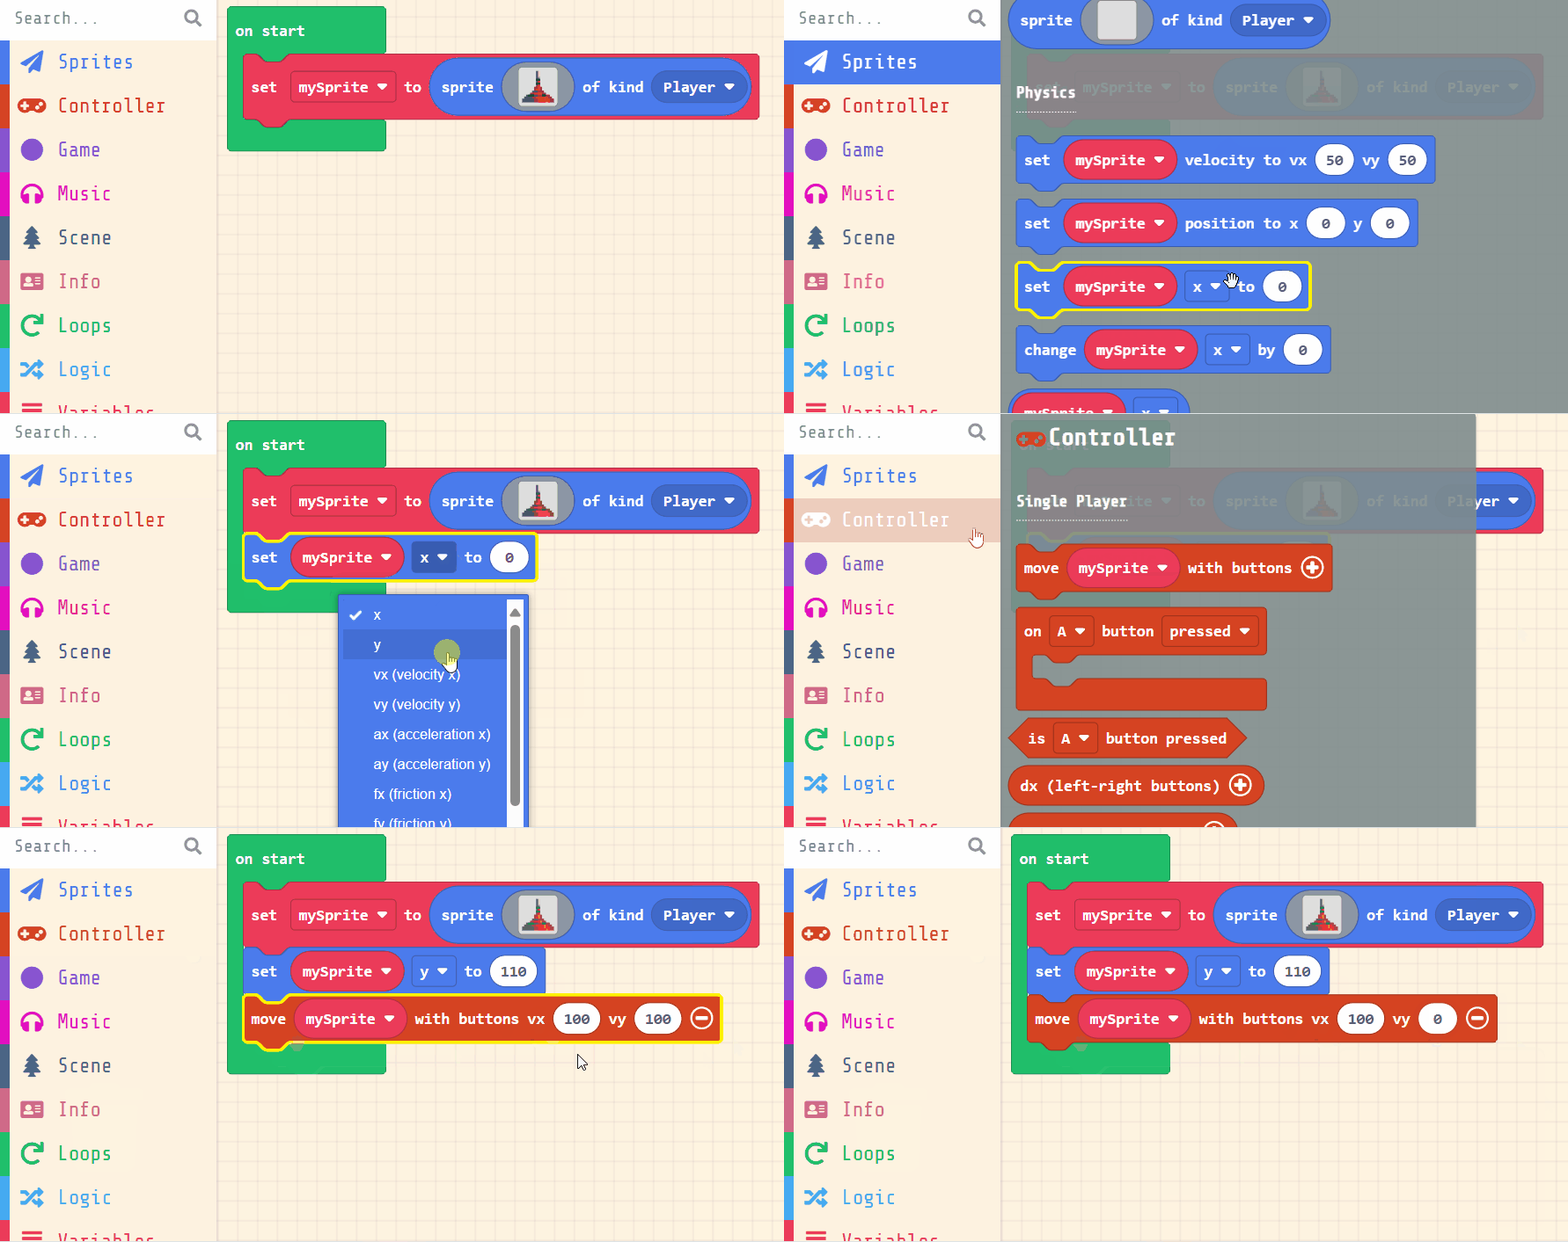
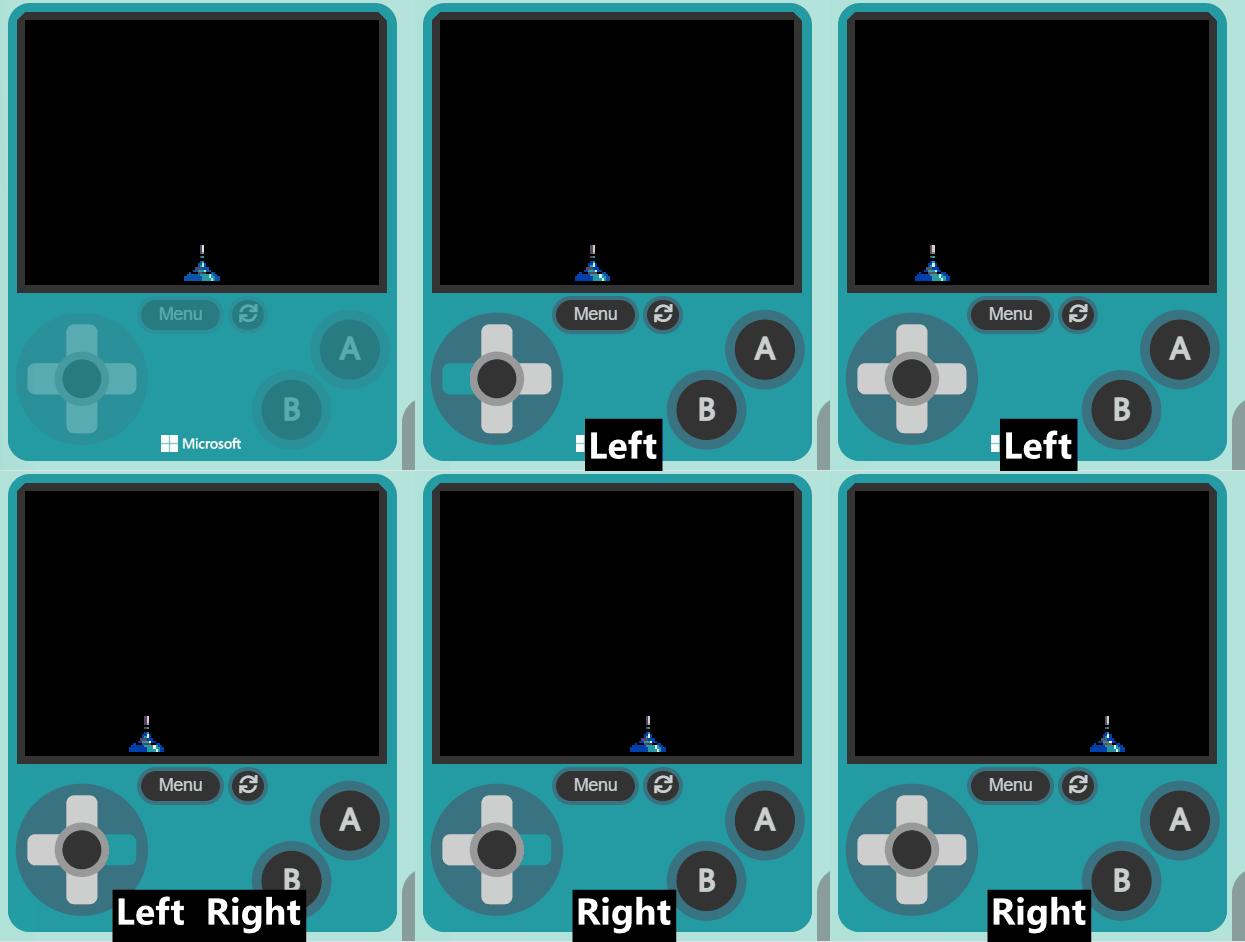
We want to position the player sprite at the bottom of the screen and use the joystick (or arrow keys on your keyboard) to move it left and right.
Add the following new code:
let mySprite: Sprite = null
mySprite = sprites.create(img`
. . . . . . . c d . . . . . . .
. . . . . . . c b . . . . . . .
. . . . . . . f f . . . . . . .
. . . . . . . c 6 . . . . . . .
. . . . . . . f f . . . . . . .
. . . . . . . 8 6 . . . . . . .
. . . . . . 8 8 9 8 . . . . . .
. . . . . . 8 6 9 8 . . . . . .
. . . . . c c c 8 8 8 . . . . .
. . . . 8 8 6 6 6 9 8 8 . . . .
. . 8 f f f c c e e f f 8 8 . .
. 8 8 8 8 8 8 6 6 6 6 9 6 8 8 .
8 8 8 8 8 8 8 8 6 6 6 9 6 6 8 8
8 8 8 8 8 8 8 8 6 6 6 6 9 6 8 8
`, SpriteKind.Player)
mySprite.y = 110
controller.moveSprite(mySprite, 100, 0)
position block and put in a value of 110. This will make the sprite go to the bottom.move block and have values of vx 100 and vy 0. This means we can move the sprite left and right (vx) but not up and down (vy).Show how the movement block positions the ship at the bottom and links to the joystick or arrow keys. Have pairs test moving left and right straight away. Watch for the ship drifting off screen — a good moment to ask <em>what could keep it on screen?</em>
You're previewing this lesson. Get full access to this lesson and hundreds more — each one ready to teach, with interactive activities, printable resources and pupil progress tracking built in.