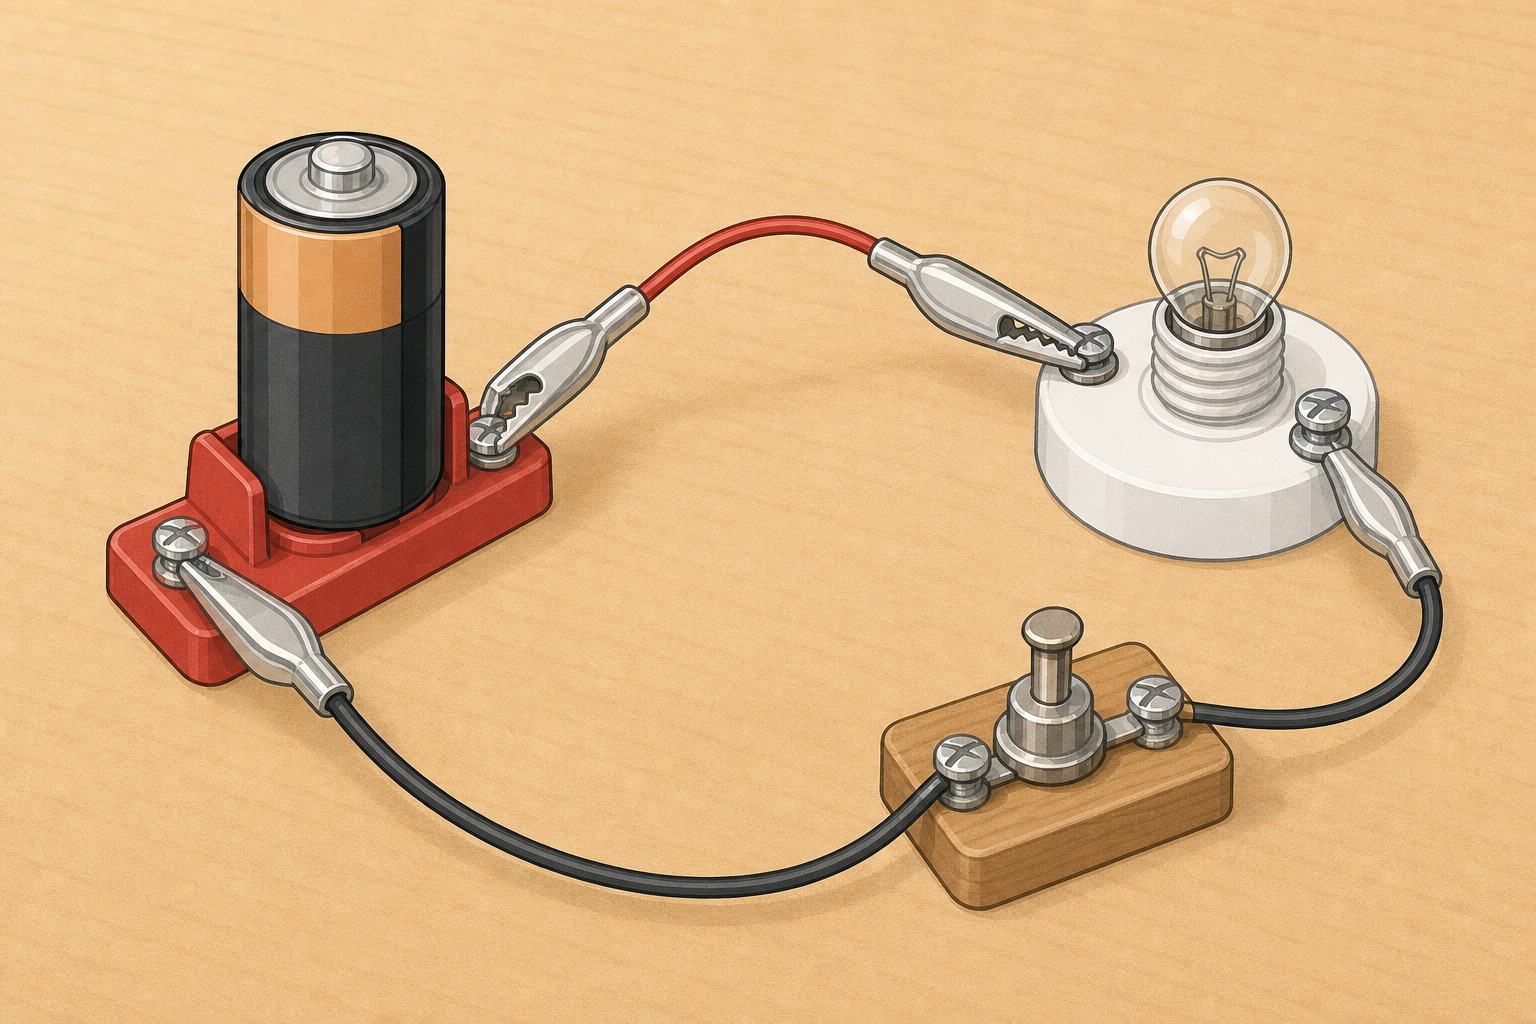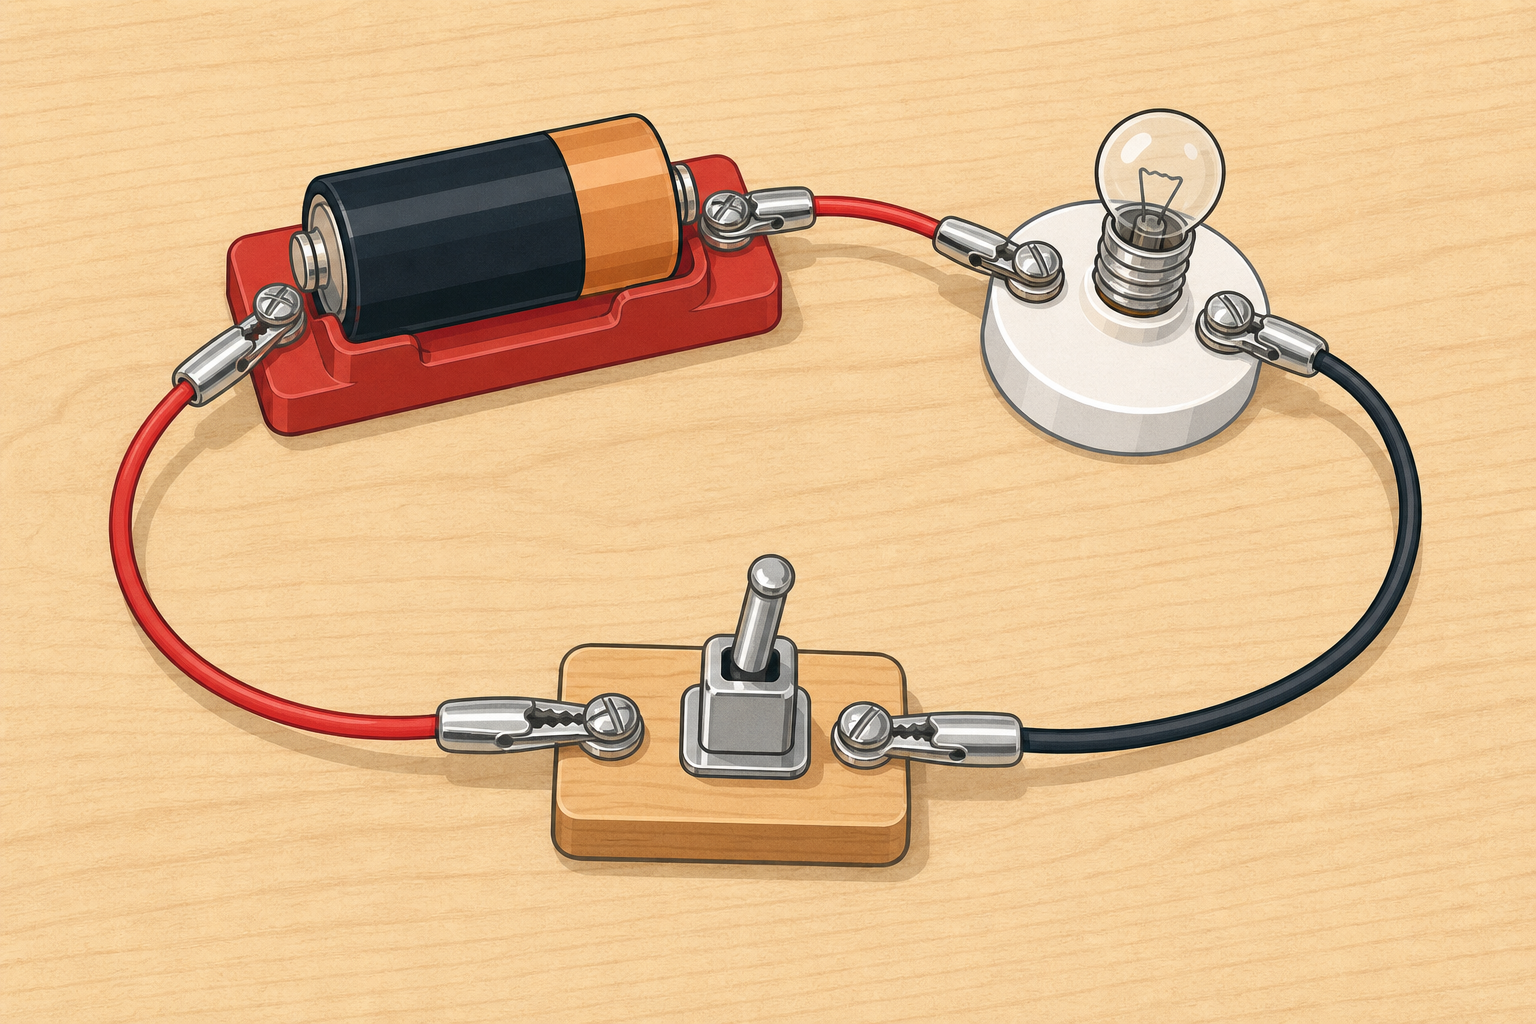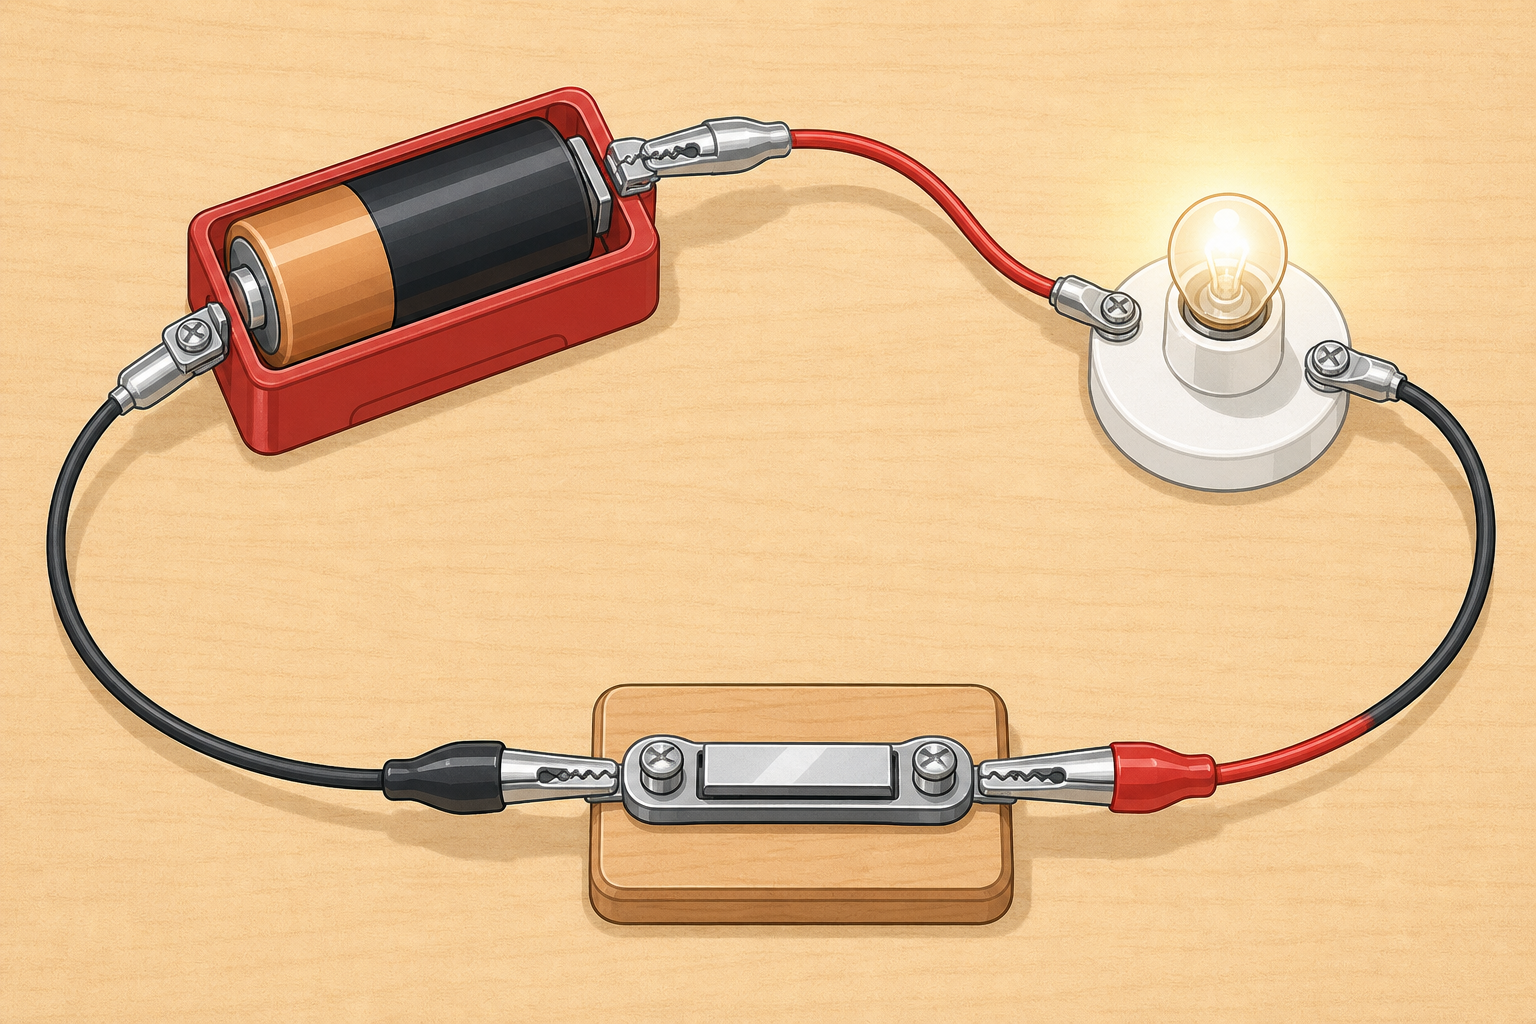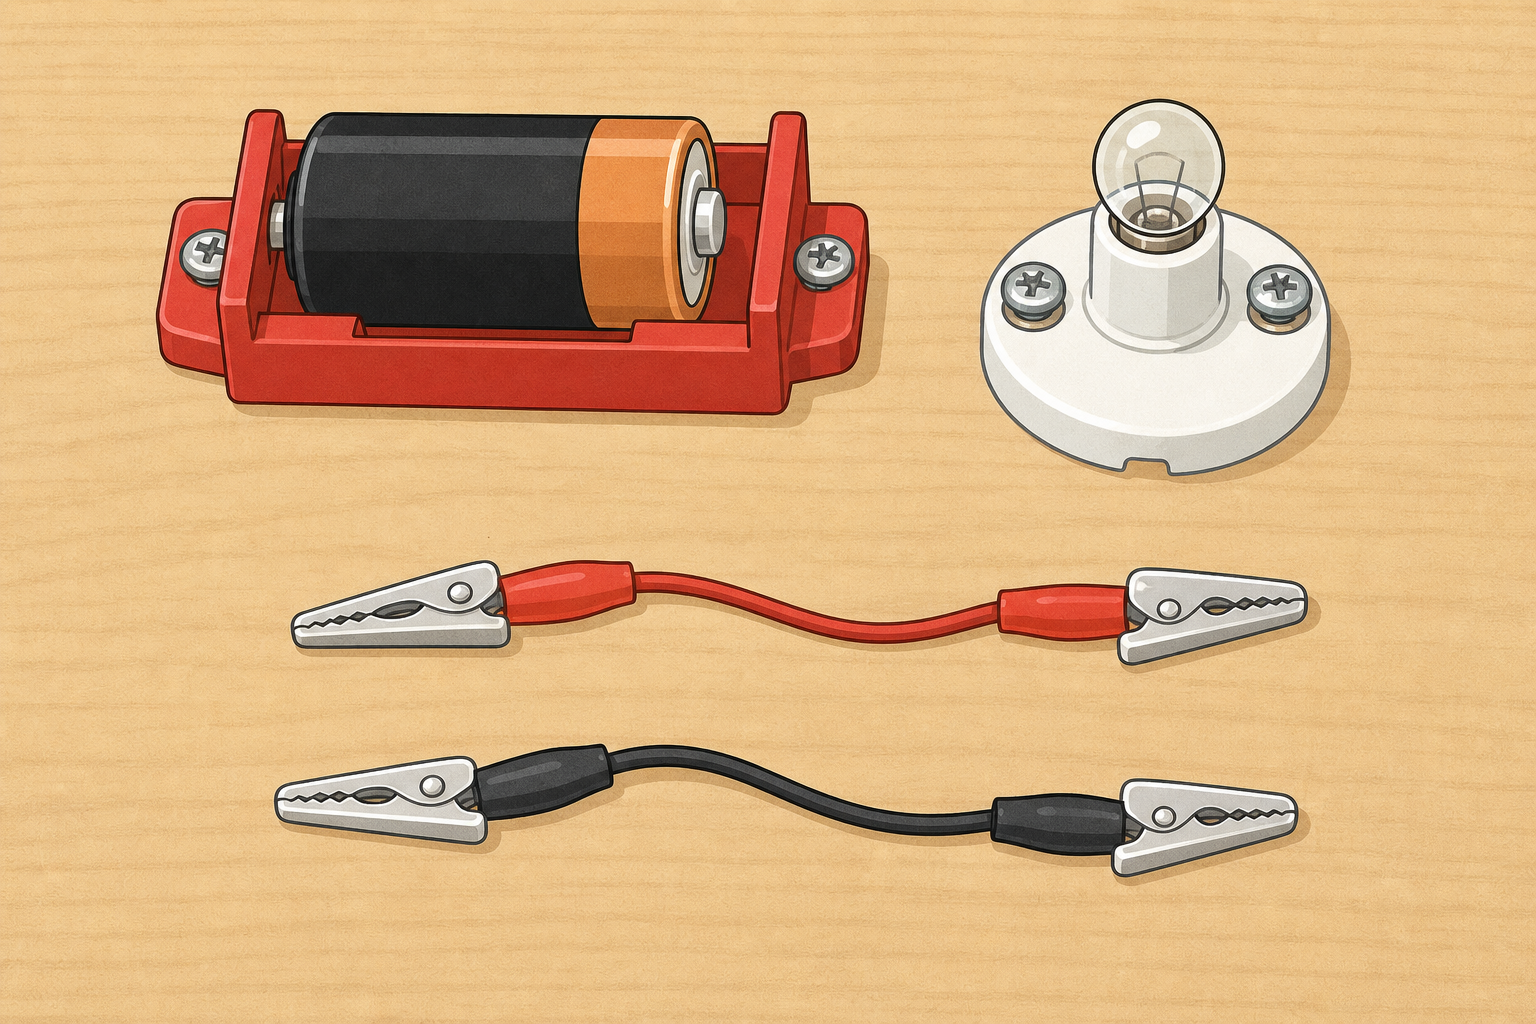
Look at this battery, this bulb and these wires. What do you think has to happen for the bulb to light? Hands up your best guess, and say why you think that.
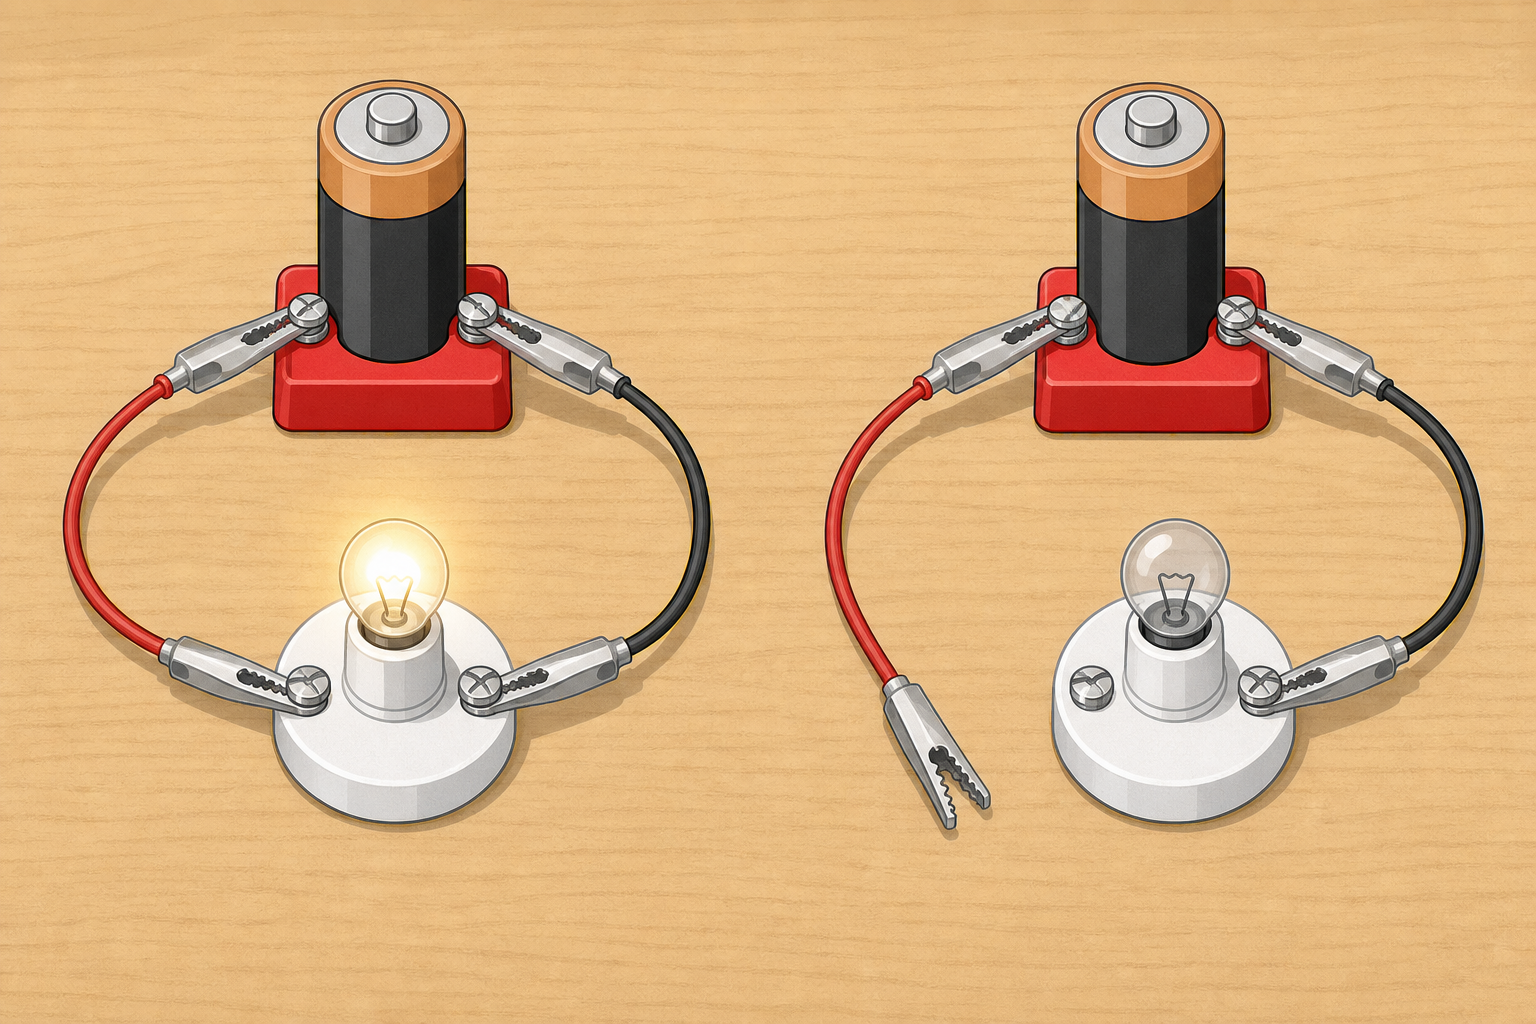
Hold up one battery, one bulb and two wires so the whole class can see. Do not connect them yet. Take three or four quick guesses without confirming the answer. Typical ideas: the battery must touch the bulb; you need lots of wires; electricity jumps through the air.
Keep the hook light: curiosity only. The build and the fair test come later. Have the real kit ready on trays for groups, but keep it out of hands until the investigation step.
Safety reminder before anything is plugged together: low-voltage batteries only, never mains, and batteries never go near mouths.
Remember those guesses: here is the idea we will test. The bulb often stays dark when the path from the battery is broken. A complete loop is a closed path with no gaps. We will build and watch for light versus dark next. Keep an eye out for breaks.
Project only the short board text. Do not give the full worked definition yet; pupils firm it up after they see the board model and their own build light. Use the table below for your own reference while you talk. Keep this beat on the path/loop idea only; name switch when groups use one in the model and build, and name conductor / insulator when groups test materials in the gap.
| Concept | Why it matters | Example |
|---|---|---|
| Complete loop — a closed path from one end of the battery, through the parts, and back to the other end so electricity can flow (a switch can open or close that loop on purpose) | If the path has a break, the bulb stays dark even with a working battery | Battery → wire → bulb → switch → wire → battery: the bulb lights when the switch is closed |
| Conductor — a material that lets electricity flow through it easily | Wires, clips and many metals are chosen because they complete the path | A metal paperclip or coin in a gap keeps the bulb lit |
| Insulator — a material that does not let electricity flow through it easily | Plastic covers on wires keep us safe and stop unwanted paths | A plastic ruler or rubber in a gap stops the bulb lighting |
After the model or first lit build: revoice the full idea: out one end of the battery, through the parts, and back in the other end.
Misconception to head off: children often think electricity is “used up” in the bulb, or that both wires must touch the same side of the battery. Stress the loop.
Nature of STEM: designing a path that does a job (light a bulb, ring a buzzer) is what electrical engineers do when they plan real circuits.
Ask: if one wire falls off, is the loop still complete?
Watch the interactive activity on the board. We will build a complete loop together: battery, wires, bulb and a switch (a part that opens or closes the loop on purpose). Call out where each part should go. Then tell us what will happen when we open the switch.
Drive circuit-builder in explore mode on the IWB. Palette parts: battery, wire, corner, bulb, switch. Start with an empty 5×5 grid. Invite pupils to call out placements while you drag. Name the switch here as the part that opens or closes the loop without taking the circuit apart.
Modelled cycle (you think aloud):
After the class has seen light versus dark, firm up the full wording: a closed path from one end of the battery, through the parts, and back to the other end.
If a group has no kit later, keep this interactive open as the no-kit fallback and rotate pairs to the board. Optional stretch: leave a gap and ask the class how to close it with wires, or add a switch and flip it.
What to expect: the bulb lights only when there is a closed path with power on and the switch closed. If nothing lights, check a missing corner wire or a switch left open.
In your group, build a circuit with a battery, bulb, switch and wires so the bulb lights when the switch is closed. This is the fiddly bit: most dark bulbs are just one loose clip, not a mystery. If it stays dark, check every join: is the loop complete? Does the switch need to be closed? When the bulb lights, you have seen a complete loop in action: a closed path from one end of the battery, through the parts, and back to the other end.
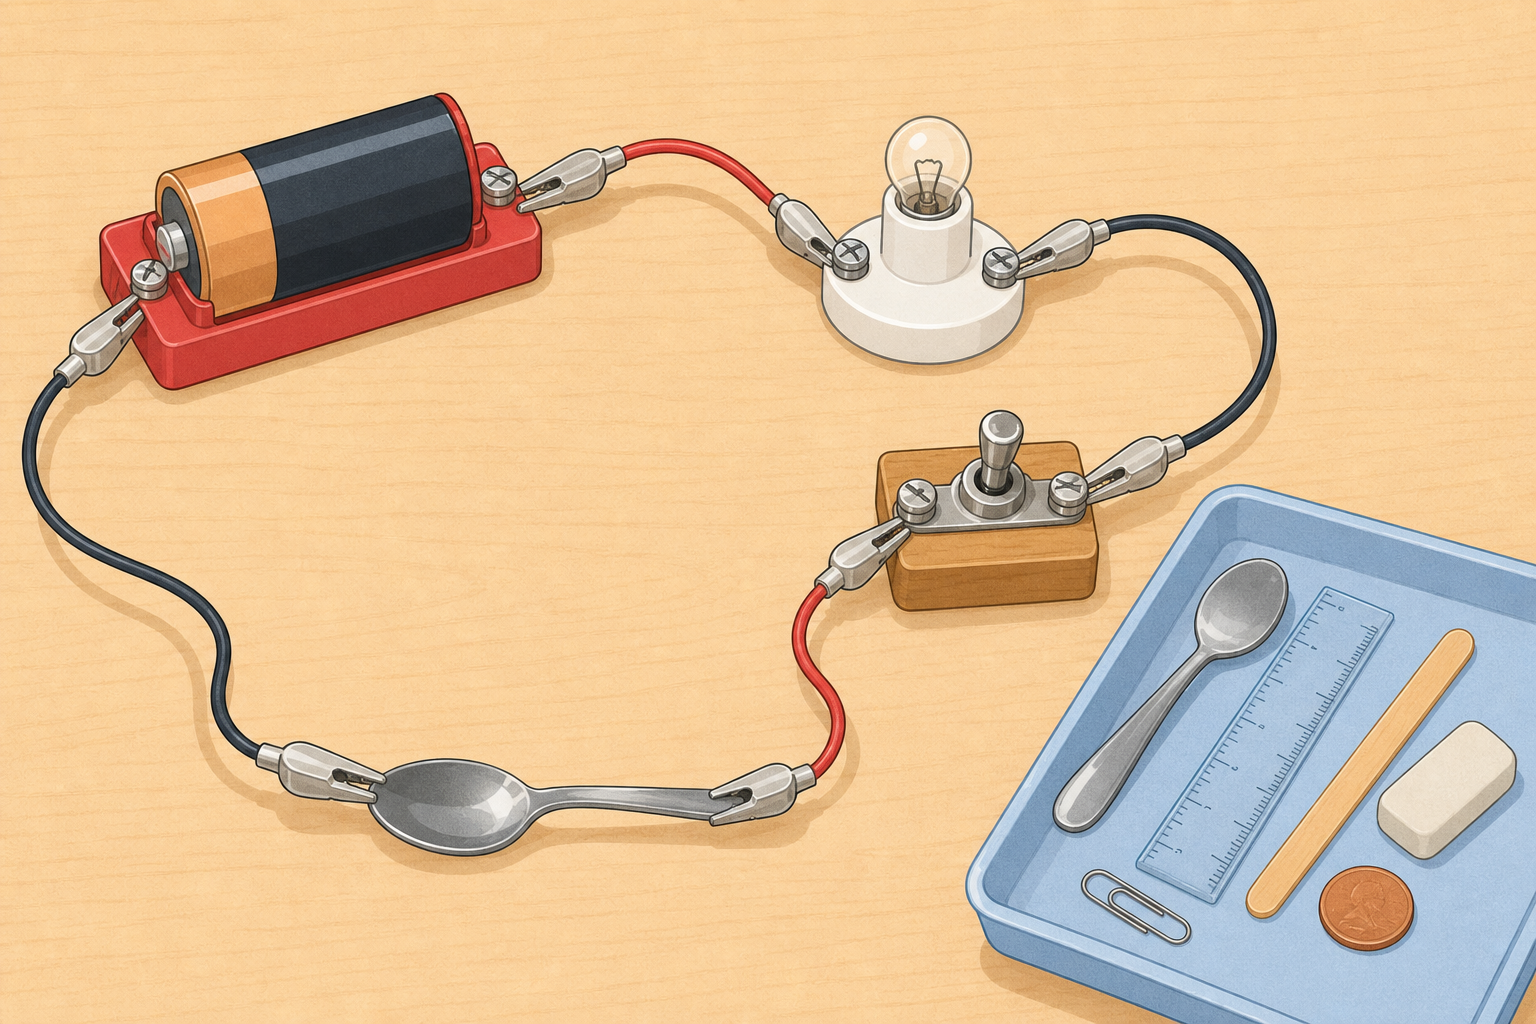
Groups build from the real kit. Keep this step practical: no Investigation Journal writing yet. Circulate and ask: Where does the path start and end? What happens if you open the switch? Fold watchers in: when one group shows a working circuit, ask the class whether their loop matches. Revoice the full complete-loop wording once several groups have a lit bulb.
Success look-fors: bulb lights with switch closed; bulb goes out with switch open; pupils can point to the path around the loop.
If it will not light: loose clip, flat battery, broken bulb, or an open switch. Swap one part at a time. For a normal filament bulb, battery direction usually does not matter. Only if you substituted an LED (and the teacher checked polarity first) does the battery need to face a particular way. No mains adapters, ever.
Differentiation: support groups with a photo of a simple loop on a card at the tray; stretch groups may sketch or explain a two-bulb loop on paper (two filament bulbs in series on a single 1.5V cell often glow very dimly or not at all, which can look like a failed circuit — only try two bulbs live if the kit still gives a clear glow, or use a slightly higher kit voltage the teacher has already checked).
Leave a gap in your working circuit. Materials that let electricity through easily are called conductors. Materials that block the flow are called insulators.
Your group chooses at least four materials from the tray. For each one: predict light or no light and why, jot that on your Investigation Journal page, then place the material in the gap and note light or no light straight away before you move on.
Keep the battery, bulb, wires and how you connect them the same. Only the material in the gap changes. (Pencil lead can conduct even though it is not a metal — you do not have to test that today.)
Open-ended choice: groups pick which materials to test from the set (and may add one safe classroom object you approve). They still run a fair test: one thing changes (the material), one thing is judged (bulb lights or not), everything else stays the same.
Live recording on the Investigation Journal: before each test, pupils jot material + prediction; after the bulb settles, they jot result (light / no light). Do not wait until step 6 to capture the materials table — that step is for the circuit sketch, switch notes and conclusion. If a group has no journal free yet, they use a scrap slip and transfer the rows in step 6.
Modeled prediction language: I predict the coin will light the bulb because metal often conducts. I predict the plastic ruler will not, because plastic often insulates.
What to expect: metals (paperclip, coin, aluminium foil) usually light the bulb; plastic, rubber and wood usually do not. If a “metal” fails, the surface may be painted or the clip not touching both sides of the gap.
Fair-test talk: ask what would make it unfair (different batteries, holding the wires with wet fingers across the gap, changing two things at once).
Optional IWB support: on circuit-builder, drop a test material into a gap and compare with the real tray results.
Safety: no sharp objects; do not use damaged batteries; stop if a wire or battery feels more than slightly warm.
You're previewing this lesson. Get full access to this lesson and hundreds more — each one ready to teach, with interactive activities, printable resources and pupil progress tracking built in.