Intermediate
40 mins
Teacher/Student led
+65 XP
Pupils work on their own device
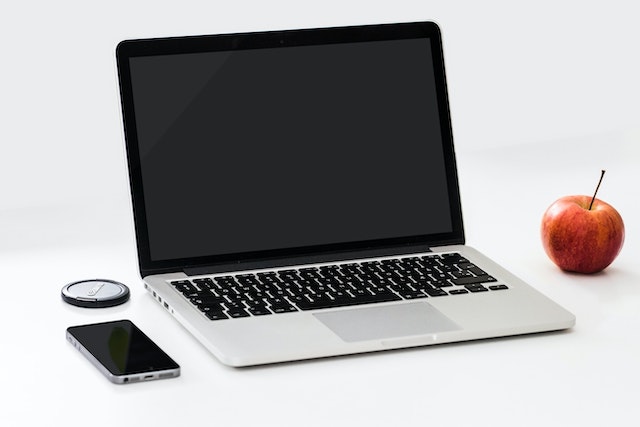 Chromebooks, laptops, and PCs are crucial tools for coding and digital skills education. Chromebooks are ideal for web-based applications and collaborative projects, while laptops and PCs support a wider range of programming environments and software for more intensive tasks like software development and data analysis.
Editing Video with Snip Studio, Part 1: Import, Sequence and Trim
Students bring three clips into Snip Studio, put them in order on the timeline and trim each to a set length, ending with a named project that plays in order. This lesson counts towards outcome 3.8: students use these editing skills to build their digital montage in the montage lessons that follow.
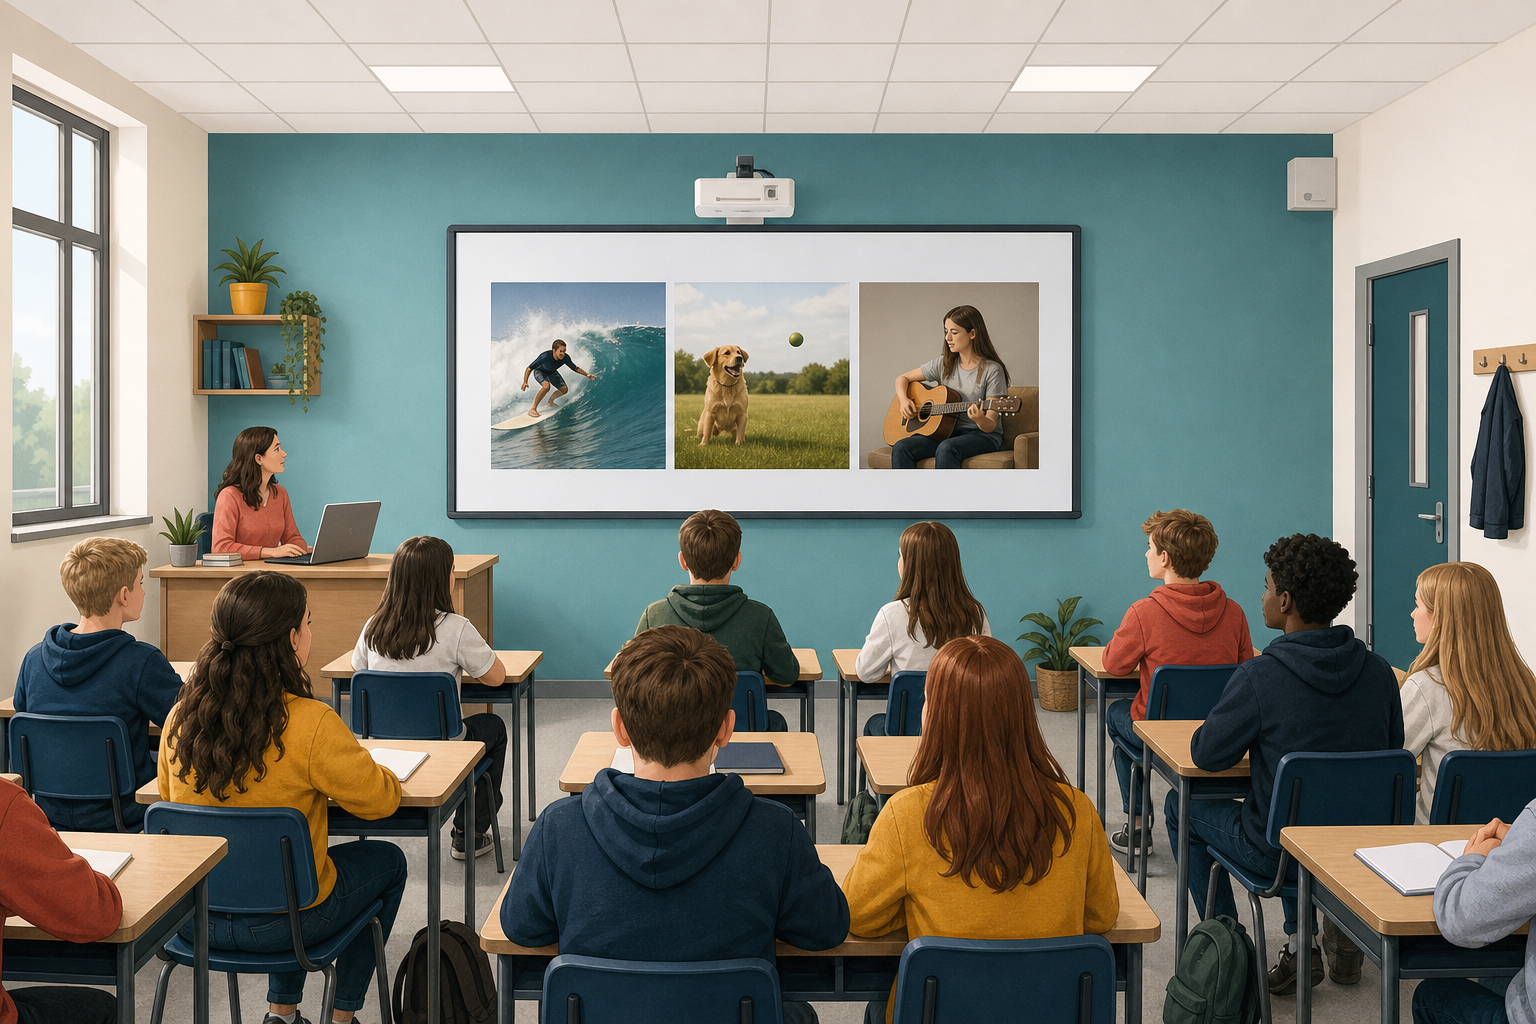 Your teacher will play the same three clips in two different orders. Watch both and decide what story each version tells.
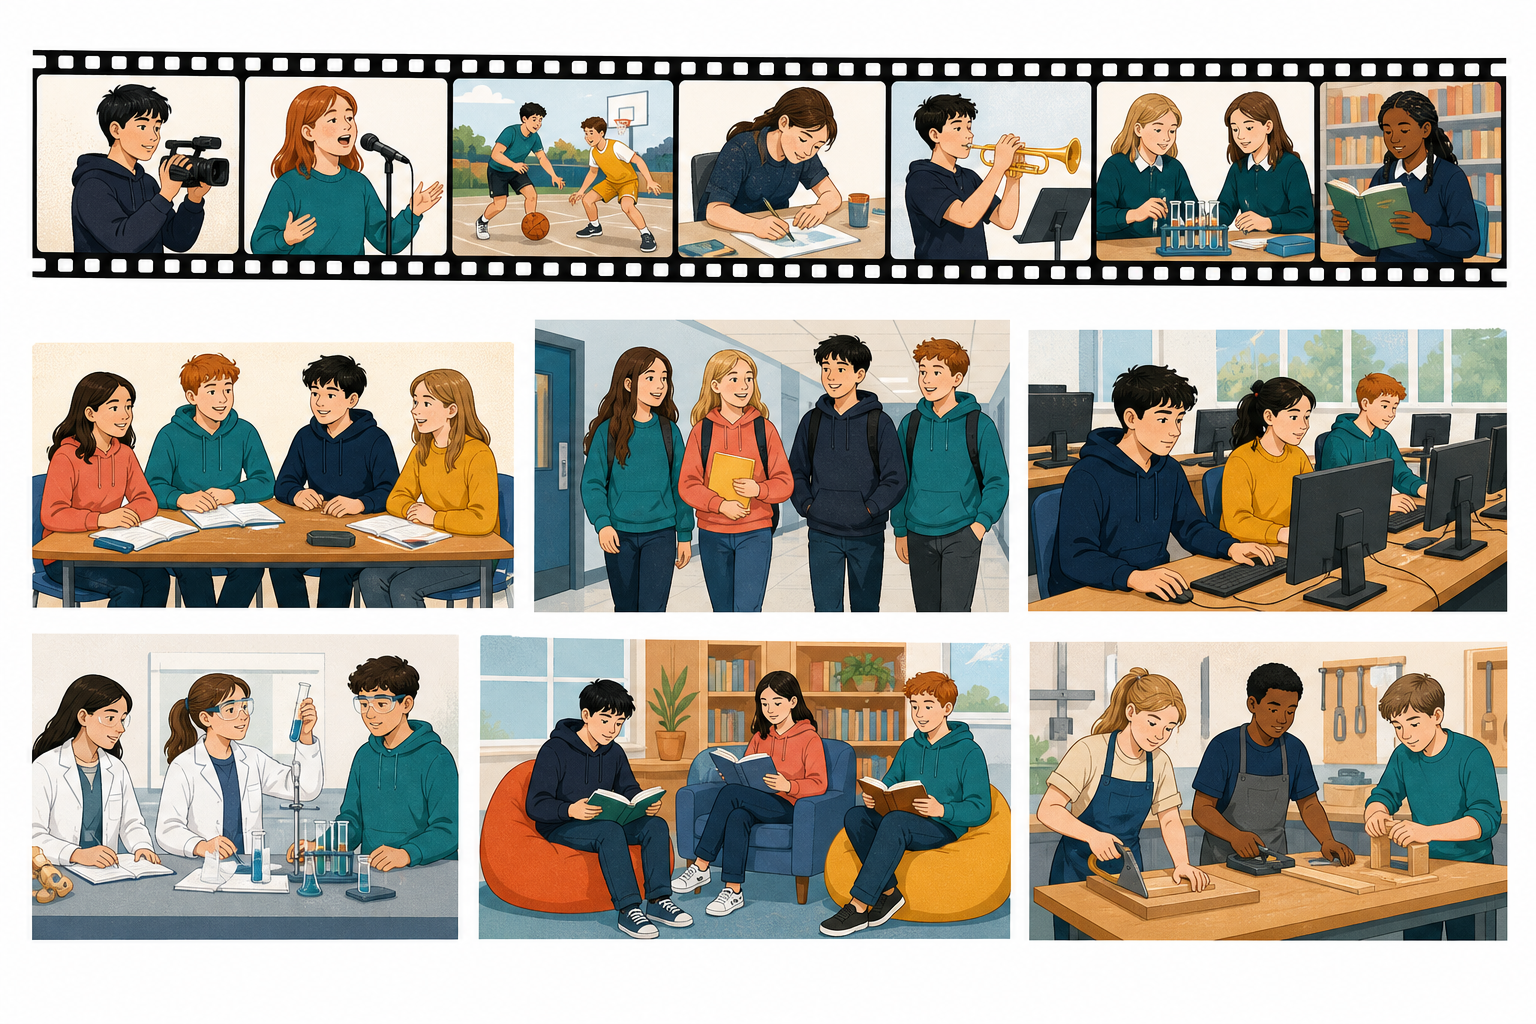 A video editor shows your clips on a timeline, which is a strip running from left to right. The left is the start of your video and the right is the end.