Mathematics
Beginner
50 mins
Teacher/Student led
+65 XP
What you need:
IWB/Projector/Large Screen
Metre stick

Creating Simple Scale Drawings

Learn how to shrink real-world measurements onto a page using scale. Measure a classroom or object, choose a sensible scale, and create a labelled drawing that keeps the correct shape and proportions.
Teacher Class Feed

Load previous activity

    1 - Getting Started ~4 mins

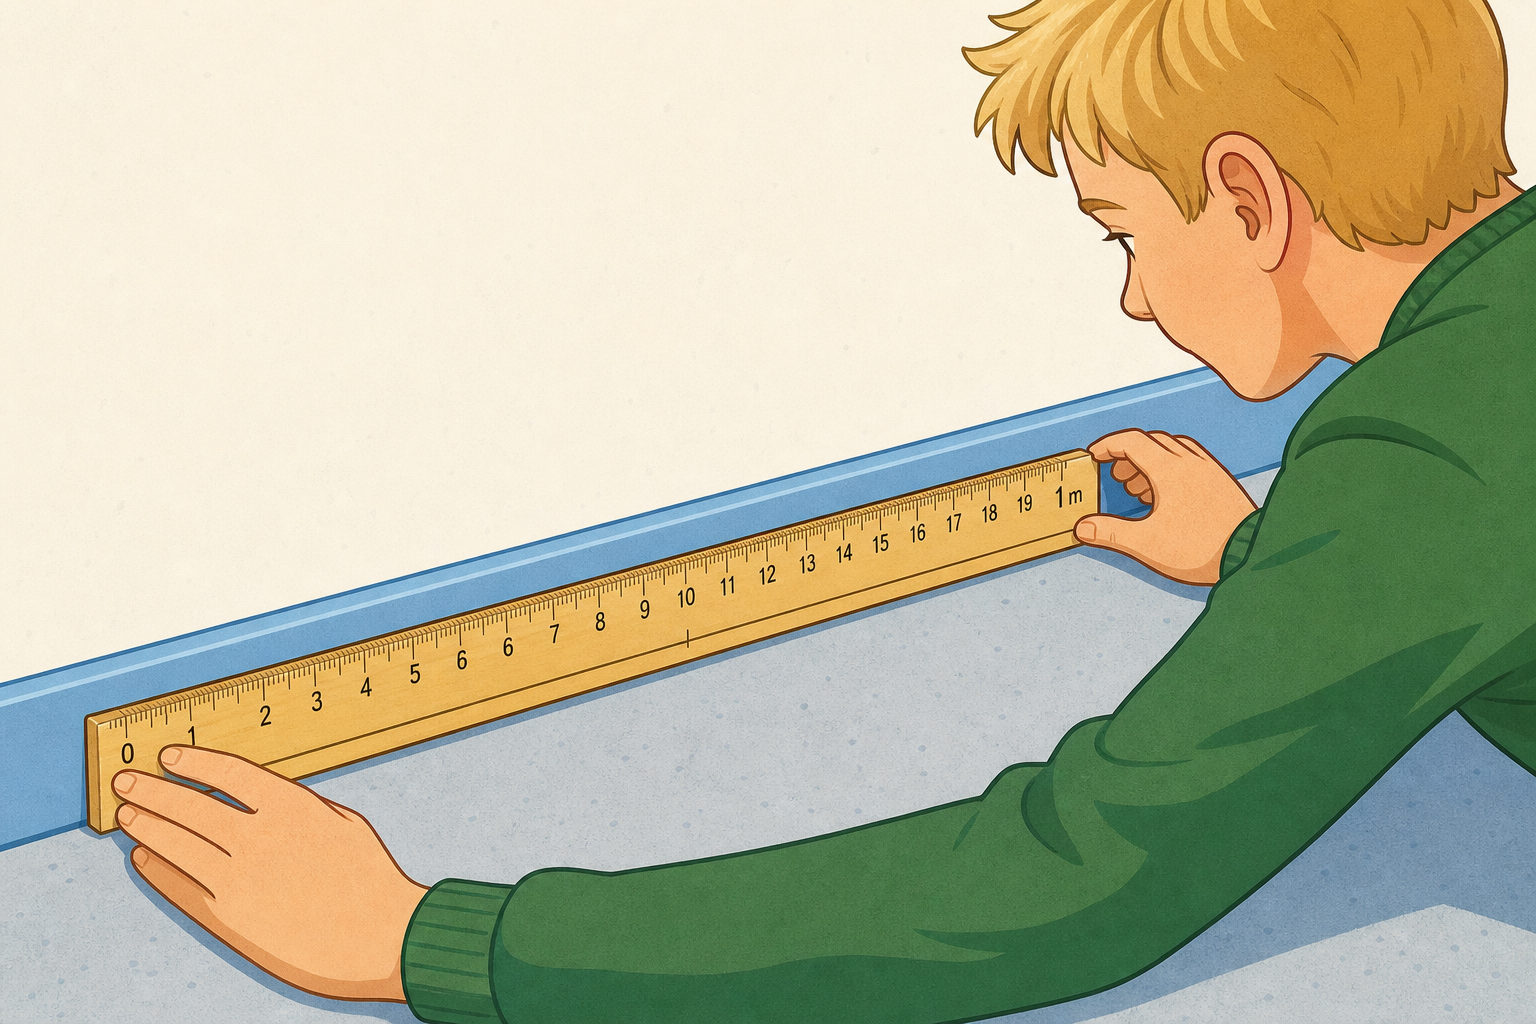
    Illustration for Getting StartedHere is our real classroom. It is about six metres long and four metres wide. We could never draw it at full size on one page. So how do we shrink a whole room down until it fits, and still keep it looking like the right shape?
    2 - Watch and Notice ~9 mins

    Worked example

    Watch three worked plans on the board. Each real room or object has been shrunk to fit the page using a scale, written at the top of the drawing. The first uses 1 cm on paper for every 1 m in real life, so a 6 m wall becomes a 6 cm line. The second and third use a larger scale factor, 1 cm = 2 m, where you divide the real length by 2 to find the drawn length. Look for what the scale does to every length, not just one.

    Scale drawings at 1 cm = 1 m and 1 cm = 2 m

    3 - Try It Together ~10 mins

    Key point

    Today we agree a scale for our real classroom, then measure one wall together and shrink it for the drawing. The whole class follows each calculation aloud while one pupil measures at the front and another marks the line on the board. We start with 1 cm = 1 m because the numbers stay the same, then we try the same wall at 1 cm = 2 m and work out the drawn length by dividing by 2.

    Hands-on Task

    4 - Draw It to Scale in Your Copy ~3 mins

    COPYBOOK MOMENT

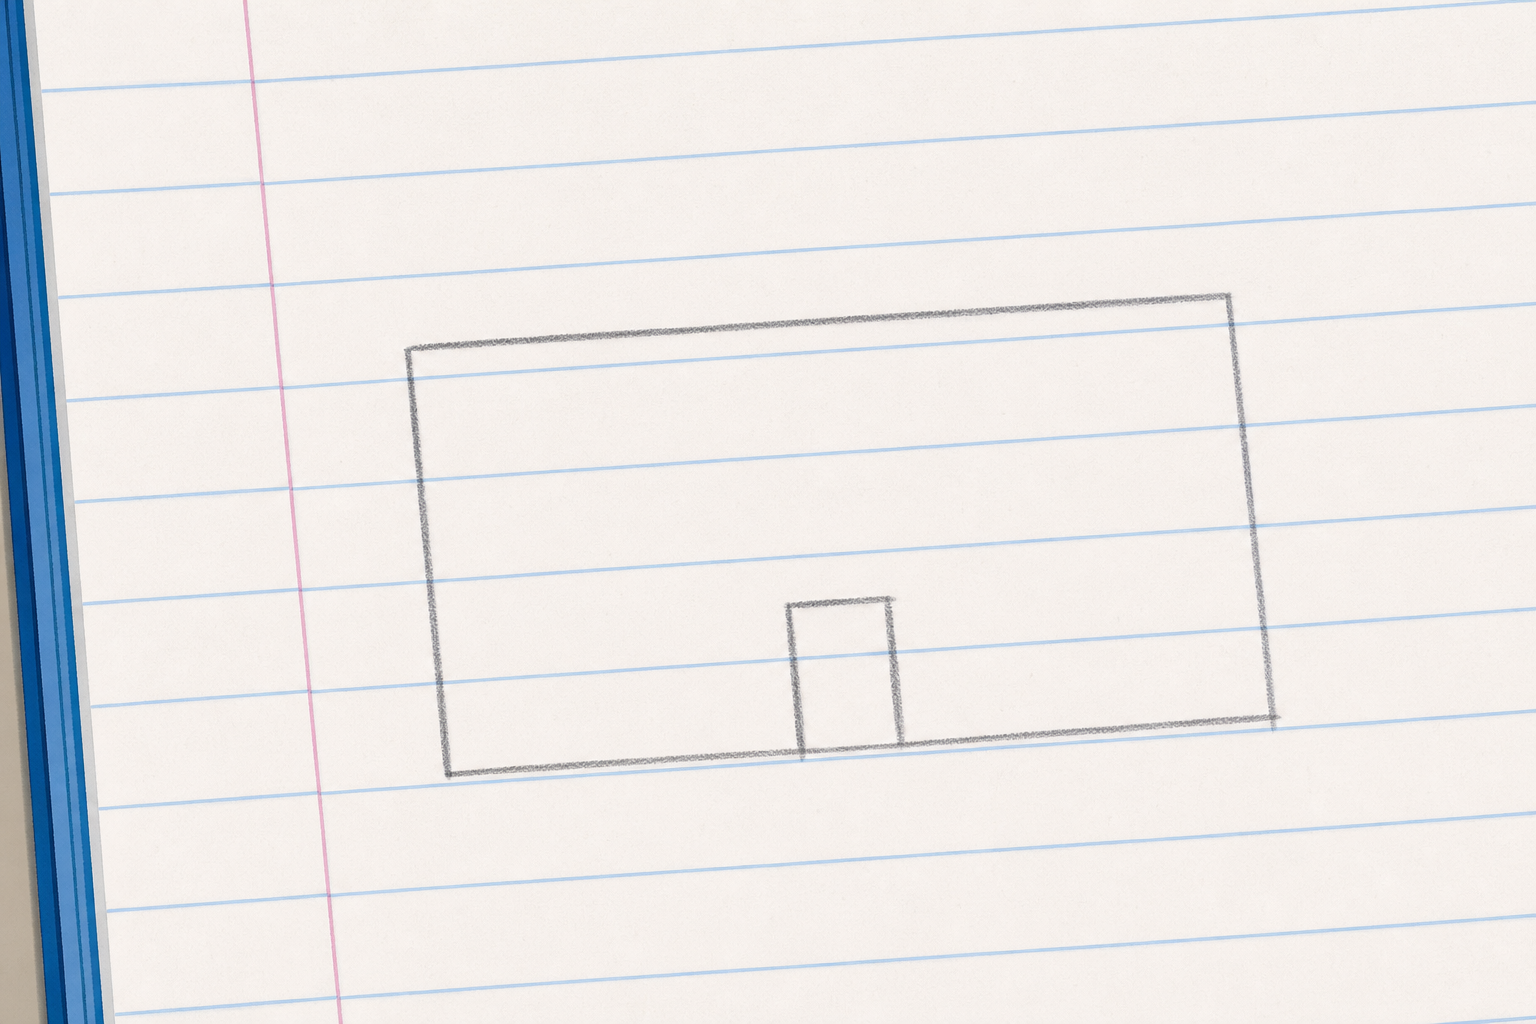
    Illustration for Draw It to Scale in Your CopyIn your maths copy, write the scale 1 cm = 1 m at the top of the page. Then draw our classroom to scale using the lengths we just worked at the board: the long wall 6 m, the width 4 m and the doorway 1 m. Label each drawn line in centimetres and, beside it, the real length in metres it stands for.

    5 - Class Challenge ~8 mins

    Key point

    Today we work through these to-scale drawings on the board together, each a step bigger than the last. First, draw a single 5 m wall at 1 cm = 1 m. Next, draw a 3 m by 2 m rug at the same scale. Then draw an 8 m by 4 m hall at 1 cm = 1 m and check it still fits your page. Finally, redraw that same 8 m by 4 m hall at 1 cm = 2 m: divide each length by 2 and see what happens to the whole drawing when the scale changes.

    Draw a series of classroom features to scale on the board, each larger than the last, finishing with a rescale that shows what a bigger scale does to every length.

    1. Draw a 5 m wall at the scale 1 cm = 1 m.
    2. Draw a 3 m by 2 m rug at 1 cm = 1 m.
    3. Draw an 8 m by 4 m hall at 1 cm = 1 m.
    4. Redraw the 8 m by 4 m hall at 1 cm = 2 m.

    Ways to start:

    • What rule are we using to shrink these lengths, and where do we write it?
    • At 1 cm = 1 m, does the number change when we shrink a length?
    • At 1 cm = 2 m, what do we do to each real length to find the drawn length?

    Stretch:

    • Before we redraw the hall at 1 cm = 2 m, predict how big it will be.
    • Why does the bigger scale make the hall fit the page more easily?
    Answers & strategies (teacher)
    1. Draw a 5 m wall at the scale 1 cm = 1 m. — A 5 cm line (5 m becomes 5 cm because the number stays the same).
    2. Draw a 3 m by 2 m rug at 1 cm = 1 m. — A 3 cm by 2 cm rectangle.
    3. Draw an 8 m by 4 m hall at 1 cm = 1 m. — An 8 cm by 4 cm rectangle, which just fits the page.
    4. Redraw the 8 m by 4 m hall at 1 cm = 2 m. — A 4 cm by 2 cm rectangle: 8 ÷ 2 = 4 and 4 ÷ 2 = 2, so every length is halved because each centimetre now stands for 2 m.
    Pupil practice
    Module 8 · Location, Transformations and Scale Algebra
    Lesson 91 · Creating Simple Scale Drawings
    Download Activity Book page (PDF)
    123learn · Online learning platform

    Unlock the full learning experience

    You're previewing this lesson. Get full access to this lesson and hundreds more — each one ready to teach, with interactive activities, printable resources and pupil progress tracking built in.

    Hundreds of curriculum-aligned lessons
    Interactive activities in every lesson
    Printable resources & progress tracking
    Copyright Notice
    This lesson is copyright of Coding Ireland 2017 - 2025. Unauthorised use, copying or distribution is not allowed.
    🍪 Our website uses cookies to make your browsing experience better. By using our website you agree to our use of cookies. Learn more
