1 - Start: What We're Building ~4 mins
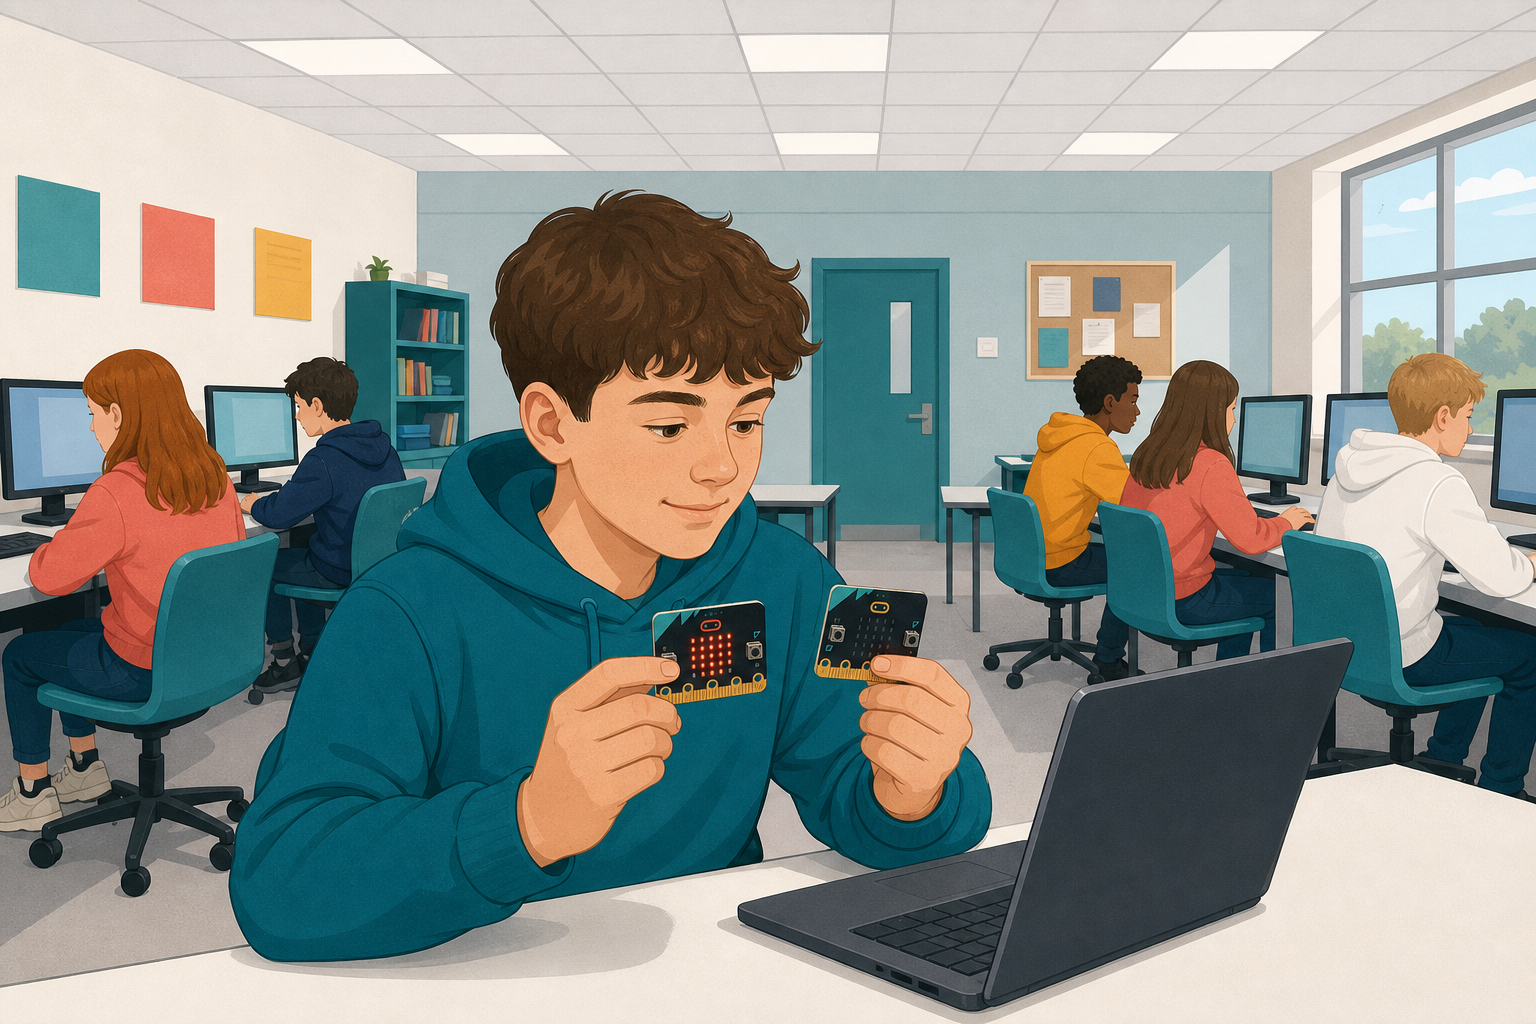 You can already work with micro:bit inputs and the display. Today you will connect two micro:bits with radio so one can send a message and the other can show it.
This is the next part of your coding project. Open the project you saved earlier and keep building at your device: predict first, then build, run and fix.
2 - Introduction ~3 mins
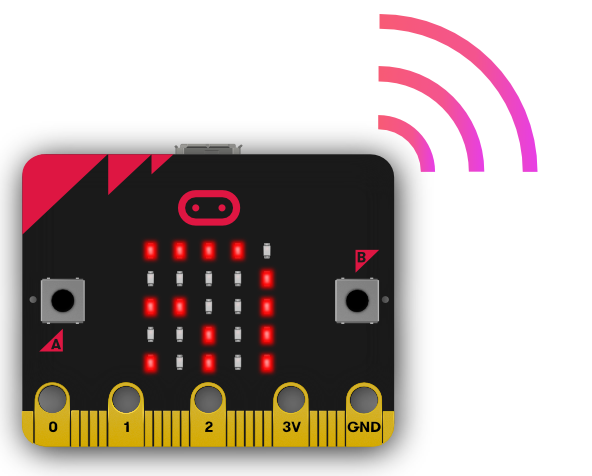
Microbits have a radio transceiver built into them. A transceiver is an electronic device which is a combination of a radio transmitter and a receiver, hence the name. It can both send and receive radio waves using an antenna, for communication purposes.
For this project you will need 2 Microbits so you can send and receive messages.
3 - Create a New Project ~2 mins
Go to the https://makecode.microbit.org website and create a new project.
4 - Choose a Radio Group ~4 mins
The first thing we need to do is set the radio group that our Micorbits will be broadcasting on. A radio group is the channel that the Microbit both sends it's messages and listens for other messages. A Microbit can only send or receive in one group at a time.
A Microbit that is on radio group 2 will not be able to receive a message from another Microbit that is on radio group 3. However if they are both on radio group 3 then then we can communicate with each other.
Add the following code to set the radio group to 1.
radio.setGroup(1)
5 - Send a Message ~3 mins
We can send different types of messages, we can send:
- A string (text) message.
- A number message.
- A name and value message.
Let's start off my sending a string message. Add the following code to send the message "Hello" when you press the A button.
input.onButtonPressed(Button.A, function () {
    radio.sendString("Hello")
})
Unlock the full learning experience
You're previewing this lesson. Get full access to this lesson and hundreds more — each one ready to teach, with interactive activities, printable resources and pupil progress tracking built in.
This lesson is copyright of Coding Ireland 2017 - 2025. Unauthorised use, copying or distribution is not allowed.