You're previewing the student experience. You don't need to complete this lesson — your progress and XP aren't saved.
Unplugged Lesson
Beginner
40 mins
Teacher led
+50 XP
What you need:
IWB/Projector/Large Screen

Algorithms & Efficiency

In this lesson, you'll explore algorithms by programming a classmate to navigate a grid from start to goal, avoiding obstacles. Through hands-on activities, you'll compare different approaches, test efficiency, and learn the importance of clear, precise instructions.
Teacher Class Feed

Load previous activity

    1 - Introduction

    Today, your pupils will become programmers, with a classmate serving as their "robot" or "computer." They'll write a simple program to guide their partner through a grid from a starting point to a final destination, all while avoiding obstacles.

    The real goal is to see that there are many ways to solve the same problem and to compare the different algorithms for efficiency.

    To set up this activity, you'll need to create a simple grid. You can do this in your school hall using masking tape, in an outdoor space with chalk or hula hoops to mark out your area. Make sure there's enough room for everyone to move around safely.

    2 - Grid Setup: Creating Your Program's World

    To begin, you’ll need to create the grid that your pupils will navigate. This grid will be the world for your program. Clear a small, open area in the classroom or school hall, or use a space outdoors.
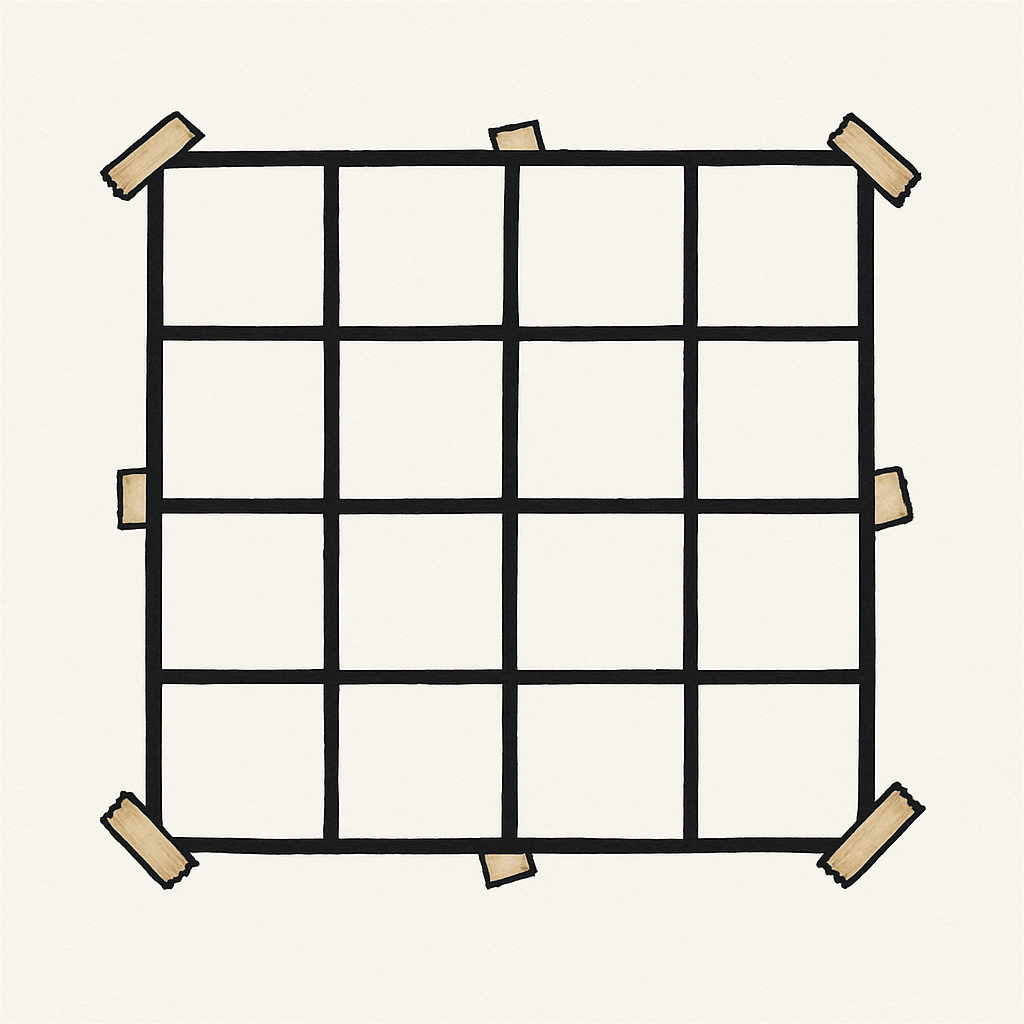
    Once you have your space, you can quickly mark out a simple 5x5 grid on the floor. You can use masking tape, or if you're lucky enough to have tiled floors, you can simply use the tiles as your grid squares. Alternatively, you can use chalk or hula hoops if you're working outside.


    3 - Student Robot

    Now that you have your grid, it’s time to start programming! This activity will help students understand the difference between a vague command and a precise one.
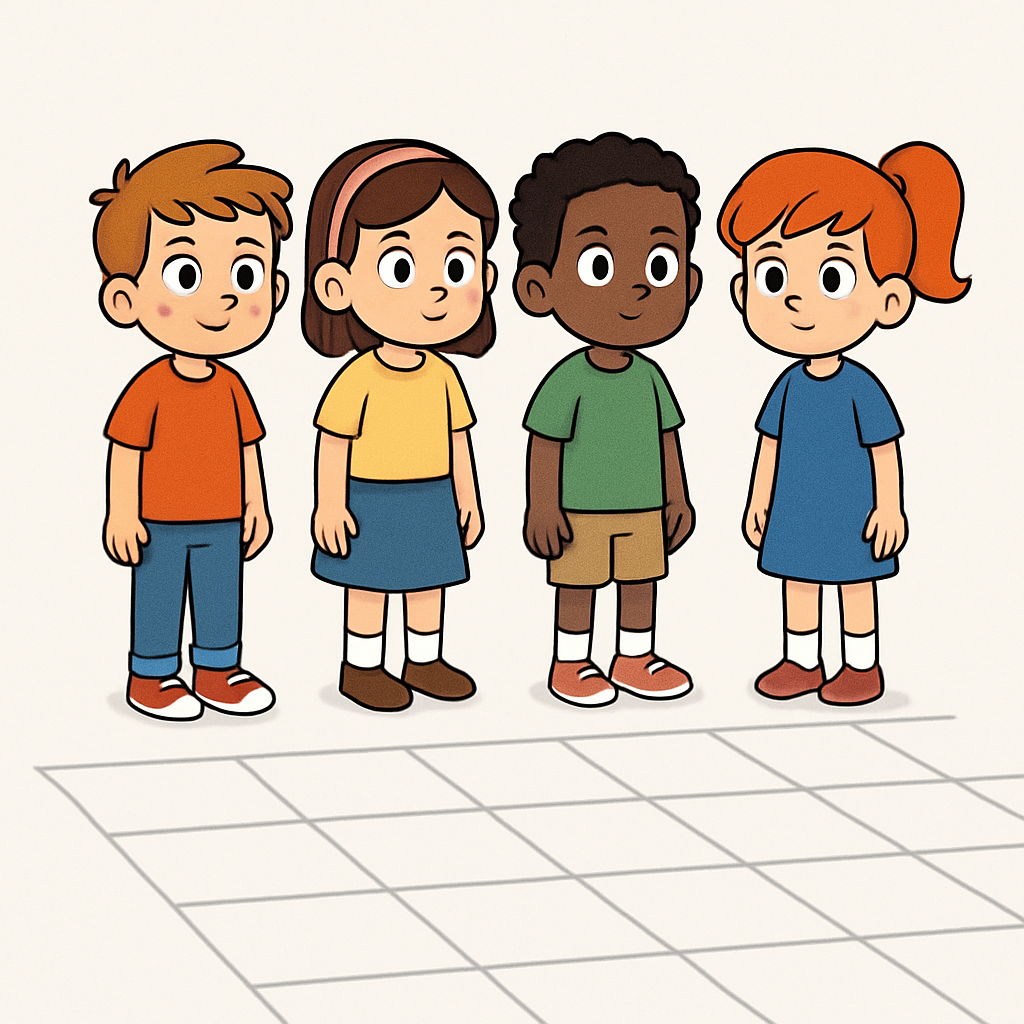
    On the board, write down two commands, side by side, and select one student to be the "robot."

    Vague: Go over there. → (The robot will wander or guess)

    Precise: Step forward 3 squares. Turn right 90°. → (The robot will move exactly)

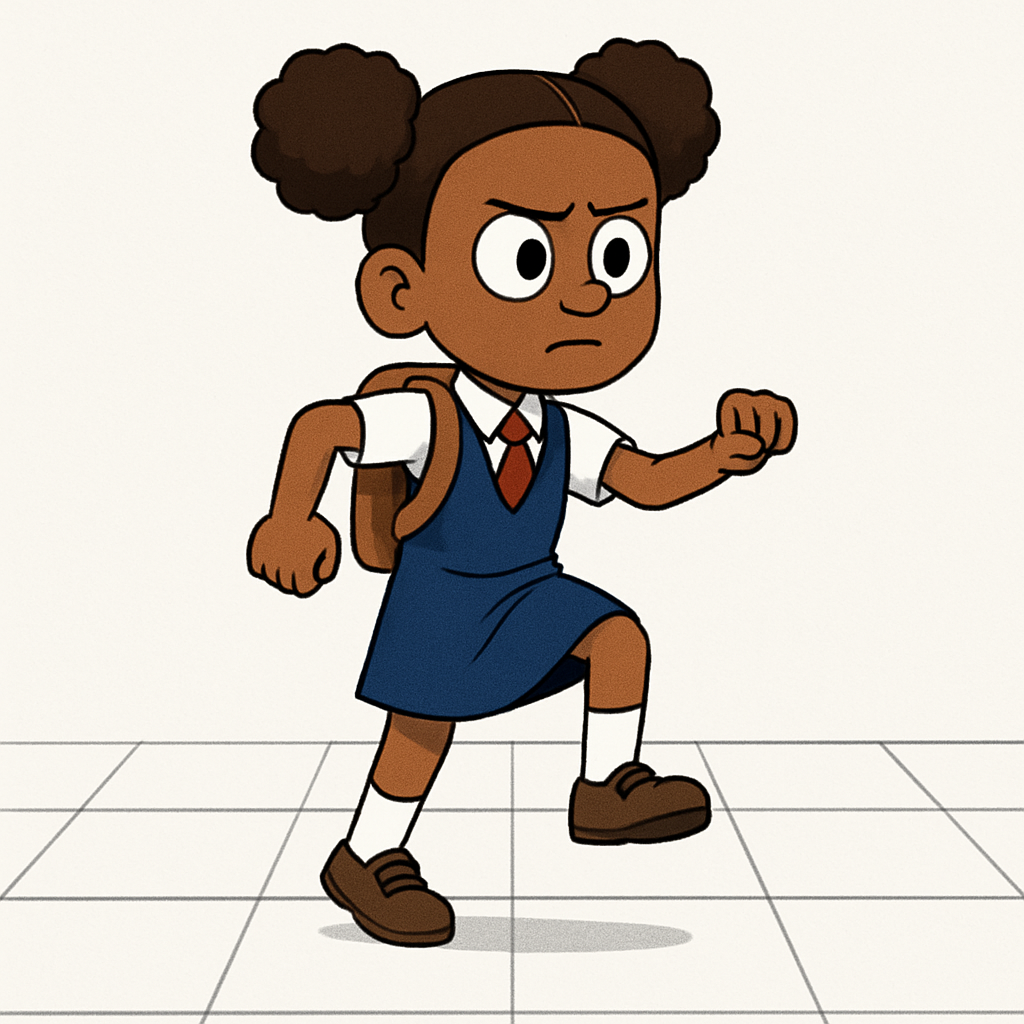
    The student you select as the robot will stand in the grid and follow your instructions exactly. They can't ask questions or make their own decisions; they must only do what you tell them.

    First, when you give the vague command, the robot will show what happens when a program doesn't have clear instructions. They might stand still, turn in circles, or wander around, demonstrating that a computer can't guess what you want it to do.

    Then, when you give the precise command, the robot will follow your instructions exactly, one by one. This shows the class that a good program, with a clear verb, number, and order, will always produce the correct result. They are acting as a live demonstration of how a computer executes code.

    4 - Precision Programming

    Ask your students: “Why was the second instruction better?” This will help them understand that a computer needs very specific commands to function correctly. Emphasise the three elements that are key to good code:

    • Clear verb first—Step, Turn, Face, Back, Pause

    • Number/units—3 squares, 2 steps, 90°

    • Correct order—one command per line, in the sequence to follow

    To help them remember, you can anchor it with a simple checklist on the board: V-N-O = Verb • Number • Order. This is a mini-checklist pupils must use before testing any program.

    5 - Game Time: Direction Dash!

    Now, let's play a game to put your programming skills to the test. Explain that in this game, you are the programmer, and your pupils are the computers. Their only job is to follow your commands exactly.
    Have your students (all if you have space, small group if you do not) stand around the outer edge of the grid you’ve created, all facing the same direction. This is the starting point for their program.

    The Command Set:

    For now, you will only use these instructions:

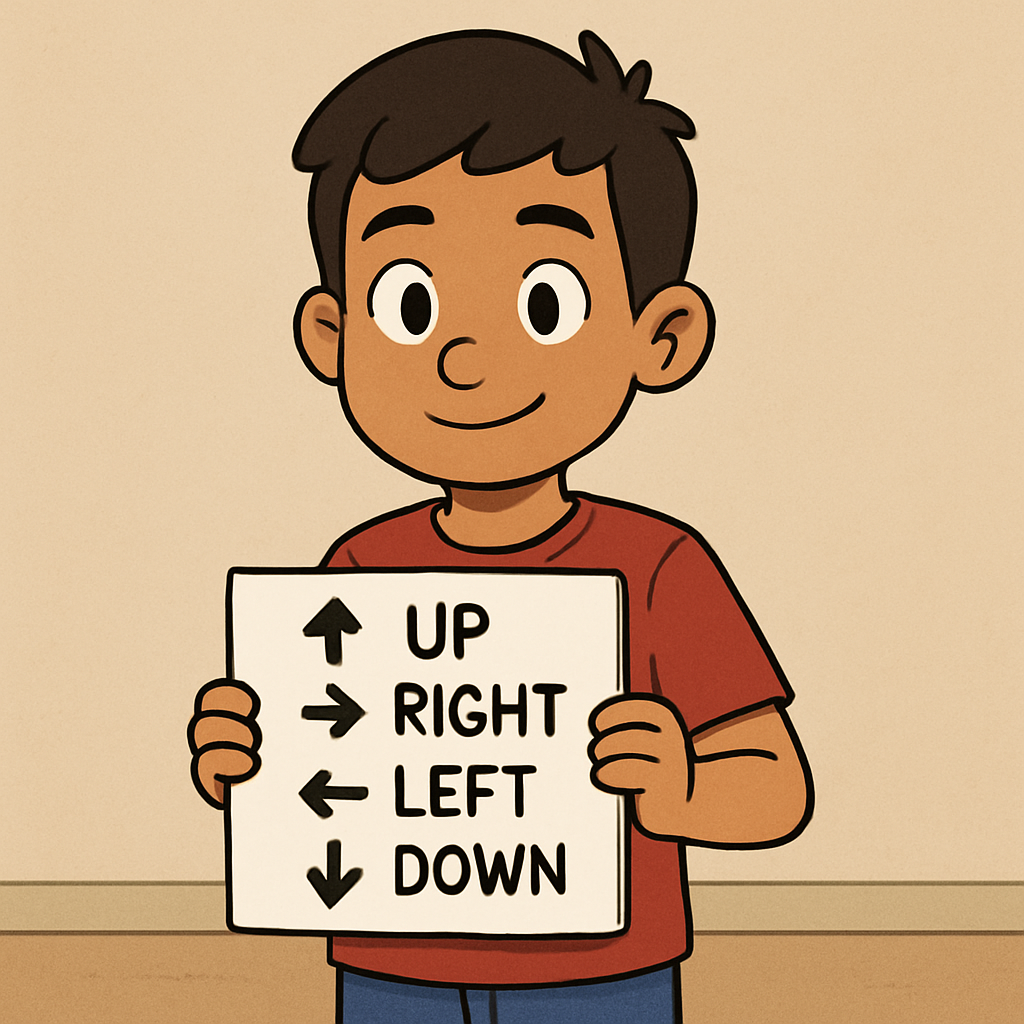
    • TURN Left/Right 90°

    • FORWARD 1 or 2

    • BACK 1

    • PAUSE

    How to Run It: Call out one command every 2–3 seconds. Students should echo the command and then perform the action. Start slowly with single moves, then gradually chain two or three commands together (e.g., "TURN RIGHT 90°, FORWARD 2, PAUSE"). This teaches them to follow a short sequence of commands.

    Gamification & Safety: To make the game more exciting, you can turn it into a knockout style. Any student who makes a mistake, hesitates, or gives the wrong command is eliminated from the round. As a quick safety reminder, tell everyone to keep their steps small and to watch their spacing so no one bumps into each other.

    6 - Modelling the Program

    Now that your pupils are familiar with the commands, you'll model how to build a complete program. Explain that the precise sequence of commands they'll use is called a program or an algorithm.

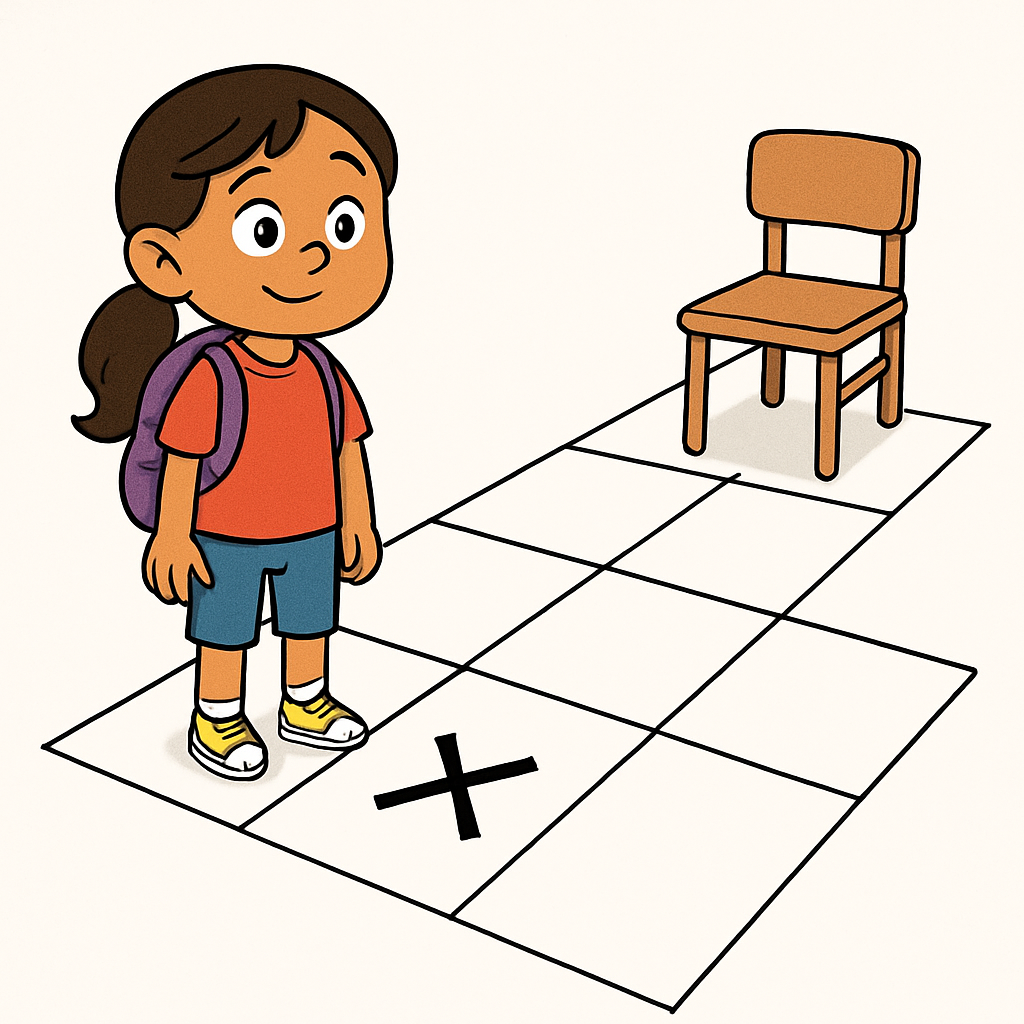
    Choose a visible starting square on the grid and a chair to serve as the goal. Select one student to be your robot. Explain to the class that you will be creating a program to guide the robot from the starting square to the chair.

    Once you have your robot in place, guide them through the grid, giving one precise instruction at a time from your vocabulary: TURN Left/Right 90°, FORWARD, BACK, or PAUSE. Make sure to go slowly and deliberately, emphasising how each command in the sequence gets them closer to the goal. This will give them a perfect example of a working program.

    7 - Team Challenge: Program a Path

    Now your students will get to build their own program as a team! Explain that this is how real-world tech teams work, with different people having different roles to build the best product.

    Put your pupils in groups of 3–4 and assign the following rotating roles:

    • Planner(s): This person or pair is in charge of writing the instructions for the robot. They are the programmers.

    • Robot: This student will be the computer that executes the program exactly as it's written.

    • Tester: This student is the quality control! They ensure the program follows the rules, is easy to read, and helps fix any errors.

    Give each team a simple Start → Goal on the shared floor grid with 1–2 obstacles. Their task is to write out their program on paper before they even get on the grid.

    Design Constraints Keep the following rules visible on the board for all teams to follow:

    • Write one command per line; use numbers on every move/turn.

    • No diagonals; you must avoid all obstacles.

    • Keep your program to 12 lines or less (or use REPEAT to shorten it).


    Teacher Prompts: As you circulate, ask probing questions to help your teams debug and optimise their code:

    • "Can you replace repeated steps with REPEAT?"

    • "Where could you remove a turn to make your program more efficient?"

    • "Read your program aloud—does the robot know where to face first?"

    8 - Testing & Debugging: Running Your Program

    This is the moment of truth! Now it's time to test your team's program. Explain that in programming, you always test your code to make sure it works exactly as you planned.

    Cycle teams onto the grid, one at a time, to run their program. Remind the Robot that their job is to keep their eyes open but to follow the script exactly as it's written—no improvising! The Planner should read each line aloud, and the Tester should track the progress, including how many steps are used, the time it takes, and whether the robot touches any obstacles.

    Fixing Bugs

    If a bug (an error) appears, have the team pause. They should work together to find the faulty line in their code. Then, they should propose a single, one-line fix, such as adding a number, swapping two lines, or adding a new command. If time is tight, you can re-run just that corrected section of the program.

    Collect some quick metrics on the board for each team to compare their results:

    • Steps Used (lines executed)

    • Time

    • Touched Obstacle? (Y/N)

    9 - Retrospective

    To wrap up the lesson, bring all the teams together for a final reflection. Explain that in the world of programming, teams often meet at the end of a project to discuss what went well and what they can improve. This is called a retrospective.

    Ask each team to share one improvement they would make to their program to either shorten or clarify it. For example, they might have a turn that's repeated and could use a REPEAT loop instead, or they might combine two turns into a single "180°" command. This is how programmers optimize their code for efficiency.

    As you listen to their responses, look for these key signs of success:

    • Clear verbs, explicit numbers, and the correct order in their programs.

    • A safe, logical path that successfully avoided obstacles.

    • The ability to identify ways to make their code shorter or faster without losing accuracy.

    When they can do these things, they've shown they are truly reasoning about their code and thinking like programmers.

    End of lesson
    123learn · Sample lesson

    That was a sample lesson from Hands-On Logic Challenges

    Every lesson in the course is ready to teach like this one. See what else comes with it, and how to order it.

    Copyright Notice
    This lesson is copyright of Coding Ireland 2017 - 2026. Unauthorised use, copying or distribution is not allowed.
    🍪 Our website uses cookies to make your browsing experience better. By using our website you agree to our use of cookies. Learn more