Today we help a friend. We will choose one small classroom problem, draw a plan, and make a first model from junk materials. Think of a kind helper for a friend who… has a small desk problem (like crayons that roll away). Names are optional and must stay kind. Who might need a little helper?
This is Project Part 1. Models and Investigation Journal pages stay in school for the next part of this project, when pupils will share and reflect.
Keep the hook light. Do not hand out junk materials yet. Sit the class and name the challenge in plain words: Choose a friend. Find one small problem. Plan and make a helper.
Kind helpers from the first question: frame the opening before any names are invited. Model the stem a friend who… (for example, a friend who keeps dropping crayons). Pupils may use a first name only if that friend is happy to be named; otherwise keep it as a friend who…. Never invite answers that tease or point out something embarrassing. If a named friend might feel awkward, switch the idea to the kind helper without the name.
Key questions: Who could we help? What little desk problem have you noticed? What would make school life easier for them?
What good looks like: a problem small enough to help with junk materials in one lesson (not a whole playground redesign).
You do not need a finished demo model ready. In the next teaching step you will think aloud and sketch one plan live on paper so pupils see problem → plan → materials before they start their own.
Think of one friend. What small problem could we help with? Share ideas with a partner, then we will gather a few as a class. No idea is silly at this stage.
Push desks back a little so pairs can talk face to face. Keep junk materials packed until after planning.
Use think-pair-share. Give 30 seconds of quiet thinking, then one minute of partner talk, then take four or five ideas on the board.
Kind helpers only: keep the Step 1 framing live. Every idea is a friendly classroom helper, never teasing. Reuse the stem A friend who keeps dropping crayons or someone whose book will not stay open. If a named friend might feel awkward, switch the idea to the kind helper without the name before the class list goes on the board.
Example problems that fit this age and kit (offer these only if the class is stuck):
Misconception to head off: pupils may pick a huge problem ("make the whole school quieter"). Gently steer them back to something one pair can build from cardboard, tubes and tape today.
STEM eyes: makers start by understanding the person they are helping. Ask: How would your friend feel if this worked?
Differentiation: offer a short list of three ready problems for pupils who find open choice hard. Confident pairs may invent their own.
We choose a small problem for a friend. We draw a plan. Then we make a first model we can hold and fix. Watch the teacher's quick plan.
The full table is for you, not the board. Keep the board light: the three words and the short line above are enough.
| Concept | Why it matters | Example |
|---|---|---|
| Problem — a small real thing that makes life a bit harder for a friend | Makers begin with a person, not with leftover boxes | A friend keeps dropping crayons on the floor during art |
| Plan — a clear drawing that shows our idea before we make it | A plan helps us choose materials and agree what to build | A sketch of a shallow box tray with a label saying "crayons" |
| Model — a first try we can hold, try out and fix as we go | The first make does not have to be perfect; fixing is part of the work | A cereal-box tray taped at the corners, then taped again when a side flaps open |
Hold up a blank sheet and think aloud for about one minute, pausing on each word:
Do not build the full model yet. The point is to show problem → plan → materials, then send pairs to their own Investigation Journal page.
Misconception: some children draw a finished pretty picture with no parts or materials. Ask them to point to where the base is and name two materials they will use.
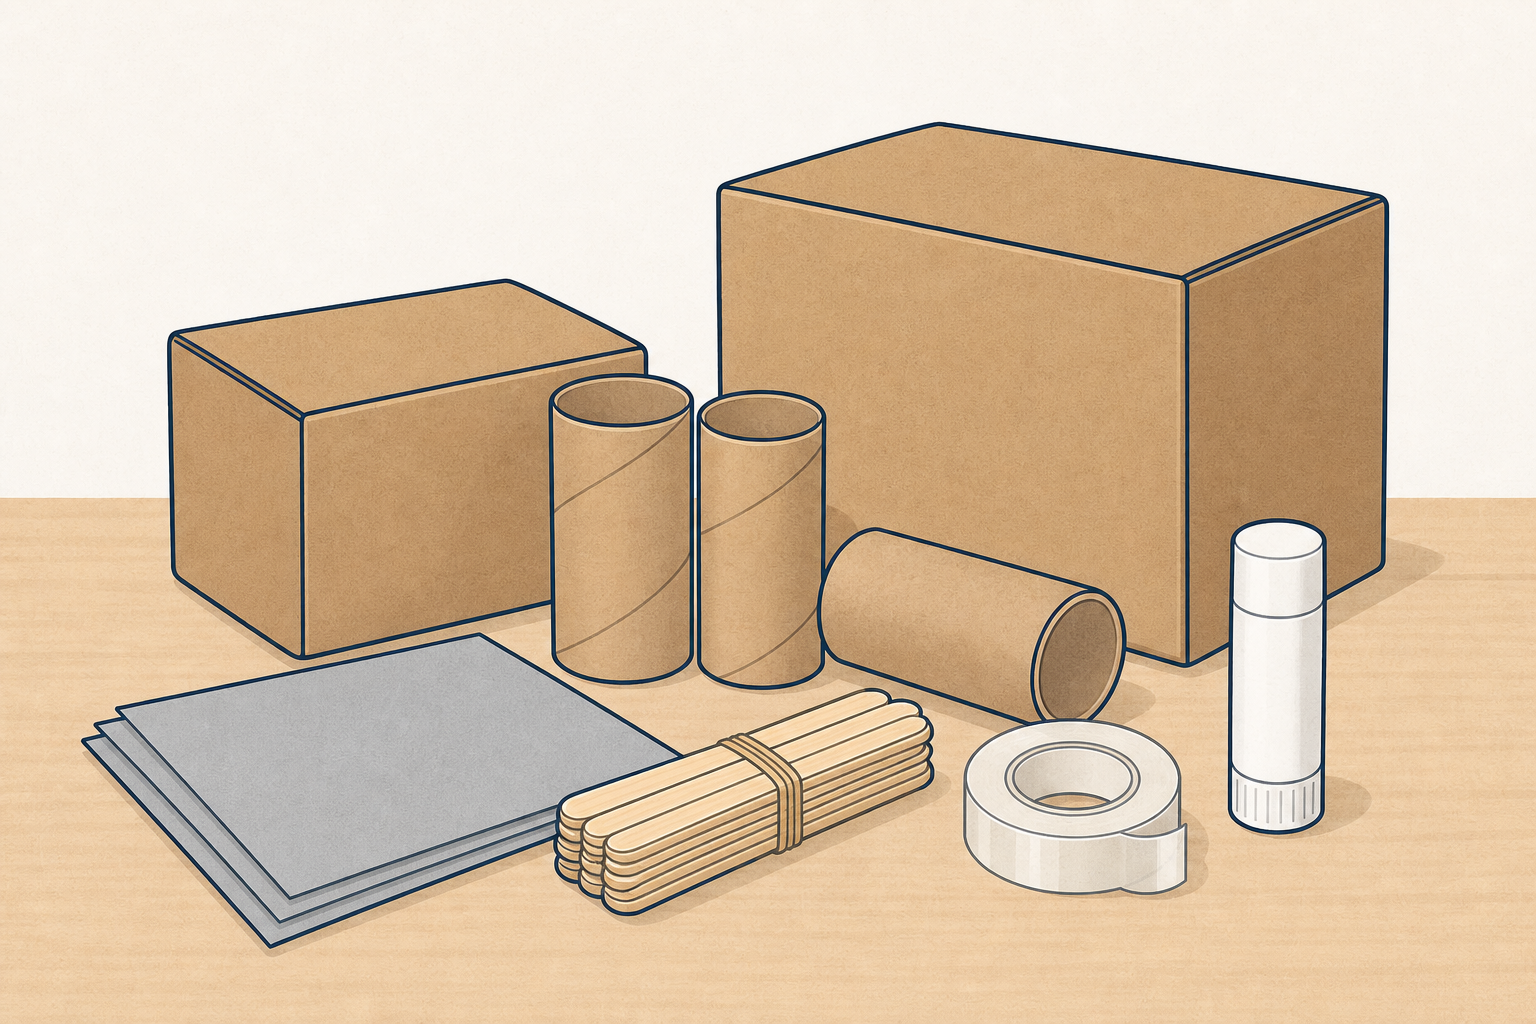
Look at the junk materials we can use today: boxes, tubes, card, lolly sticks, tape and glue.
Hold up one box, one tube, a strip of card, a lolly stick and the tape so material choices are real. Junk stays on the side table until plans are clear; pupils only need to see and name what is available. Trays should already be pre-loaded and waiting so the make block can start without a long kit-opening delay.
Pupils use the Investigation Journal page for this lesson. Say what to record, not how the page is laid out: who it is for, the problem, their drawing, and the materials they will use. Draw-and-tell is enough at this age; writing is optional support, not the main ask. A short dictated phrase is fine.
Pairs work together on one shared idea (each child still fills their own journal page so both own the plan). Circulate and ask:
Success look-fors: a named friend or "a friend who…", one clear problem, a drawing with at least two parts, two materials named.
Differentiation: scribes can write a short phrase a child dictates; some pupils may draw only and tell you the words. Early finishers add one label to a part of the drawing, not a second invention.
When most pairs have a workable plan, stop the class with a clear cue: Plans down beside you. Trays open. Start with the biggest piece. Do not open materials until plans are roughly clear. Remind pairs who are stuck on cuts that they will get one base box and two tubes first so they can begin without waiting in a queue at the adult station.
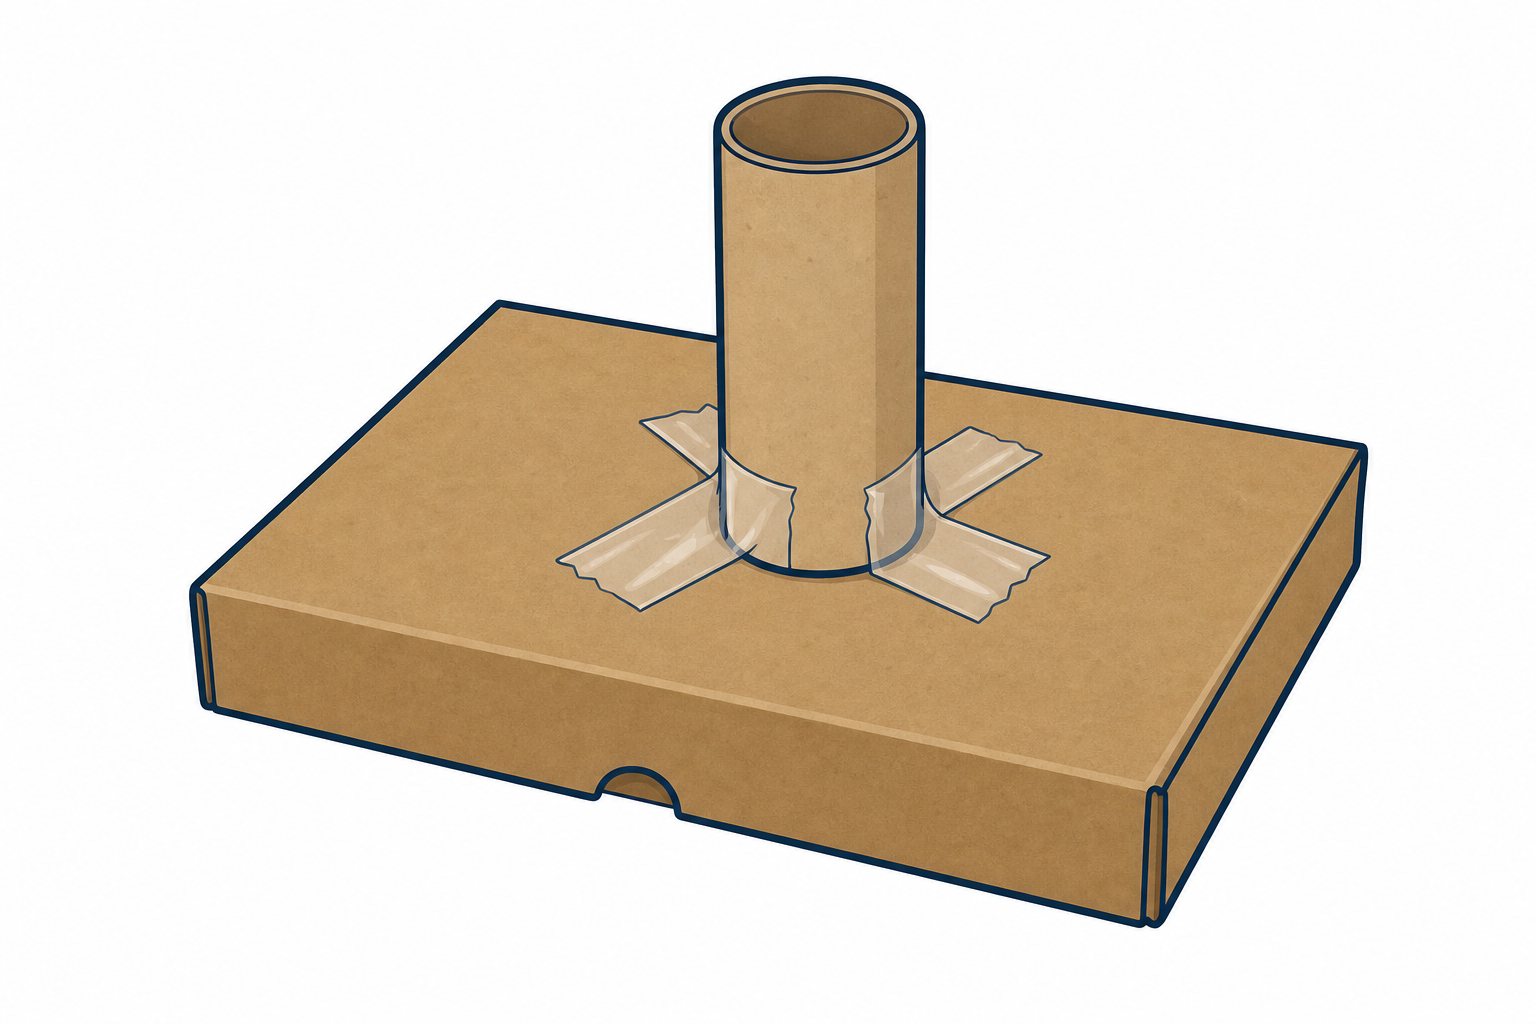
Use the junk materials to make your first model. Start with the biggest piece. Tape as you go. First models often wobble. That is normal. If something flops, fix one part and try again. Keep your plan beside you so you remember who it is for.
Open materials only when most plans are workable (use the cue from the end of the plan step). One shared junk tray per table is already pre-loaded with ready-to-join pieces (short tubes, simple base boxes, a few card strips). That tray is shared by the pairs at the table. Pairs build one model between them (or two small models if the class size and kit allow). Each child still has their own plan in the journal.
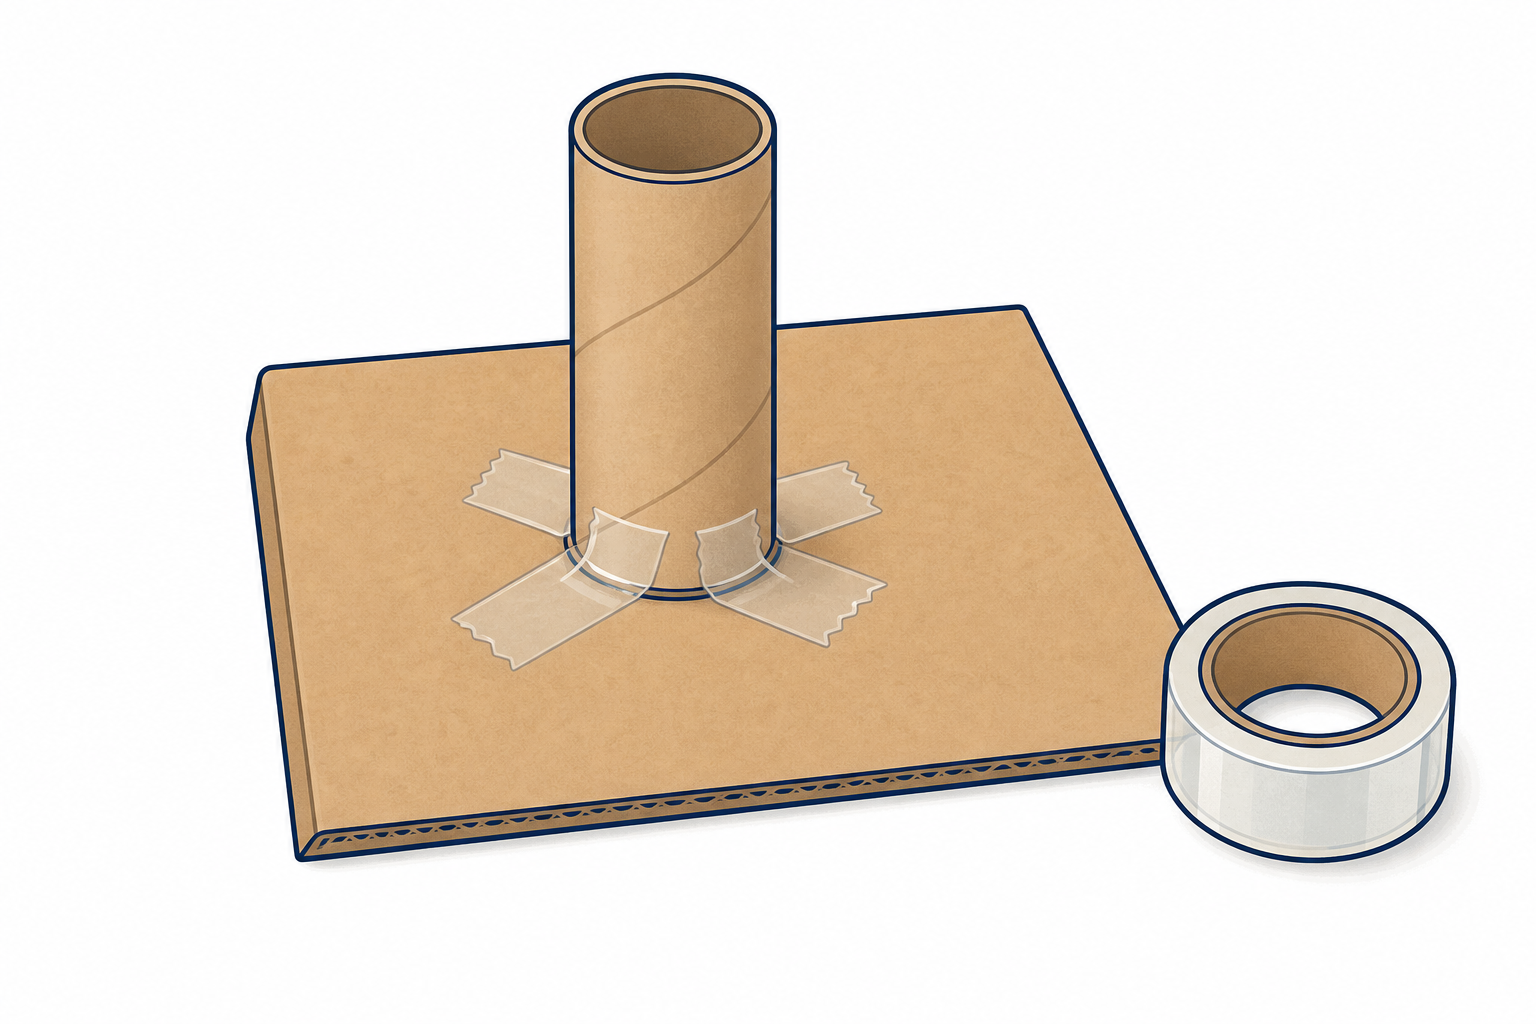
Set one small cutting station for yourself. Pupils request a slot or thick cut; you make it quickly and send them back to join and fix. Do not roam with scissors for every pair or the build minutes will vanish in a queue. Most joins should use fold-and-tape on pieces that are already cut to length. If a pair is stuck waiting or unsure: hand them one base box and two tubes first so they start the base without queuing.
Remind the room of three rules before hands touch materials:
Model one quick join if needed: fold a card edge and tape it flat so a wall stands up.
While they build, ask:
What to expect: wobbly first tries, lots of tape, some pairs changing the plan mid-build. That is normal. Praise fixing, not only a neat finish.
If a pair finishes early: they gently check whether the helper does the one job (holds crayons, props a book, stands up). They may add one improvement, not start a brand-new invention. They do not need devices.
Safety: round-tip scissors only; adult makes sharp or thick cuts at the station; mind eyes when tape snaps; keep walkways clear of boxes.
Protect the pack block: leave the last moments of this step free so pairs can freeze builds and move into labels without rushing the store tray.
You're previewing this lesson. Get full access to this lesson and hundreds more — each one ready to teach, with interactive activities, printable resources and pupil progress tracking built in.