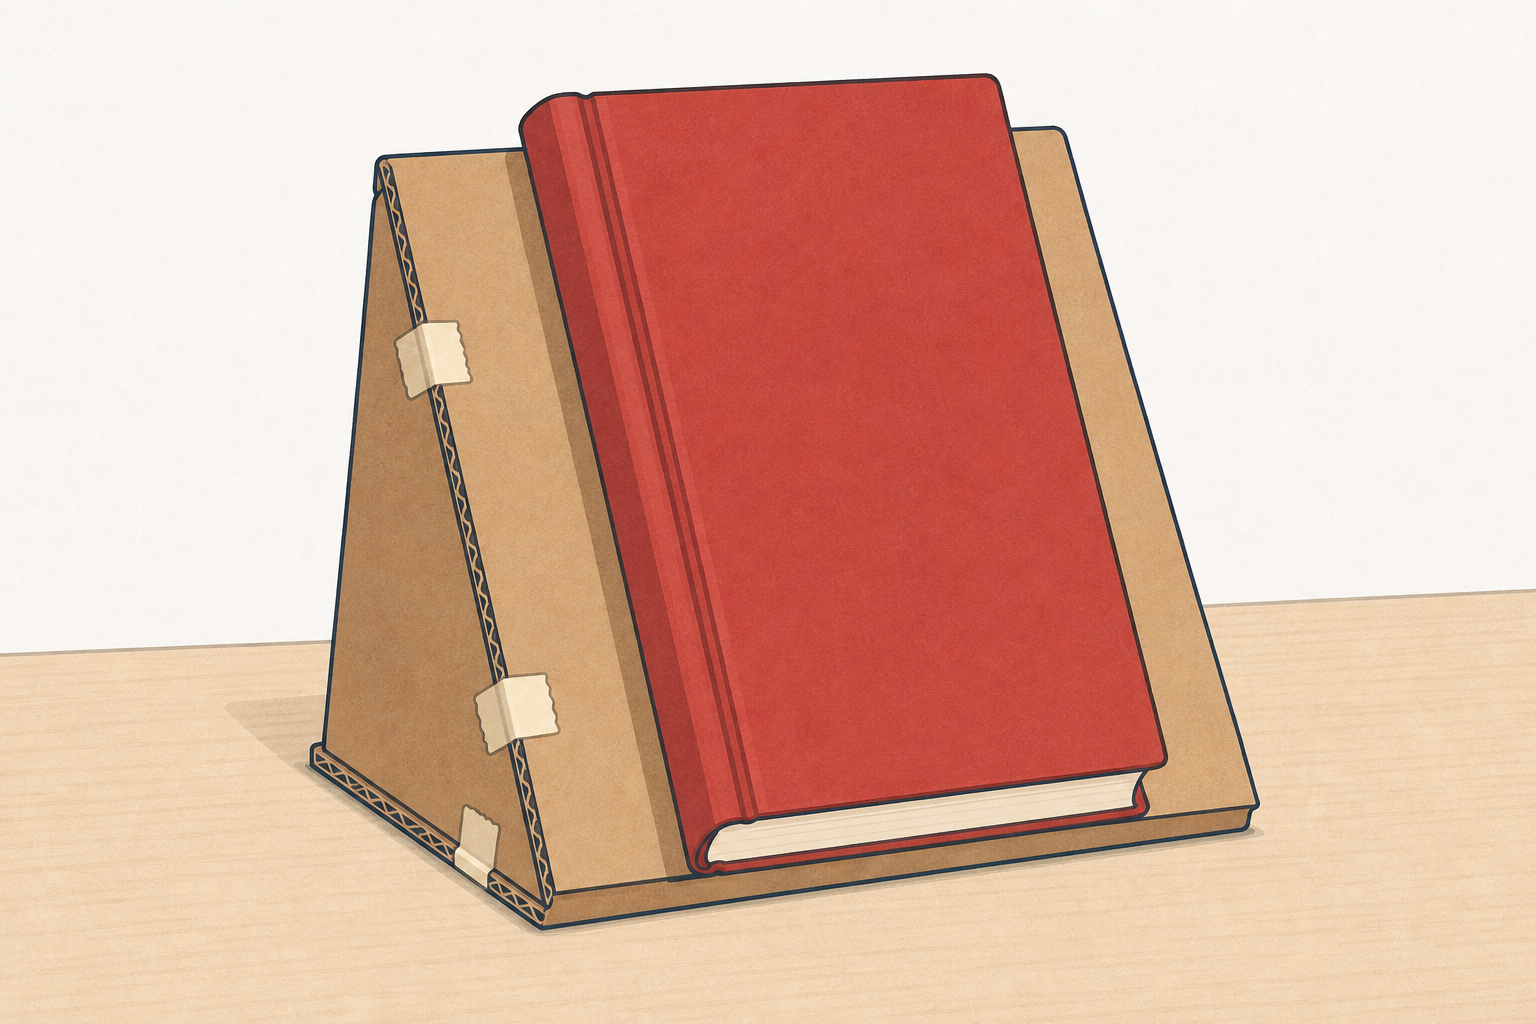
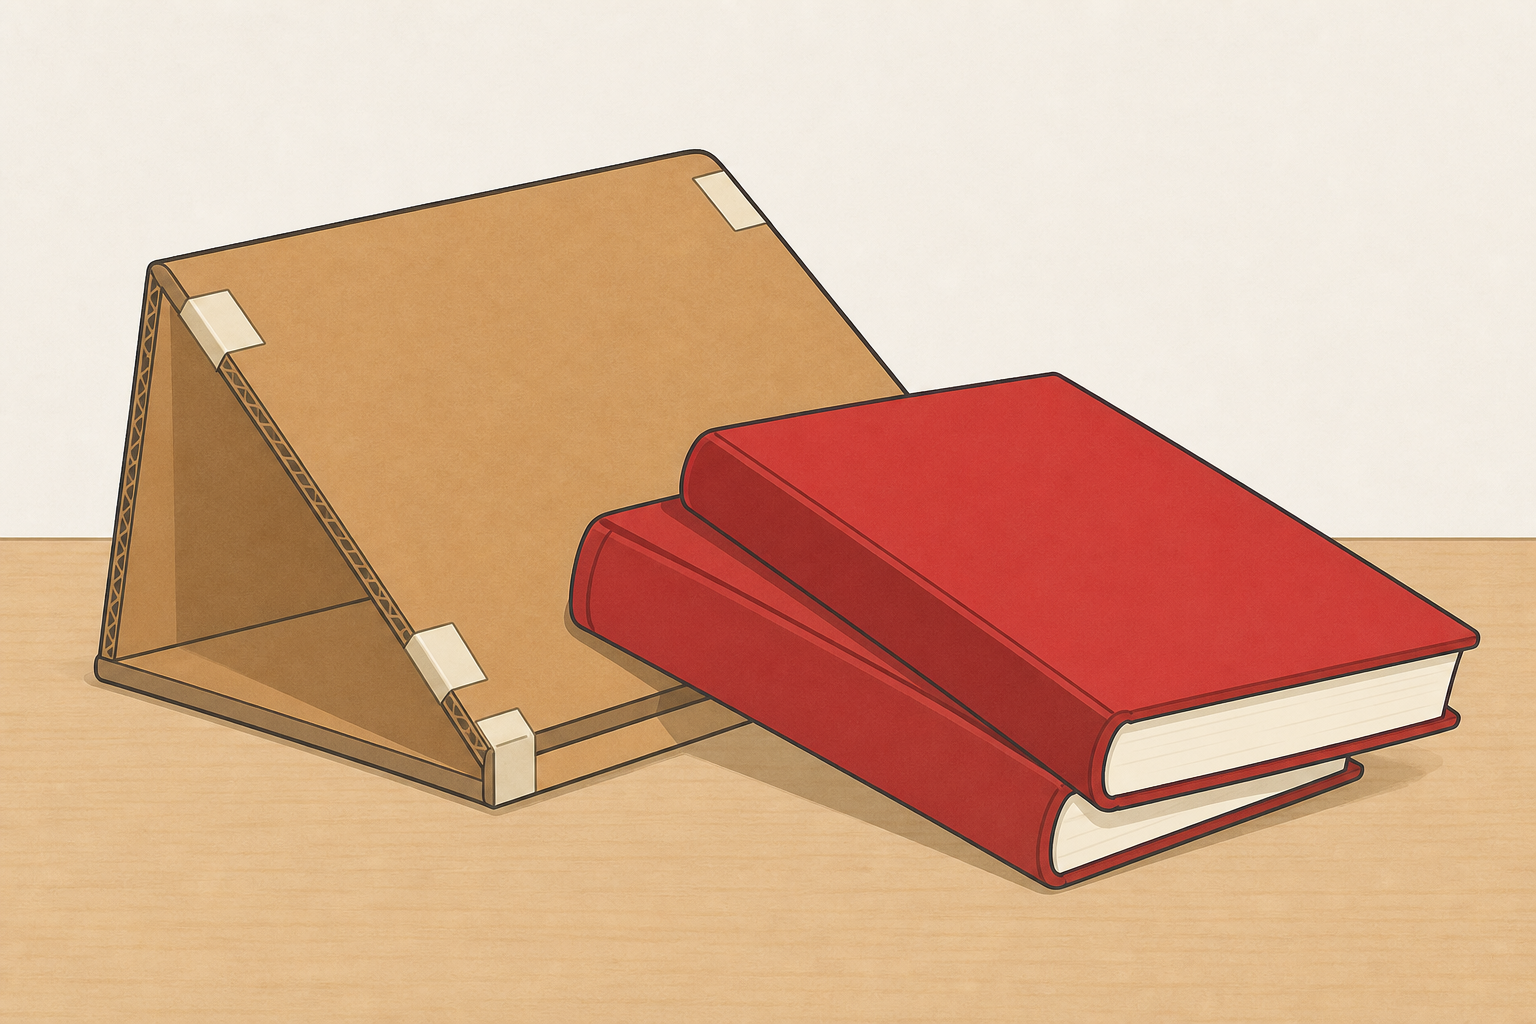
Your prototype is ready. Today we find out what it really does for your user.
Think of a book-rest that holds one book but tips with two. Engineers do not stop at the first build. They test, make one careful change, and share what the tests showed.
Have each group's prototype from earlier in this project ready on their table, with their Design Brief open at the success-criteria section. Do not hand out extra build materials yet.
Keep this beat light. Name the three jobs of the lesson only: test against the criteria, make one improvement, then present the evidence. Save apparatus talk for the test step.
Key question: How will we know if it worked, not just if it looks good?
Today we work with success criteria: the clear checks that tell us if the design did the job for your user.
Like the book-rest that held one book but tipped with two, your checks should be that clear before you test.
Open your Design Brief. What three checks will prove your prototype works? Say them aloud to your partner before we test.
Project only success criteria on the board with one child-facing line. Hold improvement until groups choose their change (step 5) and evidence until the re-test and share (steps 6–7), so each word arrives when pupils need it.
| Concept | Why it matters | Example |
|---|---|---|
| Success criteria — the clear checks that tell us whether a design has done the job we set for it | Without agreed checks, every group can claim success for different reasons and nobody can compare fairly | Stands on its own, holds the book without falling, and is ready in under one minute |
| Improvement — one careful change made after a test, chosen because the evidence showed a weakness | Engineers change one thing at a time so they know which change helped | Adding a wider base after the tower wobbled on the first load test |
| Evidence — what we measured or saw in the test that we can show to others | A claim without a result is only an opinion; evidence lets a user trust the design | The shelf held three books before it sagged, then four books after we added a brace |
Timing for this beat: teach the success-criteria idea briefly, then give every group time to read their own three checks from the Design Brief and say them aloud to a partner. Do not run the full worked fair-test model here; that live model opens step 3 so this partner share is not squeezed out.
Misconception to head off: children may want to rebuild the whole design. Hold them to testing only in the next phase; one change comes after the first record.
Each group reads their own success criteria from the Design Brief they wrote earlier in this project and says them aloud to a partner before testing.
Test your prototype against every success criterion on your Design Brief.
For each check: try it the same way each time, watch carefully, and decide pass or not yet. Failing a check is useful: it tells you what to improve. Do not rebuild yet. Only test and notice.
Before groups touch their kits, hold up a simple spare prototype or use one group's build with permission. Say aloud: I wonder if this book-rest will hold two books without tipping. I predict it will hold one but tip with two because the base is narrow. I test: one book — it holds; two books — it tips. I observed that it failed the "holds two books" criterion. Later we will choose one improvement from that result. Then release groups to their own first tests.
Every group runs its own checks because each Design Brief is different. Kits stay on the group's table so tests run at the same time. You circulate rather than queue groups at one station. If stopwatches are short, pair two nearby groups to share one timer and take turns for timed checks only.
Your job is to keep the test fair within each group: same weight, same starting place, same number of trials where it fits.
Key questions while you circulate:
What to expect: many first prototypes will pass some checks and fail others. That is useful data, not failure. Stop groups that start rebuilding mid-test. Recording comes next, then one planned improvement.
Safety: stand back during any load or collapse test; mind fingers under structures; keep walkways clear.
On your Investigation Journal page, record the first test only.
For each success criterion write three things: the check, pass or not yet, and one thing you saw (for example, "tipped when we added the second book"). Write only those three things now. The one-sentence "what this means" comes after the re-test.
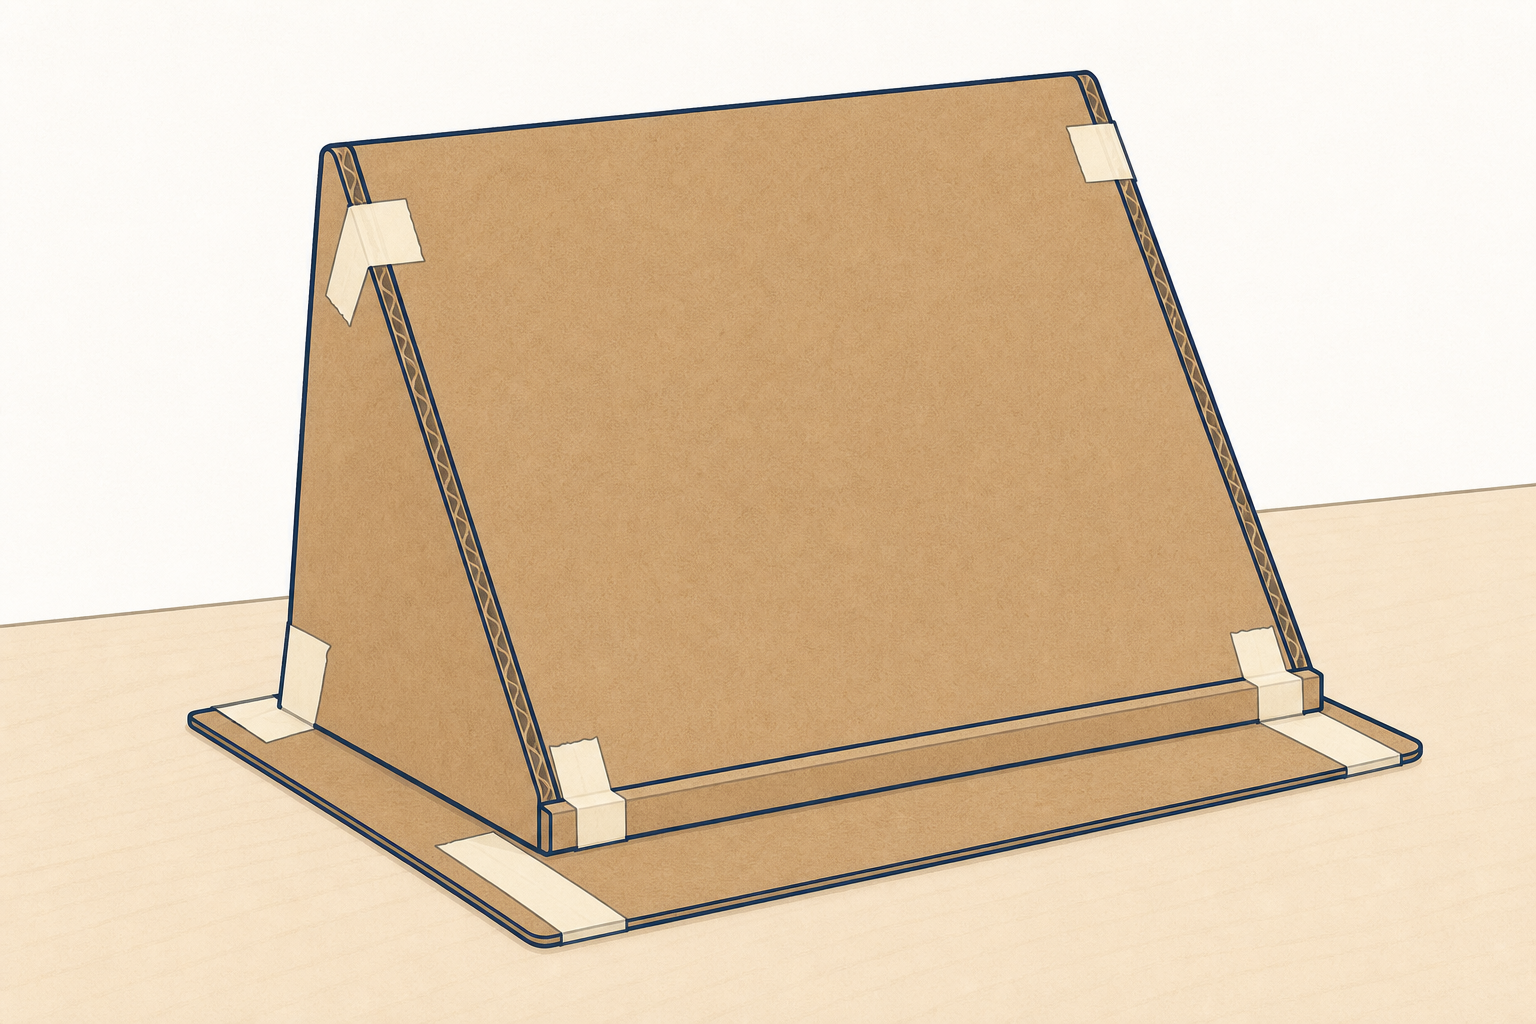
What this beat records (first test only): pupils use the Investigation Journal page to capture the first-test results for every success criterion. They write three things per check: the criterion, pass or not yet, and one short observation. They do not write a conclusion sentence yet; that sits with the re-test comparison in step 6 on the same journal set (Prototype Evaluation for the first-test record; Investigation Journal page for the side-by-side re-test and the one evidence sentence).
On the board, mirror the three write-fors so groups know the shape before they pick up pencils:
Prompt them to fill every criterion, not only the ones that passed.
Say: Write what you saw, not what you wish had happened. Only the three things now — the meaning sentence waits until after we improve and re-test. If a group has no numbers, a clear pass or not-yet with a short observation is enough.
Look-fors: every criterion has a result; notes are specific ("tipped when the second book was added") rather than vague ("it was bad"); groups can point to the weakest part of the design from their own record.
When most groups have finished, ask two groups to share one result only. This seeds the improvement choice without starting the rebuild yet.
An improvement is one careful change after a test, chosen because the results showed a weakness.
Choose one change that the first test points to. On your Investigation Journal page, write that one change in a short sentence (for example, "widen the base with card"). Then make only that change to your prototype. Do not rebuild the whole design.
Hand out limited extra materials to each table: masking tape, a few straws or card offcuts (include a small stack of pre-cut common shapes such as strips and triangles so most groups never need the cutting station), scrap paper. Keep the kit small so groups improve rather than start again.
Set one teacher cutting station, and a second supervised cutter if another adult is free. Rule for the class: only one planned cut per group may go to the station, and only if the pre-cut pieces will not do. Prefer tape joins and pre-cut card first. If the queue builds, send groups back to finish joins while they wait rather than idle at the station.
Before scissors or tape come out, every group must name the one change and why the first-test result chose it, and write that planned change as a short sentence on the Investigation Journal page (text only — no drawing box needed). Example stems: We will widen the base because it tipped; We will add a triangle brace because it sagged in the middle.
Hold the one-change rule. If a group wants three fixes, ask which single change would help the failed criterion most. That is the engineering habit: change one thing so the re-test can show what worked.
Differentiation: a stuck group can re-run the failed criterion once more with you watching, then pick the simplest stiffening or stabilising change (wider base, tape join, triangle). A fast group adds a labelled before-and-after note on the journal page while they wait.
Pacing: first 3 minutes for naming and writing the change; next 8–9 minutes for the physical build, with you moving between the cutting station and tables.
Safety: adult supervision with scissors; an adult makes any difficult cuts.
You're previewing this lesson. Get full access to this lesson and hundreds more — each one ready to teach, with interactive activities, printable resources and pupil progress tracking built in.