Have you ever pushed a heavy bag up a sloping path instead of lifting it straight onto a step? Which felt easier?
Today we will feel how two simple machines, a ramp and a lever, help a small force do a big job.
Keep this light: one curiosity question only. Do not lay out the full kit or name the variables yet. Hold up a heavy book and a short board if you wish, then put them down.
Key question: Why might a slope feel easier than a straight lift?
Surface prior ideas quickly (display-only). Accept all answers; do not correct yet.
I wonder whether a slope or a tipping bar can make a heavy book feel easier to lift.
A ramp is a slope that makes a lift feel gentler. A lever is a stiff bar that rests on something (like a marker) and tips to lift a load.
Effort means how hard the push feels.
Which do you think will feel easier: lifting a book straight up, or sliding it up a ramp? Could a stiff bar help us lift with one finger?
Project only the short board text (ramp, lever, and the effort line). Keep simple machine as your light umbrella phrase in talk, not a fourth word for pupils to master.
Protect this step's core: the live ramp think-aloud is non-negotiable. Do the worked model fully before groups start. Leave the board line Effort = how hard the push feels visible for the rest of the lesson.
Use the table below as your teaching reference.
| Concept | Why it matters | Example |
|---|---|---|
| Ramp — a sloping surface that lets you move a load up more gently than lifting it straight up | The load travels further, but each push feels lighter, so your arms work less hard | Sliding a book bag up a board onto a desk instead of lifting it straight up |
| Lever — a stiff bar that tips on a rest so a small push at one end can lift a load at the other | Putting the rest closer to the load means you need less push at the free end | A wooden ruler on a marker nearer the book end, lifting the book when you press the free end with one finger |
| Effort — the push or pull you put in to move a load (how hard it feels) | We judge effort by how hard it feels in our hands and arms | How hard your finger pushes on the free end of the lever |
| Simple machine — a simple name for tools like ramps and levers that help a small push do a heavy job | People use them every day so heavy jobs need less effort from our bodies | A ramp into a shop, a seesaw, a bottle opener |
Worked model (do this live; this is the heart of the step): Hold a book. Say: I wonder whether a ramp will make this feel lighter. Predict aloud: I think sliding it up the board will feel easier than lifting it straight. Lift the book straight onto a low chair (or desk edge), then slide the same book gently up a smooth, gentle board onto the same height. Think aloud: I felt a hard pull straight up. Up the ramp my arms worked less hard, though the book travelled further. That push I put in is called the effort. Conclude: So I think a ramp helps a small force do a big job. Tools like this are simple machines.
Skip a separate lever demo here; groups will build and feel the lever next. Save Newgrange for the share-out if you want a brief real-world link.
Misconception to head off (one line only): Children may say the ramp "makes the book lighter". The book still weighs the same; the ramp spreads the work so each moment of effort feels smaller.
In your group, set up two simple machines from the kit on your table.
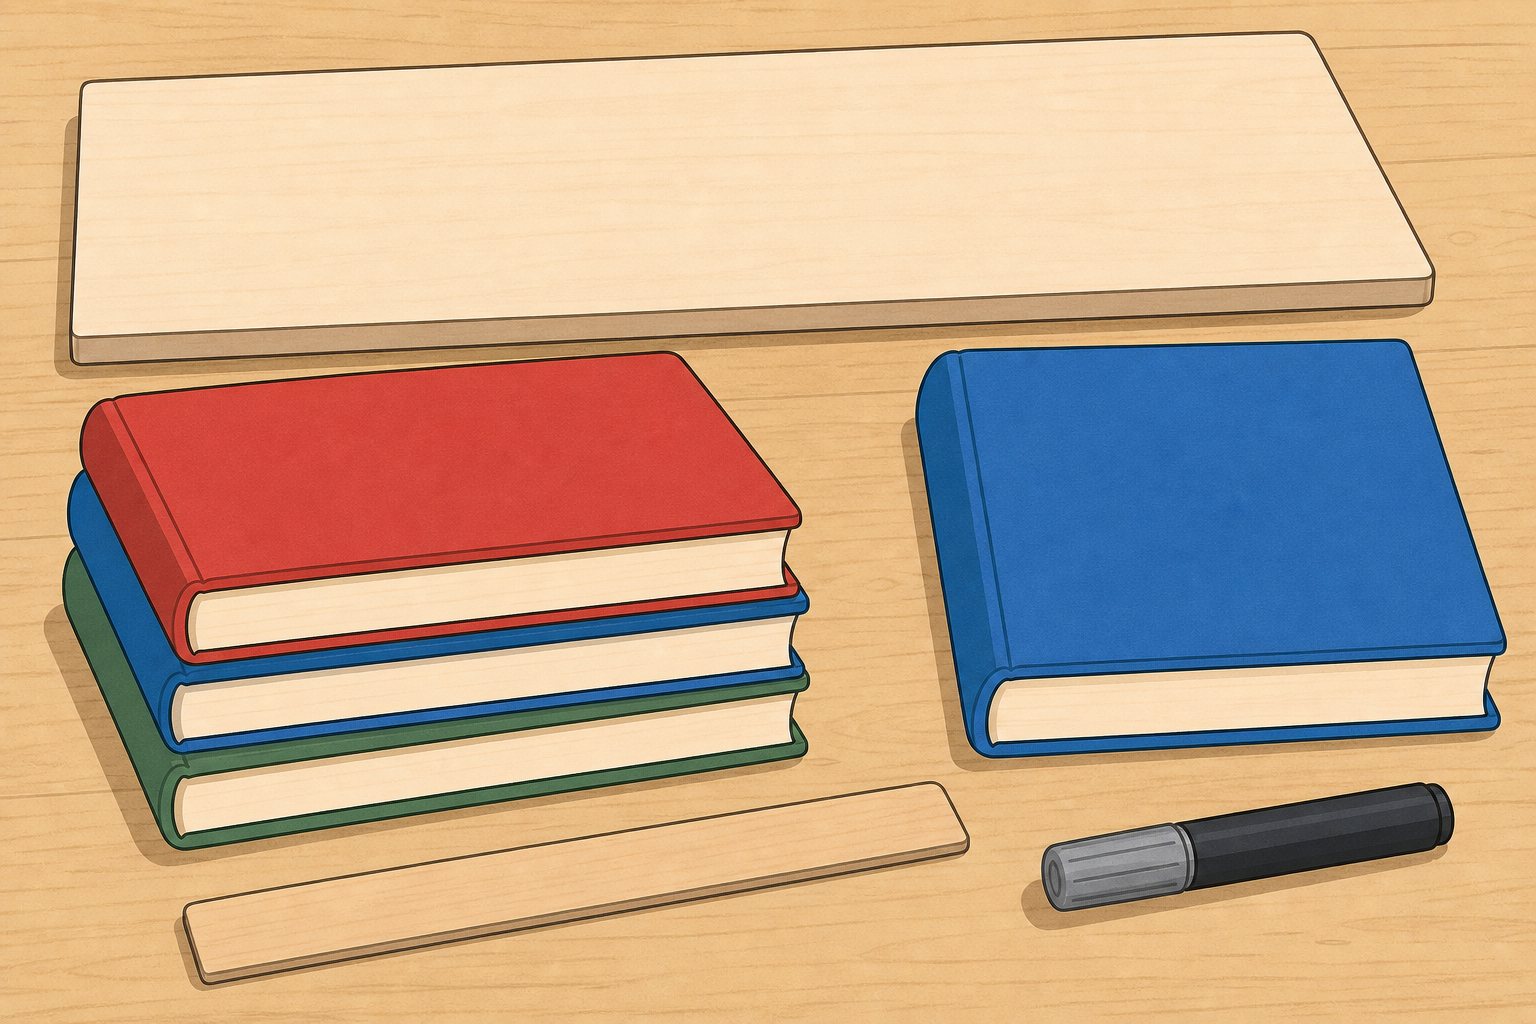
Ramp: lean the smooth board from the desk up onto a low stack of books so the slope is gentle. Check it is steady.
Lever: rest the wooden ruler across the marker or eraser so it can tip like a seesaw. Put the rest nearer the book end. Place the book on the short end. The end with no book is the free end: the end you will press.
When both are ready, hands up and wait for the ready signal so we can check together.
Model one machine at a time if groups look stuck. Circulate and check: ramp raised end is low (gentle slope, about one or two books high on the desk); board surface is smooth; lever rest clearly nearer the book end (short load arm, long effort arm); load is light enough that the ruler does not bow.
Ruler flex look-for: if the ruler bends hard under the book, switch to a wooden ruler or paint-stirrer, or use a lighter load (exercise book or thin hardback), before any one-finger trial.
Groups that finish early freeze on a ready signal (hands up, kit still) rather than racing into testing. Use the wait to spot-check stability and rest position.
Look-fors: board is stable on the desk; fingers stay clear of the underside of the book on the lever; groups can name which set-up is the ramp and which is the lever; rest sits nearer the book than the free end; free end is the end with no book.
Differentiation: less confident groups start with a shorter, gentler ramp and a pre-marked rest spot. Confident groups who finish early may gently check the lever tips freely, but hold the full trials until the class starts together.
Safety: keep fingers from under loads; stand clear if a book slips; do not force a bowing ruler.
We are investigating: How does lifting with a ramp or a lever compare with lifting straight up?
Effort means how hard the push feels.
First, say your prediction out loud to your group: which of the three ways will feel easiest, and why?
Then try each test in order:
Keep the same book and the same height each time so the comparison is fair.
This is a guided investigation. You frame the question; groups feel the difference across three ways of lifting. Do not turn it into a full measured fair test with numbers unless a group is ready and asks. No writing in this step: talk and feel only. Recording happens in the next step.
What to expect: almost every child will say the ramp felt easier than the straight lift, and the lever let them lift with one finger. Treat unexpected hard ramps as data: fix the set-up, then re-feel, rather than arguing with the first result.
Misconception: "The ramp made the book lighter." Revoice: the book still weighs the same; the ramp changes how the force is used.
Safety: lift with two hands on the straight lift; keep feet clear; never put fingers under a rising book on the lever.
Think carefully about what your hands and arms noticed.
For each way of lifting (straight up, up the ramp, and with the lever), talk about:
Then, on your Investigation Journal page or plain paper, write and draw what you felt for each way, and write one sentence about which machine helped most.
This is the only in-lesson write-and-draw beat. Keep it in class before the whole-class share; do not set it as homework. There is no separate layout to invent: pupils record against the prompts below on the Investigation Journal page or plain paper.
What every pupil should record:
If time is short, shorten the write to a quick hard/medium/easy rating for each way plus one sentence, rather than moving recording off the day.
Prompt pairs: Show me with your hands how hard the straight lift felt. Now show the ramp.
Look-fors: children separate what they felt (observation) from what they think it means (the machine helped). Encourage phrases like I felt… so I think…
If a group finishes early, ask them to move the lever rest and feel whether the effort changes, still with the same book. The middle rest position is a good stretch once they have already felt the easier short-load set-up.
You're previewing this lesson. Get full access to this lesson and hundreds more — each one ready to teach, with interactive activities, printable resources and pupil progress tracking built in.