1 - Getting Started ~5 mins
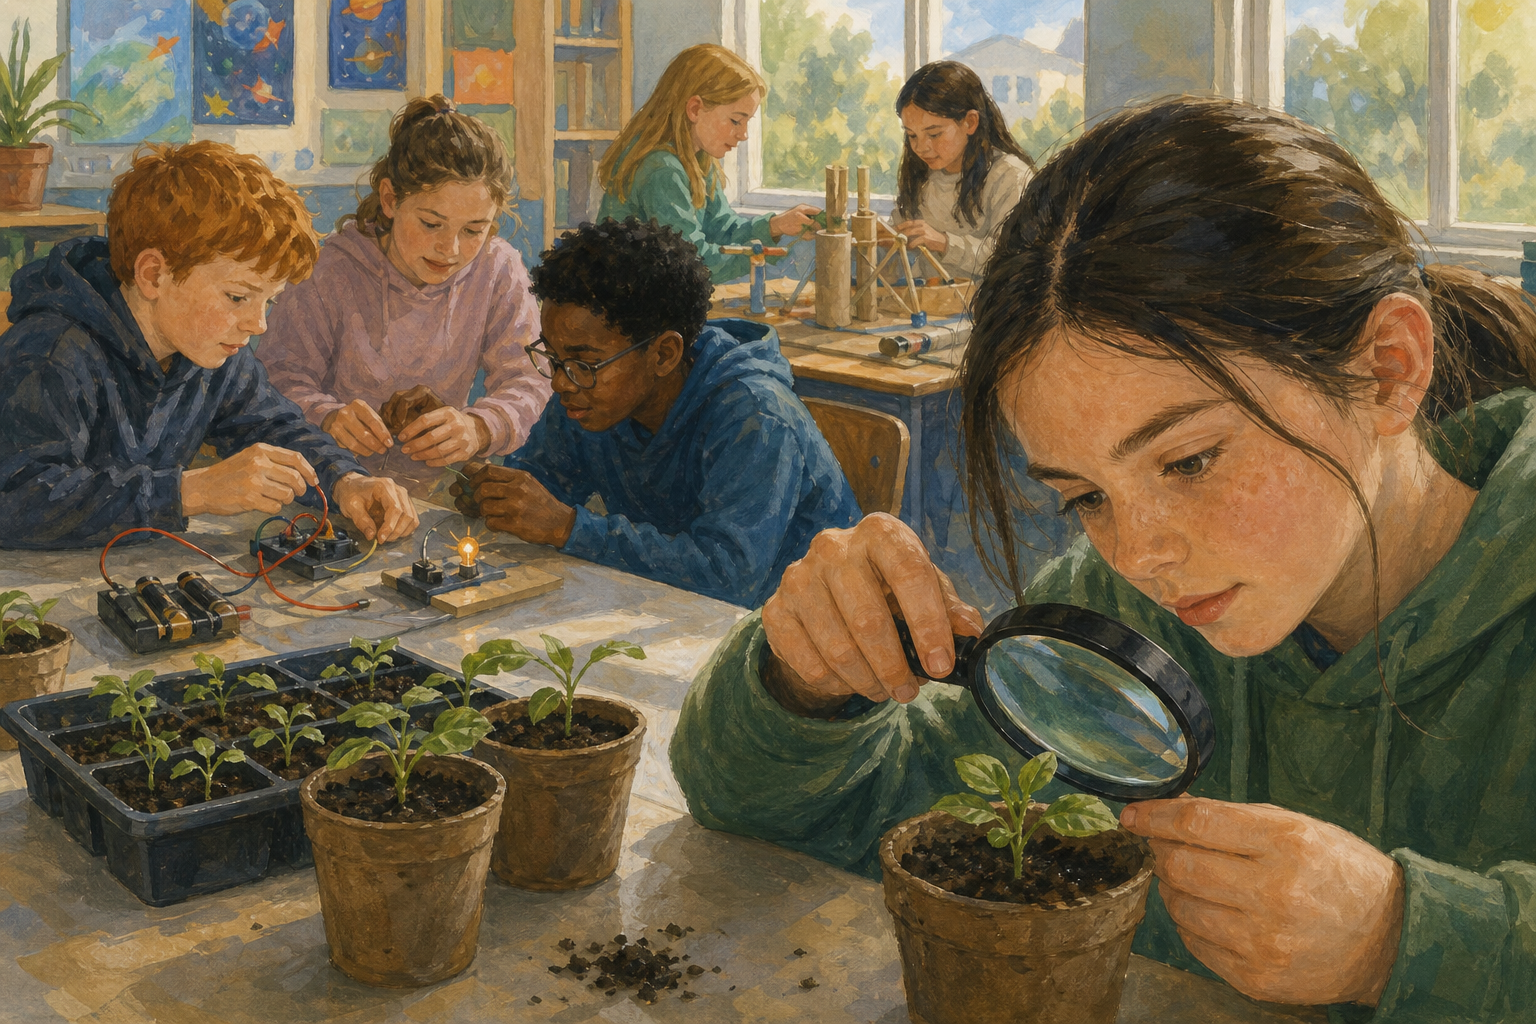 Close one eye and look around the room. Now open it again. What do you think has to reach your eye before you can see the board, a friend, or this light?
Hands up with your best guess: does light leave your eye, or does light arrive at your eye?
Keep this as a curiosity beat only. Do not hand out torches or materials yet. Tallies of hands are fine; do not correct answers. The class will settle the question with evidence later.
What to listen for: many 5th class pupils still think eyes send out beams (a common idea from cartoons and older language like "looking daggers"). Note it calmly and say you will test the idea today.
Before the lesson: gather one torch and one small mirror per group, plus a transparency set (clear plastic, tracing or greaseproof paper, thick card, thin fabric). Print the Investigation Journal page. Place one sticky-note (or card/tape) target on a wall or cupboard for each group before groups start, so every station is ready. Dim lights a little if you can, but a fully dark room is not required for the hands-on work.
2 - Words for Light ~5 mins
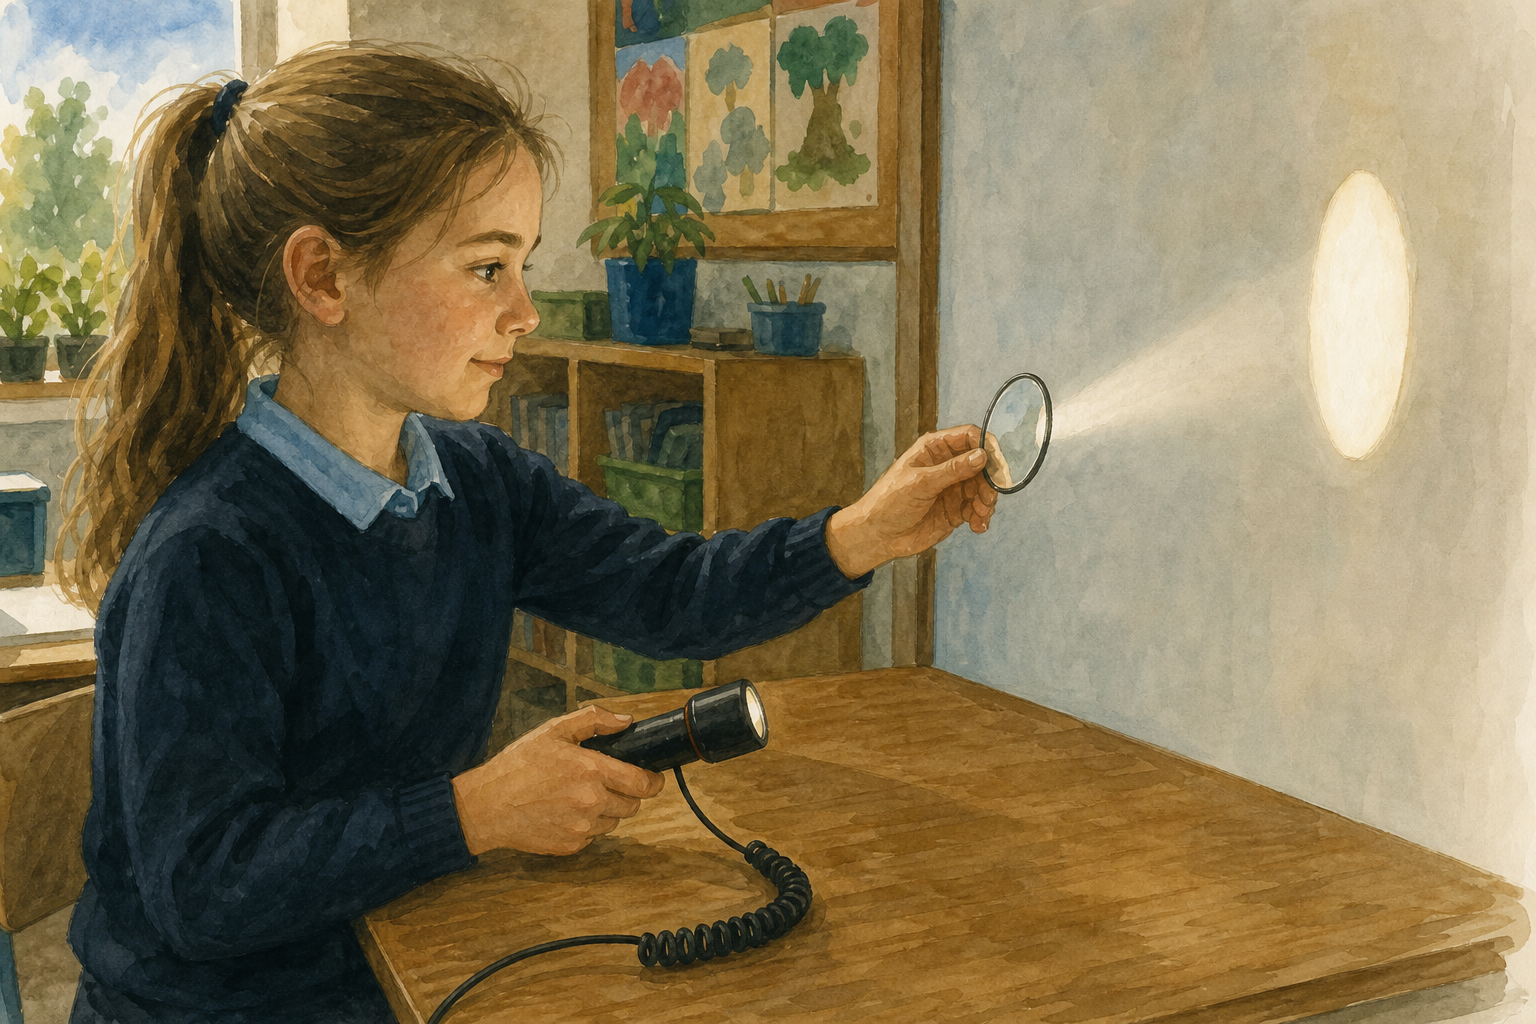 Three words for today's material tests:
transparent — light passes through clearly.
translucent — some light gets through, but the view is fuzzy.
opaque — light is blocked.
We'll make these words mean more when we test each piece in the torch beam. Later we will bounce light with a mirror and come back to our opening question: does light leave the eye, or arrive at it?
Keep this short (about 5 minutes). Project only the three material labels above. Do not define reflection or how we see on the board yet; name those after groups have made a bounce and followed the path on the interactive.
Optional quick hold-up: show clear plastic and thick card once and ask which label fits each, then move straight to the investigation.
| Concept | Why it matters | Example |
|---|---|---|
| Transparent — a material that lets light pass through clearly so you can see a sharp view through it | Windows, clear bottles and safety goggles only work because light can travel straight through them | Hold a clear plastic wallet in front of the torch: the beam and the room beyond stay sharp |
| Translucent — a material that lets some light through but scatters it, so shapes look fuzzy | Frosted glass and greaseproof paper let light in without giving a clear picture, which is useful for privacy and soft light | Tracing paper over the torch glows, but you cannot read writing through it |
| Opaque — a material that blocks light so almost none gets through | Walls, doors and blackout blinds stop light; opaque objects also cast shadows (next lesson) | Thick card held in the beam makes a dark patch on the wall behind it |
| Reflection — light bounces off a surface and changes direction (name after Job 2) | Mirrors, shiny spoons and still water let us redirect light and see images | Tilt a small mirror in a torch beam and watch the bright spot jump across the wall |
| How we see — light must travel into the eye; the eye does not send light out (settle in steps 5–6) | This is the Physics idea behind vision, cameras and safety rules about shining lights | You only notice the torch spot when light from it reaches your eye |
Misconception to head off later: eyes do not "shine" light onto objects. We see because light from a source (or bounced from a surface) enters the eye.
Nature of STEM: physicists and opticians study how light travels and how eyes detect it. That same idea sits behind mirrors on Irish roads and the design of bike lights and reflective jackets.
3 - Investigate Light ~20 mins
In your group you will do two jobs with the torch. Keep your Investigation Journal page open and write as you go, so you do not have to remember later.
Before the torches: predict together which material will let the most light through, and whether the mirror can send the beam to your sticky-note target. Be ready to share your prediction when asked.
Job 1: Test each material. Hold it between the torch and the wall (or the table). Decide together: transparent, translucent, or opaque? Record the label and one short observation straight away (what the wall patch or the view through it looked like).
Job 2: Use the mirror to bounce the torch beam onto the sticky note on your group's wall or cupboard. Change only the tilt of the mirror. Record whether the beam reached the target and what you changed to make it work. Never shine the torch at anyone's face.
Aim for at least two solid material classifications with reasons, plus one successful bounce. Extra materials are a bonus if you have time.
Suggested split of the 20 minutes
- About 4 minutes: station orientation and your modelled cycle (one material + one mirror bounce).
- About 2 minutes: groups state predictions; hear two or three aloud so the prediction lands before kit is in use.
- About 14 minutes: group work. Protect this block. The expected minimum is two solid material classifications with reasons plus one bounce; a full tray is a stretch, not the bar.
Before groups start
Confirm each group already has its own sticky-note (or card/tape) target on a nearby wall or cupboard from your pre-lesson set-up. Point to one station so the whole class can see what "your group's sticky note" means. Hand out Investigation Journal pages now so recording can sit beside the tests, not after them.
Model one full cycle out loud with one material (for example the clear plastic), then one mirror bounce. The class watches; they do not copy your answers onto their page yet.
Modelled cycle (say it, do not print it on the board):
- I wonder whether this clear plastic lets light through clearly.
- I predict it is transparent, because I can already see my fingers through it.
- I test by holding it in the beam toward the wall, same distance each time.
- I observed a bright, sharp patch of light on the wall and I could still see the wall mark through the plastic.
- I think this material is transparent because light passed through clearly.
Then model the mirror: aim the torch at the mirror (not at eyes), tilt until the spot hits the sticky-note target, and say the light bounced and changed direction. That is the moment to name reflection if it has not been said yet.
Shared prediction moment
Before any group starts Job 1, every group agrees two spoken predictions (most light through; bounce will / will not hit the sticky note). Cold-call two or three groups so the class hears the ideas. Do not correct them. Then release groups to test and record.
Group work
Groups of three to four. One torch, one mirror, one material set, one sticky-note target already on their wall or cupboard, journal page open. Circulate and ask: What stayed the same in each material test? (torch distance, which side faces the light, how you judge the wall patch.) Prompt them to write each result before moving to the next material.
What good looks like: two solid material classifications with a reason plus at least one successful bounce is the success bar for later talk; three materials is ideal if time allows. If the room is bright, cup a hand around the torch or work toward a shaded wall corner.
Thin fabric: treat as a discuss-and-justify item. Depending on weave and torch strength it may look translucent or opaque. Both answers are fine if the group ties the label to what they saw on the wall. Clear plastic, tracing/greaseproof paper and thick card give the clean three-way contrast.
Safety: torches never aimed at eyes or faces; mirrors held low; no running with glass mirrors. Foil-on-card is the substitute if a mirror is missing.
Differentiation: less confident groups start with card vs clear plastic only, then add tracing paper. Confident groups try fabric as a mystery material, or a second bounce using two mirrors in a chain if kit allows.
4 - Record Our Results ~10 mins
Finish your Investigation Journal page so both parts of the investigation are clear.
Check every material you tested has a transparent, translucent or opaque label and one short observation. Add any material you still need to write up.
Also finish the mirror bounce: did the beam reach your sticky-note target, and what did you change to make it work? If you have time, add a quick sketch of torch to mirror to target and mark where the light changed direction.
Most groups should already have written as they tested in Step 3. This step is for completing and checking, not reconstructing everything from memory. The Investigation Journal page is for both the materials comparison and the mirror-bounce outcome; both belong on that page as part of today's record.
Look-fors:
- At least two materials classified with a reason tied to what they saw (three is ideal)
- Transparent vs translucent not mixed up (clear sharp view vs glow or fuzzy view)
- Mirror bounce recorded: whether the spot hit the sticky note, and that tilting the mirror changed where it landed
If a group only managed two materials, that is enough evidence for the discussion. Early finishers sketch the path of the bounced beam (torch → mirror → target) on the journal page and label where the light changed direction.
5 - Follow the Light to the Eye ~10 mins
Look at the interactive activity on the board. It shows a torch, a mirror and an eye.
We will turn the torch angle together. Before each turn, predict where the light will land. Then watch the path all the way: does any light leave the eye, or does light only arrive?
How does light reach the eye?
Drive light-rays on the IWB in explore mode. The scene is locked to the mirror with the beam ending at an eye. Spell out what is on screen so you are not guessing: a torch, a flat mirror, angle marks from the straight-on line at the mirror (the line sticking straight out from the surface), and an eye where the reflected ray finishes.
Start at about 45 degrees. Ask for a spoken prediction, then turn the dial. Repeat at a steeper and a shallower angle.
Key narration: light leaves the torch, hits the mirror, bounces (reflection), and enters the eye. Nothing shoots out of the eye. That is how we see the bright path.
Equal angles: pupils may notice the two angles at the mirror look similar. Treat that as an optional notice only. Do not formalise "angle of incidence equals angle of reflection" and do not make it a success criterion for this lesson. Stay on path-to-the-eye.
Fold the whole class in: Are they right about the landing spot? What would you predict if I turn it this way? Do not set a separate desk task for watchers.
If the interactive is unavailable, retell the same path with the real torch and mirror aimed (safely) so the spot lands near where a volunteer stands, and stress that the volunteer sees the spot when light reaches their eyes.
Unlock the full learning experience
You're previewing this lesson. Get full access to this lesson and hundreds more — each one ready to teach, with interactive activities, printable resources and pupil progress tracking built in.
This lesson is copyright of Coding Ireland 2017 - 2025. Unauthorised use, copying or distribution is not allowed.