Look at this challenge. Can you build something that stands on its own and does a real job?
Your group will choose: build a bridge that spans a gap and holds a toy car, or build a tower that stands free and holds a small weight. What do you already know that might help?
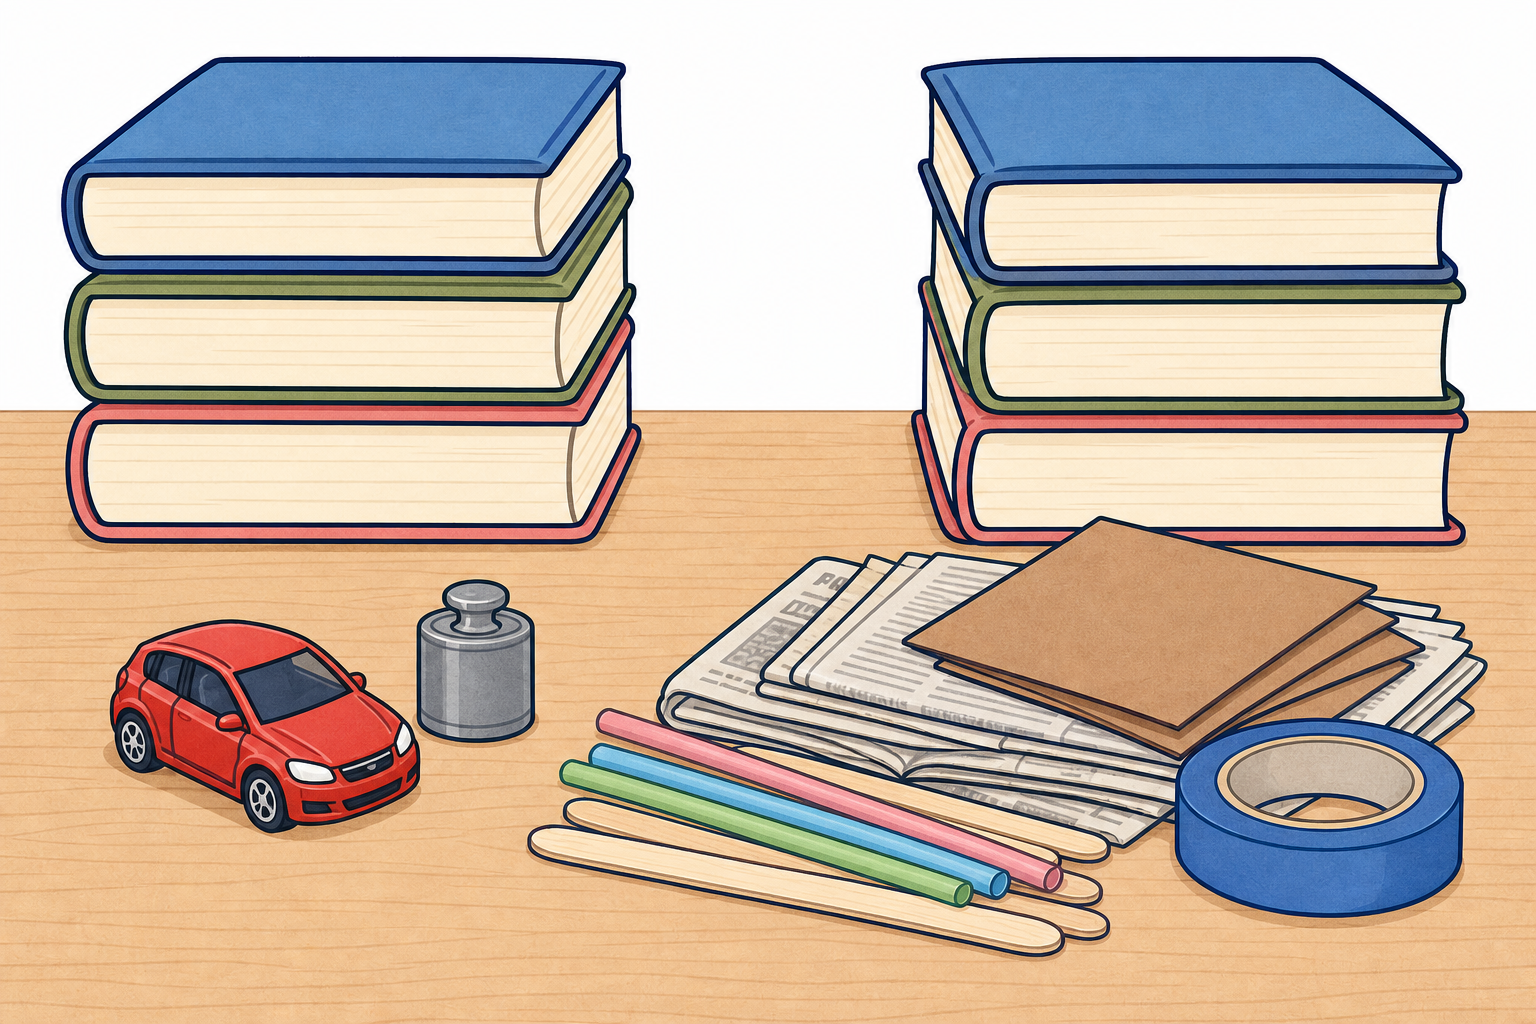
Hold up a toy car and a small weight (for example a bag of coins or a wooden block). Keep the full group materials trays out of sight until the build step so the hook stays a curiosity beat. A small demo set for step 2 (one newspaper sheet, tape, two book stacks with the same pre-marked class gap of about 20–30 cm) can sit ready on the front table, separate from the group trays.
Key question: What job must your bridge or tower do, and how will we know it worked?
Surface prior knowledge without naming an earlier lesson: children already know that folding can make paper stronger, and that makers plan before they build. Capture two or three quick ideas on the board (fold, roll, triangle, tape well).
STEM eyes: ask where children have noticed strong shapes in the real world — strong cardboard boxes, roof frames, Irish bridges and pylons.
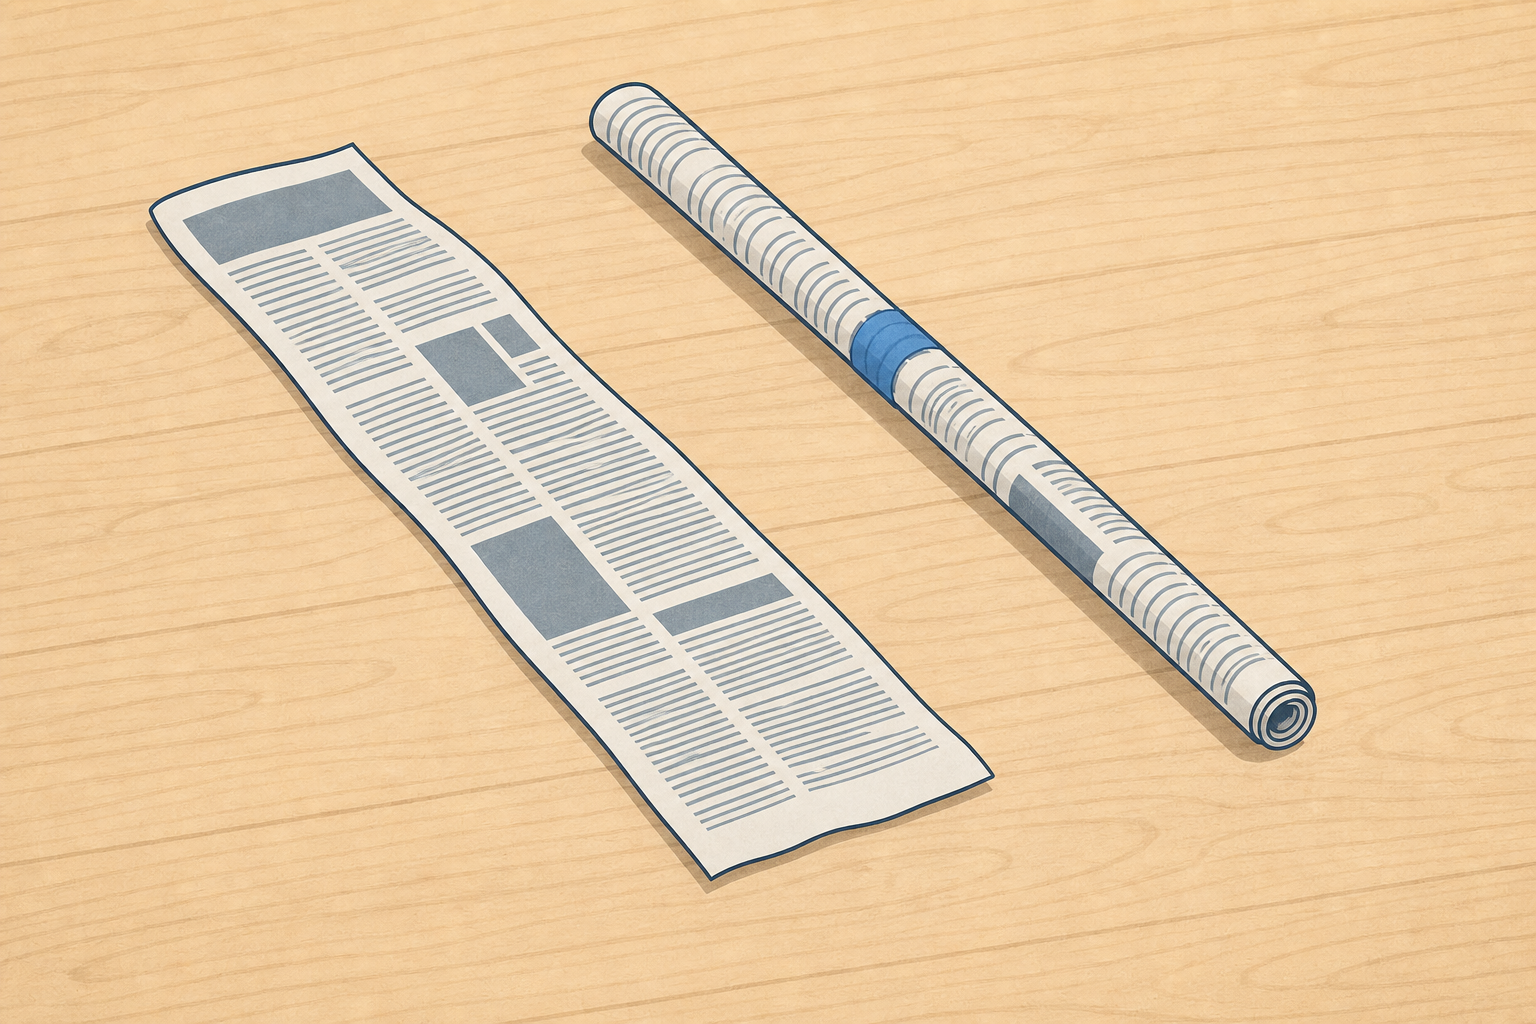
Which do you think will stand better under a gentle push: a flat strip of paper, or the same strip rolled into a tube?
Rolling is one strong shape. Today we will also talk about joins (where two pieces meet and are fixed so the build holds). Watch the demo, then we will build.
Board stays short: the flat-vs-tube question plus the two focus words. Say fuller meanings aloud during the live demo. Use structure only as plain talk for the bridge or tower itself, not as a third key term.
Front-table demo kit (ready before the lesson; group trays stay hidden): one newspaper sheet, masking tape, two book stacks with the same pre-marked class gap of about 20–30 cm that bridge groups will use, toy car and small weight ready for the quick checks.
| Concept | Why it matters | Example |
|---|---|---|
| Strong shape — a shape that helps a build stay steady, such as a triangle, a fold, or a rolled tube | The same material can flop or hold, depending on the shape you give it | A rolled newspaper tube is much stiffer than a flat sheet of the same paper |
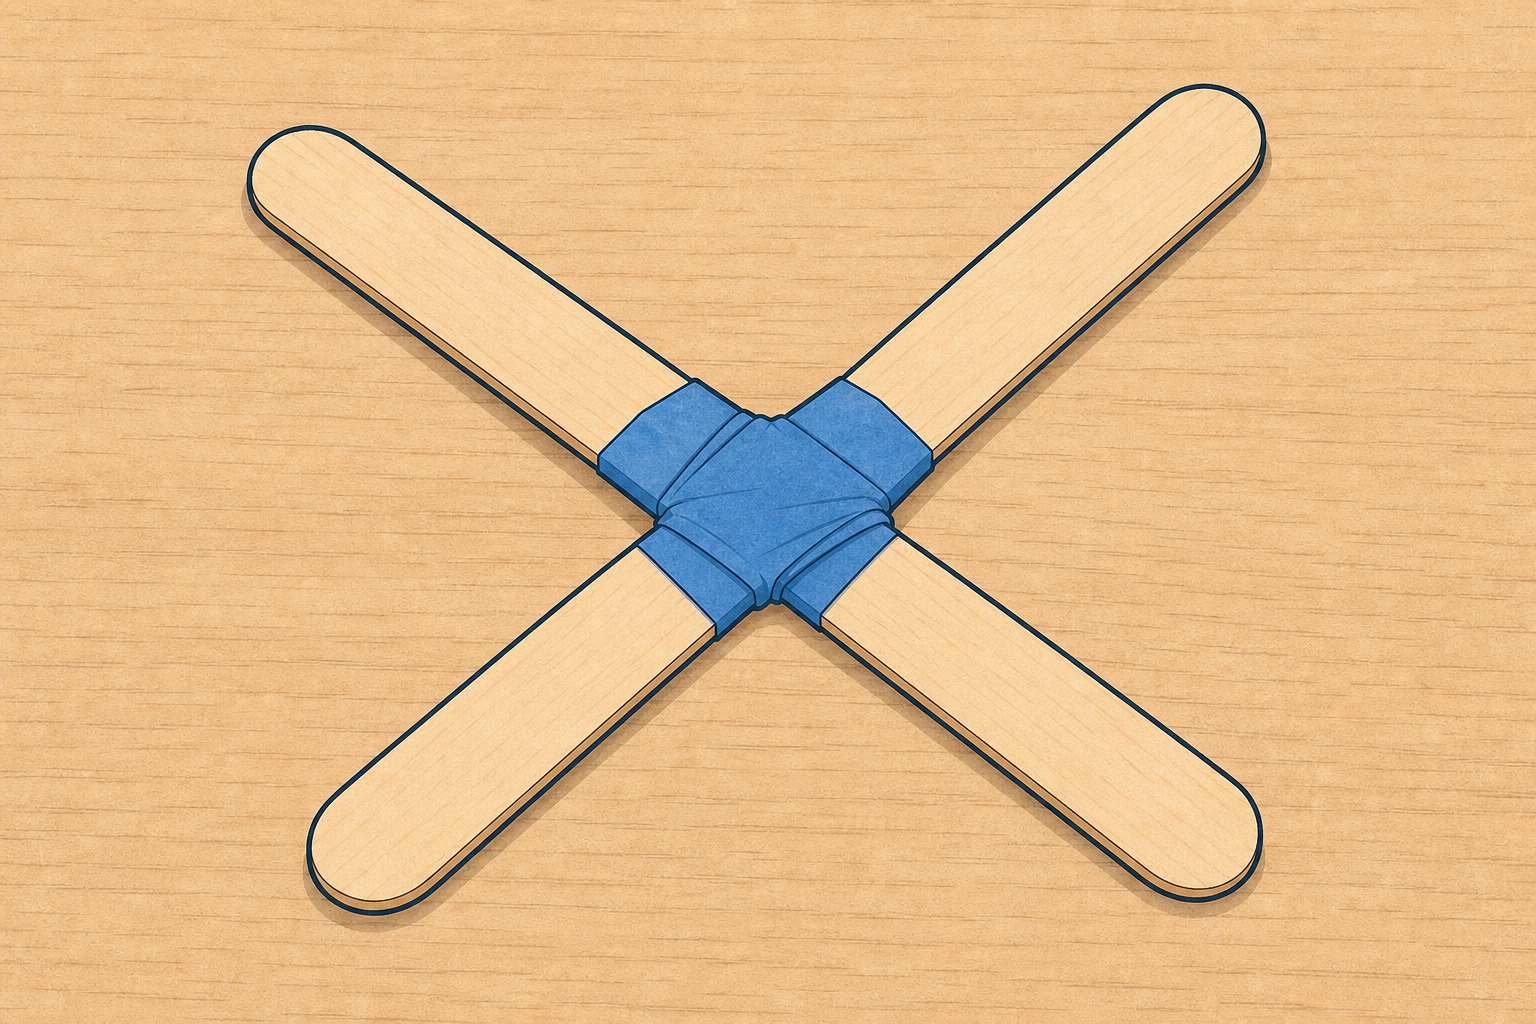
| Join — the place where two pieces meet and are fixed so the build holds | Weak joins are often why a model wobbles or falls, even when the shapes are good | Overlapping two card strips and taping both sides makes a firmer join than one tiny piece of tape |
Anchor the demo on one flat-vs-tube contrast and one firmer-join beat. Use the longer wonder–predict–test stems only if the physical result is already visible and a spare half-minute remains.
If you still have a moment, think aloud: I think rolling and firm joins help the bridge or tower do the job. If it still sags, I could add a triangle brace underneath (a strong shape) and tape the overlap on both sides (a firmer join).
Misconception to head off: more tape alone does not always mean stronger. Shape and how pieces meet matter as much as how much tape you use.
What to expect: many first builds will sag or lean. That is useful data, not failure. Praise testing and strengthening.
In your group, choose what to build: a bridge that spans the gap and holds the toy car, or a tower that stands free and holds the small weight.
Use newspaper, card, straws, lolly sticks and masking tape. Build so it stands on its own. Talk as you go: which shapes feel strong, and where do the joins need to be firmer?
Whether you build a bridge or a tower, success looks the same: free-standing (no hands holding it), at least one strong shape (roll, fold, triangle, or tube), and joins firm enough for a gentle load test. Circulate with that three-point checklist so both choices stay one lesson, not two.
Groups of three or four work well. Let each group pick bridge or tower so there is a little real choice, but keep the success picture class-wide.
Minimum viable build (mid-build target): by the halfway pause, aim for free-standing with one strong shape and joins firm enough to test. Call a pause about halfway: stop adding new features; spend the remaining minutes firming joins and checking the build stands alone ready for the test.
If a group is not free-standing when testing begins: do not start a brand-new design. Help them strip back to a simpler version that can stand alone for one gentle test (for example two rolled tubes side by side for a bridge deck, or three tubes taped in a tripod for a tower). They still join the predict → load → one change → retest cycle with that simpler build.
Prompts while you circulate: Where is your strongest shape? What happens if you press gently here? How could you make that join firmer without using the whole roll of tape? Is it free-standing yet?
Differentiation: offer a starter idea to a less confident group (two rolled tubes side by side for a bridge deck, or three tubes taped in a tripod for a tower). Stretch a confident group by asking for a wider gap or a second storey on the tower.
Safety: mind fingers when pressing tape and folding card. No running with sticks or straws. Keep the lane clear around bridge gaps.
Now we find out what your bridge or tower can do. First, say your prediction out loud: do you think it will hold the toy car or small weight, sag, lean, or fall, and why?
Choose one child in your group to place the toy car or small weight gently. Everyone else stands back and watches what happens. Then strengthen only one thing, a shape or a join, and test again with the same toy car or weight. Talk about what changed.
This step is predict → first load → one strengthen change → retest only. Drawing stays entirely in step 5. Run it as a calm group investigation at each group's own desk, not a race and not a whole-class queue-up. Groups test in parallel while you circulate.
Roles (say this to the class): one child in the group places the toy car (bridge) or small weight (tower); everyone else stands back and watches whether it holds, sags, leans or falls. Swap the placer for the retest if you wish so more children take a turn.
Pacing cue: allow roughly two minutes for spoken predictions, two minutes for the first load and watch, two minutes to make one change, and two minutes for the retest. Keep moving so every group gets both tests; if time is short, shorten the chat after the first test, not the second load.
Bridge test: place the toy car at the middle of the span. Watch for sag, twist or a join peeling open.
Tower test: place the small weight on top (or hang a light bag from a safe point if the design allows). Watch for lean or collapse.
Prediction beat: every group says aloud what they think will happen and why before the first load goes on. Predictions are the start of the science, never marked right or wrong. Link the word load only after naming the familiar object: the load is your toy car or small weight.
Strengthen once: after the first test, groups may change one thing only (add a brace, retape a join, roll a weaker leg into a tube) and test again. Keep the same toy car or weight and the same gap so the comparison is clear.
If a structure fails completely: treat it as useful evidence. Ask where did it give way first — the shape or the join? In the same two-minute strengthen window, simplify one join or one shape for the retest (for example retape the weakest join, or roll one floppy leg into a tube). Do not start a brand-new design from scratch; the group still completes predict → load → one change → retest with the simpler fix.
Safety: everyone except the one placer stands back during the load test. Do not stand on chairs to load a tall tower. Catch falling pieces; mind fingers and toes.
On your Investigation Journal page, draw your bridge or tower. Show the strong shapes and the joins that helped. Be ready to point to one thing that made it stronger after the test.
Pupils record on the paper Investigation Journal page. Do not describe invented boxes or columns on the journal — say what to record, not where it sits on the page. This recording happens in class during this lesson sitting; it is not homework.
What pupils should show: a clear drawing of their bridge or tower; strong shapes marked (for example rolled tubes or triangle braces); joins that held; one short spoken sentence to a partner — This made it stronger because…
If time is tight, a labelled drawing plus one spoken sentence to you is enough. No typed reflection.
Look-fors: the drawing matches the real build; the child can point to a shape or join and say what it did in the test.
You're previewing this lesson. Get full access to this lesson and hundreds more — each one ready to teach, with interactive activities, printable resources and pupil progress tracking built in.