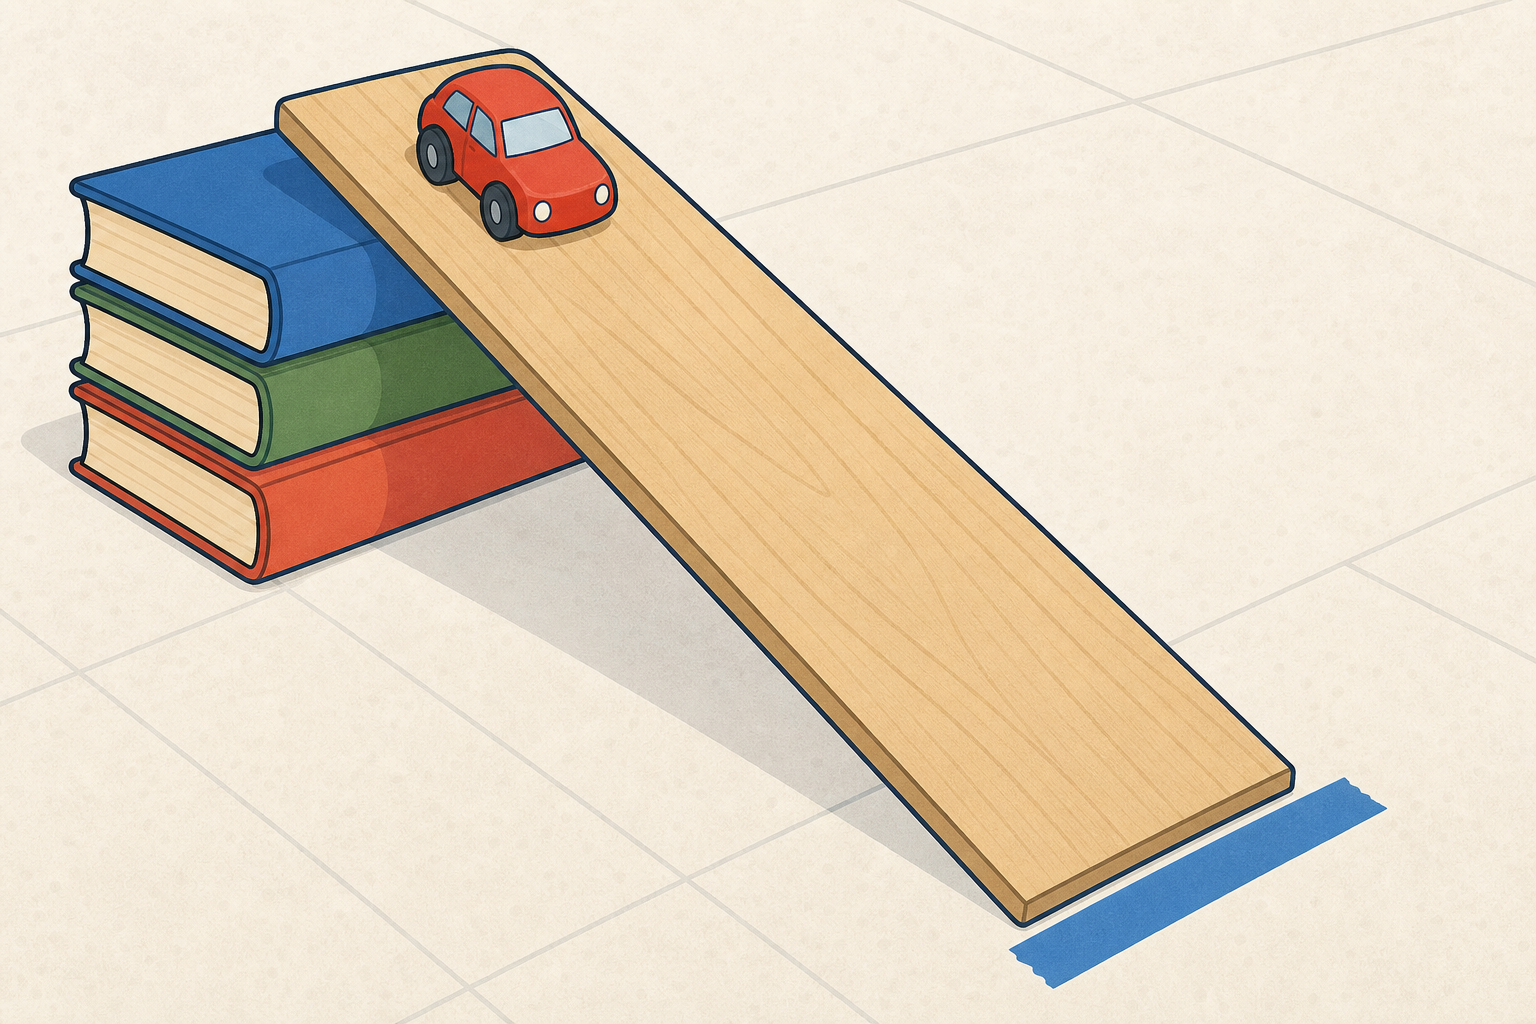
What makes a toy car roll further: a steep hill or a gentle one? Or is it a big push that matters more? Hands up your guess.
Keep this light. Pose the question only; do not set out the ramps yet. Take a quick show of hands for steep hill, gentle hill, and big push. Do not say who is right. Tell the class we will ask a real question and find out with cars and ramps.
STEM eyes: invite one quick link to slopes they already know, such as a skate ramp, a wheelchair ramp, or a slide in the playground.
Two words for today. A force is a push or a pull that changes how something moves, like the push that sends a toy car. A ramp can also give the car a stronger start down the slope. Compare means we try two versions and notice how the results differ.
Board stays short: only the two load-bearing words (force and compare) plus the one-line ramp bridge. Treat ramp as everyday equipment language, not a third word to learn. Leave the change-one-thing plan for the next step. Use the table below for your own reference, then model one full cycle aloud before groups plan.
| Concept | Why it matters | Example |
|---|---|---|
| Force — a push or a pull that can start, stop or change how something moves | Forces explain why a car starts rolling, speeds up, or stops | A bigger push on a toy car makes it roll further along the floor |
| Compare — try two versions of something and notice how the results differ | Comparing two clear tries helps us say what the change did | Same car, same start mark, high ramp then low ramp, measure both rolls |
Worked example to model aloud (do this once, with one car and one ramp, before groups choose):
Height and steepness: with the same board on more books, the car starts higher and the slope is steeper — both change together. At this age it is enough to say the higher or steeper ramp often gives the car a stronger start.
Misconception to head off: children may want to change the ramp height and the push at once. Gently bring them back to one change only, so they can say what made the difference.
If both runs look the same: the ramp is too low or the floor is very rough. Add one more book, or clear a longer smooth lane.
As a class, choose one simple question to find out. Will we compare a higher ramp with a lower ramp, or a bigger push with a smaller push?
We will change just that one thing, try both ways, and measure how far the car goes. Keep the car and everything else the same.
Say your prediction out loud and one reason why.
Let the class vote or agree one shared question so later sharing is easy to follow. Either choice is fine:
Name the plan in plain words here: change one thing, try both ways, measure distance. Have pupils whisper-pair their prediction, then take three or four aloud. Predictions are never wrong; they are the start of the science. On the board, jot the class question in child-friendly words, for example: Does a higher ramp make the car roll further?
Remind them: we change only the one thing in our question. Everything else stays the same.
Before we use our real ramps, we will practise one quick compare on the board. This practice always uses the slope. Your real group test still follows the class question we agreed (ramp or push).
Watch the car on the slope. Predict first: will a steeper slope send the car further, or not as far?
When the second run finishes, look at the two stop markers on the tiles. Those markers show how far each run went. What did our change do?
Open the ramp-and-roll interactive on the IWB in explore mode. Tiles are on so the class can count how far the car goes. Slope starts at 2 on a smooth surface.
Frame clearly: this is a short practice compare so everyone sees how two tries work side by side. It is not the class question from Step 3. Say the pupil-facing line out loud: On the board we always practise with slope; at your stations you will still try the class question we agreed (ramp or push).
Fold the watchers in: after each run, ask children at desks whether the prediction matched and what they would try next. Watching is real participation.
This board compare is the warm-up only. The real cars and ramps come next and follow the class question.
Remember: change only the one thing in our class question. Keep the car and everything else the same.
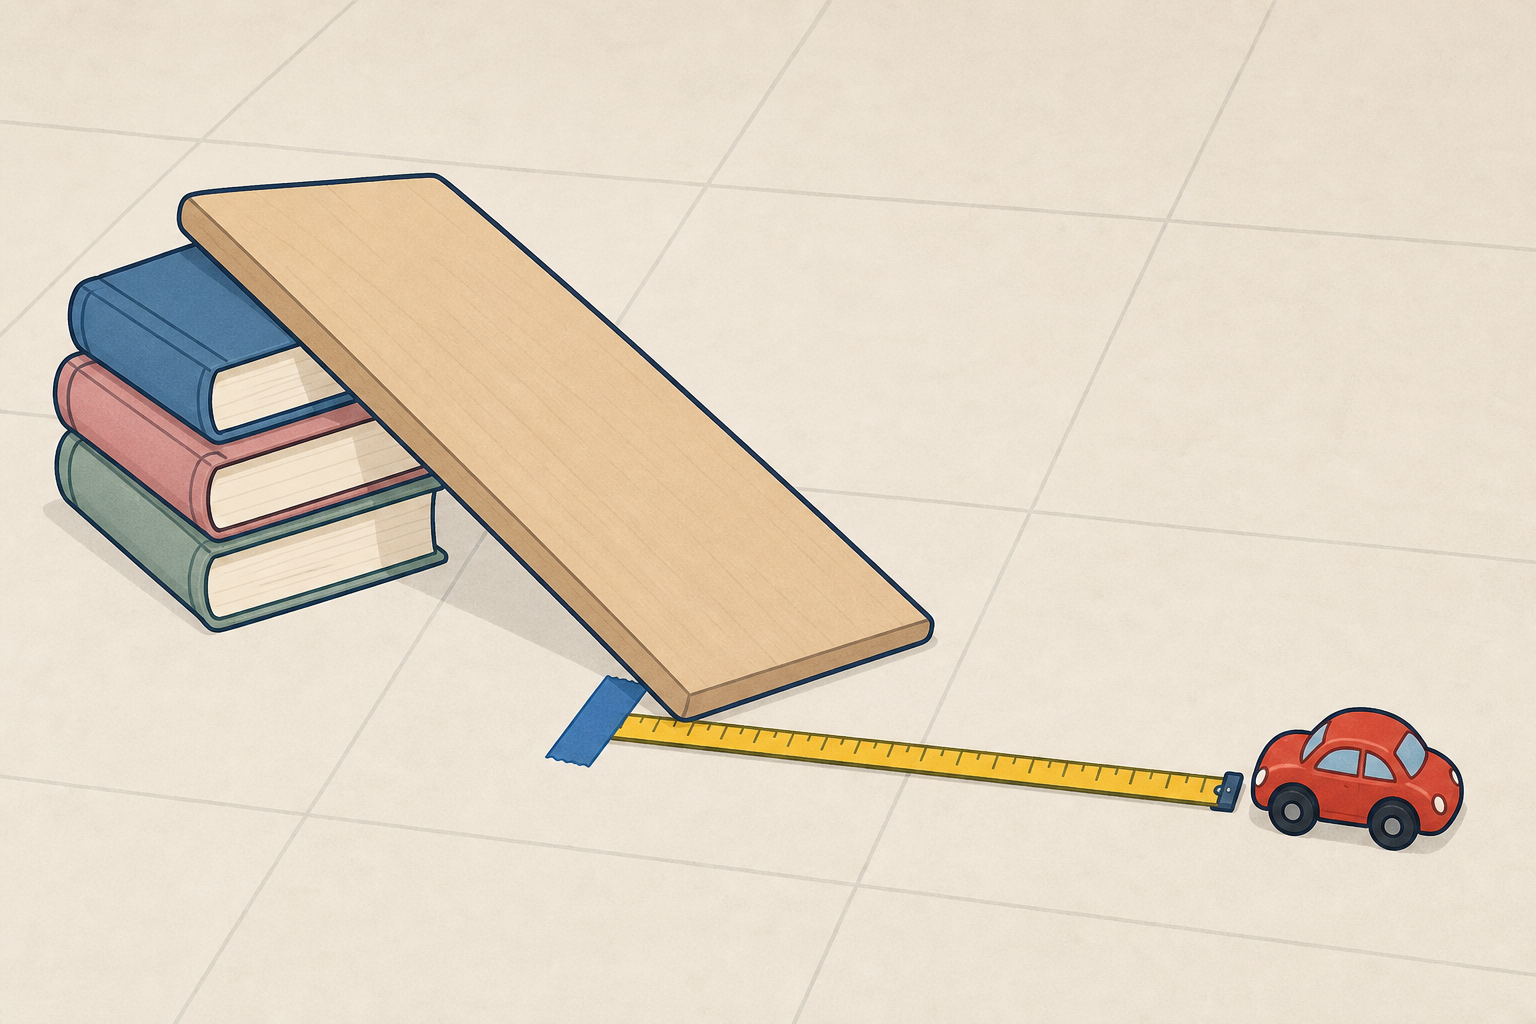
Put the start mark on the floor at the bottom of the ramp. Measure only along the floor from that mark to where the car stops.
Try A
Try B
One go each way is enough.
Pre-stage one ramp station per group so setup does not eat the slot: a board or stiff folder as the ramp, books ready to raise one end, one toy car, masking tape, and a metre stick or measuring tape. Clear a lane of about two metres on a smooth floor if you can. Have Investigation Journal pages ready at stations (or scrap paper) so groups can jot both centimetre values before they leave the floor.
Put the start mark on the floor at the bottom end of the ramp. Measure only how far the car travels along the floor after it leaves the ramp, from that start mark to the stop mark. Use this rule in your model and when you help with centimetres, so the class chart later compares like with like.
Key questions while you circulate: What is the one thing you are changing? What are you keeping the same? Which roll went further, and how do you know?
Differentiation: support groups by fixing the start mark for them and helping read the centimetres. Stretch groups by trying a third height or by checking the result on a slightly rougher floor strip.
Pacing lever: if a group is slow, prioritise one go each way and accurate measuring over extra trials. Measuring help can happen in this same beat so Step 6 stays light.
Safety: roll cars away from feet and faces; no running in the lane; crouch to pick up cars.
You're previewing this lesson. Get full access to this lesson and hundreds more — each one ready to teach, with interactive activities, printable resources and pupil progress tracking built in.