1 - Getting Started ~5 mins
A micro:bit only does exactly what we tell it. If our instructions are missing a step or name the wrong button, it will not guess what we meant.
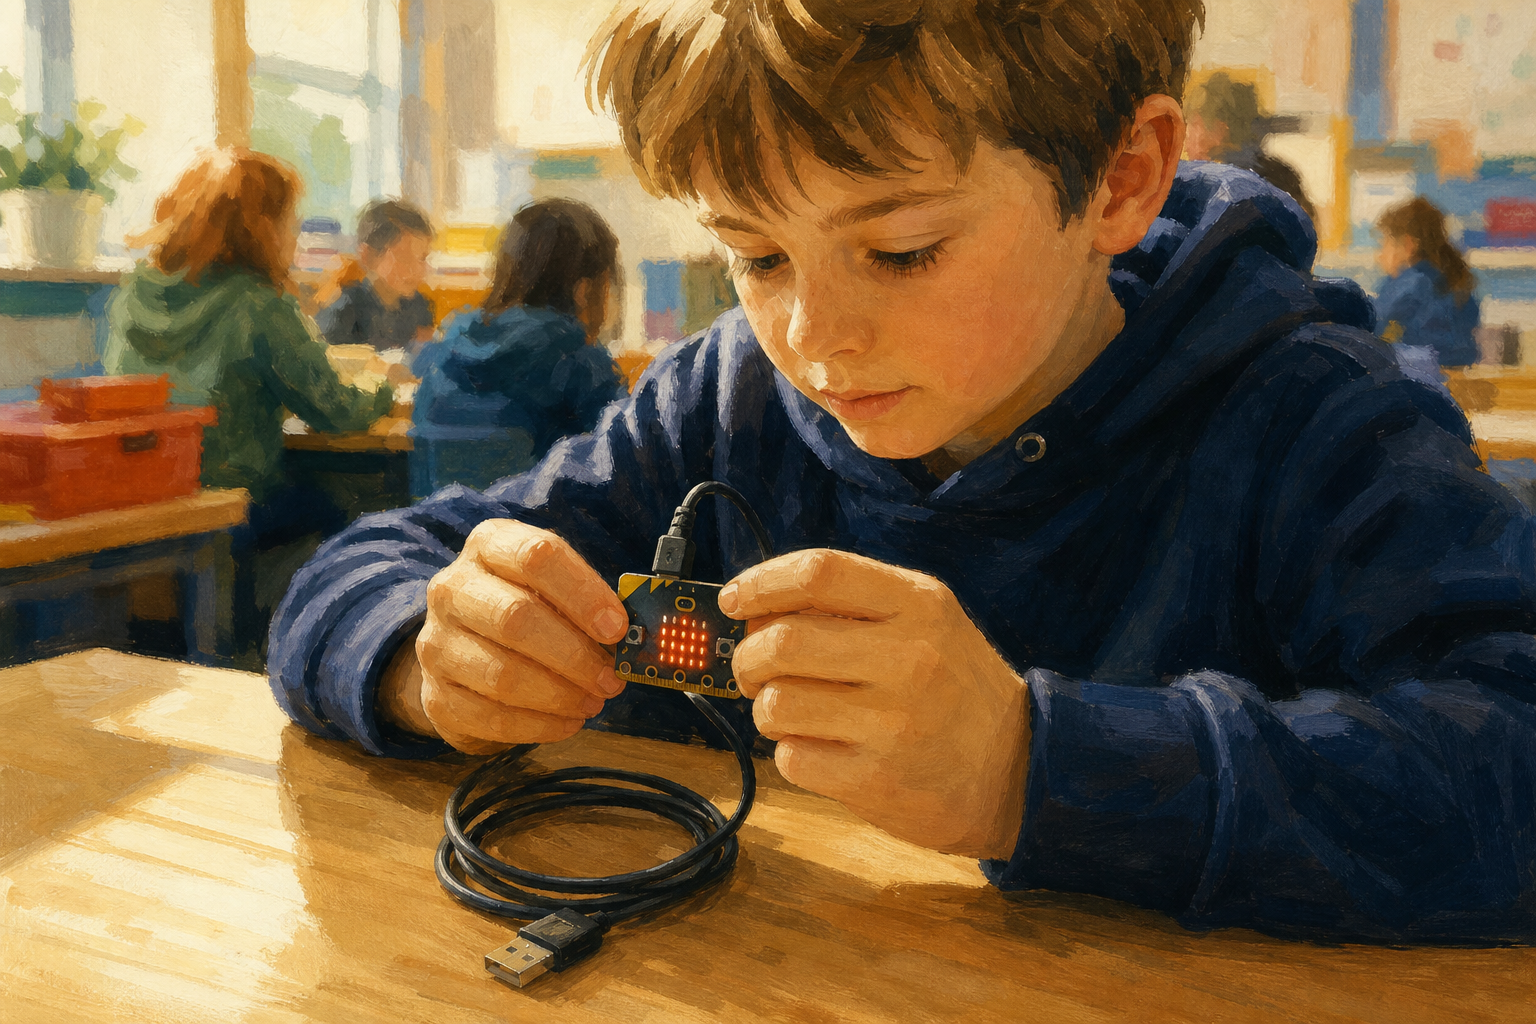 By the end of today your micro:bit should light a heart, or a letter you choose, only when the right button is pressed. What must our instructions say clearly before we press Run?
Keep this light: one curiosity beat, no kit laid out yet. Hold up a micro:bit (or show the simulator on the IWB) only if it helps the question land.
Key question: What happens if our instructions miss a step or name the wrong button?
Nature of STEM: the same kind of idea, a tiny chip following exact instructions, is at work inside everyday Irish devices such as a Leap card reader, a bus-stop display, or a school tablet. The chip runs the algorithm it is given, nothing more.
Link to durable capability: pupils already know that an algorithm is a precise sequence of steps. Today that sequence runs on a real device.
2 - Name the Input, Process and Output ~7 mins
Look at the board. The micro:bit has two buttons: A and B. Its LED screen can show icons such as a heart or a smile, or a single letter such as H.
Here is one shared plan we can all start from:
Input: press button A.
Process: when button A is pressed, show a heart.
Output: a heart lights up on the LED screen.
With your partner, choose your plan. You may keep button A and the heart, or pick button B and a different icon or letter. Say your input, process and output in plain words.
Show the micro:bit (or a large photo/simulator) so pupils can see buttons A and B and the LED grid before any pair talk. Point to each part as you name the shared example: button A → show heart → heart on the LEDs.
Drive a short think-pair-share. Pairs only choose button and output from the concrete options; they are not inventing three abstract parts from scratch. Harvest three or four pairs on the board.
Pupils may lightly sketch input / process / output on their Investigation Journal page so the plan is ready before devices open. The same page is used again later to write the final plan and one bug fix (see lesson materials).
| Concept | Why it matters | Example |
|---|---|---|
| Input — the signal or action that starts the program | If the program is not listening for the right input, nothing will happen when you press the button | Pressing button A on the micro:bit |
| Process — the precise steps the program follows when the input happens | The micro:bit will only do what these steps say, in order, with no guessing | When button A is pressed, show a heart icon on the LED screen |
| Output — what the device does so you can see the result | The output is how we know the steps ran the way we planned | A heart or the letter H lighting up on the LED grid |
| Debugging — finding and fixing a mistake in the steps | Almost every first run has a bug; fixing it is normal coding work, not failure | The heart only shows on button B by mistake; change the block to button A and test again |
Misconception to head off: pupils sometimes think the micro:bit "knows" what they meant. Stress: it runs exactly the steps it is given. A missing or wrong step is why it misbehaves.
Look-fors: pairs can name one input, one process and one output in plain words before devices open.
3 - Watch the First Working Program ~8 mins
Watch the board. Before anything is downloaded, predict: when the teacher presses button A, what should appear on the micro:bit screen?
Notice the three parts: the input the program listens for (button A), the process blocks in order (when button A is pressed, show heart), and the output on the LEDs (a heart).
If something goes wrong, that mistake is called a bug. Finding and fixing it is debugging. Watch one small bug get fixed live.
How to run the demo (self-contained)
Open the MakeCode micro:bit editor on the IWB (editor.makecode.com → micro:bit, or your school's bookmarked editor). Build and run this exact starter program so the class can see every block:
- From Input, drag on button A pressed.
- From Basic, drag show icon (choose the heart) inside that block. (Or use show string and type H if you prefer a letter.)
- Think aloud using the IPO frame: "The input is button A. The process is these blocks in this order. The output should be a heart on the LEDs."
- Pause so the class commits to a prediction, then download to a micro:bit or run the simulator and press button A.
- Deliberate bug: change the block to on button B pressed (or remove show icon). Press button A so nothing useful happens. Name it: "That is a bug." Fix it live back to button A + show heart, and say "that fix is debugging."
Expected result: on a correct button A press, the heart (or chosen letter) appears on the LED grid. If nothing happens, check power, the download, and that the on-button block matches the button being pressed.
Fold the watchers in: Are the blocks in a sensible order? What would you change if the wrong button fired it?
Safety: handle the micro:bit and cable gently; keep drinks away from devices.
4 - Program and Debug on the Micro:bit ~25 mins
With your partner, build the program on your device. Keep this checklist on the board in mind: input (which button?), process (which blocks, in order?), output (what should light up?).
Follow these steps:
- Open the MakeCode micro:bit editor on your tablet or laptop.
- Drag on button A pressed (or button B if that is your plan) from Input.
- Inside it, drag show icon and choose a heart, or show string and type one letter.
- Download to your micro:bit (or press play in the simulator) and press the button you chose.
- If it misbehaves, change one thing only, then test again.
Most programs need a fix the first time. That is normal. Finding the bug is part of the job. Keep asking: what is the input, what is the process, and what output should we see?
Setup
- Pairs share a tablet or laptop with MakeCode and a micro:bit (or take turns on the IWB simulator if devices are short).
- Leave the shared IPO checklist and the starter block sequence visible on the IWB throughout the build.
During the build
Circulate and keep the IPO frame alive: "What is your input? Which blocks are the process? What output are you aiming for?"
When a pair is stuck, ask them to read the blocks aloud in order before you touch the keyboard. Celebrate a clear bug-fix as much as a first success.
Everyone can start, and there is a stretch: every pair aims for one working button → icon or letter. Confident pairs may add a second button with a different output, still as precise IPO, if time allows.
If hardware fails: switch that pair to the MakeCode micro:bit simulator on their device or the IWB; the learning about precise steps still holds.
Safety: cables and boards handled gently; no food or drink at device tables.
5 - Record Your Steps ~10 mins
On your Investigation Journal page, write your program as clear steps: the input, the process and the output. That list of precise steps is your algorithm.
Add one bug you found and how you fixed it.
This is the paper recording beat. Pupils write or sketch on the Investigation Journal page only — nothing is typed into the platform.
The same Investigation Journal page serves both the light plan sketch from earlier and this fuller write-up. Pupils should end with four plain notes: input, process, output, and one bug they fixed (with how they fixed it). Do not invent a second sheet.
Prompt strugglers with sentence stems said aloud: "Our input was… Our process was… Our output was… One bug was… We fixed it by…"
What good looks like: input, process and output are named separately; at least one real debug note (wrong button, missing show block, blocks in a muddled order) rather than "it worked first time" with no detail.
If a pair truly had no bug, ask them to invent a small deliberate error, watch it fail, fix it, and record that — debugging practice still counts.
Unlock the full learning experience
You're previewing this lesson. Get full access to this lesson and hundreds more — each one ready to teach, with interactive activities, printable resources and pupil progress tracking built in.
This lesson is copyright of Coding Ireland 2017 - 2025. Unauthorised use, copying or distribution is not allowed.