Look at this dry seed in my hand. It looks quiet and still, almost like nothing is happening. What do you think it needs before it can grow into a plant?
Hold up one dry bean or cress seed so the class can see it. Keep the hook light: one curiosity question only. Do not hand out cups or cotton wool yet.
Key questions: What do you already know about seeds? Have you ever grown anything at home?
Collect two or three ideas quickly. Do not correct wrong guesses yet. Predictions and the agreed needs come next.
We are going to plant a seed. What do you think it will need so it can grow into a plant? Talk with your partner, then share one idea with the class.
Quickly name talk partners before the prompt so every child knows who to turn to.
Pose the simple question: What does a seed need to grow into a plant?
Use a short think-pair-share. Accept a few ideas, then guide the class to agree three needs: water, light and warmth. Write those three words on the board so children can copy or draw them on their Investigation Journal page later.
Brief teacher model (keep to two lines):
Teacher aside if a child asks: bean seeds often sprout with water and warmth even in the dark; we include light because the young plant needs it to stay strong and green on our windowsill.
Children do not run a multi-week test today. They plant, draw day one, and agree the needs. The class will watch the cups over the coming weeks.
No plant-parts interactive on this step. Keep the focus on the three needs only.
When our seed grows, we will look for three parts: roots, stem and leaf.
Look at the plant on the board. Which label goes where?
| Concept | Why it matters | Example |
|---|---|---|
| Seed — a tiny living package that can grow into a plant when it has what it needs | We are planting a real seed today, so we need to know it is alive and waiting to grow | The dry bean or cress seed each child will plant in a clear cup |
| Needs of a plant — water, light and warmth help a seed grow into a plant | If we forget one of these, our seed may not grow well on the windowsill | A little water when the cotton wool feels dry, a bright windowsill, and a warm classroom |
| Roots — the part that grows down and takes in water | When our seed grows, roots will reach down first so the plant can drink | On the plant picture, the roots are at the bottom; in our cups they will grow into the damp cotton wool |
| Stem and leaf — the stem holds the plant up; leaves help it make food to grow | We will watch for a stem and leaves as our seed changes over the coming weeks | Point to stem and leaf on the board diagram before we plant |
Interactive on the IWB (keep this brief): three labels only — roots, stem, leaf. Invite children to call out or come up and drag each label to the matching part. Ask: Which part takes in water? (roots). Which part holds the plant up? (stem).
If the diagram shows a flower, say once: You might see a flower on the picture. We will look at flowers when our own plants grow. Today we only label roots, stem and leaf. Then return straight to the three labels.
Do not teach flower or petal today. Those can wait until shoots appear and children see a fuller plant.
Misconception to head off: some children think a seed is not alive until it sprouts. Say clearly that the seed is living, but it needs water, light and warmth before we see the change.
Keep this short — about five minutes. Planting is the heart of the lesson.
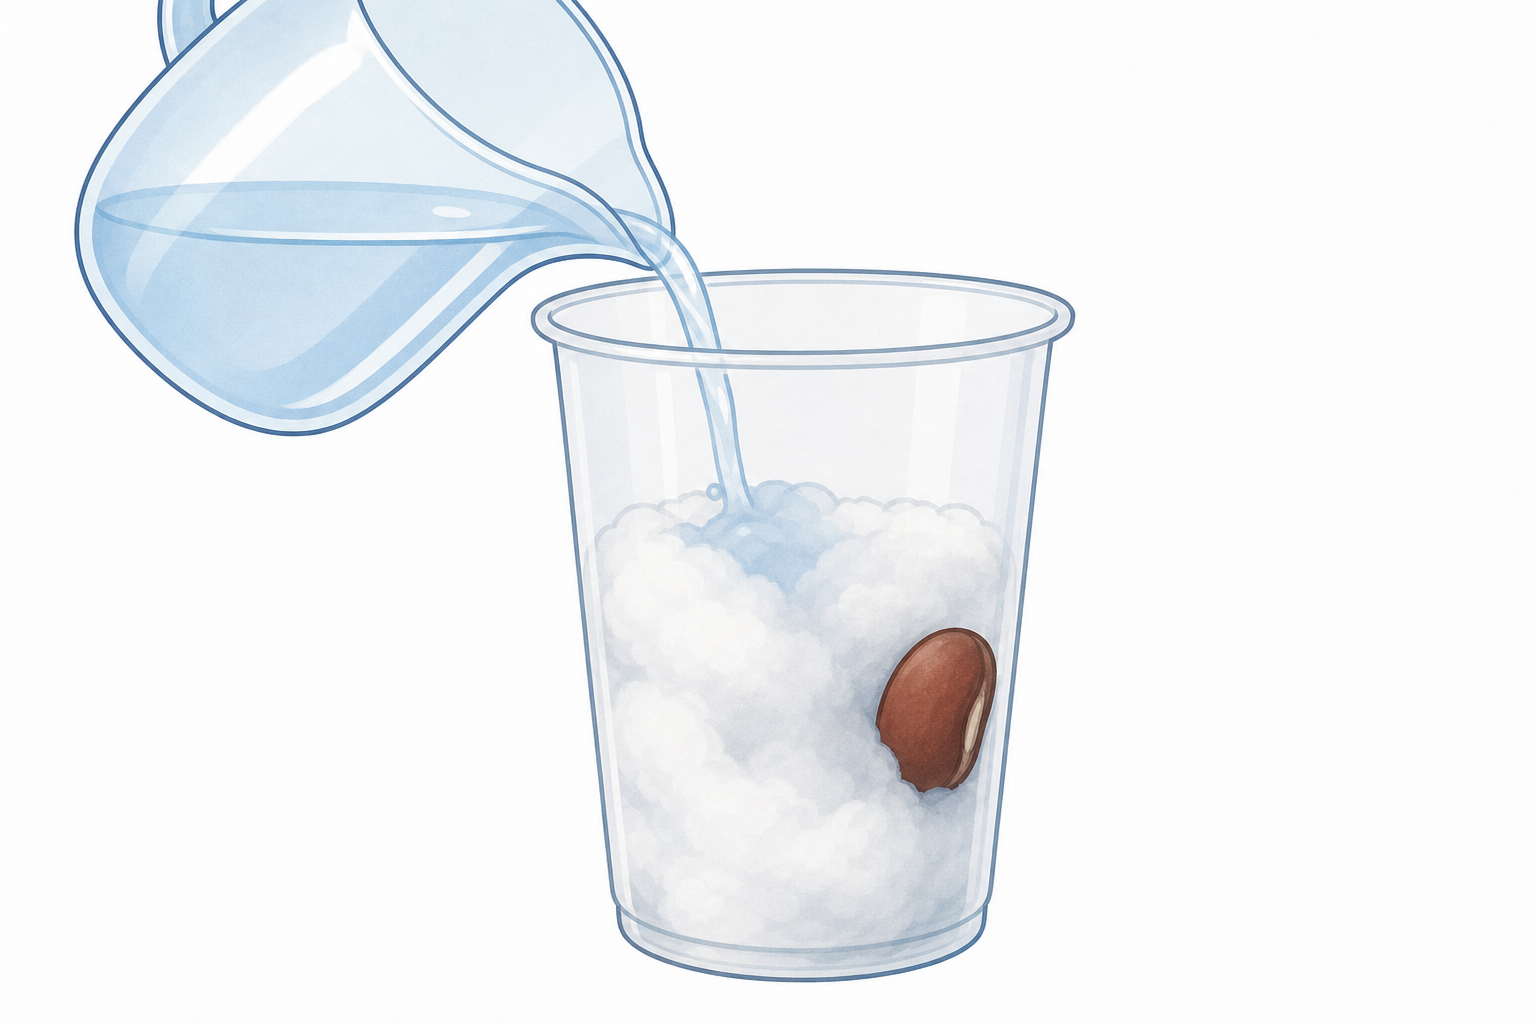
Now it is your turn to plant. Watch me first, then do each step carefully:
Name the material clearly before pupils start: Today we are using cotton wool. (If you have switched to the low-cost compost substitute, say that instead so the screen matches what is on the tables.)
Demonstrate one cup at the front first, slowly, matching the numbered list on the board:
Reveal or point to one board line at a time as you model, so 1st Class can hold the order. Then pupils plant at tables. Adults help with water amounts. Cress is quicker for impatient classes; beans show bigger roots in clear cups.
Safety: no eating seeds or cotton wool; wash hands when finished; wipe spills straight away.
Differentiation: some children may need an adult to hold the cup steady. Early finishers help label the class tray or choose the windowsill row with you.
On your Investigation Journal page, draw your seed in its cup exactly as it looks today. Then draw the three things it needs: water, light and warmth. Pictures or simple marks are enough. You do not need to spell the words unless you want to.
This is the paper recording beat. Pupils use the Investigation Journal page.
Prompt them to look closely: seed colour, size, where it sits in the cup, damp cotton wool. Remind them this is day one. Later they can compare when roots or shoots appear.
Sentence starters for children who need them (said aloud, not as a typed box): My seed looks… My seed needs…
Circulate and check that water, light and warmth appear as pictures, marks or words. Do not invent extra boxes on the journal page. Say what to record, not where on the page it sits. Drawing-first is fully acceptable for 1st Class.
You're previewing this lesson. Get full access to this lesson and hundreds more — each one ready to teach, with interactive activities, printable resources and pupil progress tracking built in.