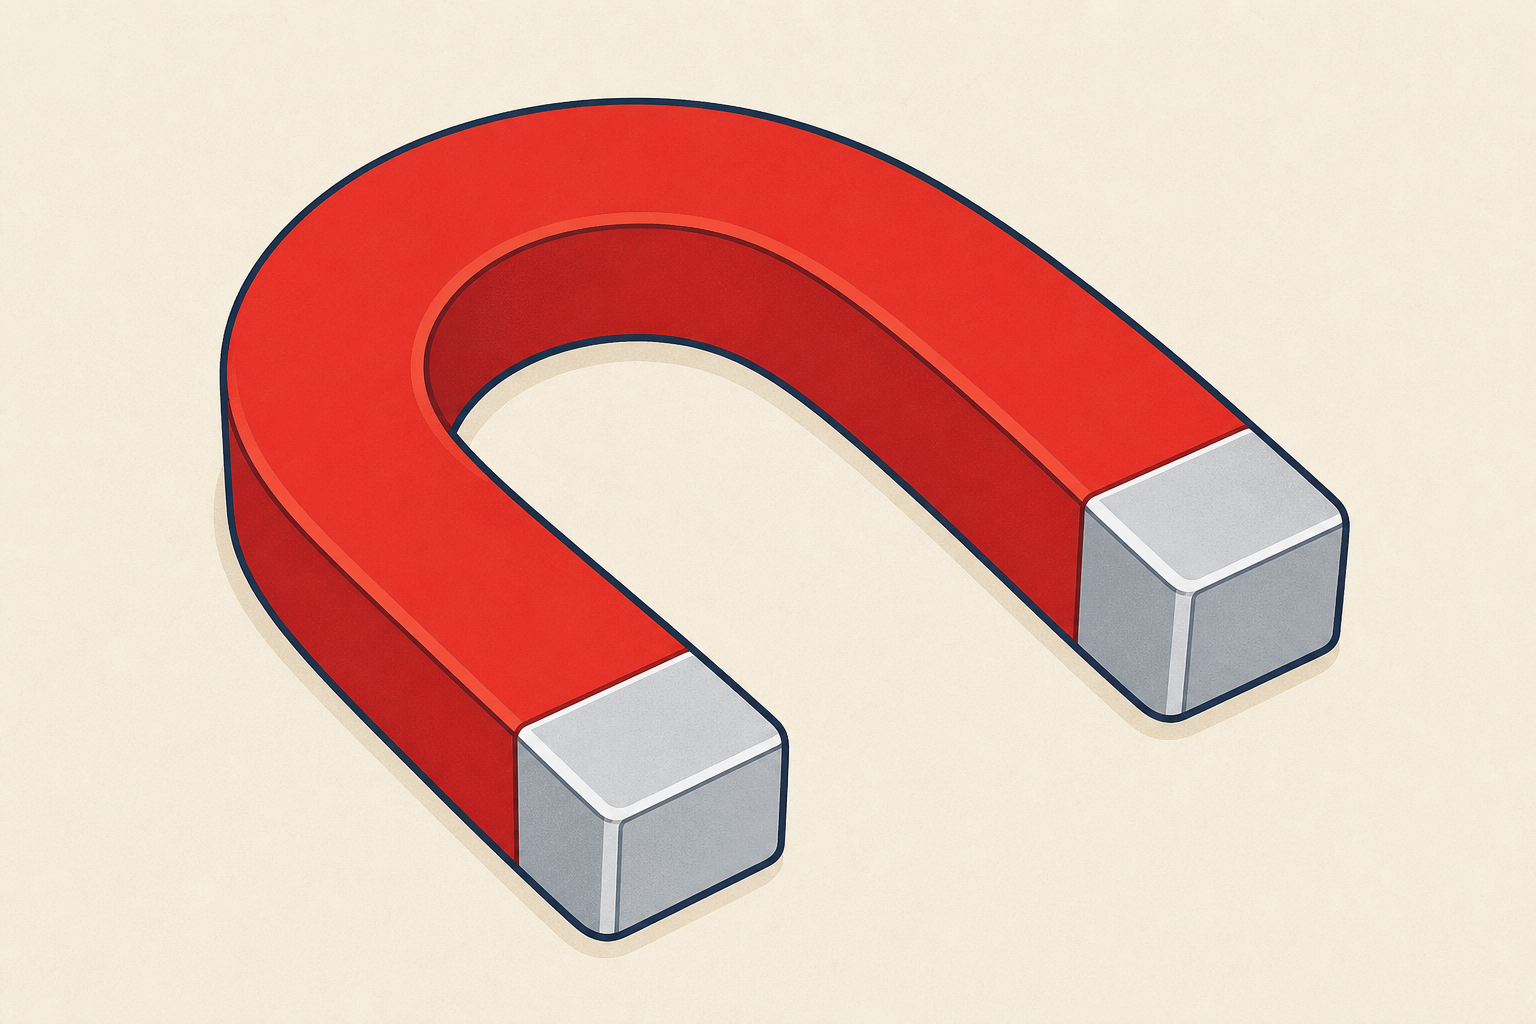
Look at this chunky magnet. What do you think it can pull? Hands up if you have an idea.
Hold up one chunky magnet only. Do not start testing yet. Take three or four quick ideas from the class. Keep the tone playful: every guess is welcome.
Before the lesson: gather the chunky magnets and mixed object trays; check every magnet is large and chunky (no small or loose magnets); pre-test every tray object yourself so you know which ones pull; print one Investigation Journal page per child; clear small table spaces for groups of three or four.
Safety: magnets stay away from mouths; teacher models holding the magnet by the sides. Children sit while testing. Small tray items (large paperclips, larger coins) stay on the table and are handled one at a time under adult watch.
Guess first, then try. We will find out what this magnet can pull.
Board stays to that one short line only. Say the three ideas live while you hold the magnet, a paperclip and a wooden peg — do not put definition blocks on the IWB.
| Concept | Why it matters | Example |
|---|---|---|
| Magnet — a special object that can pull some things toward it | Magnets help us in everyday life, on fridges, bags and toys | A chunky classroom magnet that sticks to a paperclip |
| Pull — when the magnet draws an object closer or makes it stick | We watch carefully to see if the object moves or stays still | The paperclip jumps onto the magnet; the peg stays put |
| Guess then find out — say what you think will happen, then test | Scientists make a good guess before they test, just like us | Guess first for the peg, then try the magnet and check |
Worked cycle to model live (one object only):
Then hold up a wooden peg and ask the class to guess with thumbs up (will pull) or thumbs down (will not). Do not reveal the answer yet — that is for the explore step.
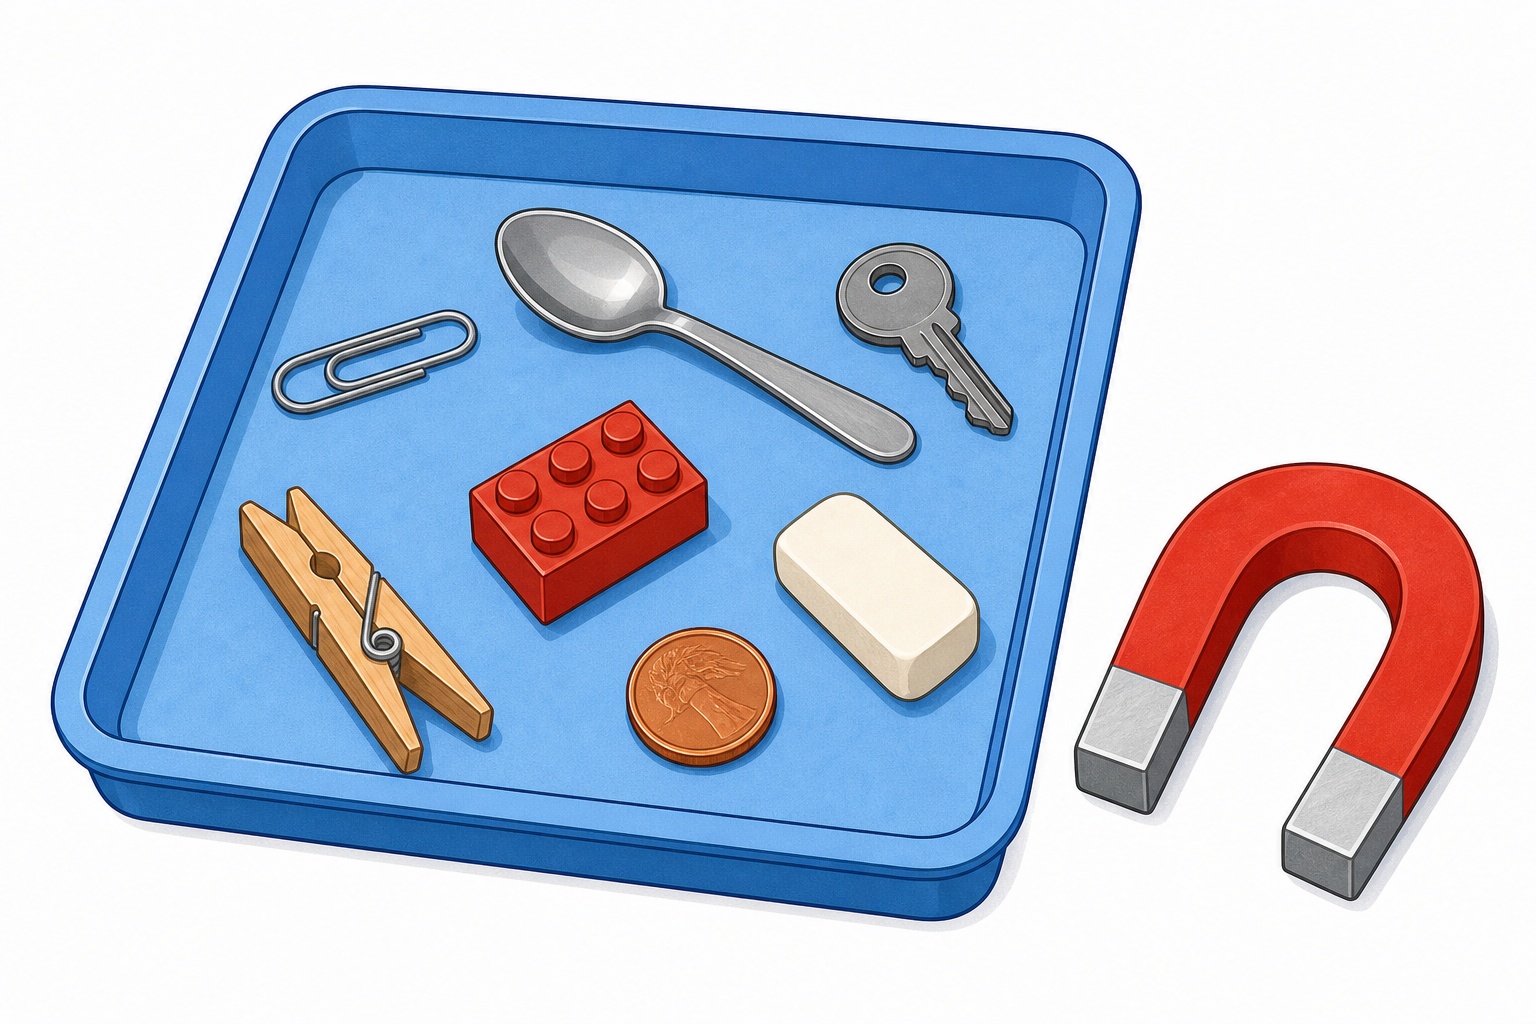
Transition into groups: after the peg thumbs vote, send children to tables in groups of three or four. One chunky magnet and one mixed tray per group. Point to the yes and no spaces already marked on each table.
Misconception to head off: children may think the magnet pulls everything, or only heavy things. Keep the rule simple: some things are pulled, some are not. We find out by testing. Do not teach a full metal rule today; this lesson is the first hands-on guess-then-test introduction.
Who helps us: scientists make a good guess before they test, just like we are doing today.
At your tray, one object at a time:
Take turns so everyone gets a go.
Set one tray per group of three or four with the same mixed objects. Give each group one chunky magnet. Mark two clear spaces on the table (or two small trays) as yes, it pulls and no, it does not so the table labels match the board order. Pre-test every item on the trays yourself so surprises are planned, not accidental.
Children move from the whole-class model (step 2) to their table groups when you give the cue after the peg thumbs vote. One magnet per group of three or four keeps turns short enough that every child can guess-then-test several objects in about 12 minutes.
Large paperclip (teacher-watch; stays on the table), metal spoon (pre-test: some stick, some barely do or not at all), larger coin such as a 50c or €1 (teacher-watch; stays on the table), large safe key if pre-checked, wooden peg, plastic brick, crayon, rubber, fabric scrap, aluminium foil ball (often does not pull strongly). Include at least two surprises. Never present the spoon as a guaranteed yes. Avoid tiny loose bits; listed small metal items are allowed only while children sit, test one object at a time, and keep items on the table away from mouths.
Chunky magnets only. Magnets never near mouths. Sit down while testing. Small metal tray items stay on the table under adult watch — not in pockets or near faces. If a magnet is mouthed, remove it and wash hands; replace with a clean magnet.
Differentiation: less confident children point and use thumbs only; an adult or peer can model the sentence "I guess… then I test…" without sorting for them. Ready children can say a short why ("I think metal"). Fast finishers re-test one surprised object and tell a partner whether the guess matched.
Look at your yes pile and your no pile. On your drawing page, draw two things: one the magnet pulled and one it did not. Two drawings are enough. If a guess surprised you, you may add a circle or mark on that drawing — only if you want to.
Hand out now: give each child their Investigation Journal page (printed before the lesson). Hold one up and show the class the two drawing spaces before they begin: one for something pulled, one for something not pulled. Say clearly that two drawings are enough; a surprise is only an optional extra mark or circle, not a third required picture.
This is the in-lesson paper recording beat — not homework. Children draw; emergent labels are welcome if a child is ready (for example a simple mark for "guessed" and "really").
What good looks like: one object the magnet pulled and one it did not. An optional circle or mark if something surprised them.
Observation prompts while they draw:
Do not ask children to write long sentences. Drawing is the record at this age.
What did the magnet pull? What did it not pull? Whose guess matched? Whose guess was a surprise? Scientists make a good guess before they test — just like us.
Whole-class oral talk only. No typing. Revoice from what the class actually sorted on their tables — do not script a fixed list of "yes" metals:
Keep it gentle: do not turn this into a rule about all metal or all heavy things. At Senior Infants the aim is notice, guess, test, and compare guess with result. A later lesson can look more closely at patterns.
Who helps us: scientists guess carefully, then test to find out. We practised that skill today.
You're previewing this lesson. Get full access to this lesson and hundreds more — each one ready to teach, with interactive activities, printable resources and pupil progress tracking built in.